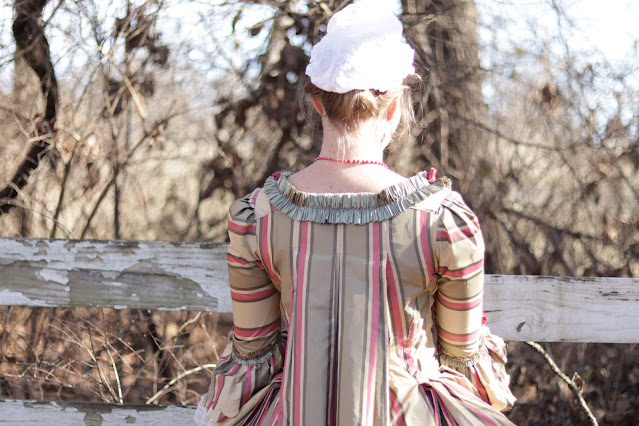
On a visit with my friend @historicthimble over a year ago, she went through a bin of fabric. Out came an abandoned project - a striped silk pet en l'air, nearly half finished. Having no interest in finishing it herself, she offered it to me.
Well I wasn’t going up say no to silk! I gratefully accepted the grocery bag of begun 18th century jacket and silk scraps. It wasn’t my size, but 18th century construction is forgiving so I knew I could re-fit it. A pet en l'air is the shortened version of a Robe a la Francaise, or Sack-Back gown. It has a fitted lining under double box pleats in the back. The pleats are stitched down at the neckline and then free-flow loose down the back. My friend had finished the back pleats and lining. The front of the pet needed to be sewn to the lining and the sleeves still needed to be cut out.
I took the grocery bag of silk back to my parents’ one weekend for a trip through my fabric and pattern stashes.
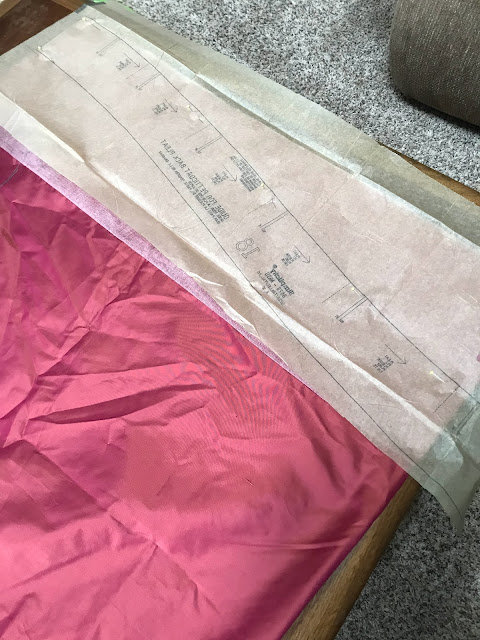
There were enough silk scraps in the bag for sleeves, sleeve ruffles, and robings, (and I could use my Larkin and Smith English Gown pattern to cut out those pieces and re-fit the bodice lining) however there would not be enough silk to trim the pet the way I wanted, and I would need to figure out a petticoat to go with it - there wasn’t enough silk for that either.
Surly my “very healthy” fabric stash would yield something for trims and a petticoat!
The fabric was stripped green, fuchsia, and gold. A look through my fabric stash revealed silk shantungs and taffetas in similar shades. Scraps of gold and ivory shantung, picked up at estate sales, thrift stores, and the like would be used for trimming. Nearly 2 yards of fuchsia taffeta, acquired from Sewstine when she was destashing a couple years ago, would do for the petticoat. And the green shantung, left over from this petticoat, would complete any trim deficiencies.
With this settled, I decided to start with the easy part - the petticoat.
Just shy of 2 yards wasn’t quite enough for a petticoat so some piecing was required. From the silk I cut the front panel of the petticoat about the length I thought it needed to be. This made the piece of silk I had for the back panel 10”-12” shorter than I required. So I cut a strip of cotton about that wide and pieced it onto the top of the back panel with a narrow mantua maker's seam. The top cotton section would be covered by the skirts of the pet en lair when the ensemble was worn. In the 18th century the unseen parts of petticoats were often made from cheaper fabrics with the expensive silk saved for the visible areas, so this was a perfectly period appropriate solution to not enough fabric.
And sewed on twill tape waist ties.
The Challenge: Geometry - the petticoat is entirely constructed of rectangles. The front is one rectangle. The back is 2 - the top third of the back is a rectangle of cotton (not seen when the petticoat is worn with a jacket or gown) and the bottom 2/3rds is a rectangle of silk. All of the trim (including the roses!) is gathered rectangles of silk.
Material: Silk taffeta and cotton sheeting.
Pattern: none for the majority of the petticoat, but I did use Simplicity 8578 as a template to get the top shape correct for going over pocket hoops.
Year: 1760’s and 1770’s
Notions: thread
How historically accurate is it? It’s all hand sewn, and my material choice is accurate. It’s even accurate to use a cheaper fabric for the parts of the petticoat that won’t be seen, the way I did. However, that “cheap” fabric would be more likely to be linen, rather than the cotton I used. The trim pattern is decent I think, though I didn’t base it off an extant garment. The petticoat definitely came out a bit on the short side as I was short on silk. So let’s say 85-90%.
Hours to complete: I’m not sure. The petticoat itself went together quickly, but the trim took forever!
First worn: For Pictures, 12/28/22
Total cost: The silk was given to me by a friend who was de-stashing. Everything else was stash, left over from other projects. So $0.


Wow! That is so creative! Love the trim.
ReplyDeleteNicely done! Do you have fun plans for where you're going to wear it?
ReplyDeleteI love it!! I have that same American Duchess pattern and have yet to use it. I love the fabric and the detail that went into your project.
ReplyDelete-Erin