Pages

Sunday, March 19, 2023

A Joyful Flannel and Wool Winter Outfit

 After finishing my Joy Jacket in fall of 2021, I had some fabric left over. About 1 yard of colbalt blue wool, and about a yard and a half of plaid flannel. I liked the way fabrics looked together, so I decided to make a slightly dressy winter outfit out of them.


One yard of blue wool twill could make a cute little gathered skirt.


Cut the yard in half, add pockets to the front panels, put a zipper in the left side seam, piece together a waist band, gathered it up, put a button on the waistband, done!


Half a yard of fabric is 18", which makes a just above knee-length skirt for me. I didn't want to loose any length in a hem, so I hemmed the skirt with some blue gingham bias tape, left over from the gathered skirt in this post.


A quick, easy, no pattern required, project!


Now, for a blouse to go with it.


I decided to use the blouse pattern from McCall's 7184, as I loved how my first rendition of that pattern turned out.

With some careful cutting I managed to squeeze the blouse out for the 1.5 yards of plaid cotton flannel I had.


I just had to ignore any idea of plaid matching to do it. 


And line my cuffs and front button placket with some cotton scraps from my stash, rather than cutting everything from the flannel as the pattern suggested.


As nobody sees the inside of the cuffs or the placket facing, that was no big deal.


I made the button holes on the diagonal, just like on my Thanksgiving dress. It's such a fun little detail!


Since finishing it last winter, this had definitely become one of my favorite winter church outfits. I wear it all the time!


I was already a fan of wool skirts, and have several in my closet, but since making this outfit I've decided I definitely need more flannel blouses too.
 

They're just so comfortable!


Wednesday, March 8, 2023

Rosy, Lacey, Mid-18th Century, Sleeve Ruffles (Engageantes)

 Back in 2017, when I went in the World Race, I picked up several embroidered net lace trims with the intention of making 18th century lace engageantes, also known as sleeve ruffles.


5 years later and one of the lengths of net lace has been used to trim my wedding dress and my 1830’s evening gown. However, I still had lace saved back for those sleeve ruffles. 

And finishing my Golden Rose Pet en Lair seemed like the perfect opportunity to pull out the rose embroidered lace and make my engageantes!


I wanted very floofy, triple flounced, engageantes. To get the look I was going for, the three flounces needed to be three different widths, narrower on top, slightly wider in the middle, and quite wide for the bottom layer of lace. As my lace was, obviously, only one width wide, and not as wide as I wanted my bottom layer of lace to be at that, I was going to have to get a bit creative to make this work.


Engageantes typically have a curved shape so they’re longer at the elbow and shorter at the crook of the arm, rather than the same length all the way around. This design actually worked to my advantage with the materials I had available to me.


I began by cutting 6 lengths of lace, 3 per engageante, each just under a yard long. I wanted my sleeve ruffles to be very floofy when gathered down.

I cut my narrowest ruffle into the correct shape - narrower at the ends where it would be sewn together, and wider in the center. That center section was the full width of the lace. (The Dreamstress has a blog post all about the shape of engageantes and making them work with modern materials if you're interested.)


Next I lay this length of lace on top of the pieces I had cut for the middle ruffle. I had the embroidered edge of the middle ruffle piece extend about an inch longer than that of the top ruffle. I cut the middle ruffle into the correct shape using the top ruffle as my template - narrower at the ends and wider in the center. There was only one issue once I got it cut to the right shape, the center of the ruffle was about an inch too narrow. To fix this I took the netting I’d trimmed off the ends and flipped it over. It could be sewn onto the top of the center to make that ruffle the correct width. Finally, I took the widest ruffle and repeated the process, cutting it to be about an inch wider than the middle ruffle. To get the center of that ruffle to be the correct length I took the netting I’d cut off the narrow ends of the narrowest ruffle, and flipped it over to be sewn to the top of the widest ruffle.


The middle and bottom ruffles got pieces together by hand with a whip stitch. 


As these two ruffles would be covered by the top ruffle and everything would be gathered tightly, the piecing wouldn’t be seen once the engageantes were finished.


Once the ruffles were all pieced together, they were each sewn into loops. 


Then gathered up.


 And sewn onto strips of cotton twill.


I had the floofy lace engageantes of my dreams! 


Unfortunately I didn’t get them done in time for my pet en lair photo shoot, but they’re ready for my next 1750-1770’s outing!


As these didn’t get finished until January, they are my first completed submission for Historical Sew Monthly 2023!


What the item is: Lace Engageantes 

The Challenge: #12 - Paired to Perfection - they’re a pair of sleeve ruffles!

Material: 6 yards of embroidered net lace and scraps of cotton twill

Pattern: none

Year: 1750’s-1770’s

Notions: thread

How historically accurate is it? The look is right, embroidered net engageantes were a thing in the era, however, mine are made from modern synthetic net with machine embroidery, at the time it would be silk net and hand embroidery. Also, my engageantes are embroidered along the straight edge of the net, with the upper, curved, edge being gathered into my strip of twill. In the 18th century the curved edge would have been embroidered and the straight edge gathered. As I was working with pre-embroidered net, this was not possible for me. 

On the upside, they are all hand sewn! So we’ll give this project 60%.

Hours to complete: I’m not sure, several afternoon naps, so maybe 10ish hours.

First worn: not yet!

Total cost: I bought the embroidered net lace in Malaysia several years ago, I can’t remember what I spent on it, but it was pretty cheap. I definitely spent less than $10, maybe even less than $5. The thread and cotton twill were stash, left over from other projects.


Sunday, March 5, 2023

Simplicity 8161 - The 1780's "Italian Gown" out of a Bed Sheet

 For my sister's birthday last year I decided she needed an 18th century gown. Ok, that's a lie. For my sister's birthday several years ago I decided she needed an 18th century gown. I had the pattern and the fabric in my stash. It. . . just. . . didn't happen at the time. So fast forward to last summer. I decided that 18th century gown for my sister was absolutely going to happen for her birthday, and I actually managed it this time around.


 It did help that I had a late 18th century costume demonstration scheduled for about a month after my sister's birthday, and I'd invited her to help me out with it, promising I'd figure out *something* for her to wear.


With an event already scheduled for her to wear the dress too, I actually had to get it done in time for her birthday!


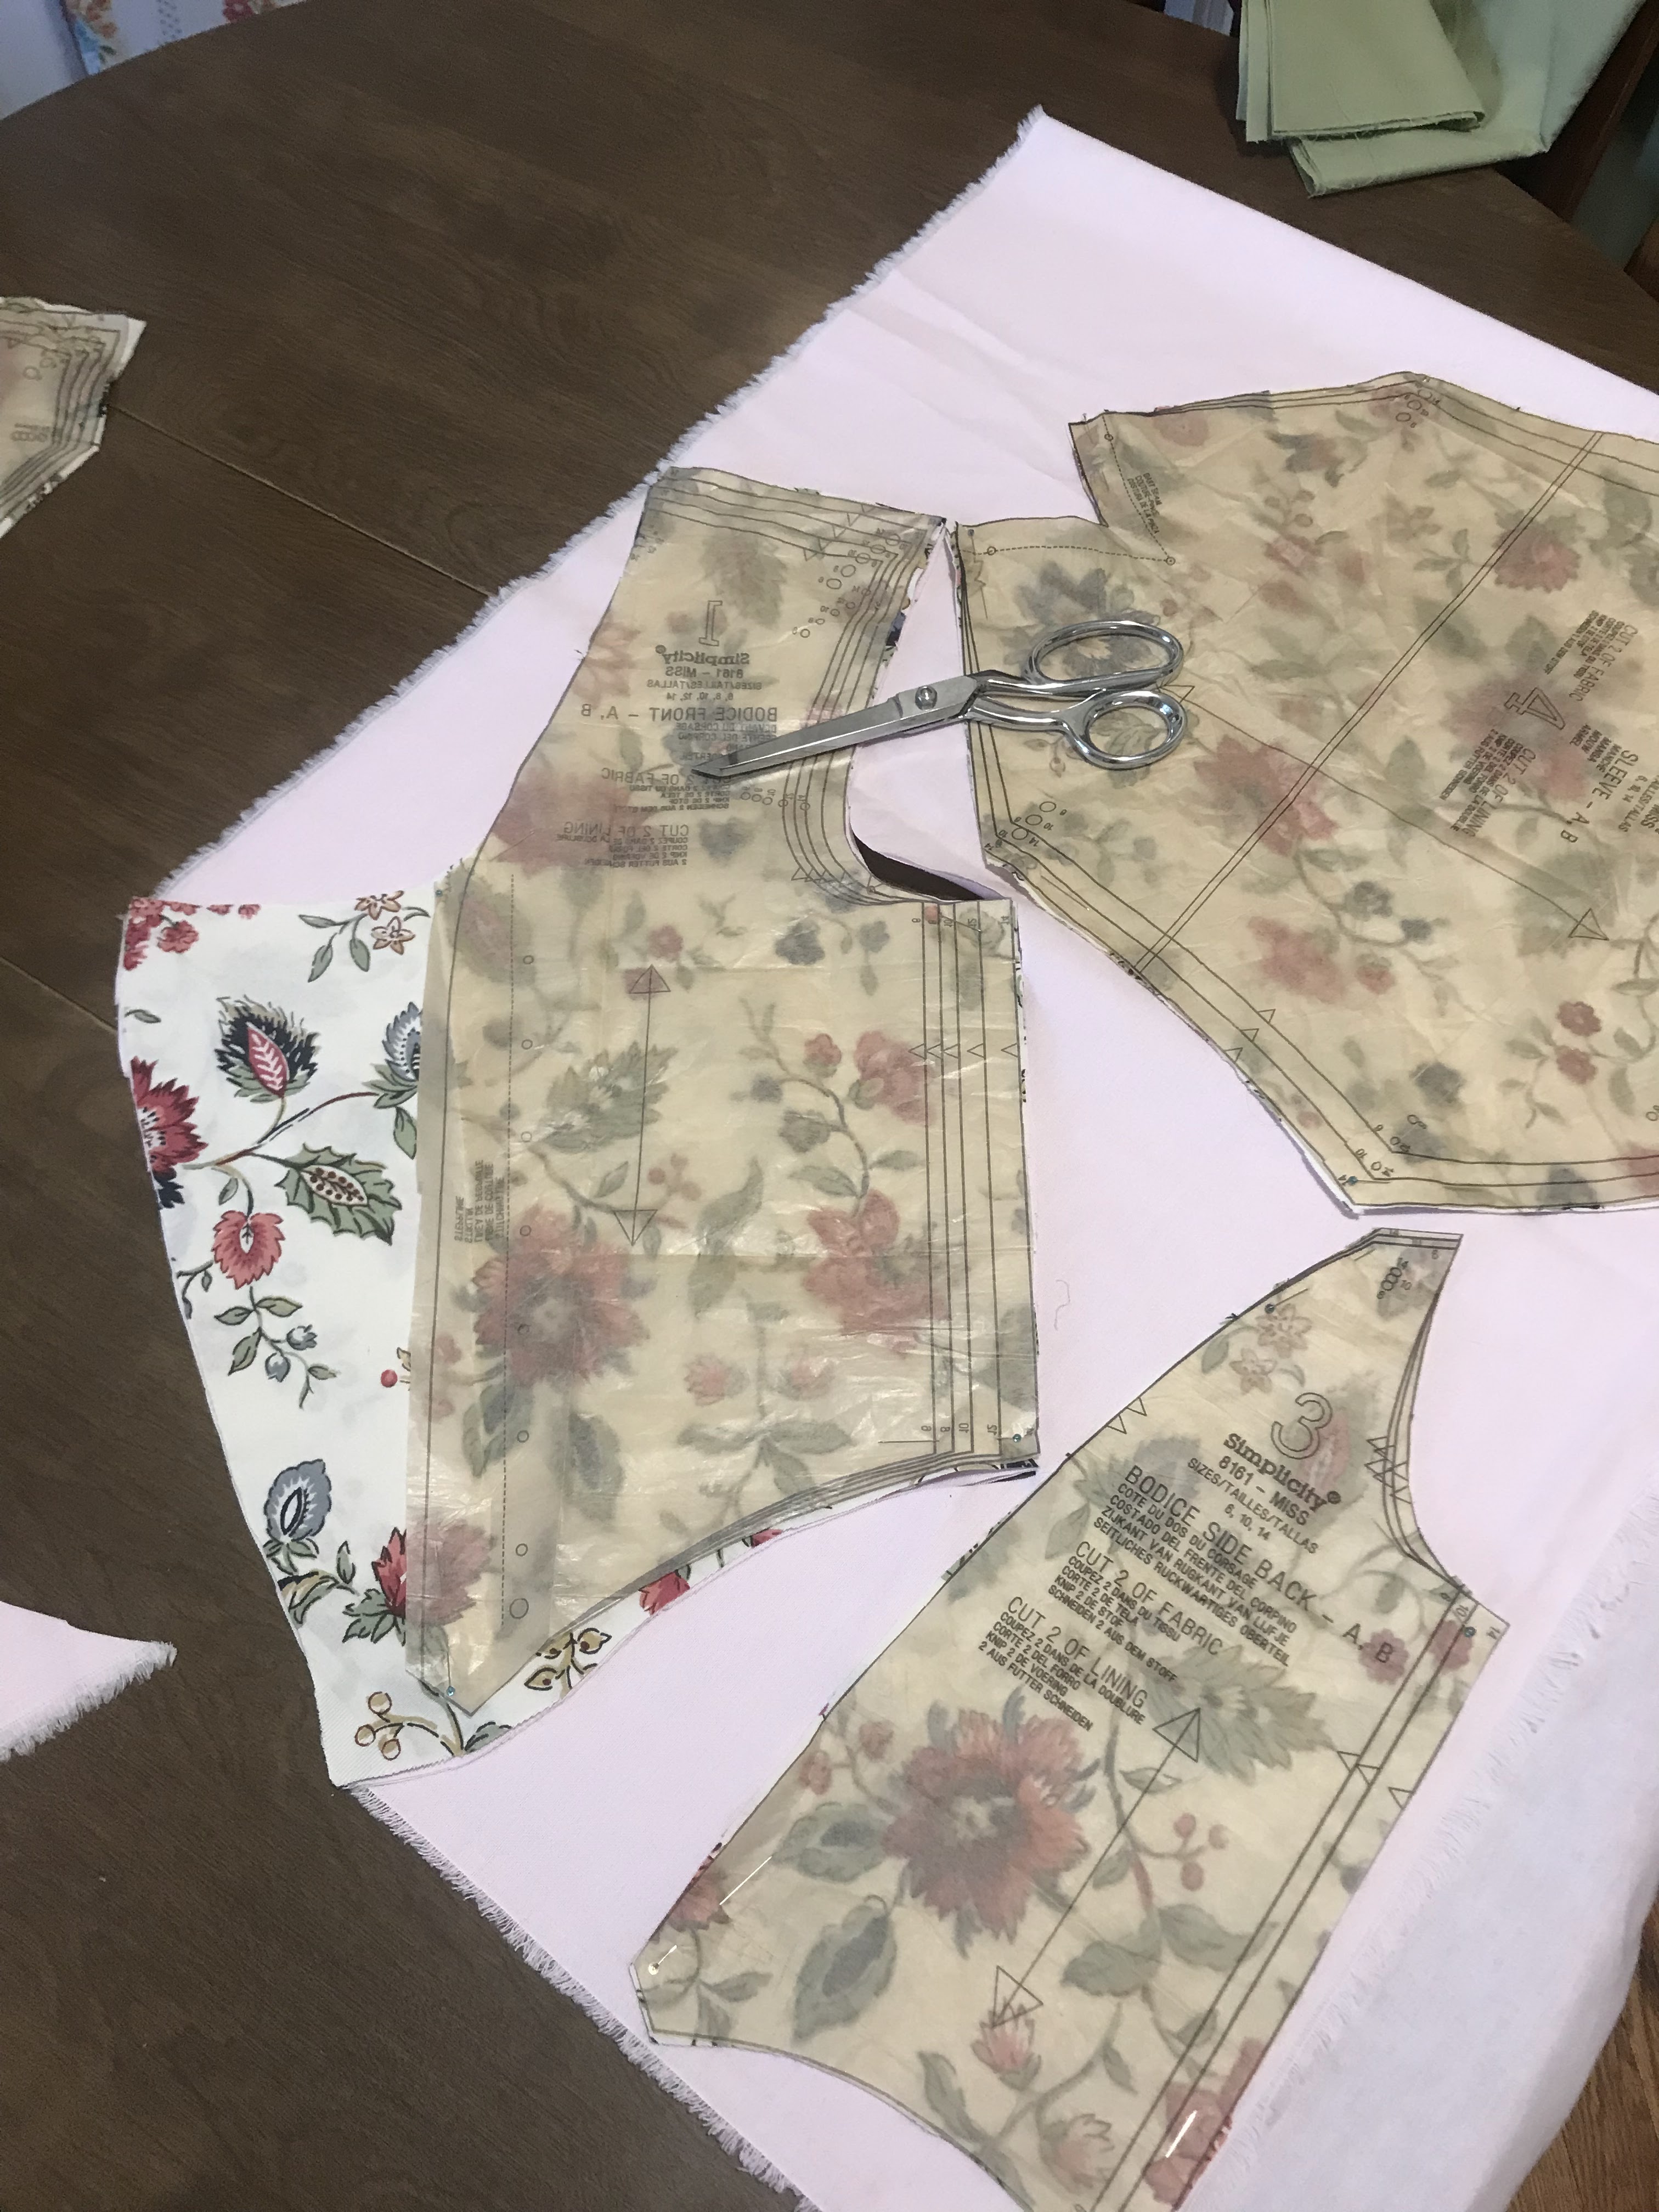
The pattern and "fabric" I intended to use were pulled out. The pattern was 
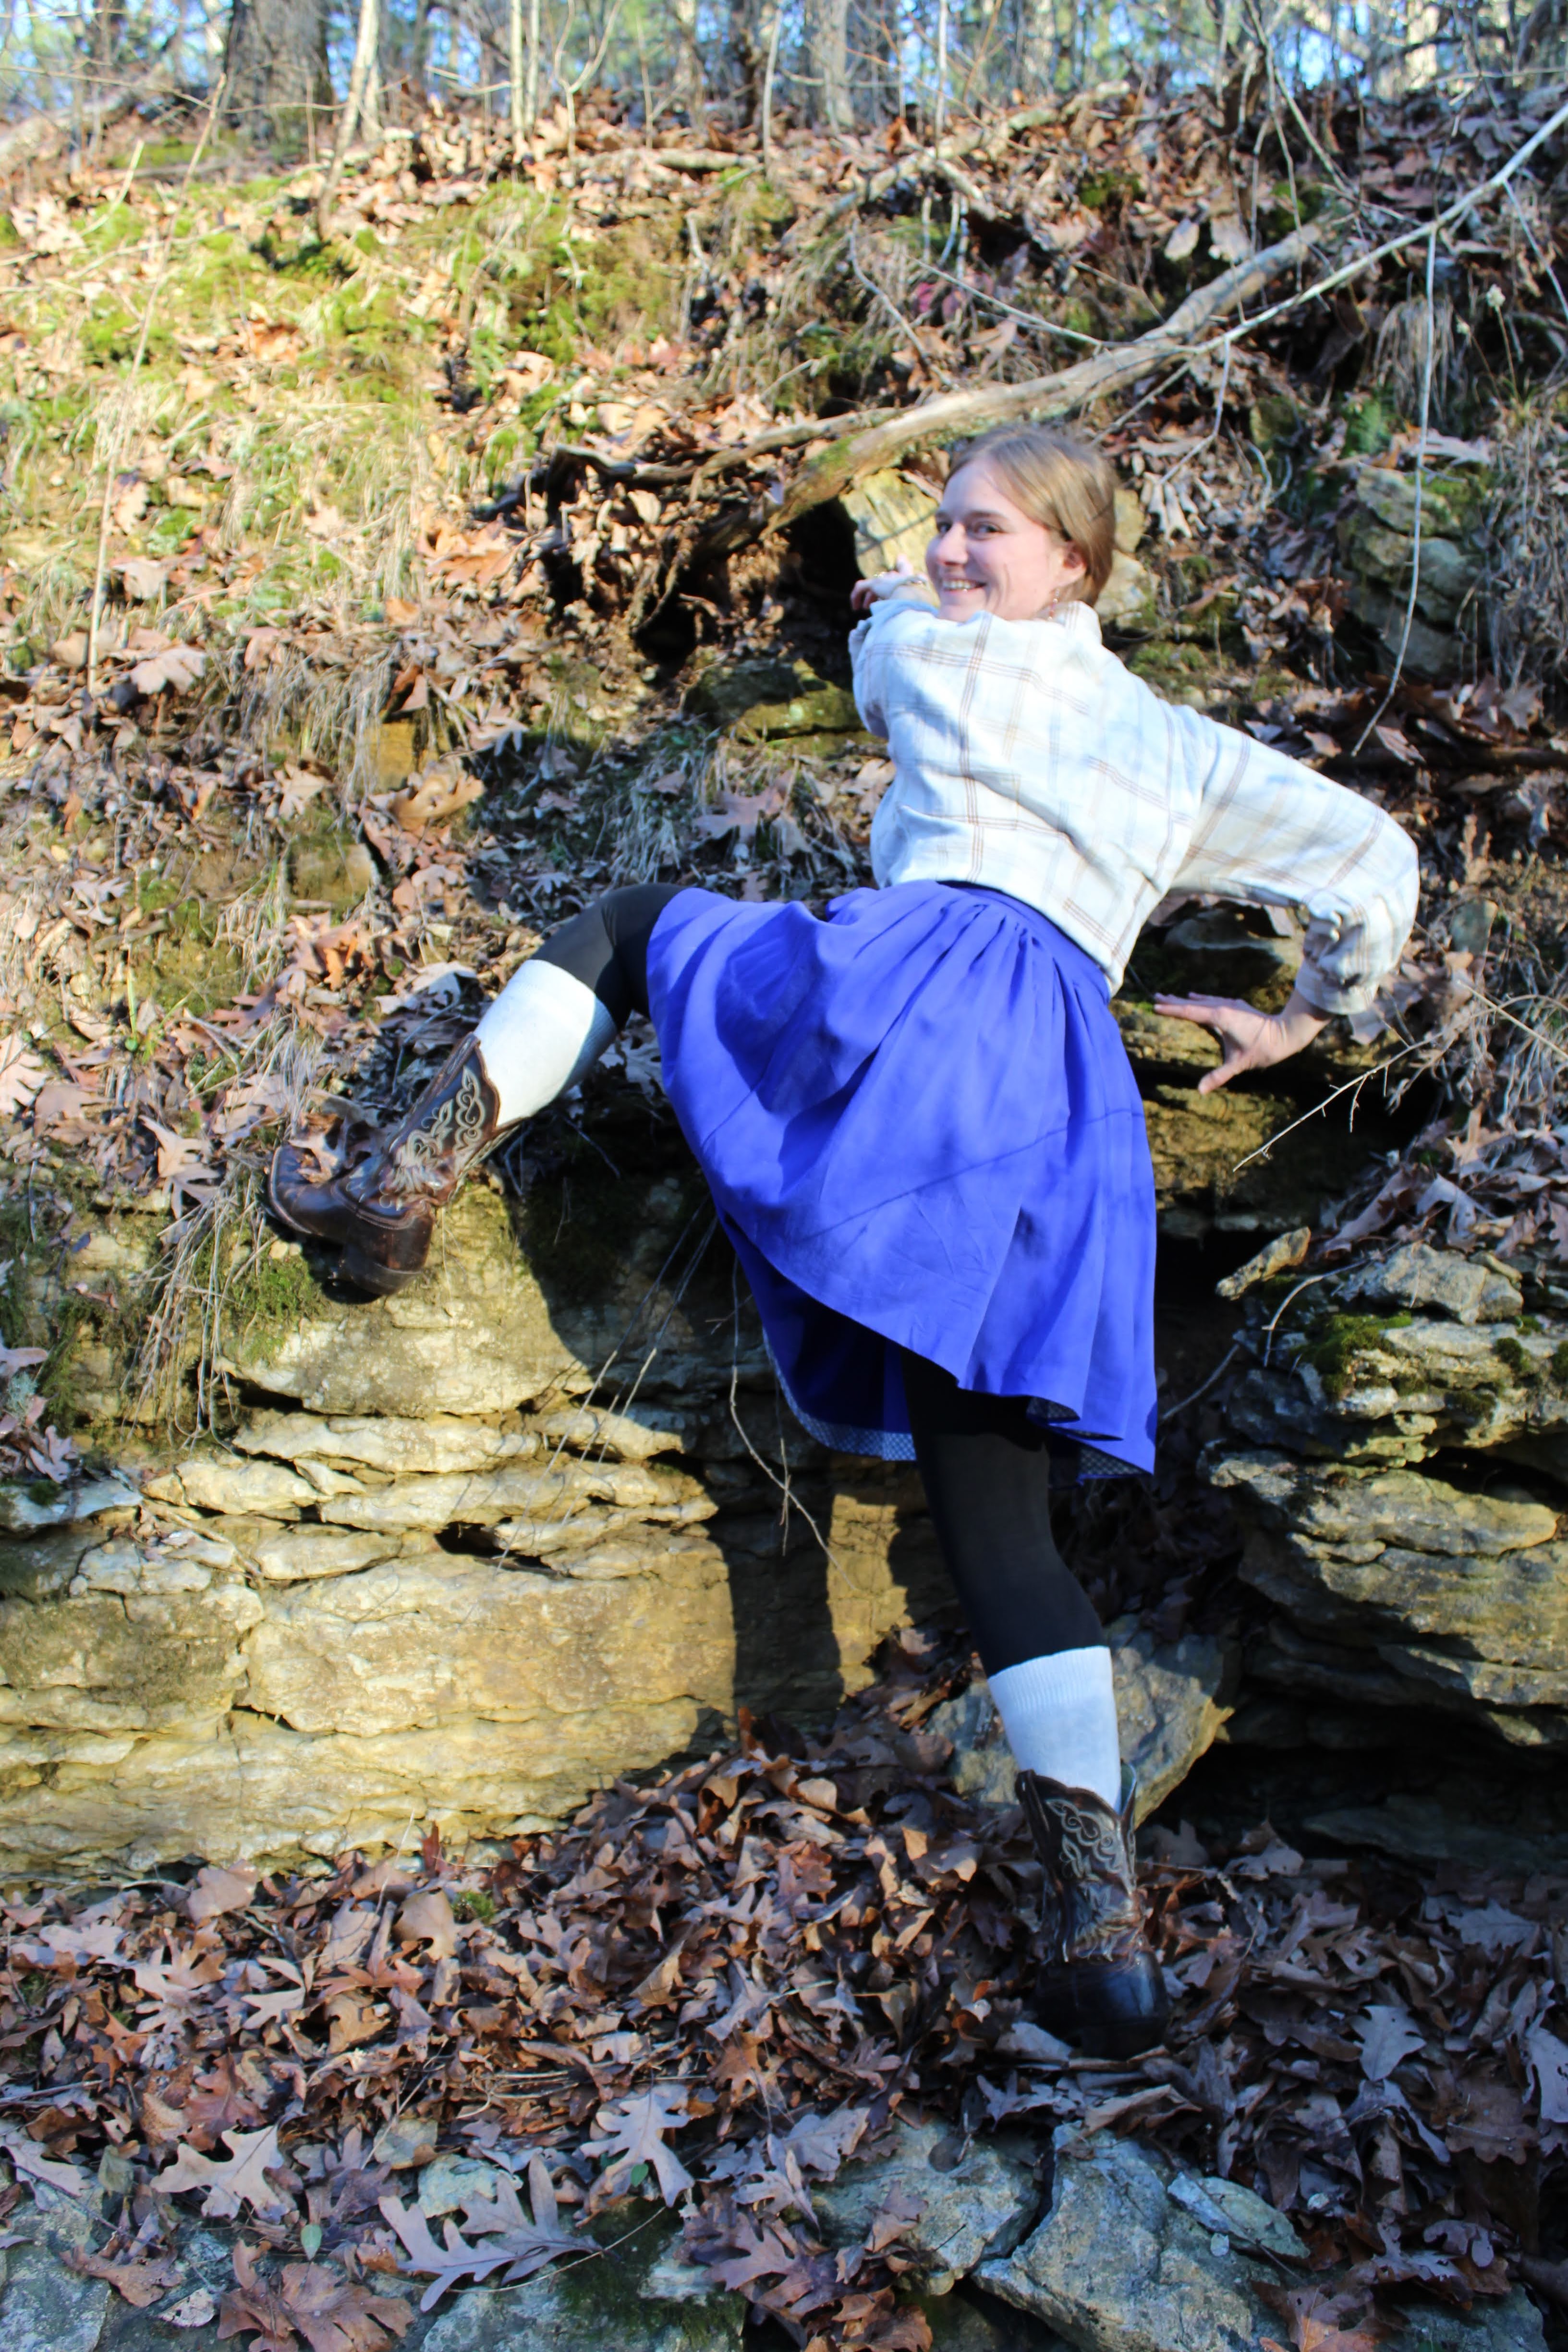
Simplicity 8161 - the first American Duchess pattern Simplicity released several years ago. I had plans to alter it a bit to make it appear a little more historically accurate. The fabric was a twin size flat sheet, with chinze looking pattern, which I found at a thrift store who knows how many years ago. 


Now a twin size sheet is not a whole lot of fabric to work with when talking about an 18th century gown, so I seam ripped out most of the hems to get every last inch of that fabric. I cut the bodice pieces out of one long edge of the sheet, and then used the full length of the sheet, slightly narrowed from cutting out the bodice, and turned on its side, for the skirt. I kept the hem in one long edge of the sheet to use as the skirt hem - because why bother re-doing something that's already there? The other, cut, edge was pleated to attach to the bodice.


The full length of the skirt pleated up quite nicely and made an adequately full skirt for a 1780's look.  


This dress is an "Italian Gown", meaning the bodice and skirt are cut entirely separately, rather than the back of the bodice being pleated and those pleats going into the skirt the way the "English gown" and "French gown" (Robe a la Francaise) are made. 


This style of gown became popular in the late 1770's, and was pretty much the most common style in the 1780's. Around the same time, gowns started fastening down the center front, rather than having a stomacher that was pinned in place, the way earlier styles did.


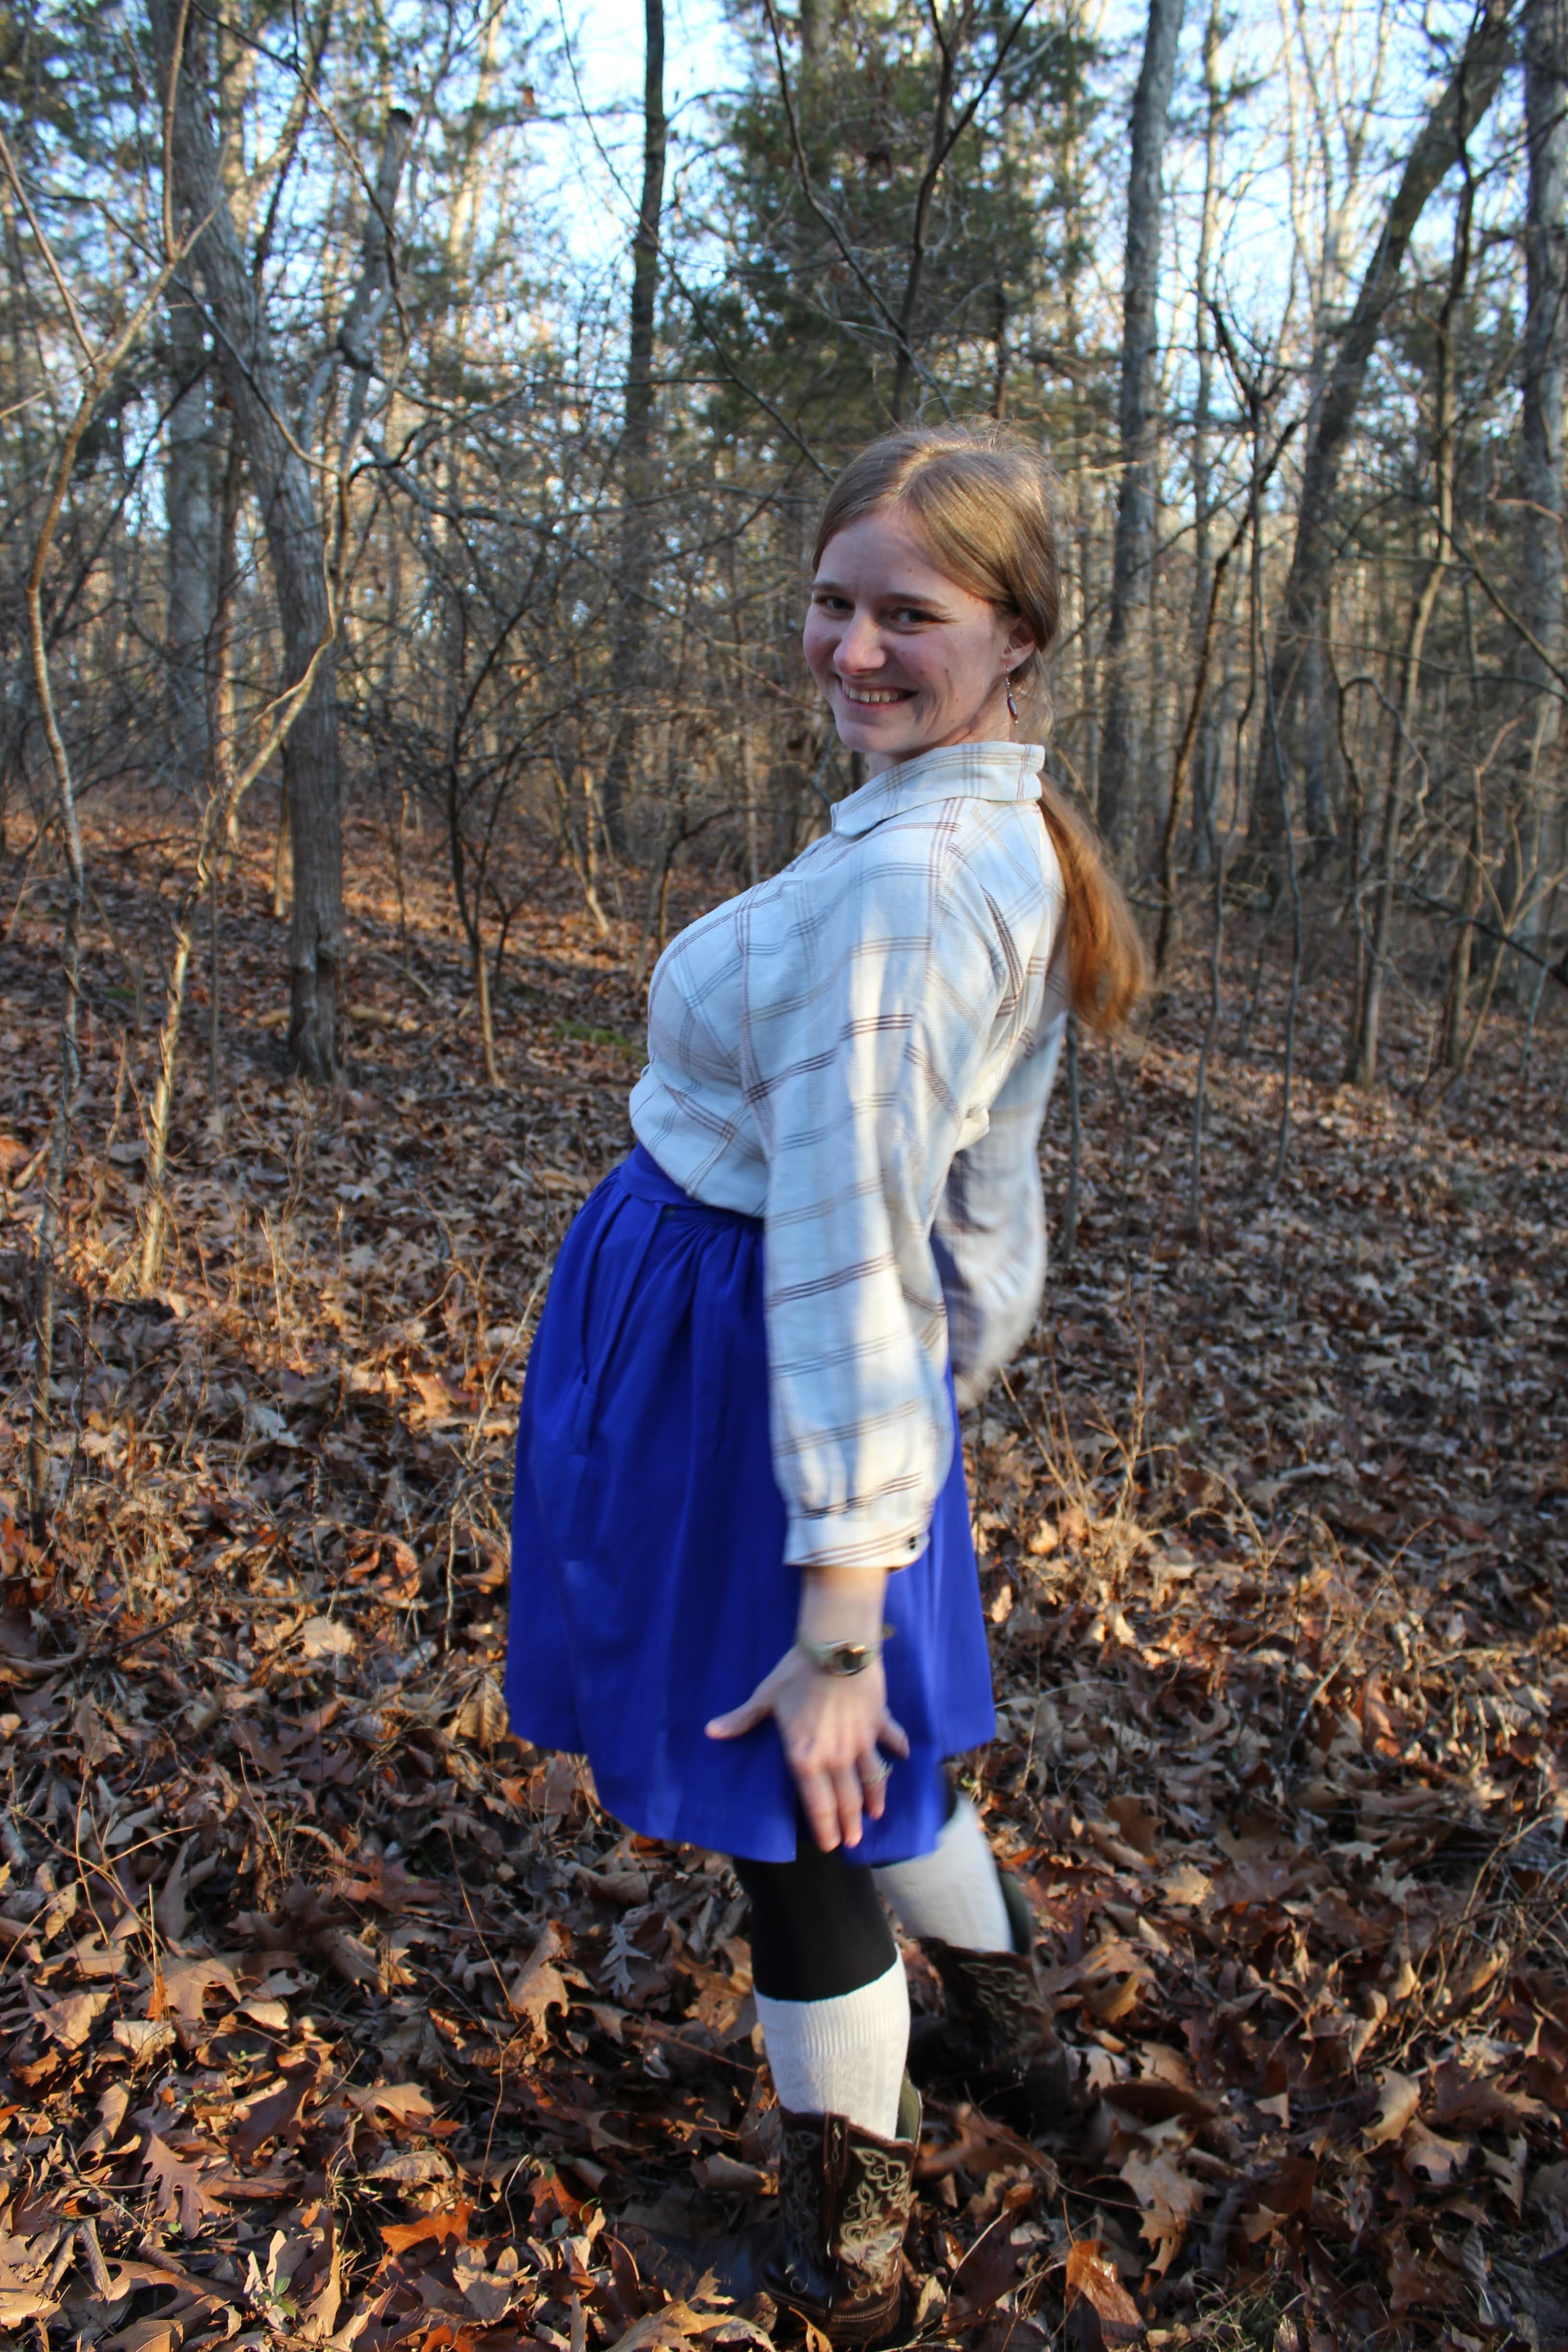
To make this dress appear a little more accurate, I decided to cut the bodice front on the bias, the way most extant gowns from the era were cut, and make it center front fastening. As this was a birthday gift, I couldn't fit the dress on my sister while I was making it, so I just had to guestimate how much needed to be added to the center front of the bodice to eliminate the need for a stomacher. 


I over estimated a bit, but that was ok. Online I found several examples of Italian gowns where the center front opening wasn't exactly center front, so the extra bit of overlap is fine. Gowns of this era could be closed with hidden lacing, pins, or hooks and eyes. All of these seemed a bit too finicky for my sister's costume, so I opted to do hidden buttons, the same way I did with her "Colonial costume" when she was a child. 


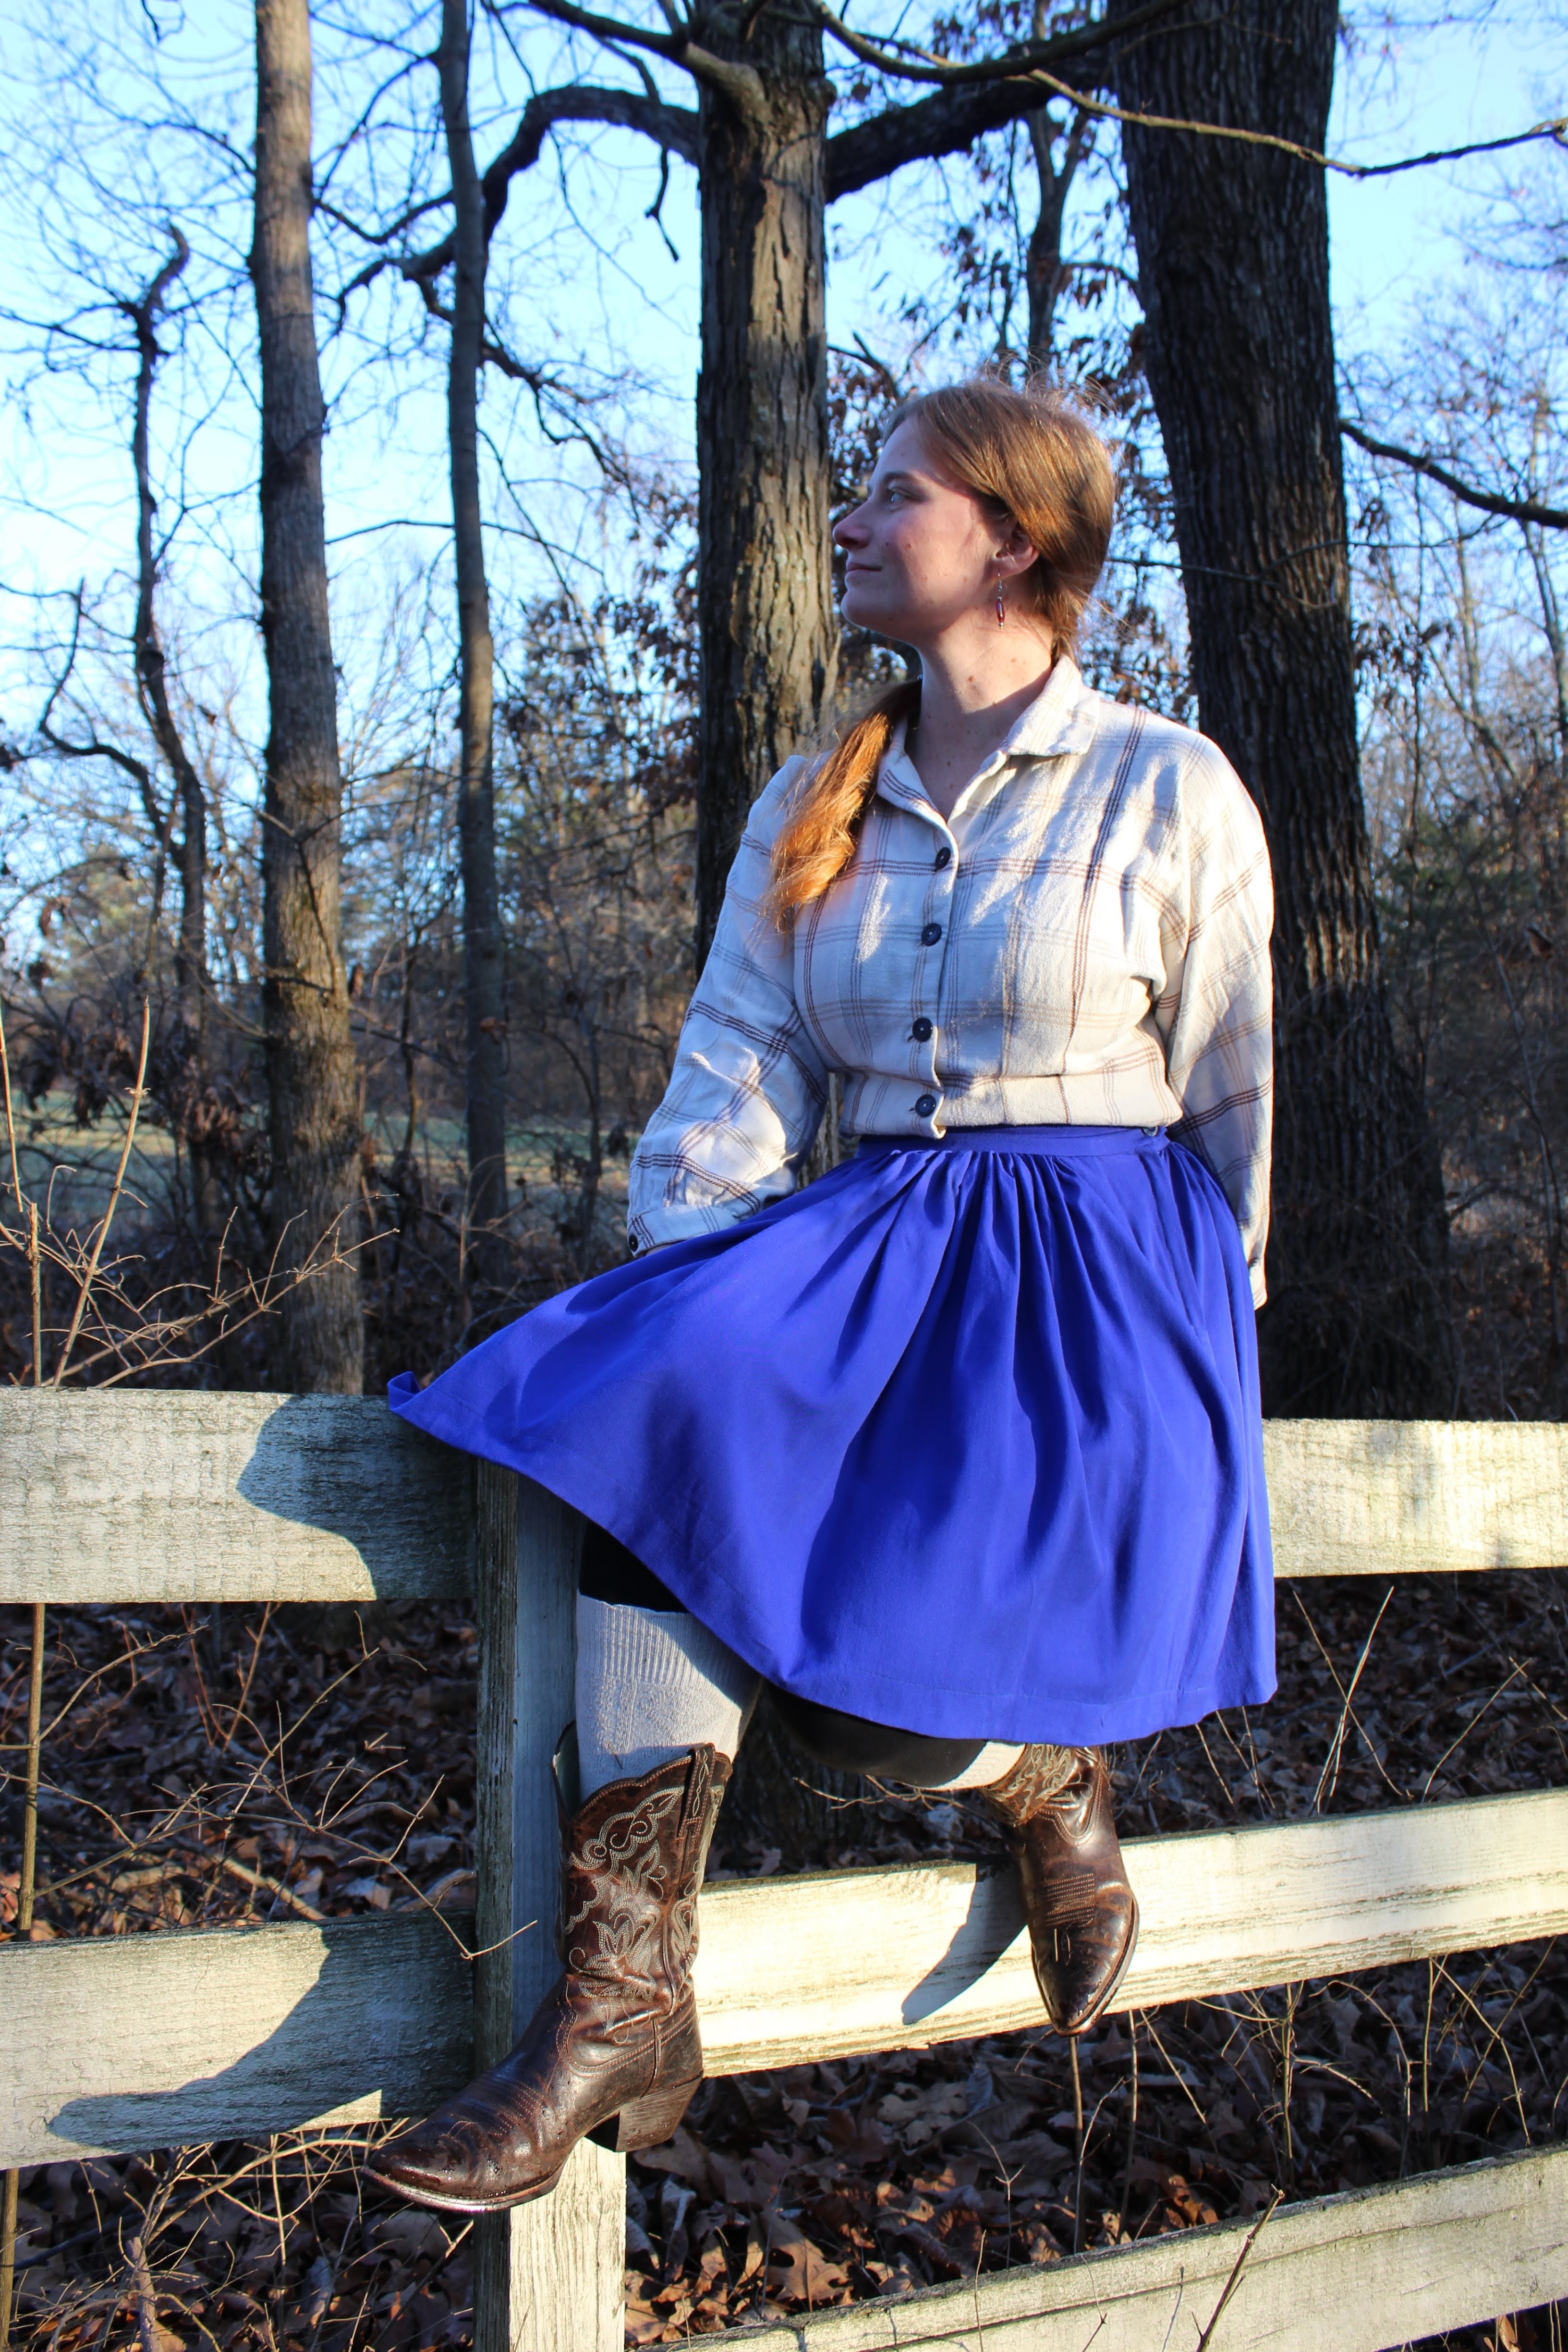
I kept the dress mostly trim-free so it could be accessorized differently depending on the occasion. But. I couldn't help myself. I simply had to add sleeve ruffles because they are one of my absolute favorite things about 18th century gowns. Strictly speaking, cotton eyelet sleeve ruffles sewn directly to the gown are not historically accurate - but for a fun 1780's resembling costume, I couldn't resist. 


I have a ton of cotton eyelet in my stash - and sleeve ruffles give the dress such a nice "finished" look. How could I not??


For the most part the dress is entirely machine sewn, as that's what I allowed myself time for, however I did hand sew the skirt to the bodice. 


 It was just easier that way with the center back pointed seam.


The bodice and sleeves are lined with a pale pink cotton. I picked this up at the City Sewing Room, along with a couple other solid cottons to use for petticoats. The gown is made as an open robe, meaning the skirt is, well, open down the center front, displaying the petticoat underneath. 


There were so many pretty colors in the gown print to pick from when it came to making the petticoat! I couldn't pick just one, so I gave my sister two different petticoats with the gown. A green one and a red one. In the future I plan to make her a blue petticoat, and maybe a yellow and a rose one. There are so many good options!


When my sister unwrapped the gown at her birthday party, she was extremely excited and ran straight upstairs to try it on.


It's always a good sign when gifts meet with the birthday girl's approval like that!


A couple weeks later she wore her gown with the green petticoat to assist me with a clothing demonstration at my friend's Daughters of the American Revolution (DAR) meeting.


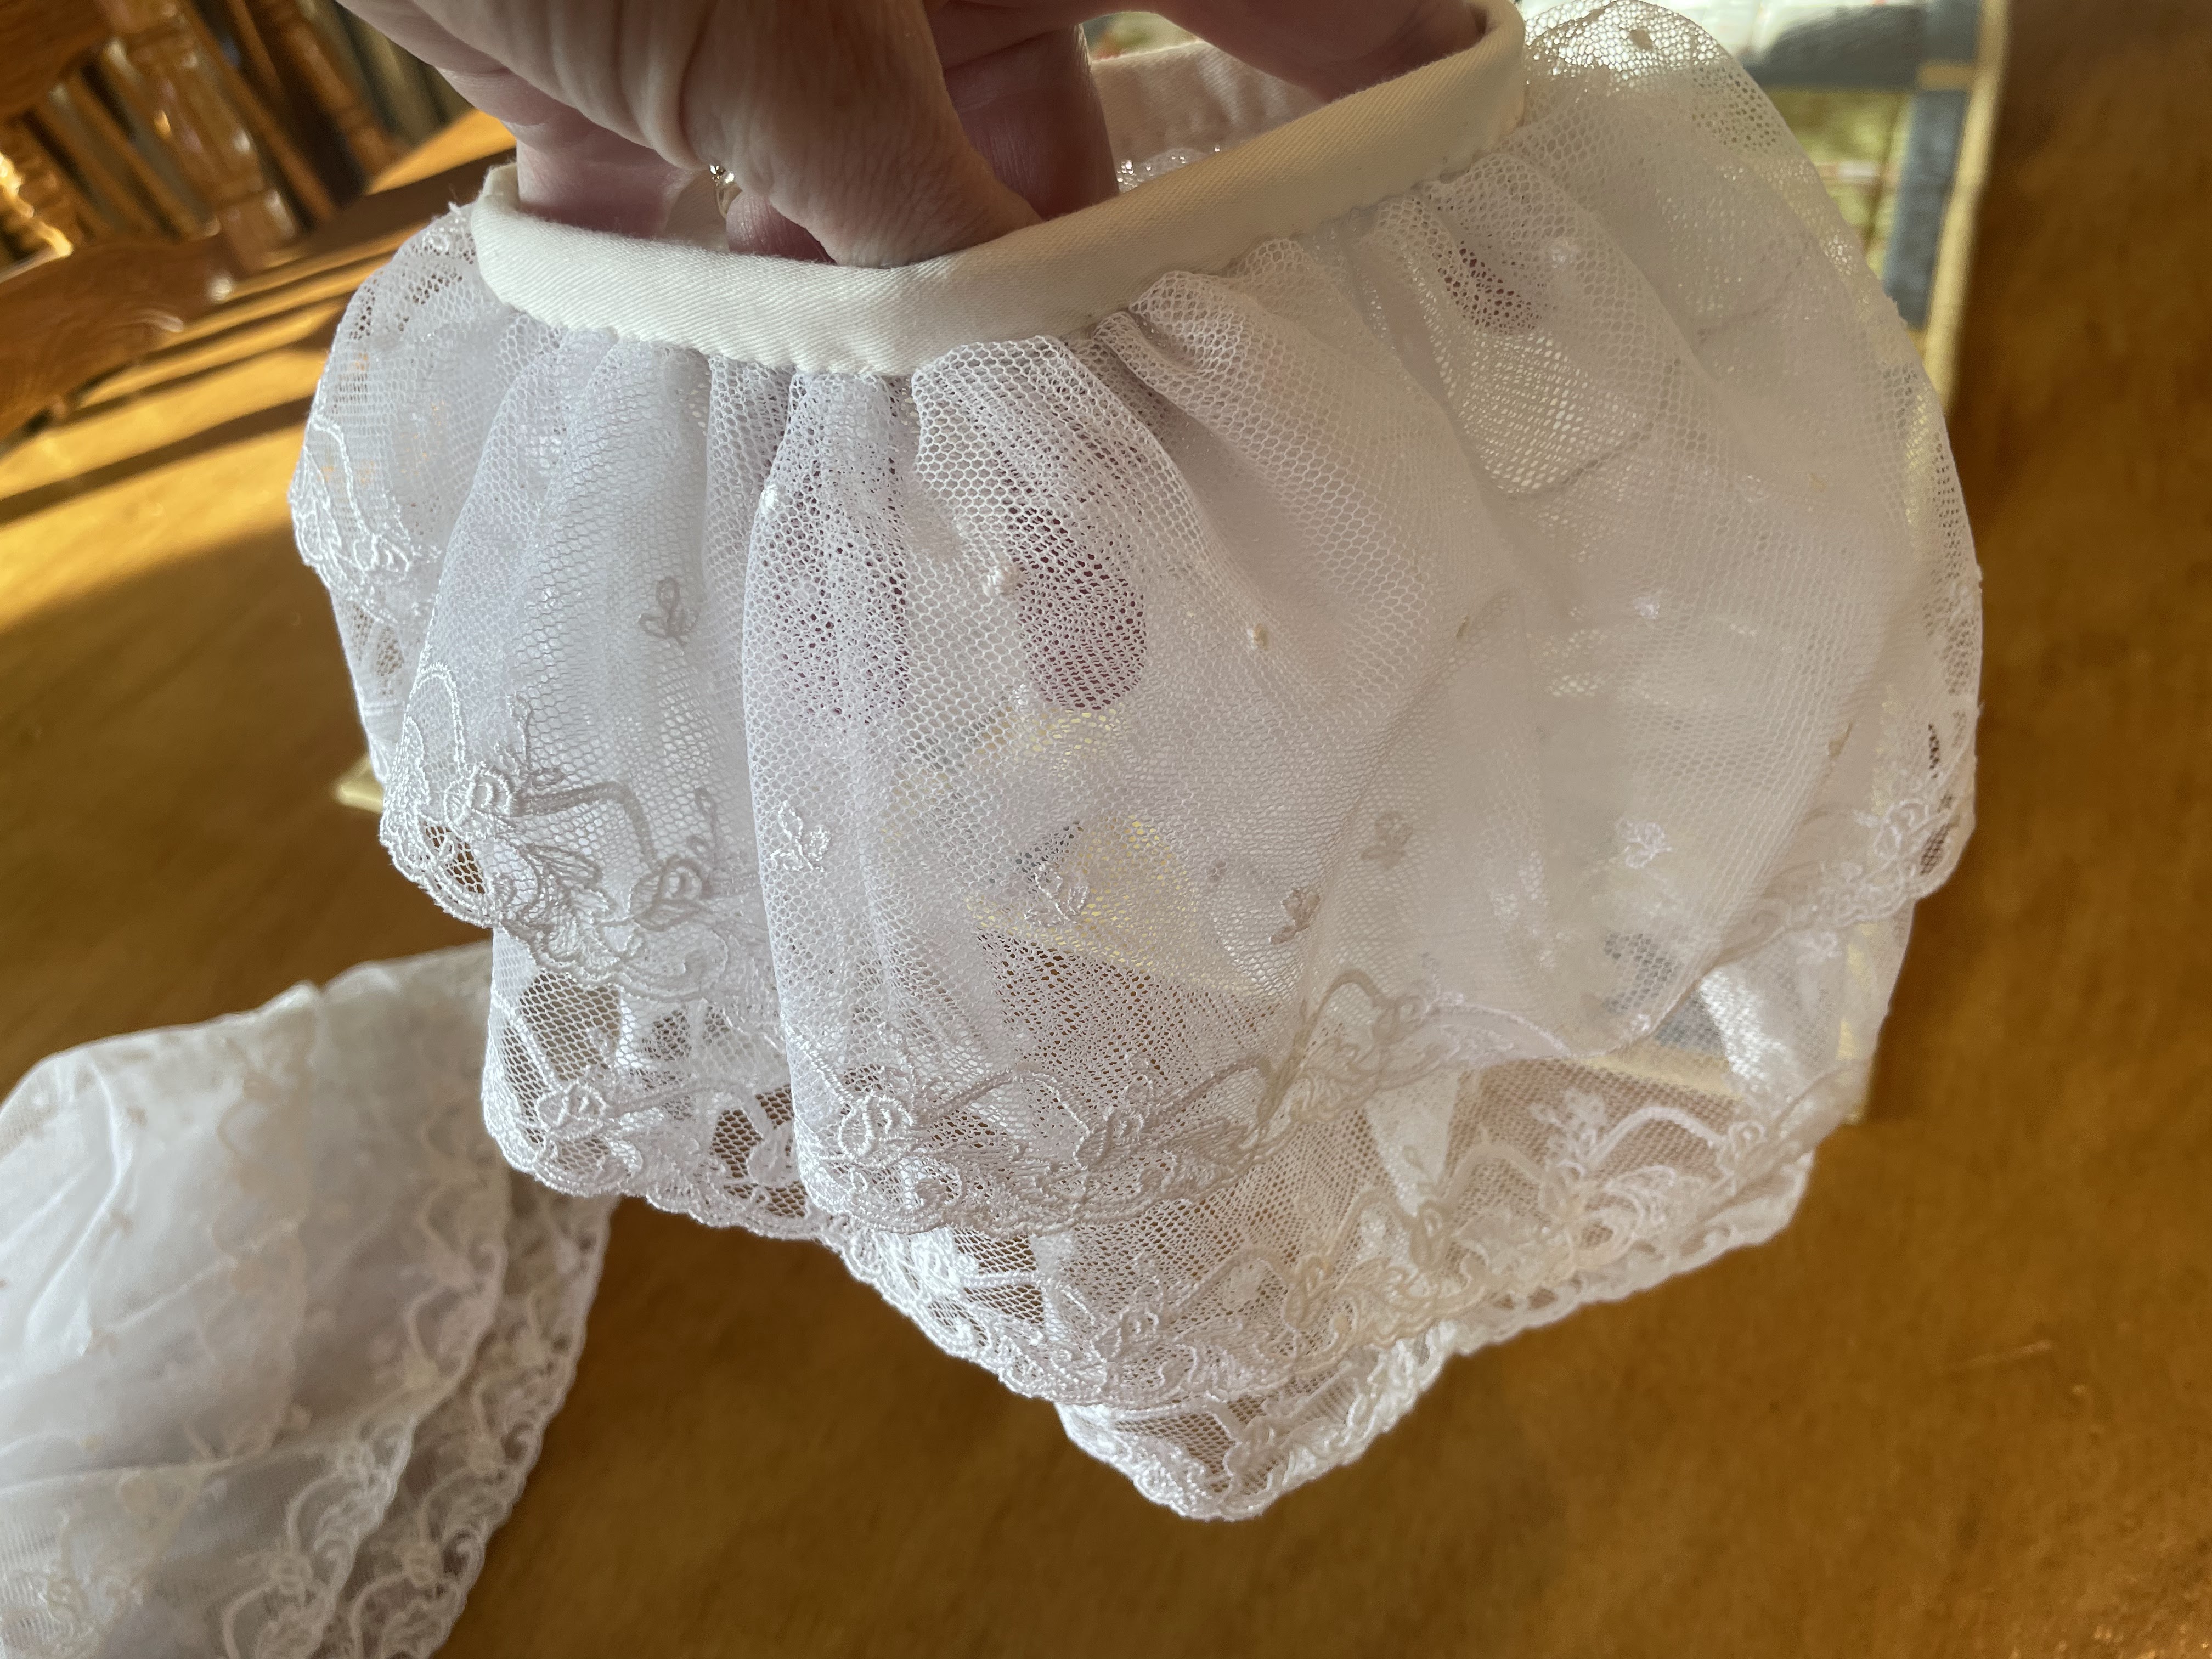
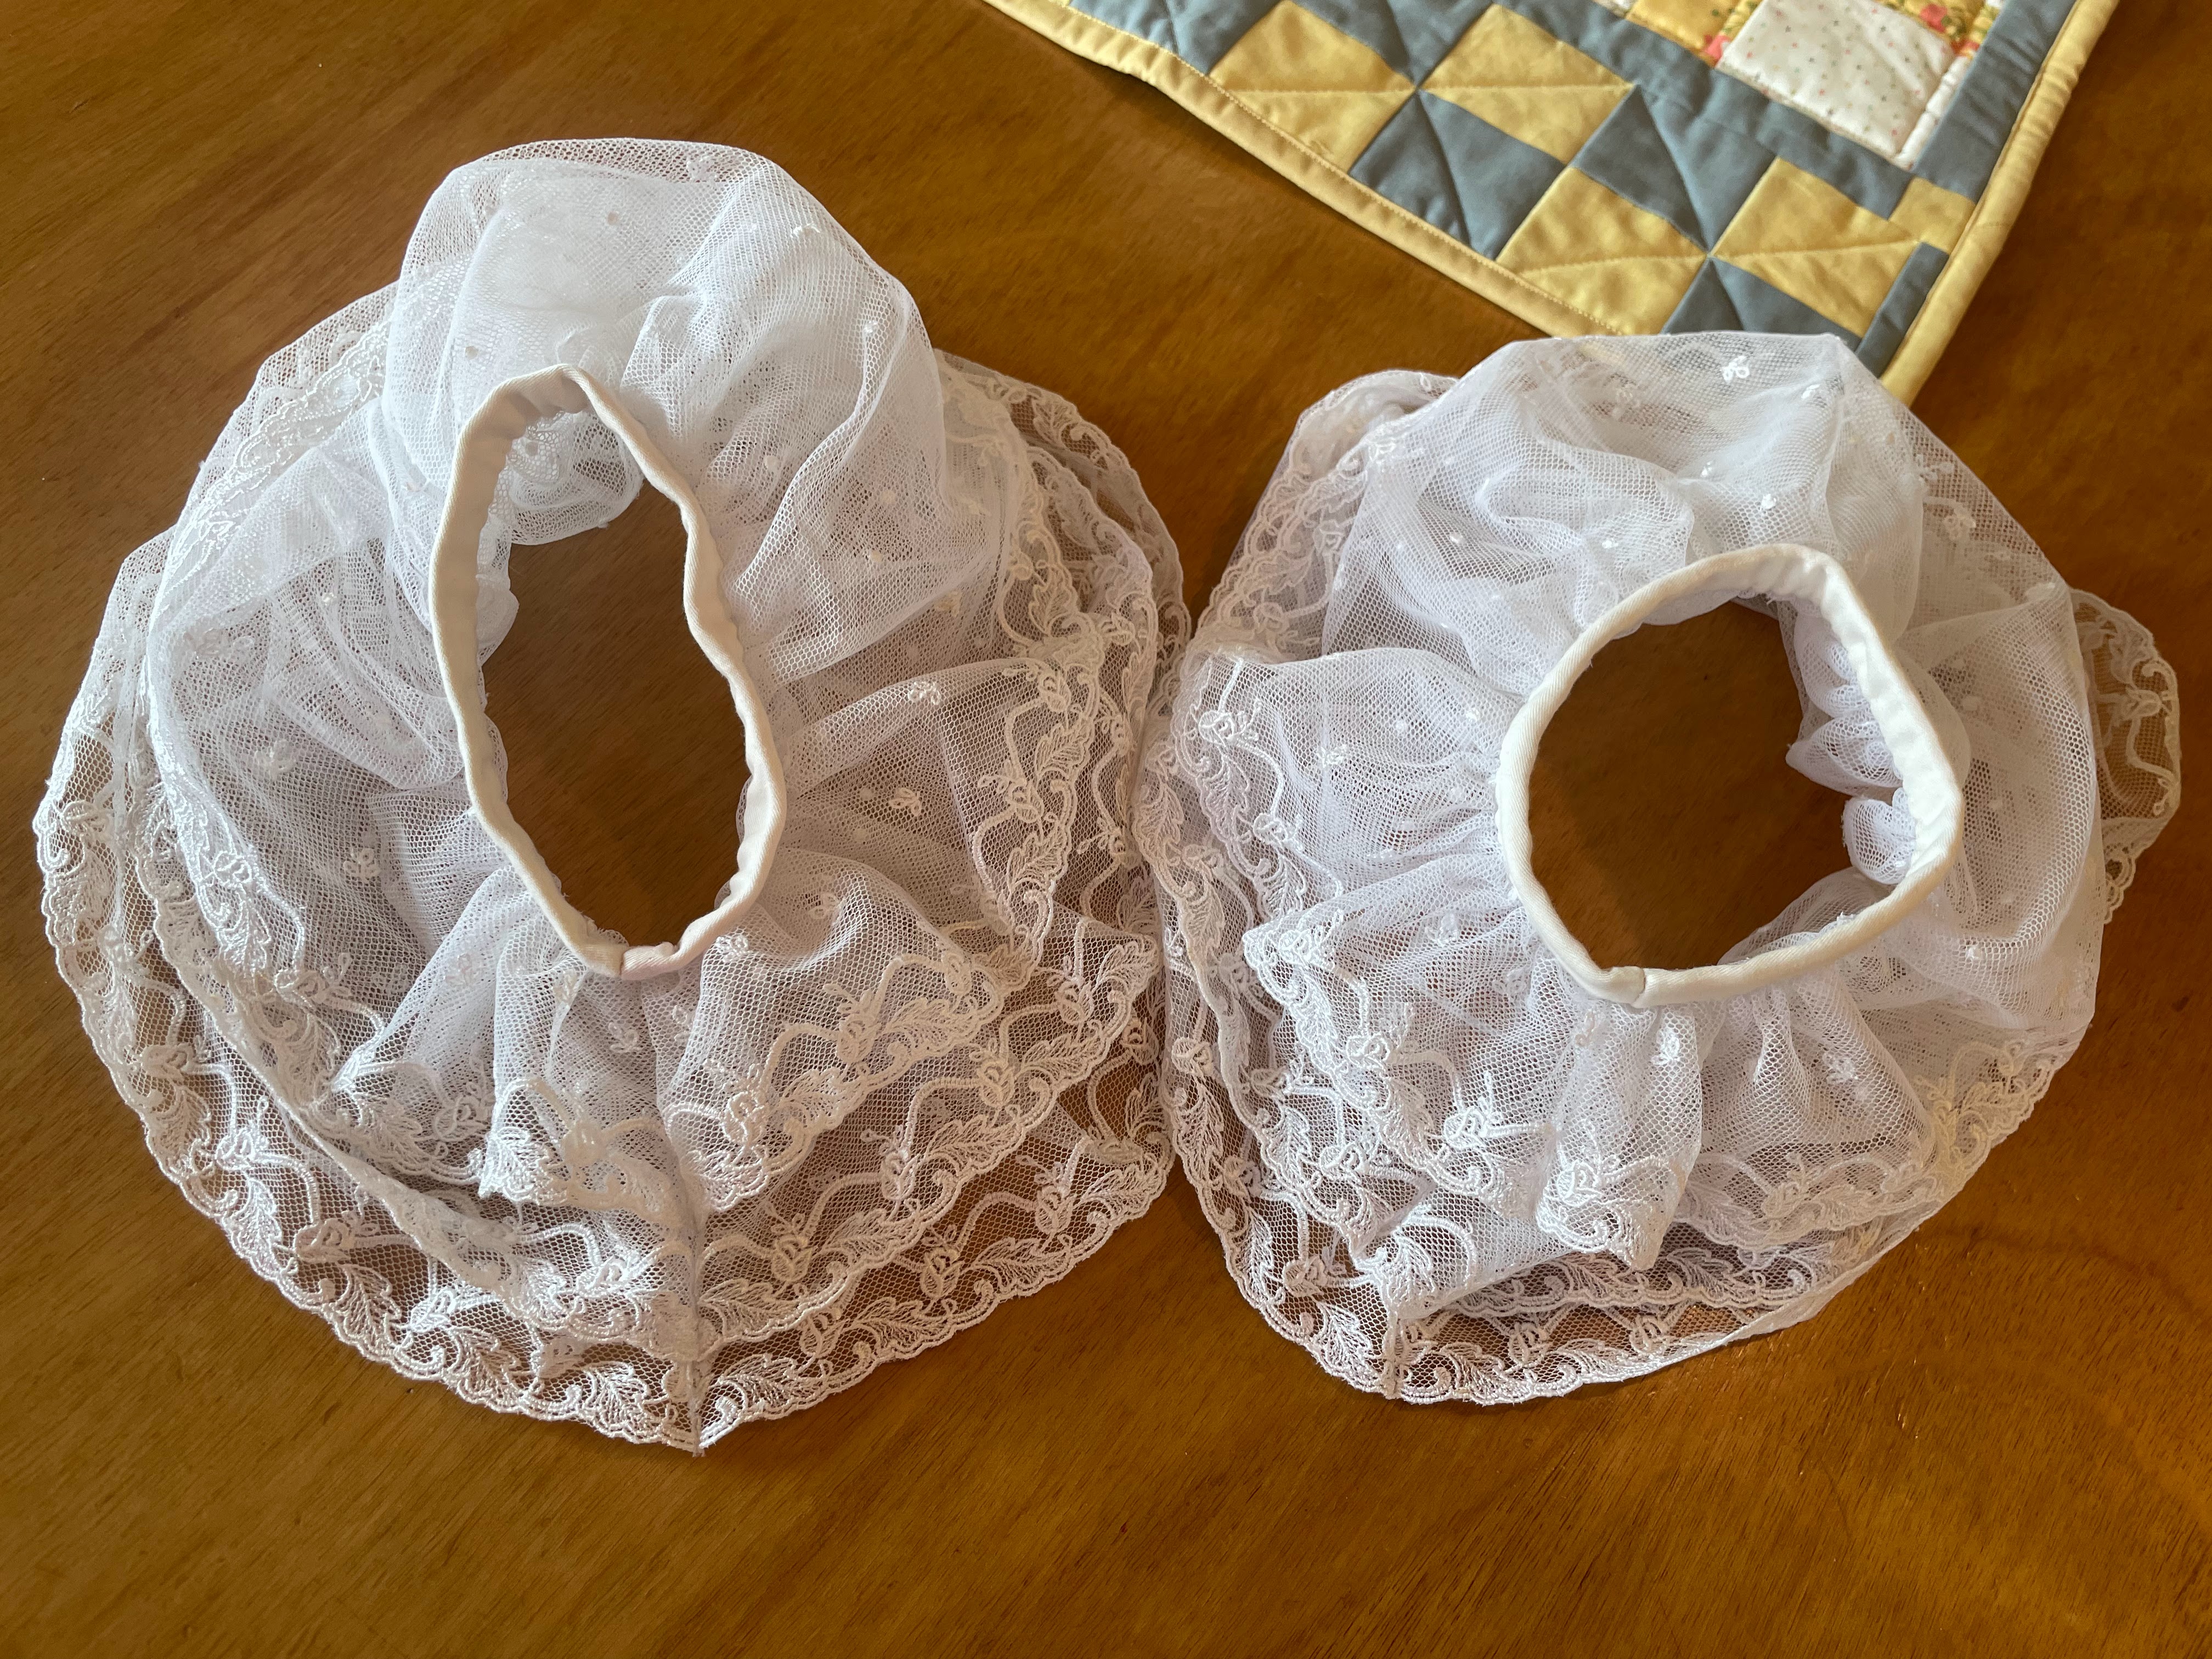
We accessorized the gown with a cap and fichu, made by my mom for the Pride and Prejudice play several years ago - and thankfully still in our costume collection! 


At the demonstration I talked about different dress styles in the 1770's and 1780's while my sister helped me change out of my English gown and into my sack-back gown.


While I changed and talked my spare set of stays, petticoats, bum pads, and other various 18th garments were passed around for the audience to handle and examine. 


Following the demonstration my sister and I walked across the street for coffee - all dressed up!


Both our audience at the DAR meeting and the ladies at the coffee shop across the street enjoyed seeing our dresses!


 And we greatly enjoyed wearing them!


Of course now we have lots of plans for other stuff to make my sister - a pair of stays and sack back gown are top of the list!


Maybe we can get those made within the next couple of years! We already have the patterns and fabric!