Pages

Friday, March 25, 2022

The 1884 Ice Skating Bodice - Hacking an Original Pattern

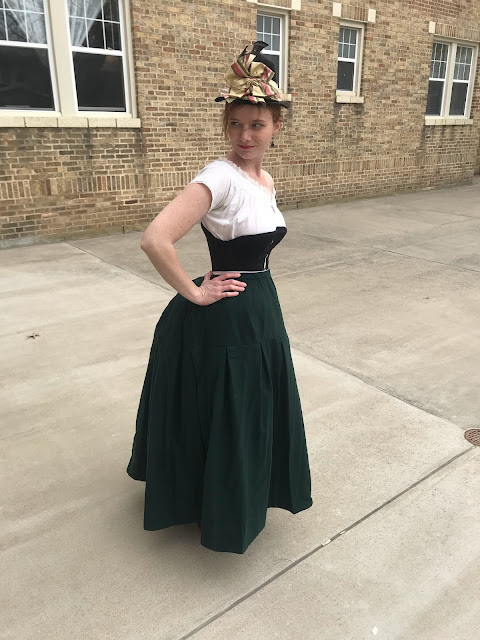
 Once the underskirt for my 1884 ice skating outfit was well on it's way to being completed - pattern fitted, skirt cut out, assembly begun - it was time to tackle the next part of the outfit. Arguably the most visible, most important, and most complicated, part of the ensemble - the bodice. 

Photo credit: @papagena1791

The fashion plate I chose to base my ice skating bustle dress off of was from 1884 and featured a cut-away jacket front with a faux vest attached at the side seams underneath.


For my version of this bodice I decided to start with the "Ladies' Basque" pattern from the 1884 National Garment Cutter, available for free on Archive.org.


Using my apportioning rulers I drafted the pattern in my size and made a mock-up to try on over my 1880's undergarments - corset, bustle, and petticoats. 


The mock-up was a bit too big in the chest above the bust and too long in the back, but those were easy enough issues to fix.


I pinned out the extra length in the back at the waist and the shoulders and trimmed away the extra width at the front.


Then I put the mock-up back on and the fun part began!


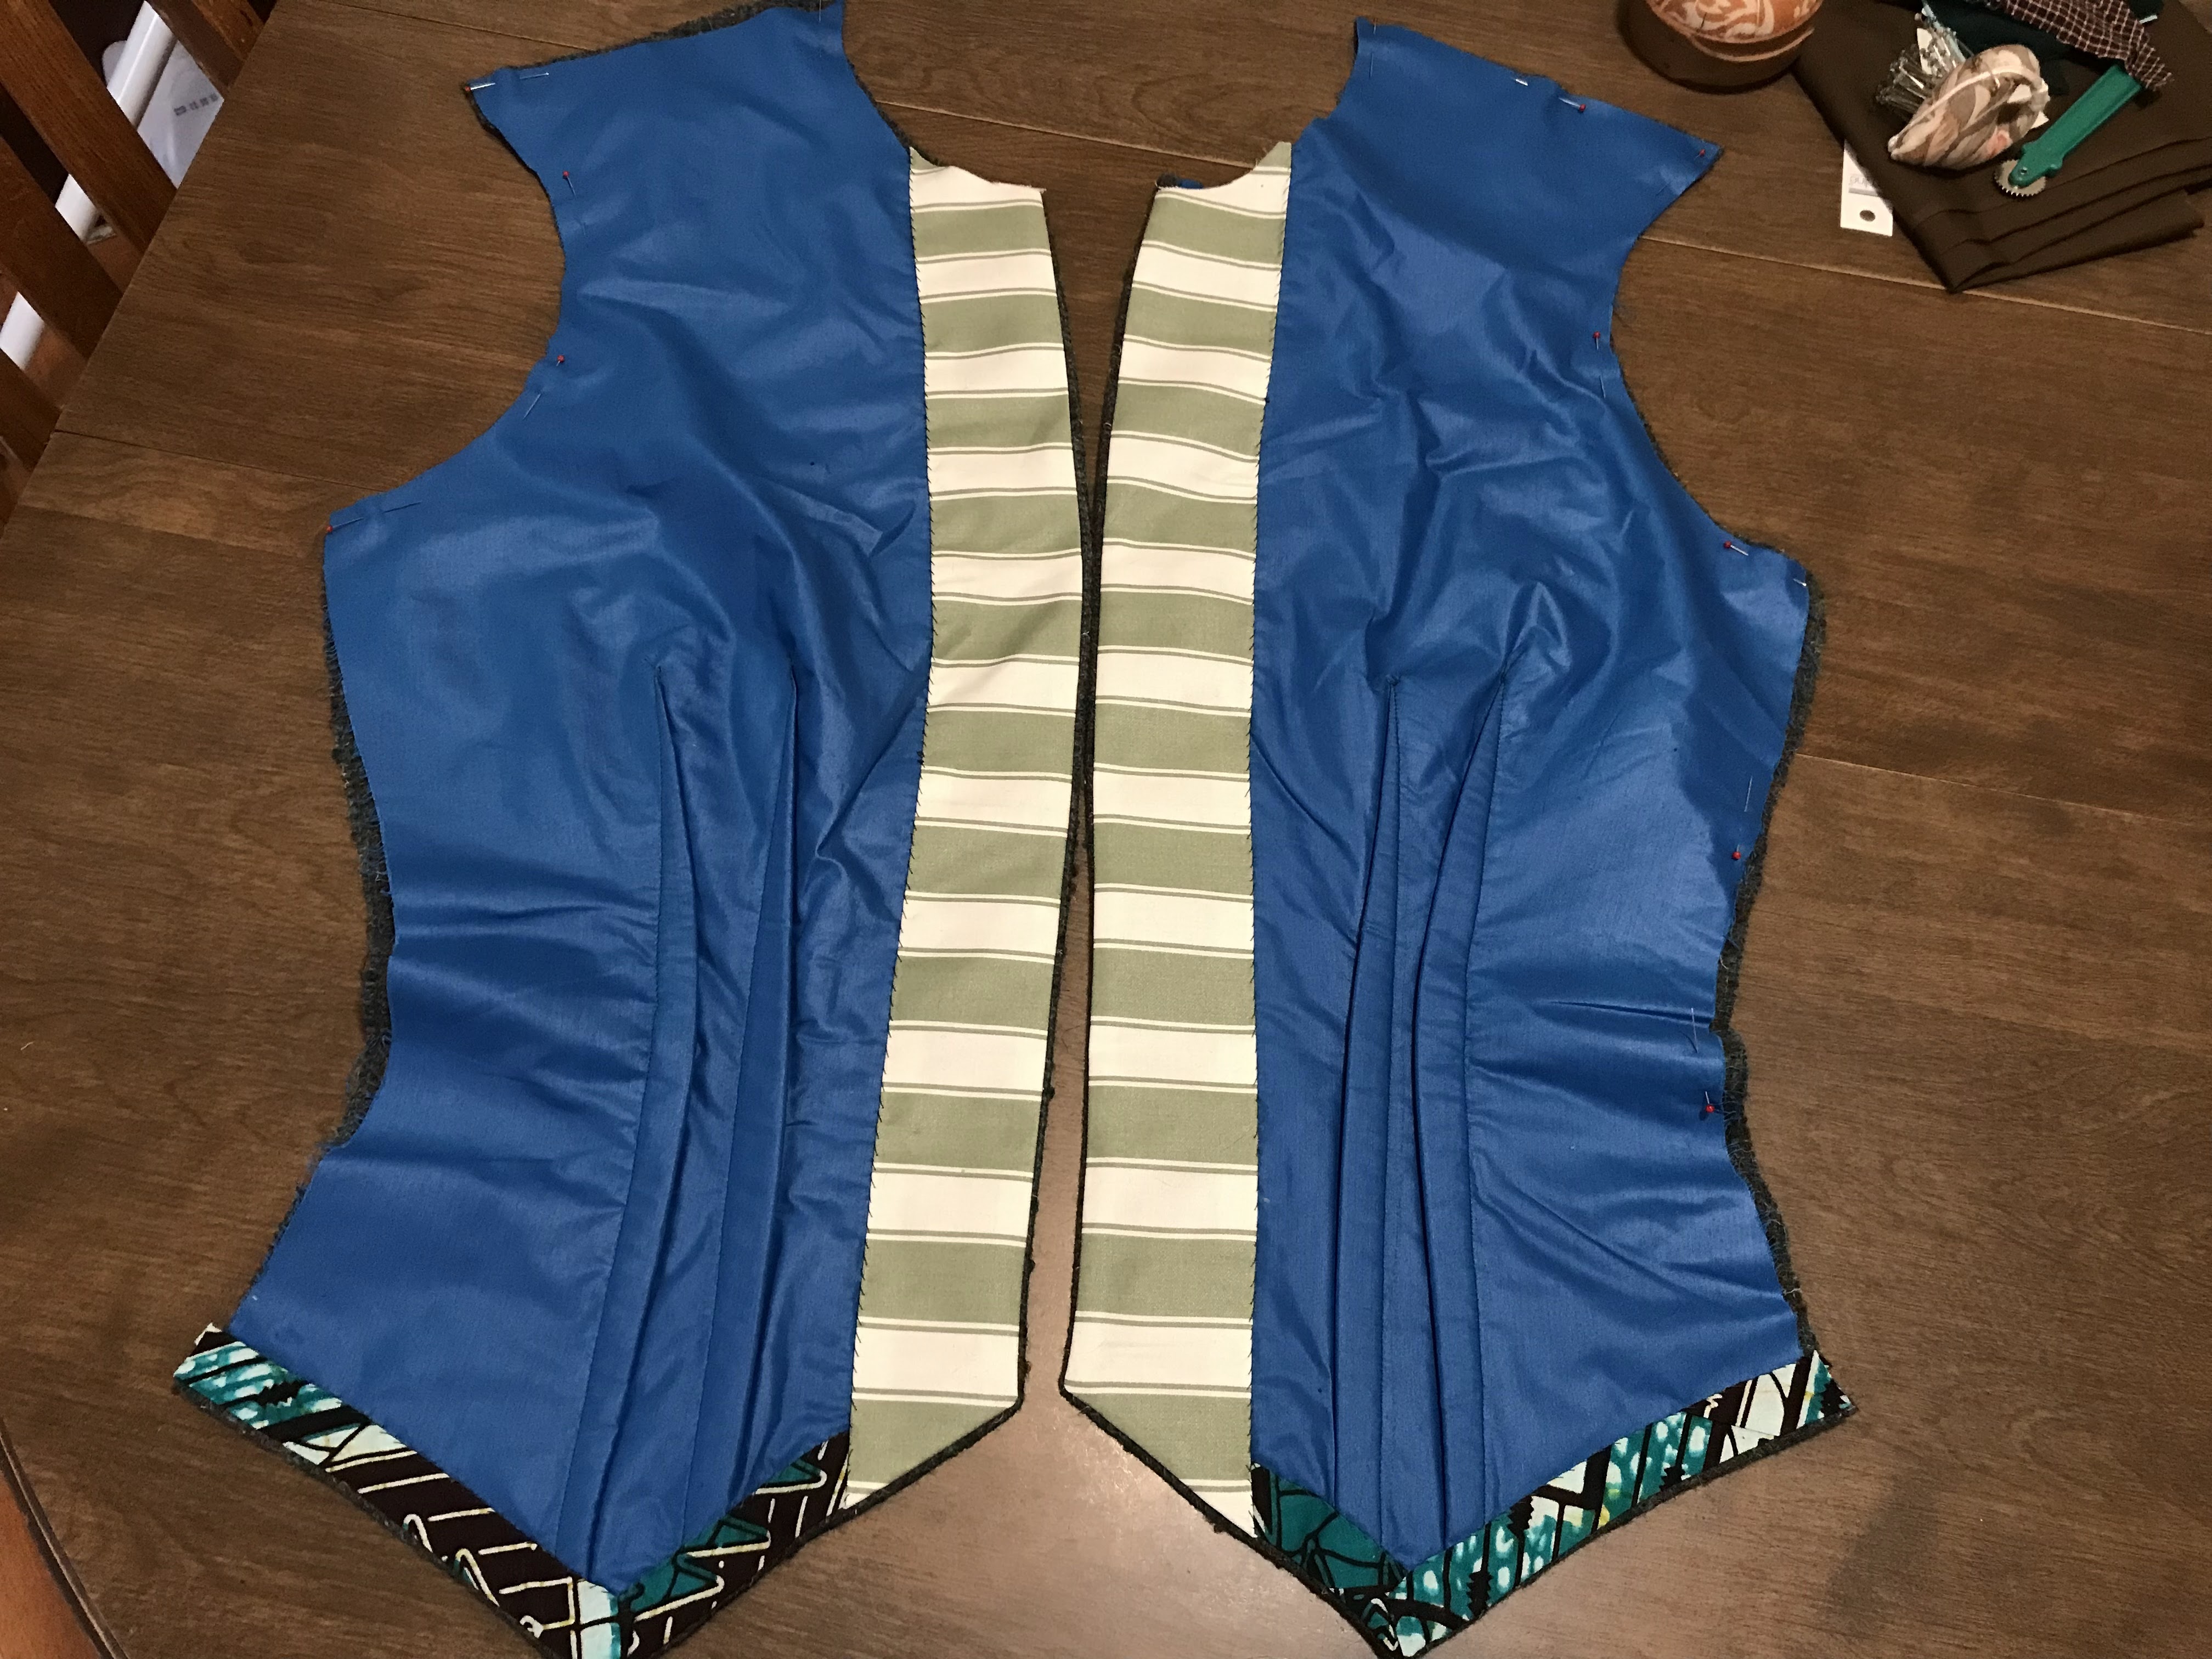
Using a Sharpie, I drew onto my mock-up the shapes I wanted the different layers of my bodice front to have. 


I drew the shape of the "jacket" layer on one side and the shape of the "vest" layer on the other.


I then transferred all my fitting changes to my paper pattern and traced off new front pattern pieces from my adjusted pattern.


I then adjusted these traced off patterns to reflect the new bodice shape I'd drawn onto my mock-up for the jacket and the vest.


That done, I made a second mock-up from the new pattern and tried it on.


The new mock-up fit and looked just how I'd hoped it would! Look at how smooth the back lays!


I added sleeves and the collar to the mock-up.


And discovered a few more fitting alterations were necessary.


I changed the collar to be cut on the bias, rather than the straight grain, lengthened the sleeves, and re-shaped the armscyes. With all that done, it was time to cut this bodice out of the real fabric!


The bodice itself was cut out of two thrifted and disassembled Pendleton wool skirts - both the same color, one size 6 and the other size 16.


I disassembled my final mock-up to use as the bodice flat-lining.


It took some finagling, but I managed to get all the required bodice pieces cut out of the skirts with only a little bit of piecing required on the sleeves. The vest front pieces and the bottom third of the rest of the bodice were cut out of a green and brown wool tweed from my stash.


With all the pieces cut out I assembled the vest and the rest of the bodice separately, finishing all the edges, except the neckline, and leaving the shoulder seams open.


The edges are all finished with leftover bias tape and facings from previous projects.


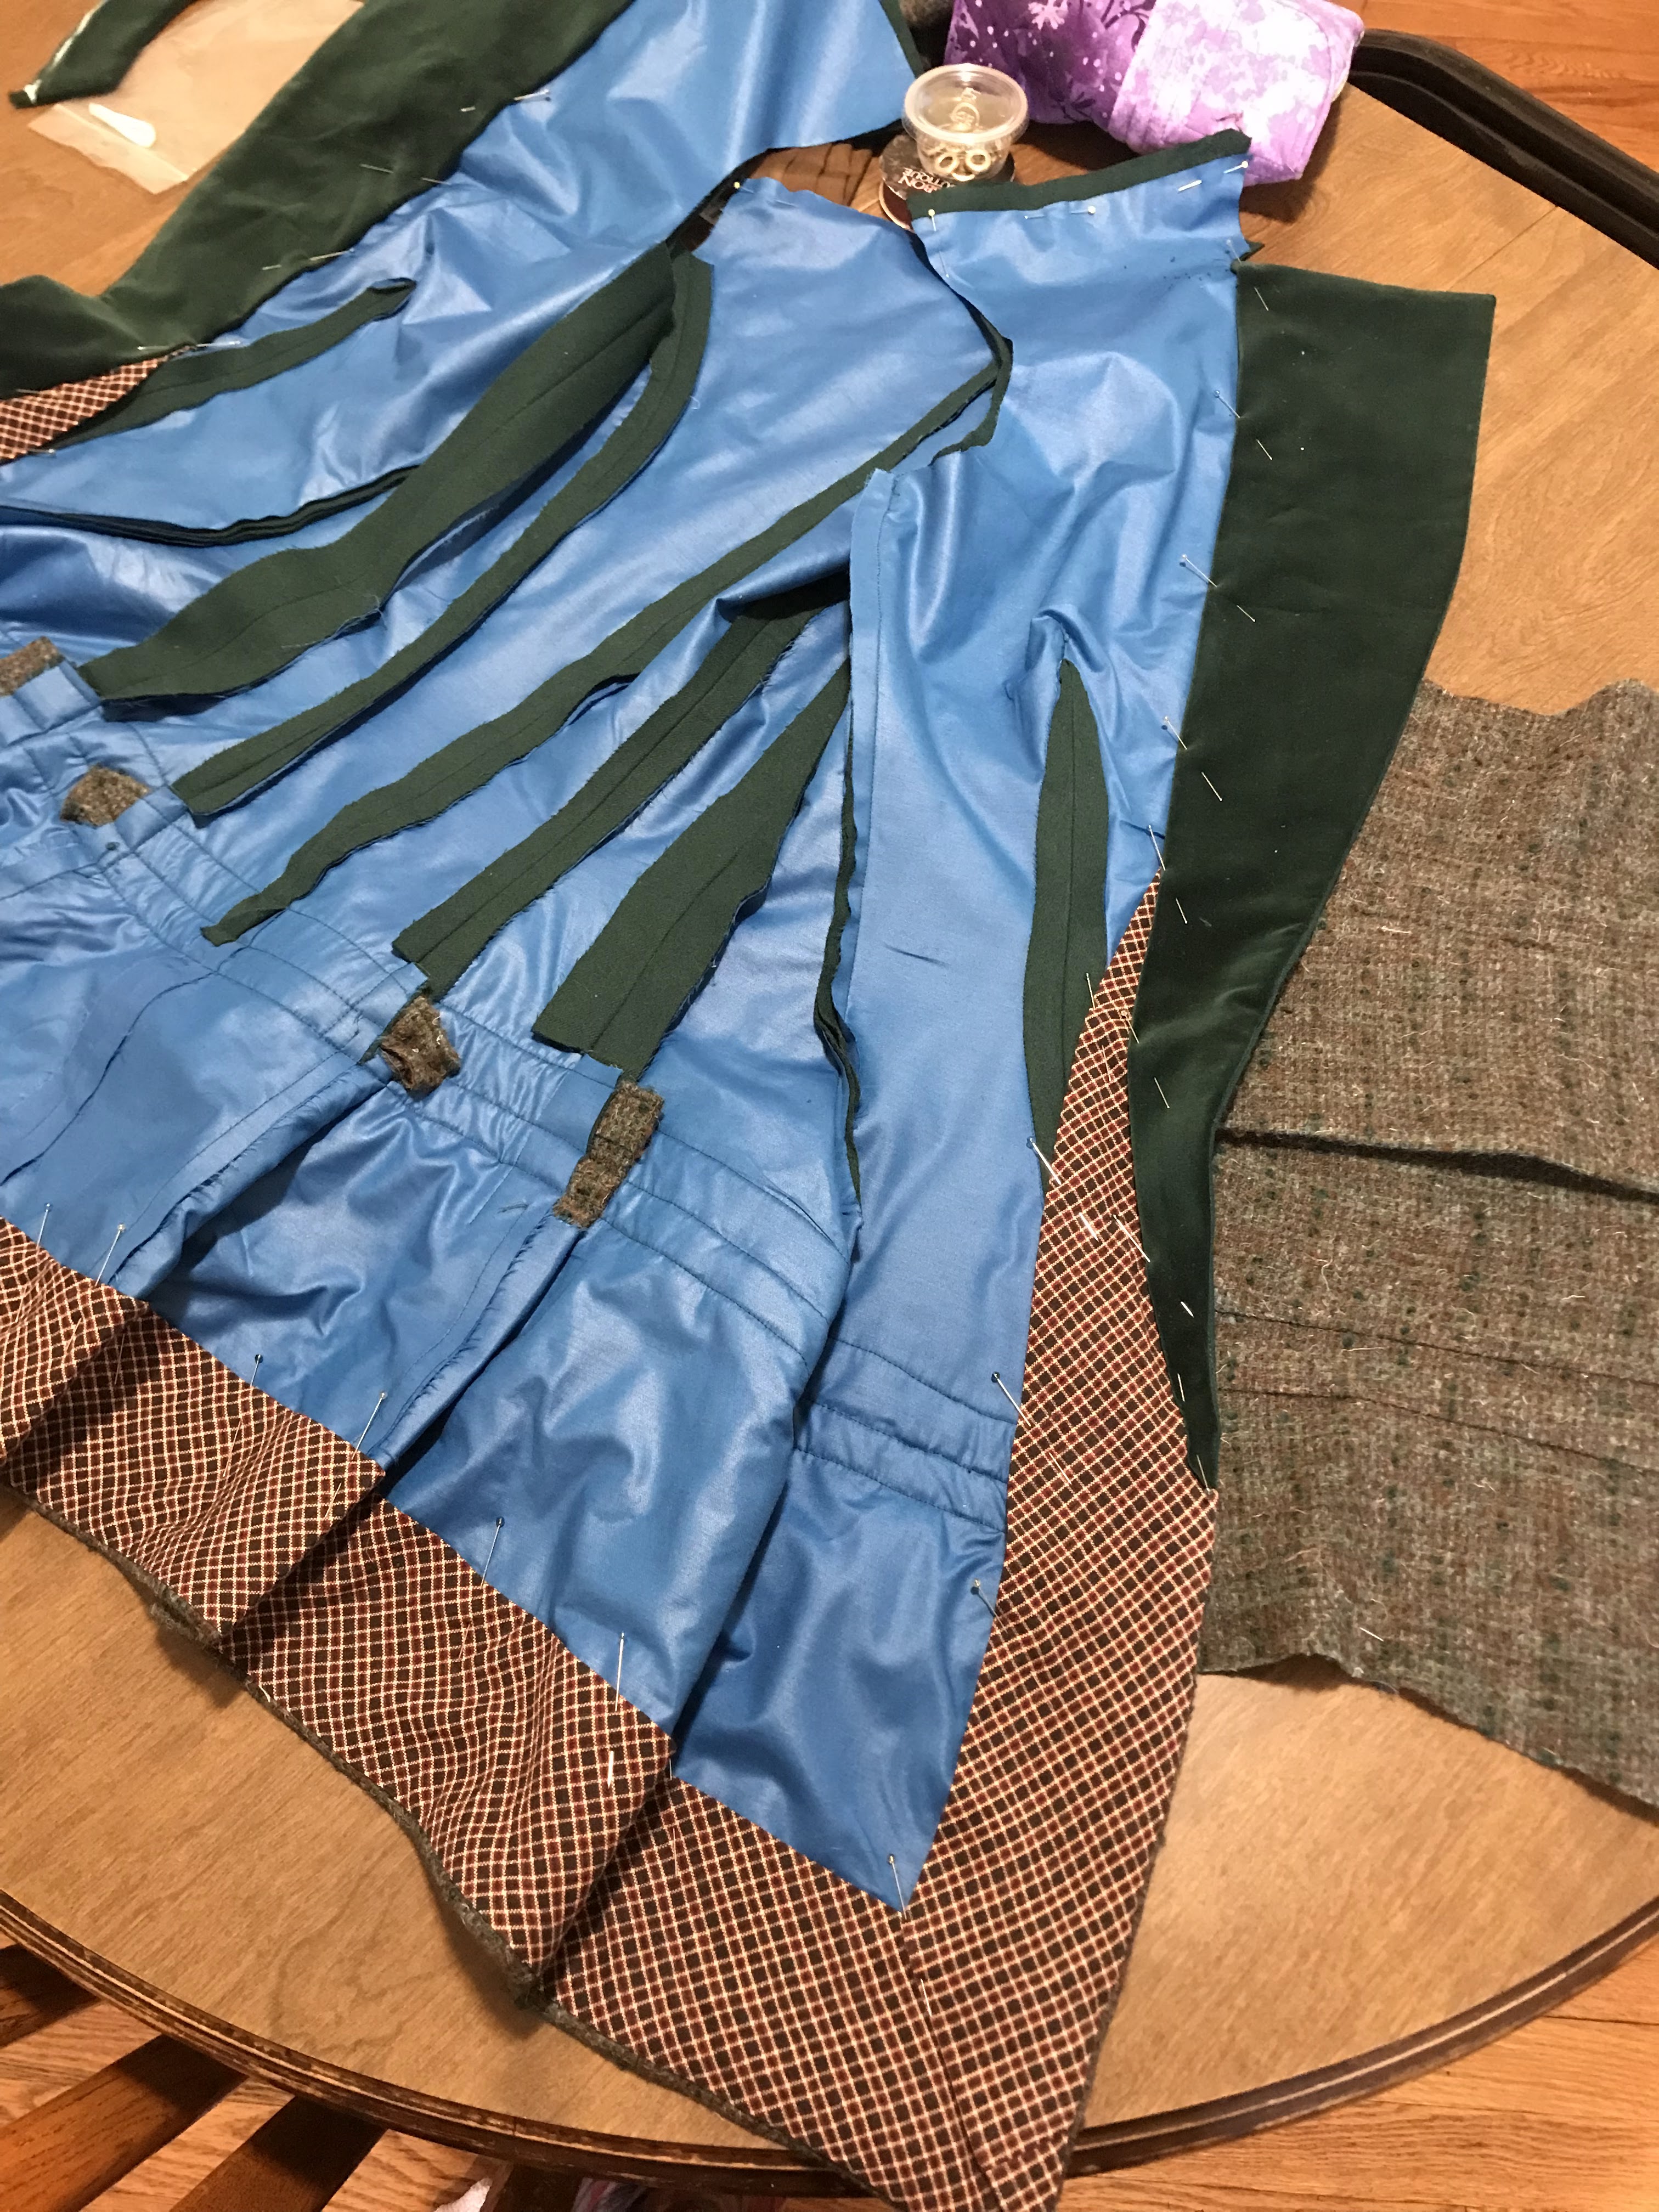
The lapels, collar, and cuffs are all cut from a cotton velveteen I discovered in my stash which just happened to match the color of the wool I was using. Also in my stash, I found some green velvet ribbon of the same shade, so I decided to use some of that to trim the tweed part of the bodice with.


Once all the edges were finished, I sewed the vest fronts into the side seams of the jacket, sewed up the shoulder seams, set the sleeves, and attached the collar.

Photo credit: @papagena1791

I sewed buttonholes (by machine because I was short on time) and buttons down the front of the vest portion of the bodice and a single large hook and eye to hold the cut-away jacket portion closed at bust level and my bodice was done!


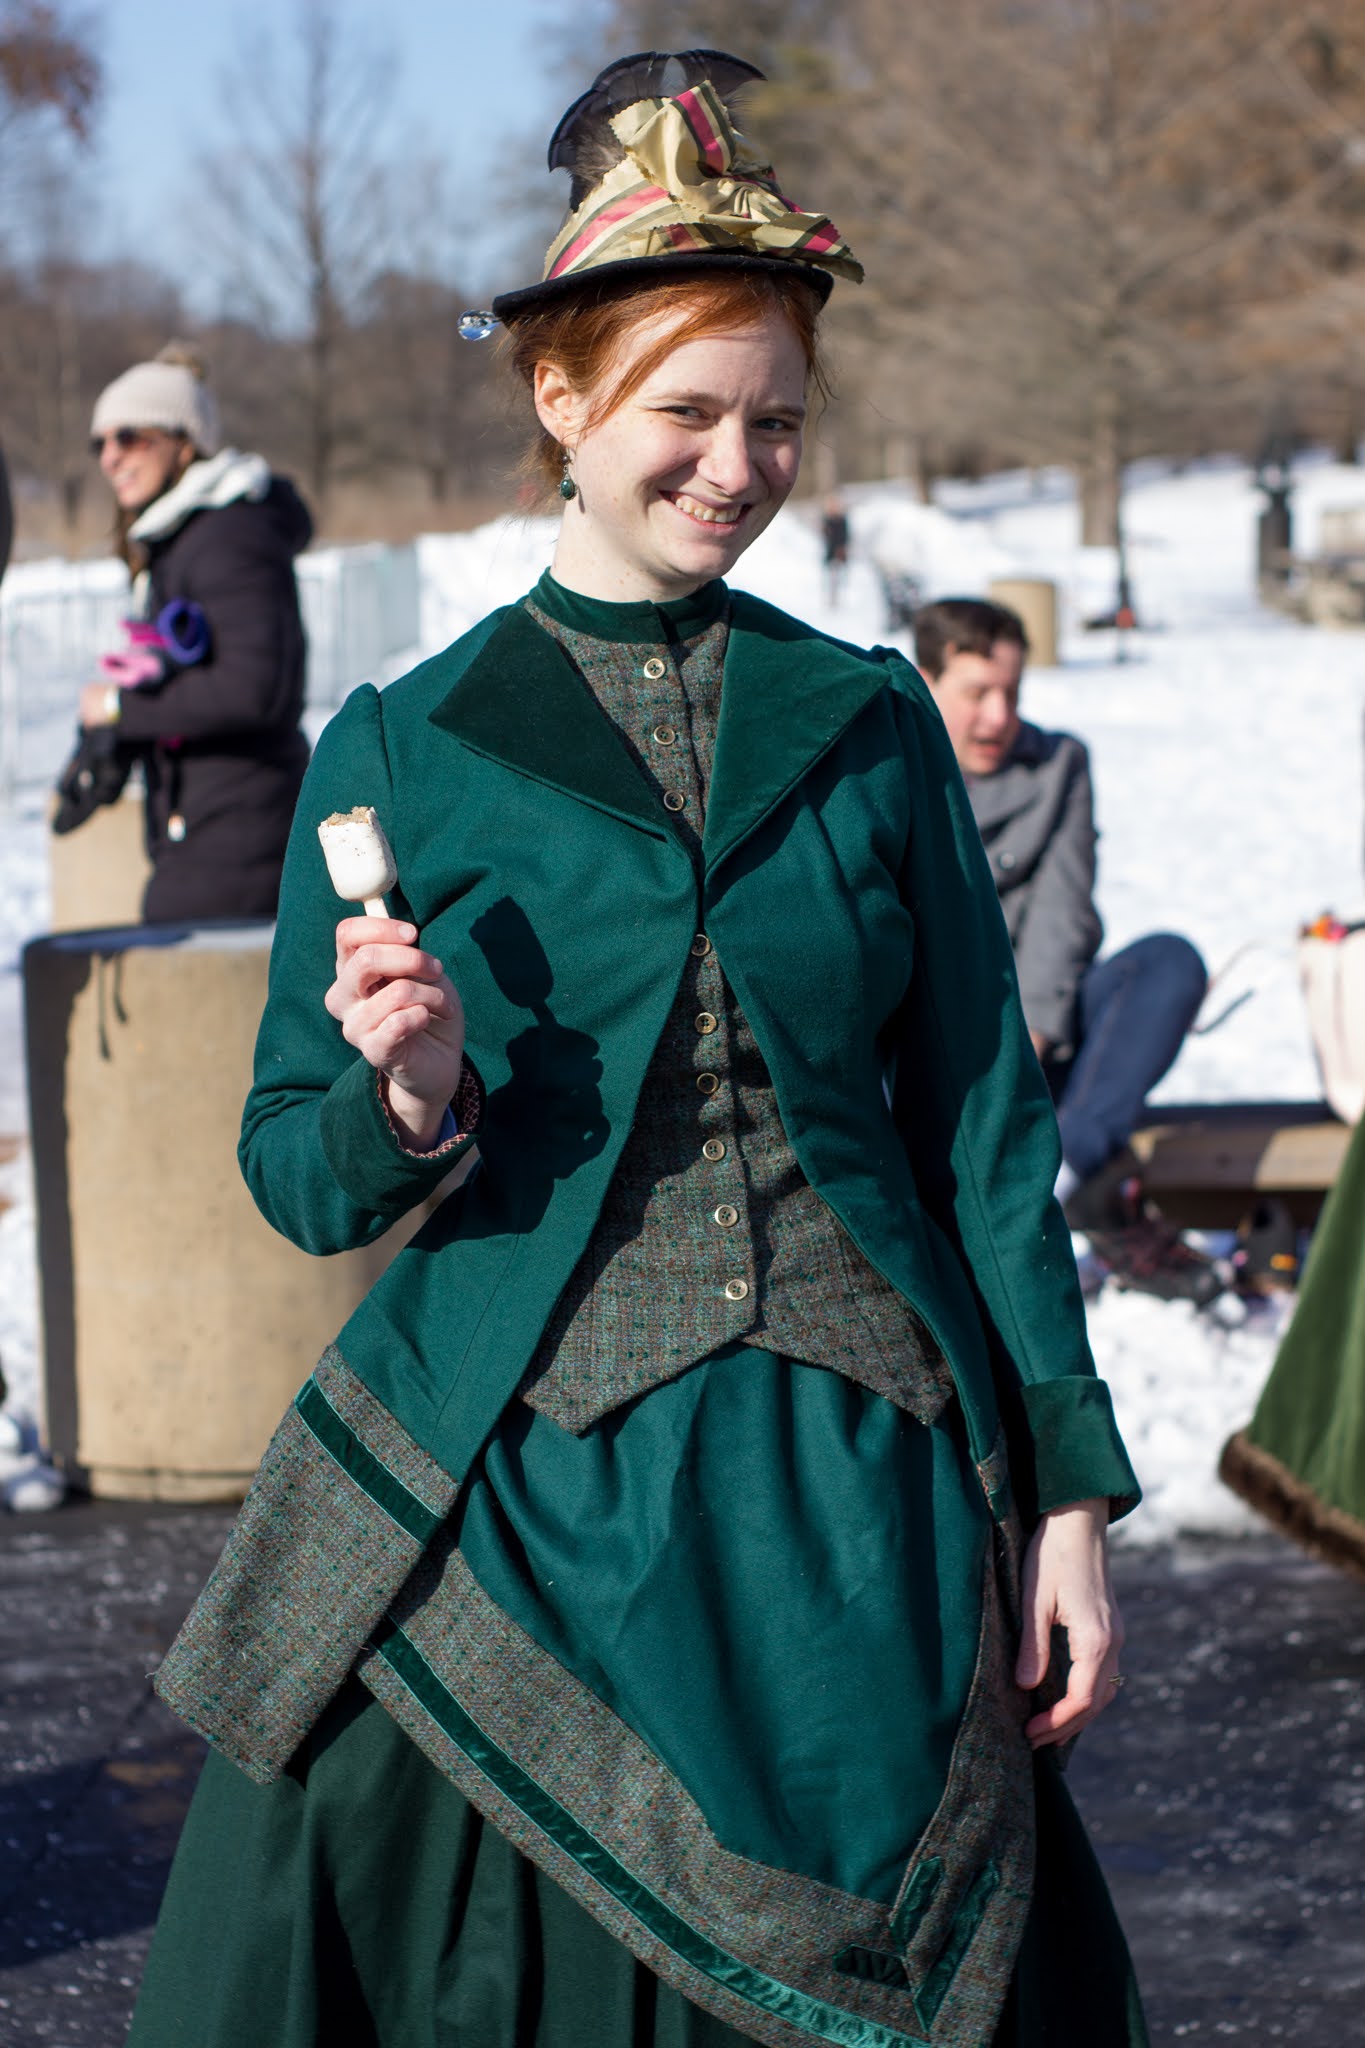
It closely resembled the bodice from my inspiration fashion plate and fit wonderfully! 

Photo credit: @papagena1791

The most complicated part of my ice skating outfit was done! Not bad for a week's worth of work!

Photo credit: @papagena1791

Two days before our ice skating outing and all I had left to do was make an overskirt and trim a hat! It should be smooth sailing from here!  

Photo credit: @littlebitgerman

The rest of the Ice Skating Bustle Dress Series:

~ Ice Skating in a Bustle Dress

Sunday, March 13, 2022

1884 Pleated Wool Underskirt ~ The Ice Skating Outfit

Of all the layers in a bustle dress, the underskirt certainly sounds like the easiest to make, so I decided, when it came to actually making my 1880's ice skating outfit, to start with that. 


It's a pretty basic skirt, the closures are uncomplicated, and I had a pattern to use - that only involves 2 pattern pieces, a yoke and the skirt portion. Super easy! 

Ladie's Kilt Skirt - 1888 National Garment Cutter

There was just one issue. I drafted the pattern the wrong size. Ooops. That complicated things a bit.


The pattern diagram reads: Draft according to waist measure. I didn't think anything of this and drafted the pattern using my apportioning ruler
The apportioning ruler is made for my bust measure. My bust measure is 10" larger than my corseted waist measure. 
I cut out a mock-up of the skirt yoke, sewed it up, tried it on over my corset and bustle, and it was HUGE.
When the pattern says "draft according to waist measure" it means "draft according to waist measure. You're supposed to us the apportioning ruler that corresponds with your waist measurement. Not the apportioning ruler that corresponds with your 10" larger bust measure. 
Yep, I should have made an apportioning ruler for my corseted waist measurement.


I stood in front of the mirror and fitted the too-big skirt yoke to me a little bit at a time. I trimmed it shorter, added extra darts, and curved the upper edge until it fit smoothly around my waist and over my bustle. I didn't get any pictures of the too-big mock-up or the fitting process, but once I was done I had a skirt yoke I was pretty pleased with. I measured from the bottom edge of the yoke to my ankle to figure out how long I needed to make the pleated part of the skirt. 


Using my trimmed down and fitted mock-up as a pattern, I cut the yoke out of some red polished cotton. This would be the flat lining. Then I cut it out of my wool. As I only had 2 yards of wool I had to be careful to use as little as possible for the yoke so I would have enough for the pleated part of the skirt. Thus there's a bit of piecing at the front of the yoke and the waistband is pieced together from a bunch of little pieces of wool - and not all are on-grain. Once the yoke was cut out I measured the remaining wool and cut it in half to make the front and back pleated skirt panels.

 
I basted the wool to the polished cotton, sewed up the darts, sewed the center front seam of the yoke, and then attached the waistband - stabilized with some petersham ribbon from my stash.


The yoke fastens with buttons and button holes down the center back. I used some vintage metal buttons from my stash, and the button holes are just machine sewn because I didn't have the time to deal with hand sewing button holes.


I tried on the finished yoke and was pleased to discover it fit beautifully!


The row of buttons down the back makes me so happy! I did a slightly fancier metal button for the waistband just because it was pretty and I wanted to use up this lone button from my stash.


There was just one issue. My pieced together waistband was pretty thick where the button hole was so that waistband button was tough to do up! I fixed this by sewing the button hole closed, sewing the button on top of it. . .


. . . And sewing a skirt hook and bar underneath.


You can't tell on the finished skirt that there's a secret hook and bar at the waist. It still looks like one long pretty row of buttons!


With that all sorted out, it was time to make and attach the pleated part. I flatlined the front and back panels with some plain cotton from my stash and added nice deep pockets to the side seams.


I faced the hem with more of the red polished cotton. In Costume in Detail there is an 1880's underskirt with a red hem facing and Nancy Bradfield mentions that was a throw back to the days when red petticoats were worn. I would have made my hem facing red regardless as the red polished cotton was what I had on hand, but it was still fun to know there was a historical precedent for my color choice here!


Once the panels were all sewn together and hemmed I pleated them onto the yoke. I'd marked on the yoke where the side seams needed to be with thread tacks and I'd marked on the panels the center front and center back. I matched up all the markings then figured out the pleats.


The pattern was for a knife-pleated skirt, but I was doing box pleats to match my fashion plate.


The skirt pattern called for about 225" for the pleated portion of the skirt and I only had about 120" of material to pleat. So my pleats wouldn't be very deep, but I would do what I could!


I made a box pleat at the center front and center back then made sure my pockets would be inside the pleats at the side seams. After that I eyeballed, pleated, measured, adjusted, measured, and eyeballed some more until the skirt was box pleated all the way around. There are 7 box pleats across the front and 7 across the back. They are all more or less the same size.


Once I was satisfied with the pleats, I sewed the pleated section of the skirt to the yoke, whip stitched the seam allowance, pressed all the pleats in place,


 And the first part of my 1884 ice skating outfit was done!!


I really, really like how this skirt turned out! Since finishing it I've been dreaming of all sorts of different bodices and overskirts I can make to go with it so this thing will get plenty of wear. I have a lovely plaid silk that would look fantastic with this green. . .


But I didn't have much time to daydream! Once this skirt was done I had just over a week until the skating event and I still had a bodice and overskirt to make! It was time to get back to work!