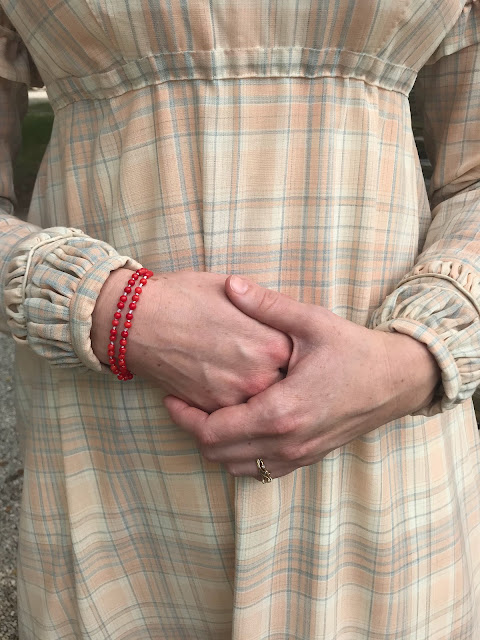
Once upon a time, Joann’s Fabrics had a sheer wool on their shelves for a season. It was 85% wool, and 15% nylon, so not entirely wool but pretty darned close. It came in several different plaids, and when it was clearanced out I bought all they had. Thus, for years I’ve had three bolts of sheer plaid wool on my shelves, and a plan for each!
One bolt became an 1840’s dress for my mom (which I still haven’t blogged)
And the third was to become an 1810’s dress, based off of this extant 1811-1815 dress, which is held at the Rijks Museum.
This dress, like most of my historical projects, had been in my mind and plans for years, I just didn’t get around to doing it until I had a reason to do so. Last summer I signed up to do a 1790’s through 1820’s fashion show at a local historic site. This dress would fit right into that era! Thus, I had my excuse and deadline for finally making my plaid sheer wool 1810’s dress.
I gave myself about 6 or 7 weeks to get the dress done and started by scaling up a pattern from Regency Women’s Dress, by Cassidy Percoco.
I used the 1813-1816 Morning Dress pattern from pages 70-73.
I altered the pattern to be approximately my size and added seam allowances.
A mock-up was made.
And the dress was cut out of my wool, with a bodice lining cut out of linen.
I referenced the construction notes of 1810's dresses in both Regency Women’s Dress and Patterns of Fashion 1 and hand sewed the bodice together.
Once the basic bodice construction was done, I put it on over my corset and pinned the bust darts in place - this was standard 19th century dress construction. Darts were marked and pinned on the body so they would be sure to fit the wearer correctly.
Once the darts, 2 on each side, were pinned in place I top stitched them down with a prick stitch. Once again, sewing darts from the outside was standard 19th century practice as it gives you more control and a better end product than the modern “sew the darts from the inside method”.


I love it--so exciting! 1810s is one of my favorite eras to sew. I can't wait to see how it turns out!
ReplyDelete-Erin