Pages

Thursday, February 28, 2019

A Circle Skirt and Sweater - Wool for Winter

Back in November I decided to make myself a plaid wool circle skirt. I was inspired by the 1950's full plaid skirts which were making regular appearances on my Instagram feed. I decided I needed one in my closet. I had the perfect fabric in my stash - 3 yards of plaid mid-weight wool I'd recently picked up at Goodwill. And the pattern was easy too - I already had the Crop Dress pattern from Winter Wear Designs which featured a full circle skirt and a contoured waistband, just the pattern pieces I needed!


*Note: I received the patterns shown in this blog post for free in exchange for writing this blog post, but all thoughts and opinions represented are my own.

I printed out the pattern, taped it together, and laid it with the wool - in a pile of fabric in the corner of my sewing room. I intended to make the skirt relatively quickly, because I wanted to be able to wear it all winter long, but, well, that didn't happen. There was always a more pressing project ahead of it on my never ending list. Thus, in the corner my wool fabric and circle skirt pattern sat. Every week I put it on my "I will make this this week" list, yet every week it was the one thing (or one of the things) that didn't get done. My plaid wool circle skirt was in serious danger of not getting done this winter. 


Then Suzanne, the designer behind Winter Wear Designs, announced the February blog tour theme would be "Sew Yourself Some Love". It was time for us bloggers to take the time to make something we wanted for ourselves! With a theme like that, my make for this blog tour was a no-brainer. My plaid wool circle skirt was going to happen!


One of the reasons I put off making this skirt for nearly three months, was because it intimidated me. You see, plaid matching really isn't my strongest suit. It's basically something I avoid at all costs. I know some people are great fans of pattern matching, and take great pains to make sure their plaids, and even some prints, always match across seams. I admire those people. And I will never be like them.
When the idea for this skirt entered my mind, however, I knew I wanted to do it right and match the plaid across the seams. Luckily, with a circle skirt there are only two seams, so this plaid matching thing isn't as bad as it could be. But, still, it wasn't something I was looking forward to.


That said, I did it. I very carefully cut out my skirt front and back so the plaid would match at the side seams.


Then I carefully matched the different stripes together along the side seams and proceeded to slowly sew, hoping for the best.


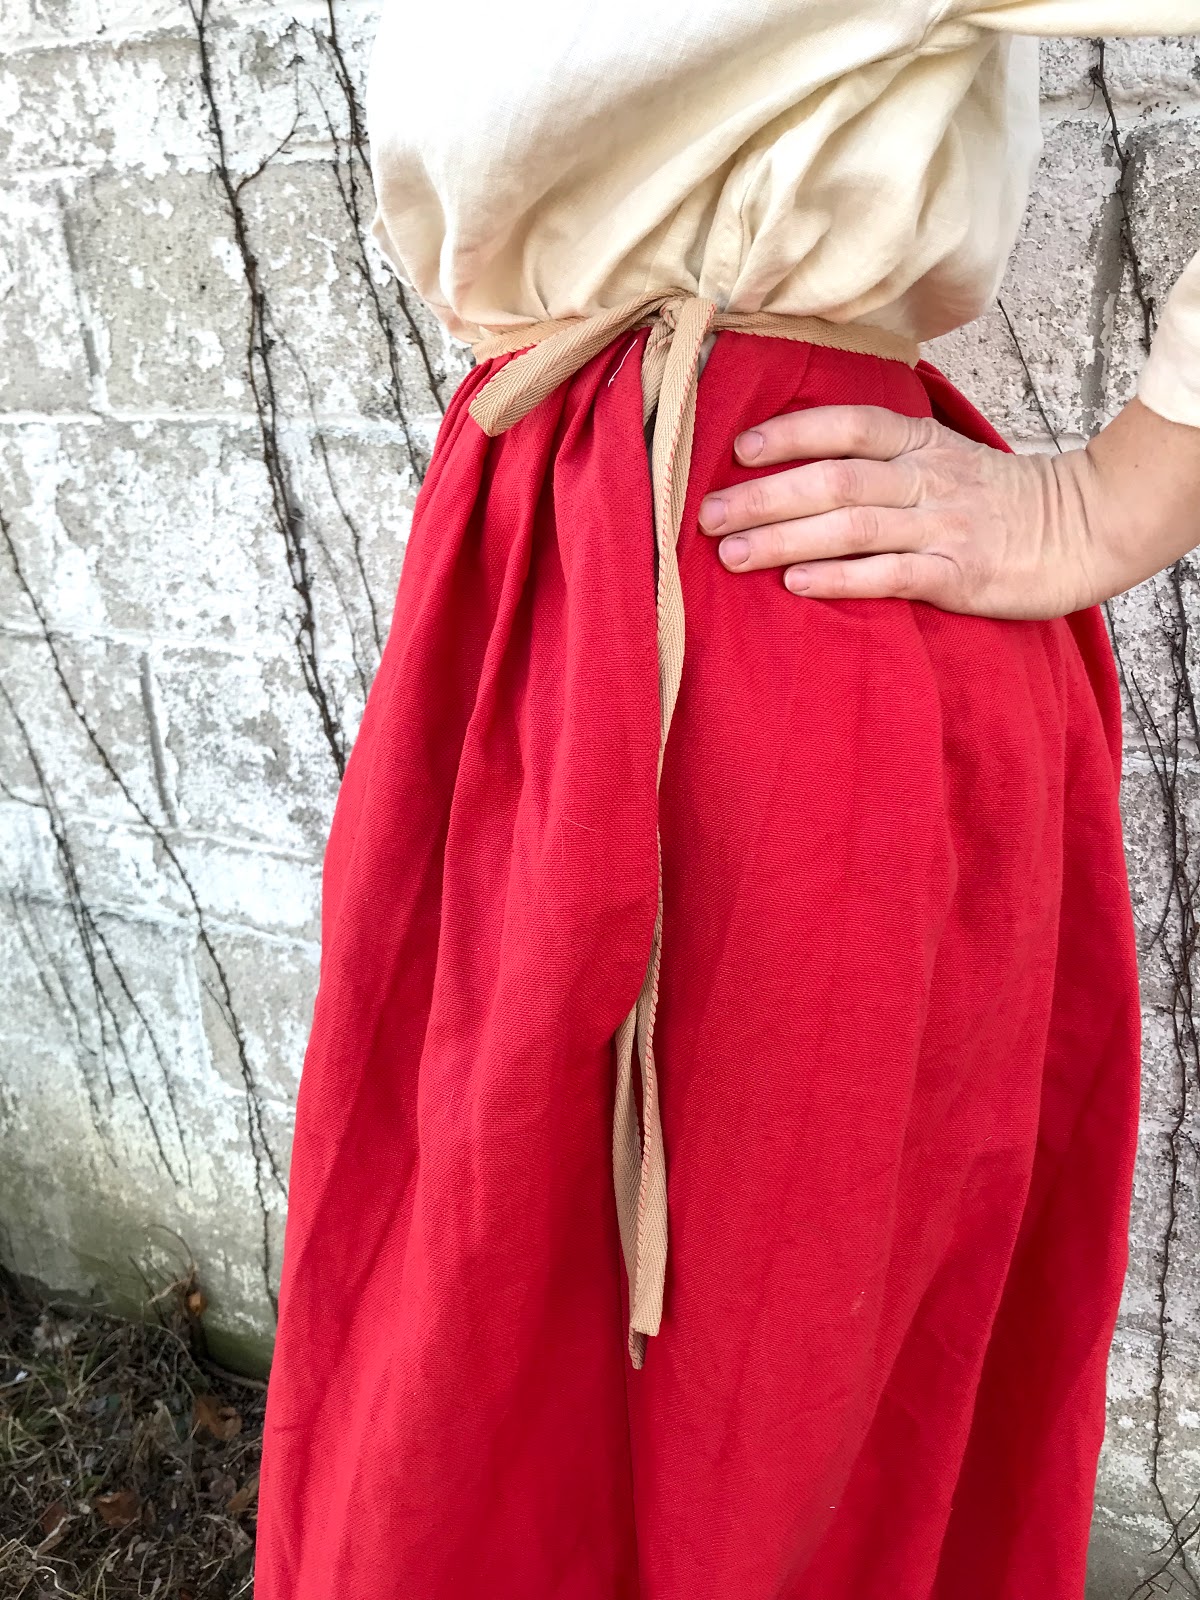
And it worked out pretty darned well! Even across the lapped zipper I installed in the left side seam!

Sorry, my hand is kind of blocking the zipper, but, I promise you, it's there!
Once I sewed up those two side seams, put in pockets, attached the waistband, and inserted the zipper, I stuck the nearly finished skirt on my dressform for a couple days so the fabric could relax along the bias and I could level the hem, prior to actually hemming the skirt. Due to the nature of the cut, a circle skirt is bound to wind up with an uneven hemline eventually, so it's best to let them stretch out first thing - because it's a whole lot less trouble to fix an uneven hem before you sew it, than it is afterwards.


While my un-hemmed skirt was hanging out on the dressform, I turned my attention to making a top to go with it. Boy was it hard to decide what kind of top to make!


I was sorely tempted to make my standard Winter Wear Designs fallback - a hacked version of the Outer Banks Boatneck (I've made this pattern 7 times so far, and there are definitely more to come), but I decided it was time to go with something different. After a fair bit of deliberation between multiple different WWD top patterns, I finally decided to make the Crossroads Sweater - one of the newest WWD patterns.


The Crossroads Sweater is a mock-wrap top with a wide shawl collar, and multiple length options. It must be made from a stable, somewhat heavy, structured knit in order to keep its shape. (From a drapey knit this sweater would look rather droopy and sad.) Luckily, I had just the right fabric in my stash - the gray sweater knit left over from the scrooge nightcap I made for my brother last year.


Or, rather, it would have been just the right fabric if I'd had enough of it for the entire sweater. As it was however, I only had enough of the fabric left to cut out the front and back of the sweater, along with approximately half of the sleeves (the top half, from shoulder to elbow). Another fabric was going to have to come into play for the wide shawl collar and the other half of the sleeves.


That other fabric turned out to be this sweater from my "to be refashioned" bin. I acquired it at some point in time because I liked the embroidery and appreciated the fact it was a wool blend, rather than all synthetic as many sweaters are. The reason this sweater hadn't been refashioned yet? It was on the small side, so there wasn't a lot of fabric to work with. There was, however, just enough fabric in this thing to finish off my Crossroads Sweater. Almost.


I used the bottom half of the original sweater's sleeves for the bottom half of my sweater's sleeves - thus keeping the embroidery I loved on the original sweater.


I was able to cut the shawl collar from the body of the sweater.


And I even got to keep the chest embroidery from the original sweater and use it across the back collar of my sweater.


Because of this I really, really, like the back view of my new crossroads sweater - though the front view is pretty great too.


The low, open, front neckline requires a tank top or something be layered underneath this sweater. Winter Wear Designs released a new tank top pattern, the Starting Point Tank, just for this purpose, giving me the chance to add a little extra color to my outfit! The only question, of course, was what color tank to make!


Blue to match the pale blue stripes in my plaid skirt?


Or perhaps pink to match the pink stripes?


Or even a red that coordinated nicely with the pink stripes? 


Ultimately, I couldn't pick, so I just made one tank of each color - now I have plenty of options!


And speaking of options - this sweater also looks great with jeans, just in case you were wondering!


 Remember how I said the fabric I harvested from the thrifted sweater was *almost* enough to finish up this sweater? Well, even after adding the sweater fabric to my original fabric pick, I was still short on fabric. I didn't have enough of either to cut the hem band for the Crossroads Sweater - and I really wanted that hem band so my sweater would be long enough to stay tucked into my skirt. So, I found a plain gray jersey knit in my stash and used that to finish up my sweater. It worked, and as it was a rather thin fabric compared to the other two, it was actually ideal for the hem band adding very little bulk under the waistband of my skirt!


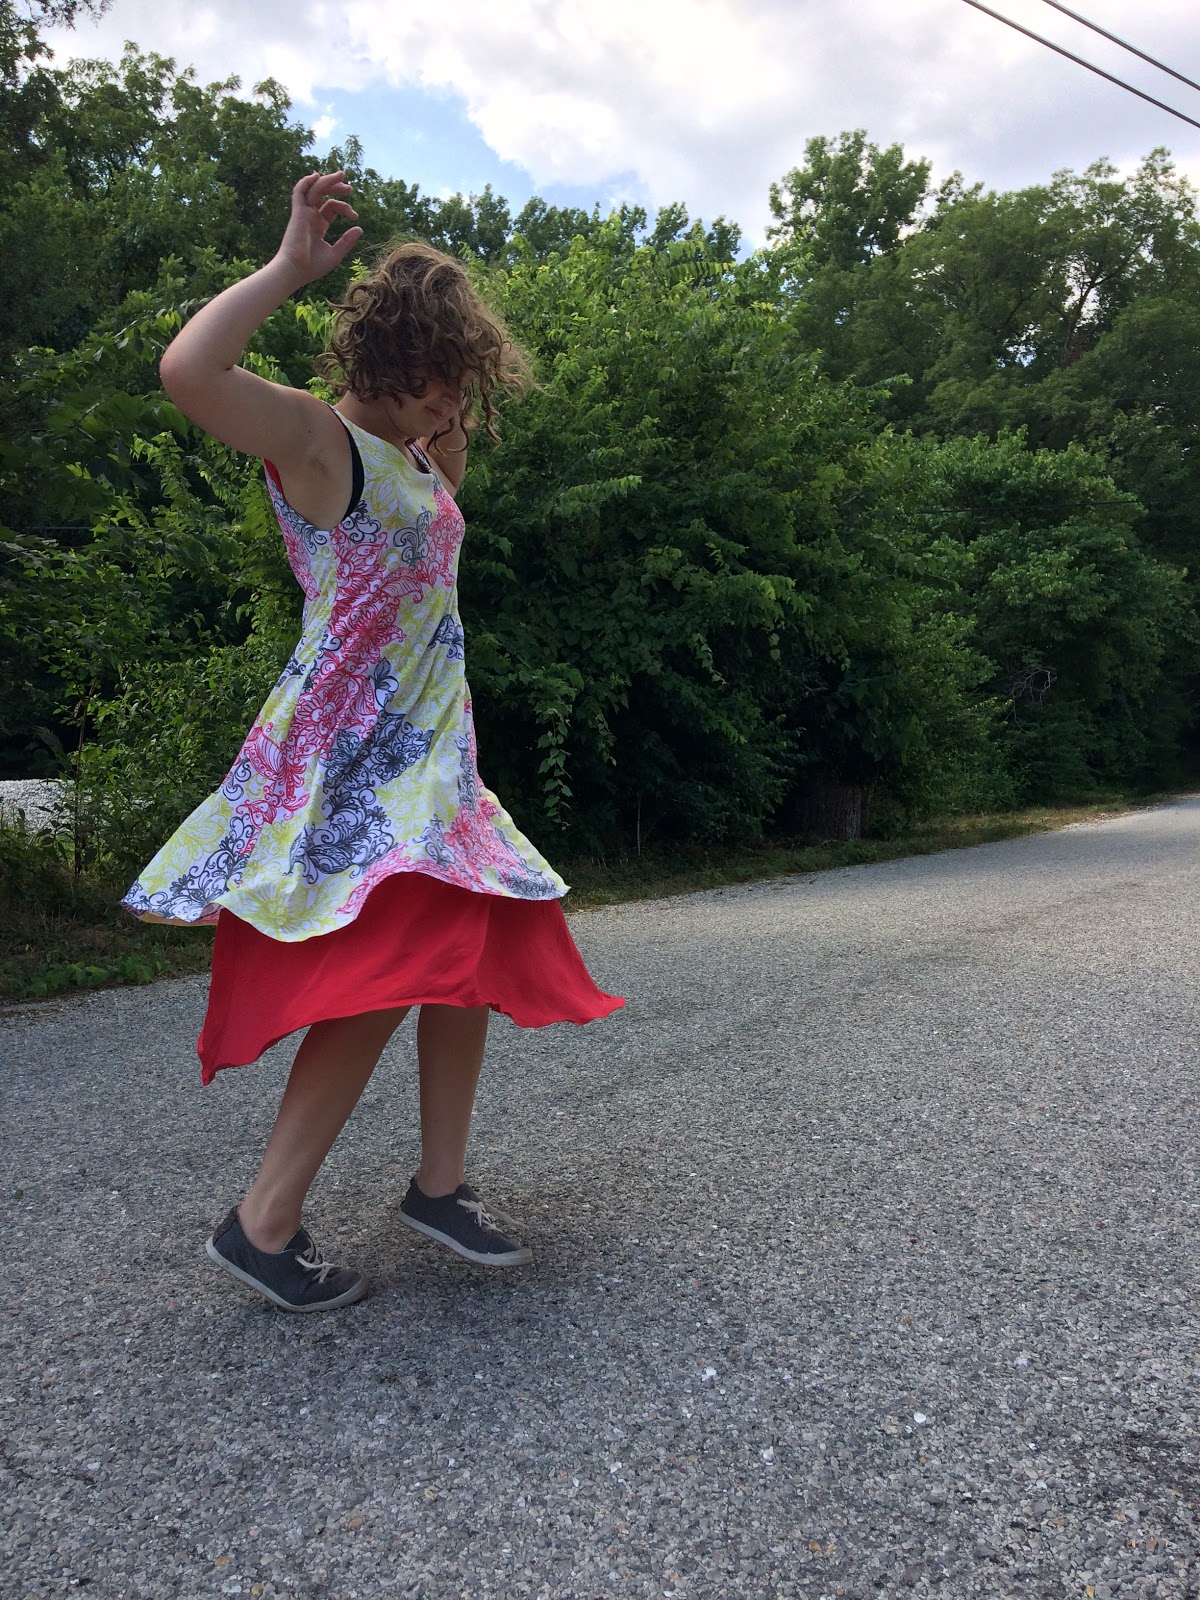
All in all, I couldn't be more pleased with how my plaid circle skirt outfit turned out! 

Also, if you're interested in any Winter Wear Designs patterns for yourself, you can get 20% off any and all women's patterns with the coupon code SYSL2019 through this Saturday (3/2/19)!


Don't miss any of the inspiring stops along the tour:

2/25
Patricia of Sew Far North

2/26

2/27
Meriel of  Ellie and Nels

2/28
Aurelie of Maglice and So (guest posting at WWD)

3/1
Livia of Liviality
Diane of Sewing with D

Monday, February 25, 2019

An 18th Century Petticoat, Because, Buckle Shoes

I have wanted a pair of 18th century buckle shoes for at least 15 years now.


When I was around 10 years old, Felicity was my favorite American Girl Doll. Her story was set in Williamsburg Virginia in 1775 - just as things were really getting tense between the American Colonies and England. Like me, Felicity was the eldest of 4 kids and had a tomboy streak - so I could relate to her. My wonderful mom and grandma made me multiple Felicity - style dresses and caps, which I wore both for Halloween dress-up, and everyday use.

Wearing one of my "Felicity Dresses" for the official newborn photos after the birth of my sister

I had the dresses and caps. I made myself a couple elastic-waist petticoats. All I was really missing was the right shoes. 18th century buckle shoes aren't really that easy to come by! So, for a couple years, I wore a pair of plaid black velcro shoes with my Felicity clothing and contemplated making cardboard buckles to stick on the velcro straps. I don't recall ever actually making said cardboard buckles, but the thought definitely entered my mind more than once.


Fast forward to now, where I have discovered the hobby (world?) of historical costuming and am very, very, slowly working on making a 1775 ensemble for myself. (10 year old me is squealing with delight at the thought!) I've also discovered that reproduction historical shoes exist, and ever since beginning my Felicity-era  outfit I've had the idea in the back of my head that once I finished all the pieces I could make, I would treat myself to a pair of 18th century buckle shoes from American Duchess.


As of the end of 2018, I had exactly one 18th century item done - a white linen shift - and nothing else begun. I was nowhere close to buying those buckle shoes I've wanted to own for the past decade and a half. But. . . but. . . in the week between Christmas and New Years, American Duchess had a sale - buy a pair of shoes and get a set of buckles (usually sold separately) for free.


Maybe I should have resisted, but. . . but. . . they had forest green buckle shoes (my favorite color!) and there was only one pair left in my size! So, yes, I bought them - the 18th century, forest green, "Kensington" buckle shoes from American Duchess.


As soon as I ordered them, I realized this meant I really had to get a move on with my late 18th century costuming. Thus, that very day, I began my next project, something quick and easy, but something, a linen under petticoat.


I pulled some fabric out of my stash, read the instructructions for making an under-petticoat in The American Duchess Guide to 18th Century Dressmaking, and proceeded to sew the petticoat up, by hand, in under a week. The cat helped.


In my stash I happened to have 3 yards of a rather stiff, somewhat thick, red linen. I ordered it back at the beginning of 2018 when I first started planning my 18th century ensemble. When it came, it was most definitely not the texture or weight I needed for my planned project. Also, it would seem red linen wasn't really a "thing" in the 1700. Red wool was, but linen takes dye differently than wool and was not often dyed bright colors, apparently.


Thus, due to all that, this red linen would not work for the original intended purpose. However, since I'd bought it, I did want to use it for something! 

Well, "The American Duchess Guide. . ." recommends using fabric with plenty of body for under petticoats to help support the other petticoats and prevent them from getting tangled between the legs as you walk. This linen definitely has body. Also, under petticoats are worn, get this, under all the other petticoats so they're never really visible. Thus, the inaccurate bright red linen really won't be seen when worn with the completed ensemble.

And that my friends, is why I decided to make a petticoat from stiff red linen - an online fabric purchase gone wrong. 


The petticoat really was very quick and easy to put together, even though I decided to completely hand sew it. 
(I'm planning to hand sew most of my 18th century ensemble because a) it's historically accurate, and b) I like having a continuous hand sewing project to work on in front of the TV or take with me places to work on while I wait for appointments or whatever.)


First I sewed up the side seams. One got sewn up as a Mantua Maker's seam (A really clever technique where the finished seam looks like a french seam but is way quicker to make. This is the type of seam I used n the skirt of my white regency dress.) 


The second side seam was along the selvage edge of the linen so I just sewed it with a normal back-stitched seam since the seam allowance did not require finishing. (Selvage edges don't ravel.) I left the top 10" of this side seam open so I'd be able to get the finished petticoat on and off.


I narrowly hemmed the edges of this opening, then I hemmed the bottom edge of the petticoat. After that I pleated the upper edge to approximately my waist measurement.


Finally, I encased the pleated edge in twill tape, and left long tails of tape on the open side of the petticoat.


These tails serve as the petticoat's closure method, allowing me to tie the petticoat in place around my waist, over my shift.


And with that, the petticoat was done! Just under a month before the beginning of the Historical Sew Monthly February Challenge - Linen. (To qualify for a historical sew monthly challenge theme the item must be finished no more than one calendar month before the month challenge is due. As my linen petticoat was finished after the first of January, it qualifies for the February "Linen" challenge!)


What the item is: An 18th century under petticoat

How it fits the Challenge: February 2019 - Linen. It's made from linen fabric.

Material: A heavy-ish red linen

Pattern: None really, but I did use the instructions from "The American Dutchess Guide to 18th Century Dressmaking"

Year: It would work for most of the 18th century, especially the second half.

Notions: Cotton twill tape and vintage cotton thread

How historically accurate is it: The shape and pattern are accurate. The construction is accurate, completely handsewn. The fabric is the right fiber, but the wrong weave and color. The notions ought to be linen, but are cotton. So, 70%

Hours to complete: Around 6 I think

First worn: Just for pictures, 2/24/19

Total cost: Under $20 I think, it's been a while since I bought the fabric.


And now, I suppose I really should get a move on and make my 18th century stays, so I can actually make a gown to go over this red petticoat one of these days!


Or I suppose I could postpone that a little longer and make other various sundry items for my 18th century look first - such as a cap, or pockets, or even another petticoat. But really, I should just jump in and make the stays!


Wednesday, February 20, 2019

The Summer Dress

And today I have a wholly seasonally inappropriate blog post to share. There's currently snow on the ground for crying out loud! Yet, yesterday morning, my sister came downstairs wearing this dress.


(And no, none of these pictures were taken yesterday, they were all taken back when it was warm, and green, outside.)

I teased her that she was dressed for the wrong season. She just grinned and informed me the dress makes an excellent nightgown. Well, ok then. This dress can win the comfy award.


Anyway, I made this dress for my sister back in June or July. She was in need of a coupleof new summer dresses, having outgrown the majority of her wardrobe, and I didn't have time to make her the usual, somewhat elaborate, woven sundresses I've made her in years past. Quick and easy it would have to be. Something made with knit fabric that wouldn't require any closures or a million seams.


Earlier in the summer, or sometime in the spring, my mom ordered a selection of jersey knits from Fashion Fabrics Club to be turned into clothes for my sister. So I started this dress by choosing a fabric from that trove.


For the quick and easy summer dress I chose this white jersey, covered in red, grey, and lime green doodled flowers. This fabric was one of my sister's particular favorites from the order. It was slightly see-through, so I also picked a lining fabric from my stash - a red rayon jersey I'd picked up from Walmart at some point in time.


Fabric picked, it was time to figure out the pattern. I chose to use the Agnes Dress pattern by Halla Patterns - if you join the Halla Patterns Facebook Group there's a code to download the pattern for free!


To take full advantage of the fabrics I was using, I made a couple slight changes to the pattern. Since I needed to line the dress anyway for opacity's sake, I opted to make the red lining layer longer than the patterned outer layer for a fun layered look.


And, well since I had to line it anyway, I opted to finish the neckline and arm holes by sewing the outer and lining layers together via the "burrito method", and forgo the neck and arm bands the pattern was supposed to be finished with.


This worked out pretty well, but I really should have added extra seam allowance to the neckline and armholes as without the extra height, bands would have added, they wound up lower than prefered. But oh well, the dress is still quite wearable.


And wear it my sister has done! The dress got worn throughout the summer, a now it apparently works as a nightgown.


That said, no sooner did my sister inform me the dress made a good nightgown, then she was putting on her coat and boots, heading outside to feed hay to the goats.


So, apparently, with the proper layers, this dress works for year-round wear. Who would have thought?