When I was between the ages of 9 and 12, I loved dressing up like my American Girl Dolls, or like Laura and Mary from Little House on the Prairie. Cotton Dresses my mom either made for me herself or found for me on Ebay, worn over an elastic waist white cotton petticoat I made myself, and a sunbonnet, was my go-to day-to-day outfit.

My very favorite dresses were the ones my mom made me to match Felicity's dresses. Felicity was my very favorite American Girl Doll. She was the eldest of 4 kids, and helped her mom with her younger siblings, just like me. She had a horse and I desperately wanted a horse. (My dad vetoed the horse idea, but a few years later he did let me get goats!) Felicity had red hair, and I wished I had red hair. (Thus, once I reached my 20's, I dyed my hair red!) On top of all that, I absolutely loved Felicity's 1770's wardrobe. I wanted every one of her dresses, and my mom made me quite a few of them - her "Meet" dress, her school dress, and the dress she was wearing in the short story when her baby sister Polly was born.

It's no surprise, I decided to wear this purple striped floral dress from the short story, on the day we took new born photographs with my brand new baby sister. These "Felicity Dresses" were already part of my every day wardrobe at the time, so I didn't feel like I was in costume for these pictures, just wearing clothing appropriate to the occasion.
Sometime over the last few months, my pregnant sister-in-law was looking through our baby books and found the pictures of me in my dresses and bonnets welcoming my new baby sister to the world. Half way laughing, she said I had to wear a dress and bonnet when I met her baby, because these pictures were the cutest thing. Now, I'm not sure if she was entirely serious here, but she definitely got the wheels in my head turning.

I have long wanted to re-create all of Felicity's dresses for myself. I am far from the first historical costumer to do this, but just because others have done it before me doesn't mean I can't do it to. Over the past couple years I've been keeping my eyes open for appropriate fabrics for this project. I assembled a few fabrics, but did I start on the project right away? Of course not! I've been a little nervous to cut into these long-hoarded fabrics, which I have limited amounts of, to try an era I'm still relatively unfamiliar with. I needed a lower stakes way to start. And I found it.
While scrolling through Instagram one day, I came across a picture someone shared of their Felicity doll in her "Work Dress".
The stripe pattern on this work dress (which I never did own for my Felicity Doll by the way), reminded me very much of a striped cotton I had in my stash. A striped cotton I inherited from a church basement and had a ton of. There was only one difference, the official work dress was green, and my fabric was blue, but that wasn't a problem. On the cover of Changes for Felicity, Felicity is wearing a blue striped dress. Theoretically, the doll's "work dress" is based on the dress Felicity wears in that book, so I decided my blue striped cotton was perfect.

From the moment I saw that picture on Instagram, the blue striped cotton was destined to become Felicity's work dress - for me! Of course, me being the procrastinator I am, I did not get started on this project right away. It remained in the back of my mind, until my sister-in-law mentioned I should wear a bonnet when I greeted her child for the first. In that moment, I decided I was going to get my Felicity work dress done in time for the birth of the baby.
Did this mean I got started on the dress right away? Of course not! In true procrastinator style, I began this dress exactly one week before my sister-in-law was scheduled to be induced. I used
the Larkin and Smith English Gown pattern, a birthday gift from several years ago, and it worked up amazing fast!
Despite having owned this pattern for several years, and having a length of silk in my stash earmarked for it, I'd never made it before. Thus, I started by making a quick bodice mock-up. I used linen, left over from
my shift, for the mock-up. This was a time-saving decision. As long as it didn't require too many adjustments, the mock-up would also serve as my bodice lining.
The mock-up only required some minor adjustment to the shoulder straps and front opening, and I was good to go! I pulled all the basting stitches out of my linen mock-up, ironed my pieces flat, and began construction on the actual gown.
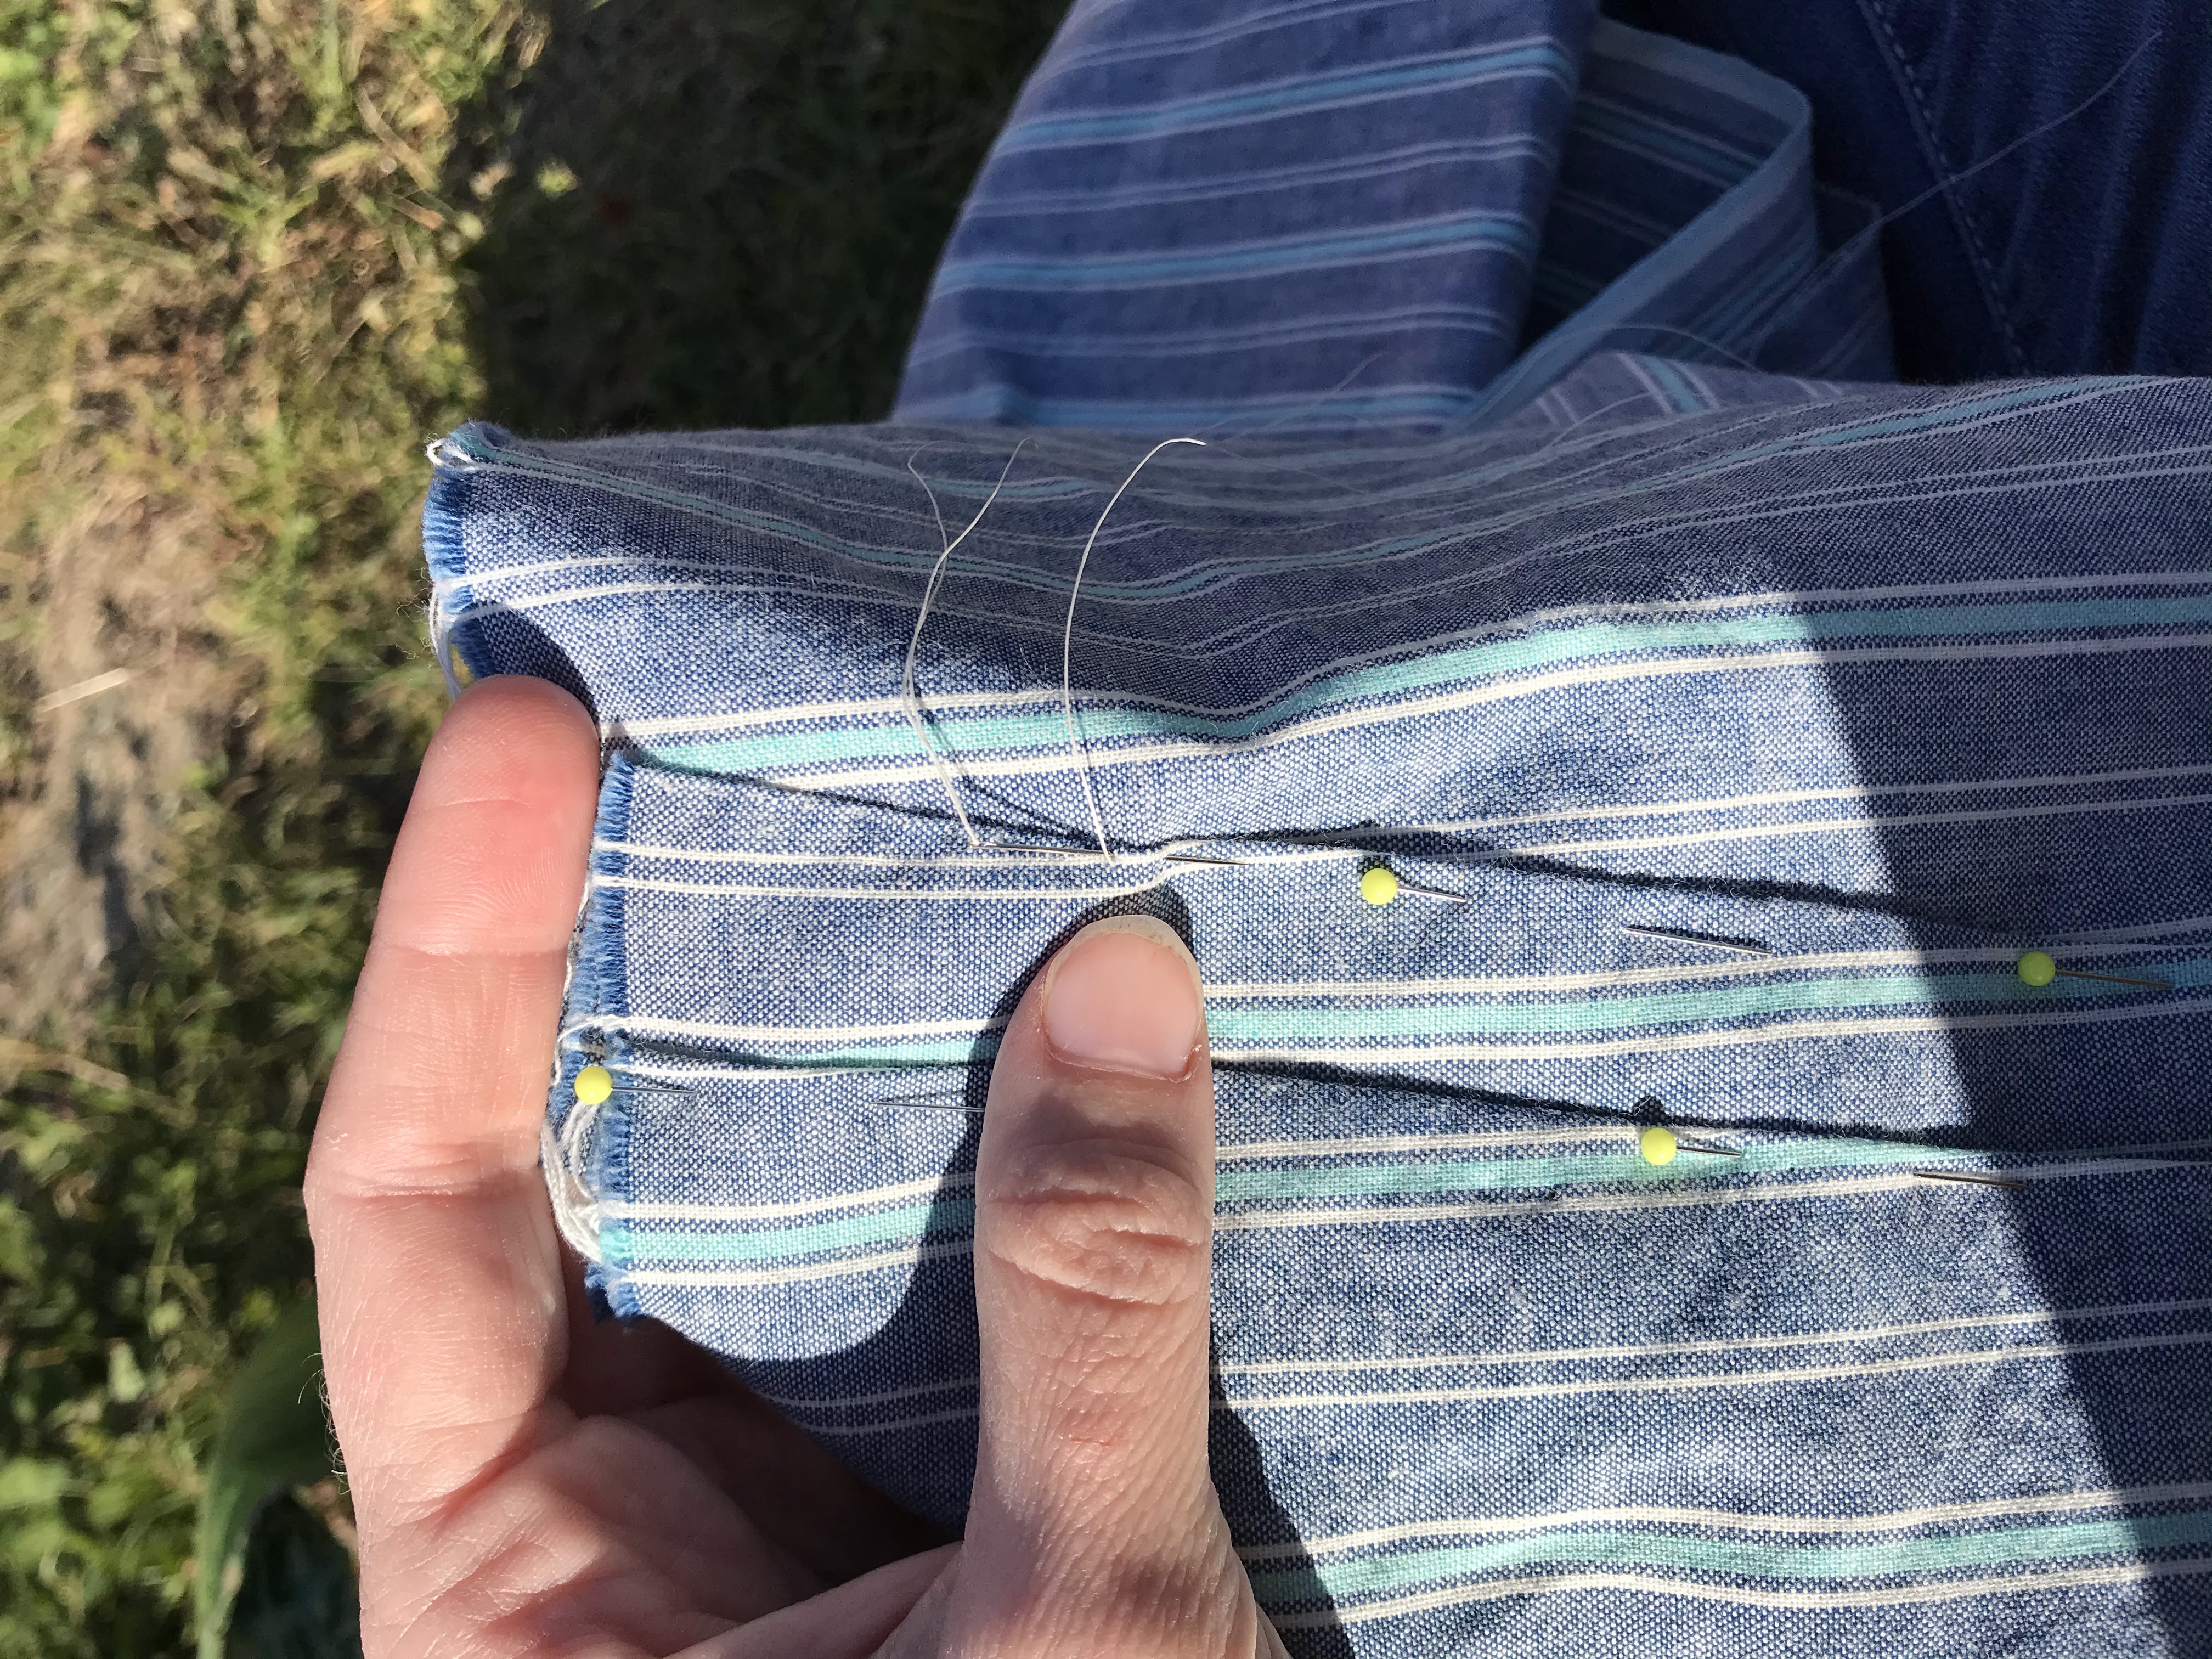
Following the instructions, I tore large rectangles of fabric out of my blue striped cotton yardage to make the back and skirt panels of my gown. I used the included pleating template to pleat the back of my gown. This turned out to be easier than I expected!
Following the lines I traced onto tissue paper, I pinned the pleats in place. I made sure to use glass-headed pins for this so I could then press the pleats, and remove the pins so I could remove the tissue paper intact and use it again to pleat the other half of the back.
Once the tissue paper was removed, I then re-pinned the pleats, pinned the back panel to the back lining piece, and took it to work with me that afternoon.
While the kids played on the play ground, I sat in the grass watching them and hand sewing those back pleats into place.
The instruction booklet for this gown tells you how to make the whole thing by hand. As I had a very limited time frame, I only did the visible stitching by hand. All internal seams are done by machine.
Once the back pleats were done, I cut out and constructed the remainder of the bodice. In the process I decided I wanted my stomacher to have a chevron pattern like
this 1770's striped cotton gown in the Philadelphia Museum. Before cutting the stomacher, I took a look at the museum website to read the details on this gown. Turns out it was not an open robe with a separate stomacher and petticoat like the Larkin and Smith I was making, but a round gown with a compare front and decorative robings.
Once I realized that, I decided to make my gown a round gown as well.
I'd been worried that I wouldn't have time to make and hem a separate petticoat to go with this dress, and a round gown would solve that issue! I'd only have to hand hem one skirt, not a gown skirt and a petticoat! I referenced
Koshka the Cat's website and figured out how to adapt this pattern to be a round gown by essentially just adding an extra front skirt panel. Super easy!
The skirt front is sewn to the back skirt panels along the side seams, with the top 10" left open for pocket access. The top edge of the front is attached to a piece of twill tape which is tied around the waist like a petticoat would be before the bodice, attached to the back skirt, is pinned in place.
None of the extant round gowns I could find online had stomacher fronts, they all had compare fronts. Changing my gown to a compare front however would have required doing another mock-up and re-making the entire bodice front. I did not want to go through that hassle, and I didn't think I had the time for it either, so I kept the stomacher front from the original pattern on my gown.
To get the chevron effect like my inspiration gown, I cut the outermost layer of the stomacher on the bias with a center front seam. The linen lining and interlining are cut on the straight of grain to keep things from being stretched out of shape.
Bodice, skirt, and stomacher done, the final thing was the sleeves!
I made the sleeves and and sewed the underarm to the bodice, leaving the sleeve head free.
I then tried on the gown and had my mom pleat the sleeve head in place to fit my shoulders.
I sewed the sleeve cap in place, stitched on the robings, and my gown was pretty well done!
The final step was hemming the skirt - which I did on the day my sister-in-law went into the hospital to be induced.

I was stitching away, sitting with my mom and sister, anxiously awaiting news from the hospital.
Finally, the text came. The baby had arrived. I was an aunt!!!!!!!!!!!
I wore my new gown, with my
cap,
kerchief, sleeve ruffles and a white linen apron, all day on the day the baby was set to come home from the hospital.
I wore this ensemble to milk goats. I wore it to run errands. I wore it to pick up kids from school (embarrassing the oldest two kids I nanny horribly! It was fun!). I wore it to make a raspberry cobbler with the youngest (got some raspberry stains on the apron, oops! Oh well, now it looks worked in, and it is!). And yes, I wore it that evening when I met my niece for the first time.
My dress and cap made my very tired sister-in-law smile.
Wearing this dress all day was actually surprisingly comfortable! I wore it over my
shift,
stays,
red linen petticoat,
matalasse petticoat, and
pockets. I had no issues doing everything I needed and wanted to do that day.

The one "modern" thing I wore was my cowboy boots.
As much as I love my buckle shoes, I just take my shoes off and on too many times during the day to make them practical for daily wear.
This dress actually made me want to make allllllllll the 18th century stuff! And wear it somewhat regularly!
I'm so excited to actually have made a "Felicity Dress" for myself! Now I can't wait to make more!
Since this gown celebrates a few things - My niece's birth, learning how to do the pleats on an English gown, and finally starting a project I've long dreamed of - I'm using it as my entry for Historical Sew Monthly Challenge #8: Celebration.
What the item is: 1770's English Gown
How it fits the challenge: I made this gown in celebration of my niece's birth. It also celebrates a new skill for me - learning to do the pleats on the back of an English Gown, and finally using a pattern I've had in my stash for years!
Material: Cotton shirting and linen for the bodice lining.
Pattern: Larkin and Smith English gown, altered to be a round gown.
Year: 1770's
Notions: Thread and twill tape.
How historically accurate is it? The pattern and construction methods are for the most part, accurate. I did use the sewing machine for the unseen parts of construction however, as I wanted to get this done fast! I used whatever cotton or polyester thread I had on hand, linen would be the accurate choice. Striped linen would be more likely than striped cotton, but cotton is plausible. The color and stripe pattern are good as far as I can tell. I'm not sure if it's accurate to have a round gown with a stomacher, a compare front would be better.
Hours to complete: Not sure on hours, but it only took a week to make, which is considerably less than most of my gowns! If I had to guess, I'd say around 20 hours - it was fast!
First worn: 10/14/20
Total cost: The pattern was a gift. The fabric was free to me. The linen for the lining was left over from making my shift. Figuring in the cost of the linen originally and the cost of thread and twill tape, $7ish total that I spent on this.