After several years absence thanks to one thing and another, I finally made it to the Heritage Festival in my hometown again this year!
I didn’t volunteer, as my schedule for that weekend was up in the air when the volunteer sign-up found it’s way to my inbox, but just attending again for the first time in years was delightful!
My best friend and a friend of hers joined me, and, between rain showers, we ate from the food trucks, toured the big house, visited the weavers guild, and wandered through the vendors tents.
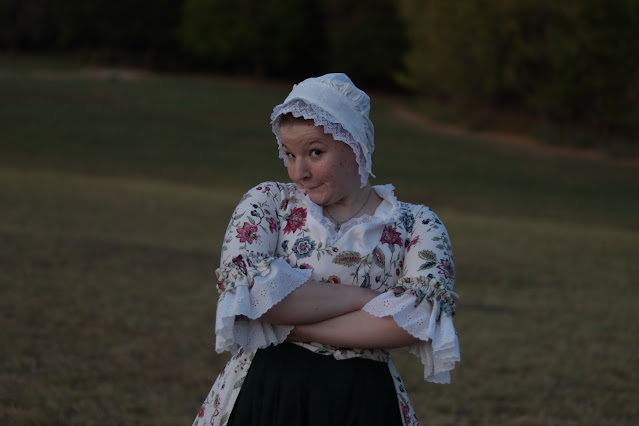
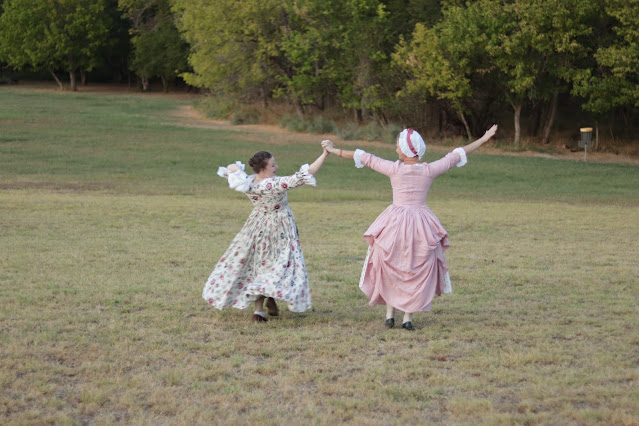
Despite not volunteering, I still decided the Heritage Festival was worth dressing up for. (After all, 9 years ago it played a roll in my fall down the historical costuming rabbit hole.)
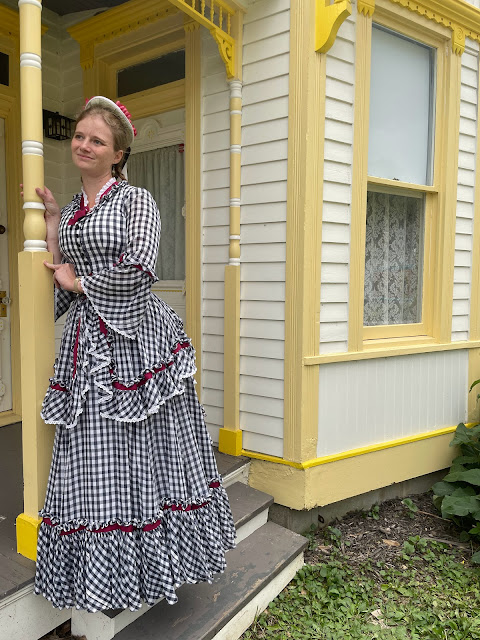
I decided to wear the 1870’s gingham summer dress I made two years ago.
As the main house on the property was built in 1877 the era was just perfect!
I blogged about the dress itself in detail last summer - you can see part one here and part two here - but never did share about the hat, so I’m going to take this occasion to do that.
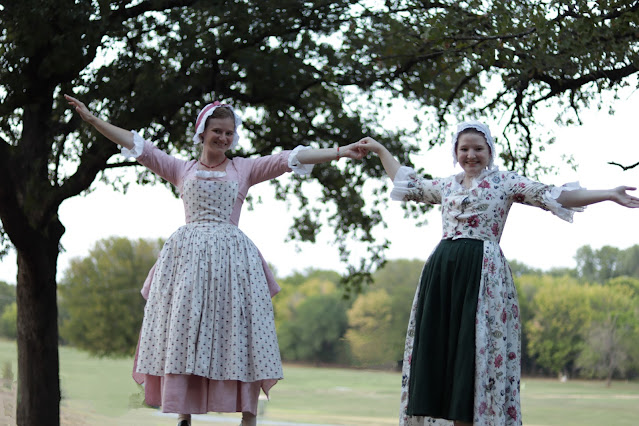
Believe it or not, you’ve seen this hat before. And no, I don’t mean its appearances in this dress blog post. I’m talking about its original form, and its second rendition.
It’s the hat I wore for my Sophie costume back in 2016. The hat has been used in several plays since then, and was certainly showing its age.
After looking through English Women’s Clothing in the Nineteenth Century, and Victorian Fashions and Costumes from Harpers Bazar 1867-1898, and taking a proper amount of inspiration from Pinterest, I decided that there was enough salvageable straw left in the hat to make a cute little 1870’s headpiece.
So, armed with ribbons, a scrap of silk, and an old bridesmaid bouquet (left over from my brother’s wedding) that’s what I did!
I started by going through my mom’s kitchen to find a hat form.
A cereal bowl seemed about the right size and shape!
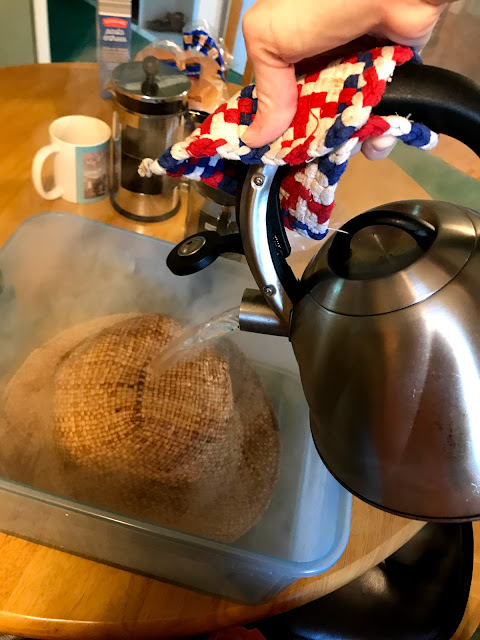
I stuck the cereal bowl in the crown of the hat, put the combination in a plastic tub, and boiled a kettle of water.
Once the water was ready, I poured it over the hat and cereal bowl.
I used silicone covered tongs to shape the hat around the bowl.
There was quite a bit of extra brim after using the bowl to make a smaller crown.
When I was satisfied with the shape, I trimmed off the excess brim - thankfully most of the damaged straw was in the portion that got trimmed away!
I used a rubber band to help the newly re-formed hat hold its shape, and set it out in the sun to dry.
Once the hat was mostly dry I zigzagged around the edge of the brim to keep it from unraveling, and set about trimming the thing.
I decided the line the brim with a scrap of green silk shantung. (The same green silk I used for this petticoat, to trim this caraco, and to trim this ensemble.)
I sewed the silk to the edge of the brim.
Then sewed several rows of machine gathering stitches.
For gathering it up. . .
To fit neatly inside the crown.
I tied off the gathering stitches,
And hand sewed the silk in place inside the crown.
All neat and tidy!
And the stitches are hidden on the outside of the hat.
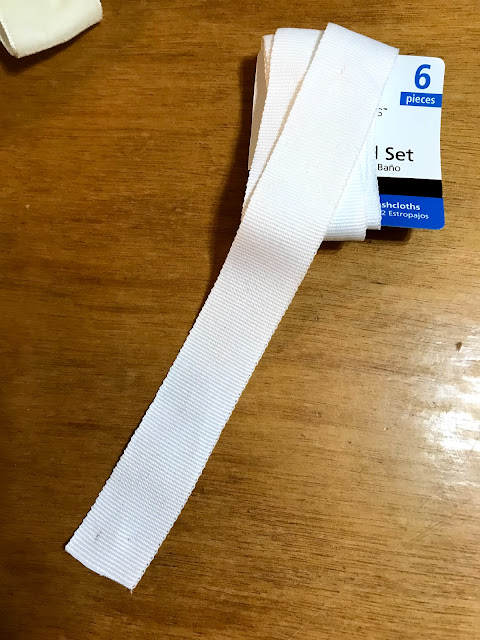
With the brim lining sorted, I had to decided on a brim binding. Petersham ribbon was my first choice, but finding some the right color in my stash wasn’t easy.
Finally, I found a bit of white petersham, which I tea-dyed to ivory.
And that worked just perfectly! I machine sewed it on.
Next up was all the floofy, pretty, outside trimming.
I tried out several different ribbons around the crown,
Before finally settling on a navy velvet band, with an ivory velvet bow in the back.
Perfect!
Ribbons settled, I filled the brim with the disassemble bouquet.
And sewed all the flowers in place!
After just a couple hours one Saturday afternoon, I had an adorable little 1870’s straw hat!
Which perches just perfectly on the back of my head like some of my inspiration fashion plates!
Not bad for the third rendition of an almost worn out costume hat!
The perfect finishing touch for a delightfully floofy costume!


