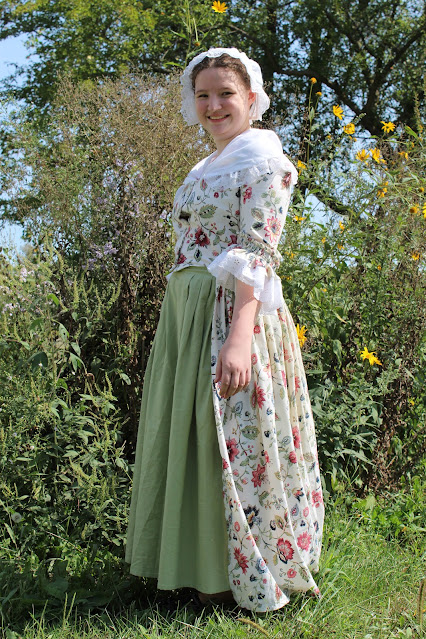
For my sister's birthday last year I decided she needed an 18th century gown. Ok, that's a lie. For my sister's birthday several years ago I decided she needed an 18th century gown. I had the pattern and the fabric in my stash. It. . . just. . . didn't happen at the time. So fast forward to last summer. I decided that 18th century gown for my sister was absolutely going to happen for her birthday, and I actually managed it this time around.
It did help that I had a late 18th century costume demonstration scheduled for about a month after my sister's birthday, and I'd invited her to help me out with it, promising I'd figure out *something* for her to wear.
With an event already scheduled for her to wear the dress too, I actually had to get it done in time for her birthday!
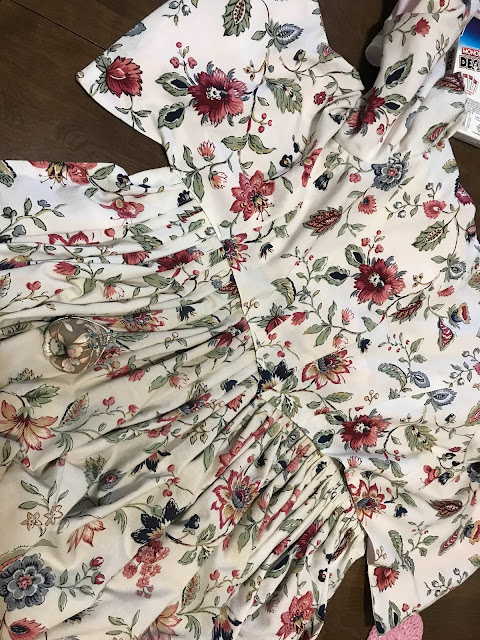
Now a twin size sheet is not a whole lot of fabric to work with when talking about an 18th century gown, so I seam ripped out most of the hems to get every last inch of that fabric. I cut the bodice pieces out of one long edge of the sheet, and then used the full length of the sheet, slightly narrowed from cutting out the bodice, and turned on its side, for the skirt. I kept the hem in one long edge of the sheet to use as the skirt hem - because why bother re-doing something that's already there? The other, cut, edge was pleated to attach to the bodice.
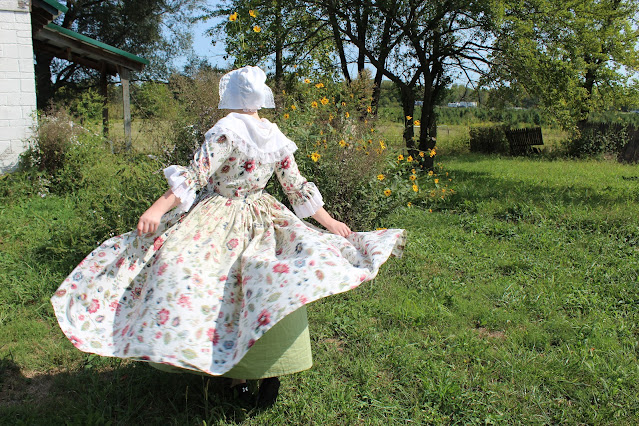
The full length of the skirt pleated up quite nicely and made an adequately full skirt for a 1780's look.
This dress is an "Italian Gown", meaning the bodice and skirt are cut entirely separately, rather than the back of the bodice being pleated and those pleats going into the skirt the way the "English gown" and "French gown" (Robe a la Francaise) are made.
This style of gown became popular in the late 1770's, and was pretty much the most common style in the 1780's. Around the same time, gowns started fastening down the center front, rather than having a stomacher that was pinned in place, the way earlier styles did.
To make this dress appear a little more accurate, I decided to cut the bodice front on the bias, the way most extant gowns from the era were cut, and make it center front fastening. As this was a birthday gift, I couldn't fit the dress on my sister while I was making it, so I just had to guestimate how much needed to be added to the center front of the bodice to eliminate the need for a stomacher.
I over estimated a bit, but that was ok. Online I found several examples of Italian gowns where the center front opening wasn't exactly center front, so the extra bit of overlap is fine. Gowns of this era could be closed with hidden lacing, pins, or hooks and eyes. All of these seemed a bit too finicky for my sister's costume, so I opted to do hidden buttons, the same way I did with her "Colonial costume" when she was a child.
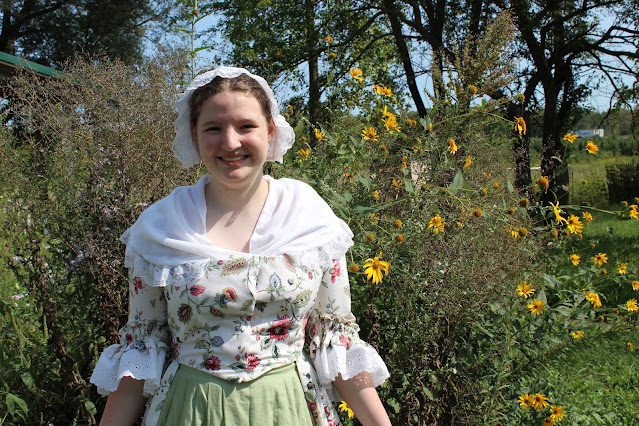
I kept the dress mostly trim-free so it could be accessorized differently depending on the occasion. But. I couldn't help myself. I simply had to add sleeve ruffles because they are one of my absolute favorite things about 18th century gowns. Strictly speaking, cotton eyelet sleeve ruffles sewn directly to the gown are not historically accurate - but for a fun 1780's resembling costume, I couldn't resist.
For the most part the dress is entirely machine sewn, as that's what I allowed myself time for, however I did hand sew the skirt to the bodice.
The bodice and sleeves are lined with a pale pink cotton. I picked this up at the City Sewing Room, along with a couple other solid cottons to use for petticoats. The gown is made as an open robe, meaning the skirt is, well, open down the center front, displaying the petticoat underneath.
There were so many pretty colors in the gown print to pick from when it came to making the petticoat! I couldn't pick just one, so I gave my sister two different petticoats with the gown. A green one and a red one. In the future I plan to make her a blue petticoat, and maybe a yellow and a rose one. There are so many good options!
When my sister unwrapped the gown at her birthday party, she was extremely excited and ran straight upstairs to try it on.
It's always a good sign when gifts meet with the birthday girl's approval like that!
A couple weeks later she wore her gown with the green petticoat to assist me with a clothing demonstration at my friend's Daughters of the American Revolution (DAR) meeting.
We accessorized the gown with a cap and fichu, made by my mom for the Pride and Prejudice play several years ago - and thankfully still in our costume collection!
At the demonstration I talked about different dress styles in the 1770's and 1780's while my sister helped me change out of my English gown and into my sack-back gown.
While I changed and talked my spare set of stays, petticoats, bum pads, and other various 18th garments were passed around for the audience to handle and examine.
Following the demonstration my sister and I walked across the street for coffee - all dressed up!
Both our audience at the DAR meeting and the ladies at the coffee shop across the street enjoyed seeing our dresses!
Of course now we have lots of plans for other stuff to make my sister - a pair of stays and sack back gown are top of the list!
Maybe we can get those made within the next couple of years! We already have the patterns and fabric!


Very lovely, it suits the young lady perfectly. I like the green petticoat.
ReplyDeleteLove your work and your description of process. I've been putting off my Italian gown for a year as I am intimidated but your easy talk about it encourages me. Well done.
ReplyDeleteBoth the fabric and the dress style are beautiful!
ReplyDelete