Saturday, September 24, 2022

A Rag Doll and Matching Dresses

 A few months before my niece's first birthday I decided I was going to make her a rag doll. She loved stuffed her animals so I figured a rag doll would be perfect! Fun and cuddly, a bit different than anything she already had - and something I could make!


I had a specific idea in mind. I wanted the doll to be fairly large - about the size of an American Girl doll and I wanted it to have long yarn hair that could be played with but wouldn't be easily messed up. I really didn't want felt hair or some other sort of permanently styled hair. I wanted this doll to be something my niece would find cuddly and fun at age 1, but not outgrow in a hurry. A doll she might still enjoy at age 5 or 6. 


After considering multiple different patterns I picked Simplicity 8760 for the task. The doll had the general size and shape I was going for, but I would certainly be making a few changes. Clearly I would be doing the hair differently. I also planned to add a smile, because who wants a doll without a mouth? And I would not be permanently attaching the clothes to the doll - what fun is that?? The doll's entire body would be made from peach colored cotton and her clothes would be made separately.


A pale peach cotton for the body of the doll was surprisingly hard to find. Joann's and Walmart had nothing, nothing, even close to the right color to match my niece's skin tone. When I had just about given up, and was considering attempting dye white fabric, I was relieved to discover Hobby Lobby had just the right color.  I quickly bought the 1/2 yard I needed and began the doll.


I used the template included with the pattern to mark the placement of the eyes, then freehand drew on a mouth as well. While embroidering the eyes and mouth I also decided to add a nose.


After looking at and feeling all the yarn at Joann's and Hobby Lobby I picked out this "clay" colored "comfy classic" yarn for the hair. It had a different texture than most yarn and I thought it would lend itself well to the cause of ragdoll hair.


I used the felt "hair" pattern pieces from the pattern and cut them out of a soft corduroy that matched the color of the hair yarn.
 

The corduroy was stitched onto all the head pieces prior to the assembly of the doll to form a base for the hair.


The doll was then sewn up, stuffed, and prepared for hair.


I used this tutorial to make and attach the doll hair. 


The only change I made was to sub a chain stitch, done by hand, for the center "part", rather than the machine done zig-zag stitch the tutorial recommended. I just thought it would look nicer.


Hair made and attached, I styled it into pigtails, and this doll was ready for clothes!


Along with the doll, I was also giving my niece the board book Goodnight Mr. Darcy, (Let's get her started on Jane Austen young!) so I decided a Regency-esque dress was an order. And clearly my niece would need a dress to match her doll. 


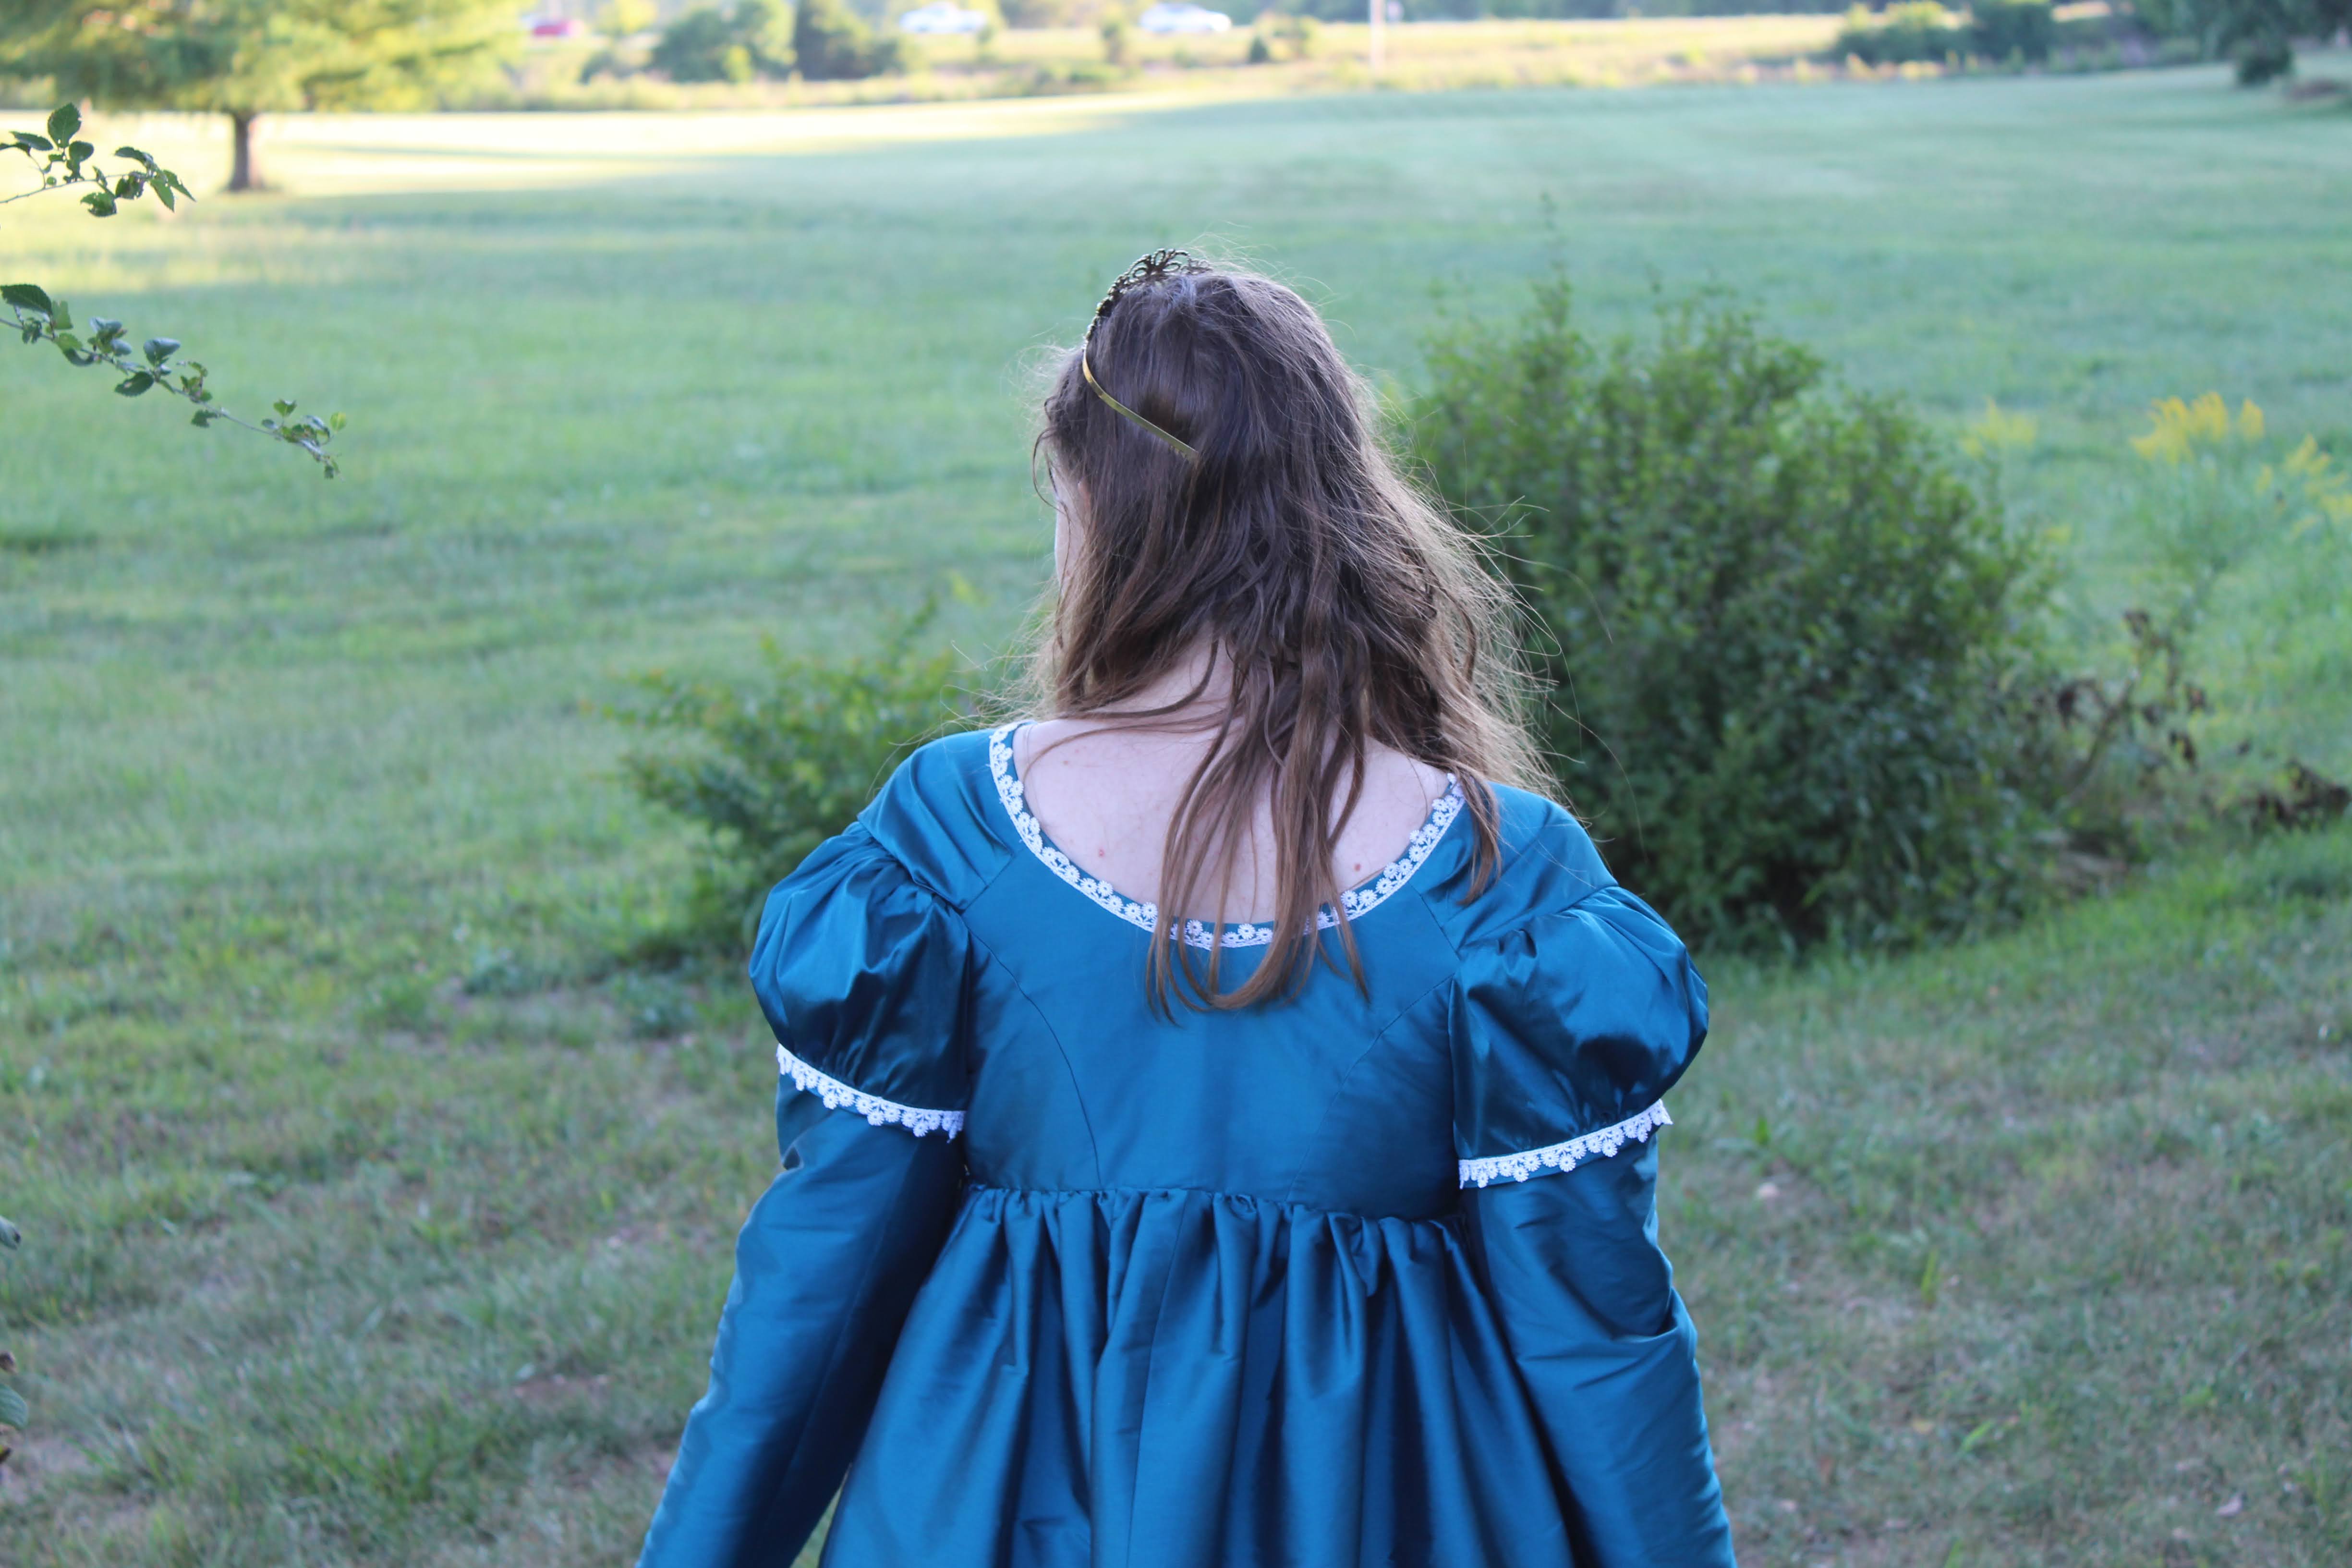
After going through my pattern stash, looking at the options I had in my niece's size, I decided Simplicity 5213, with it's empire waist, long pleated skirt, and short puffed sleeves, would fit the bill well enough. I could easily alter (and slightly enlarge) one of my 18" doll dress patterns to make the rag doll's dress.


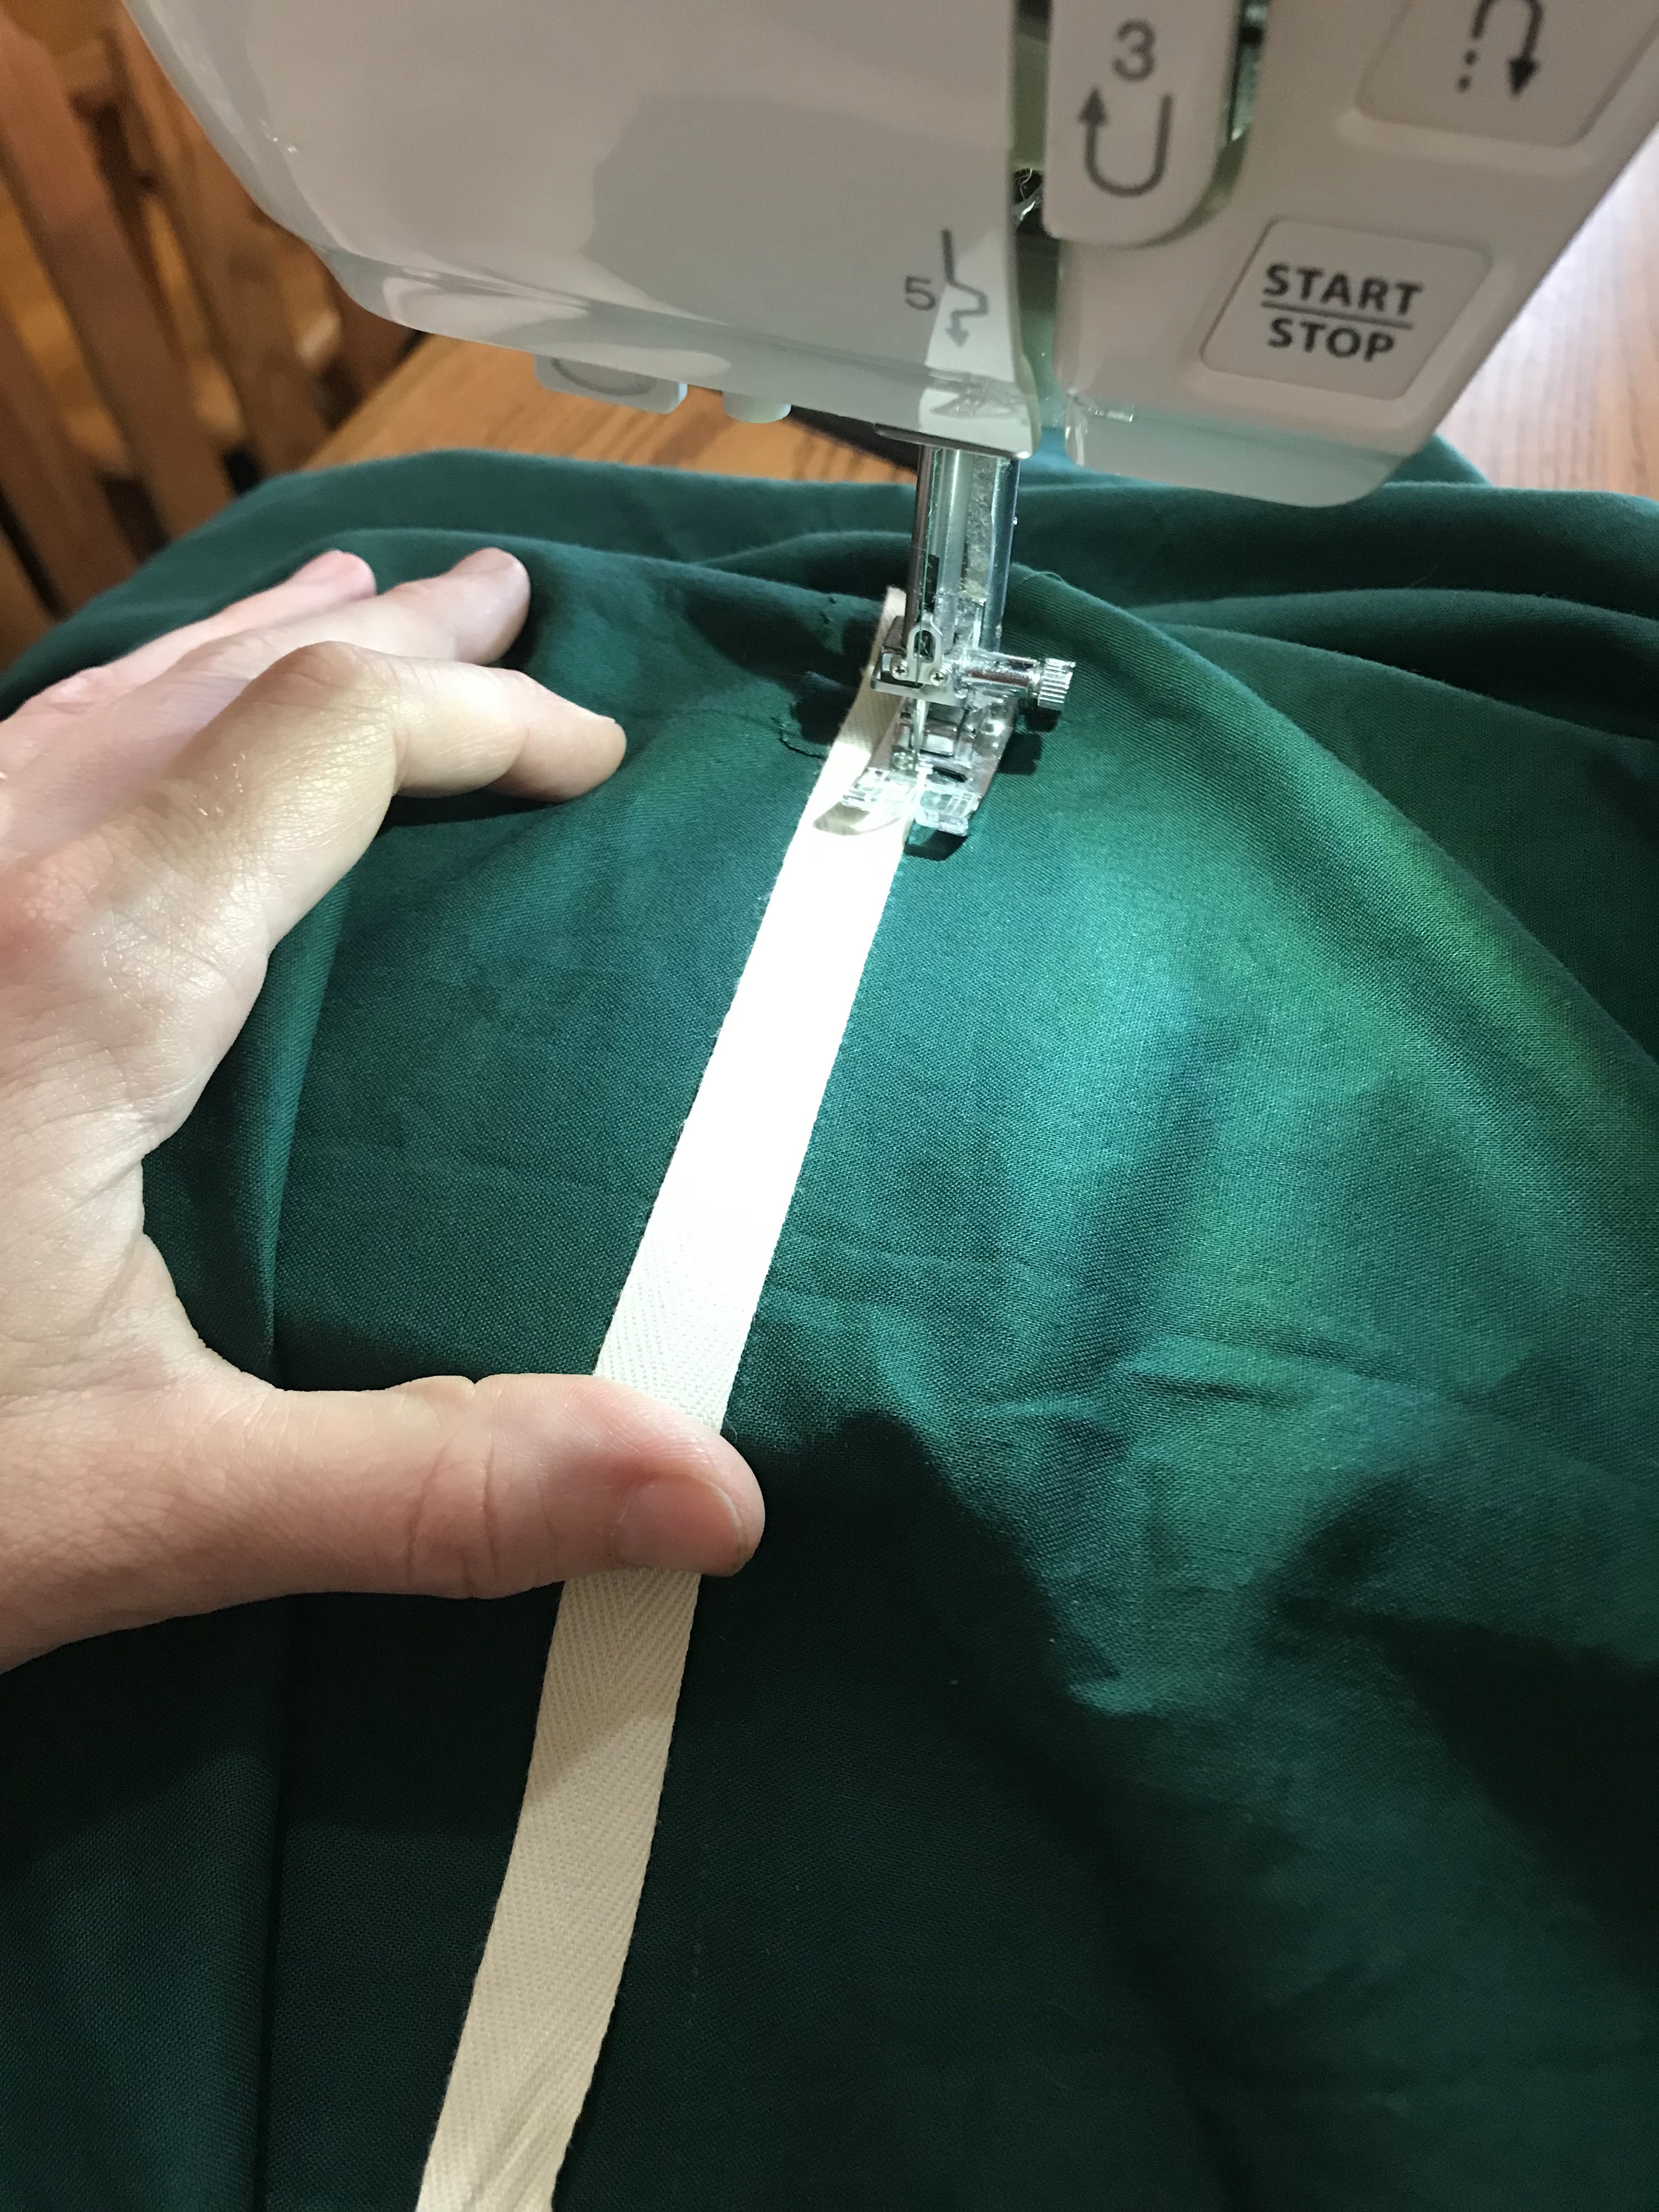
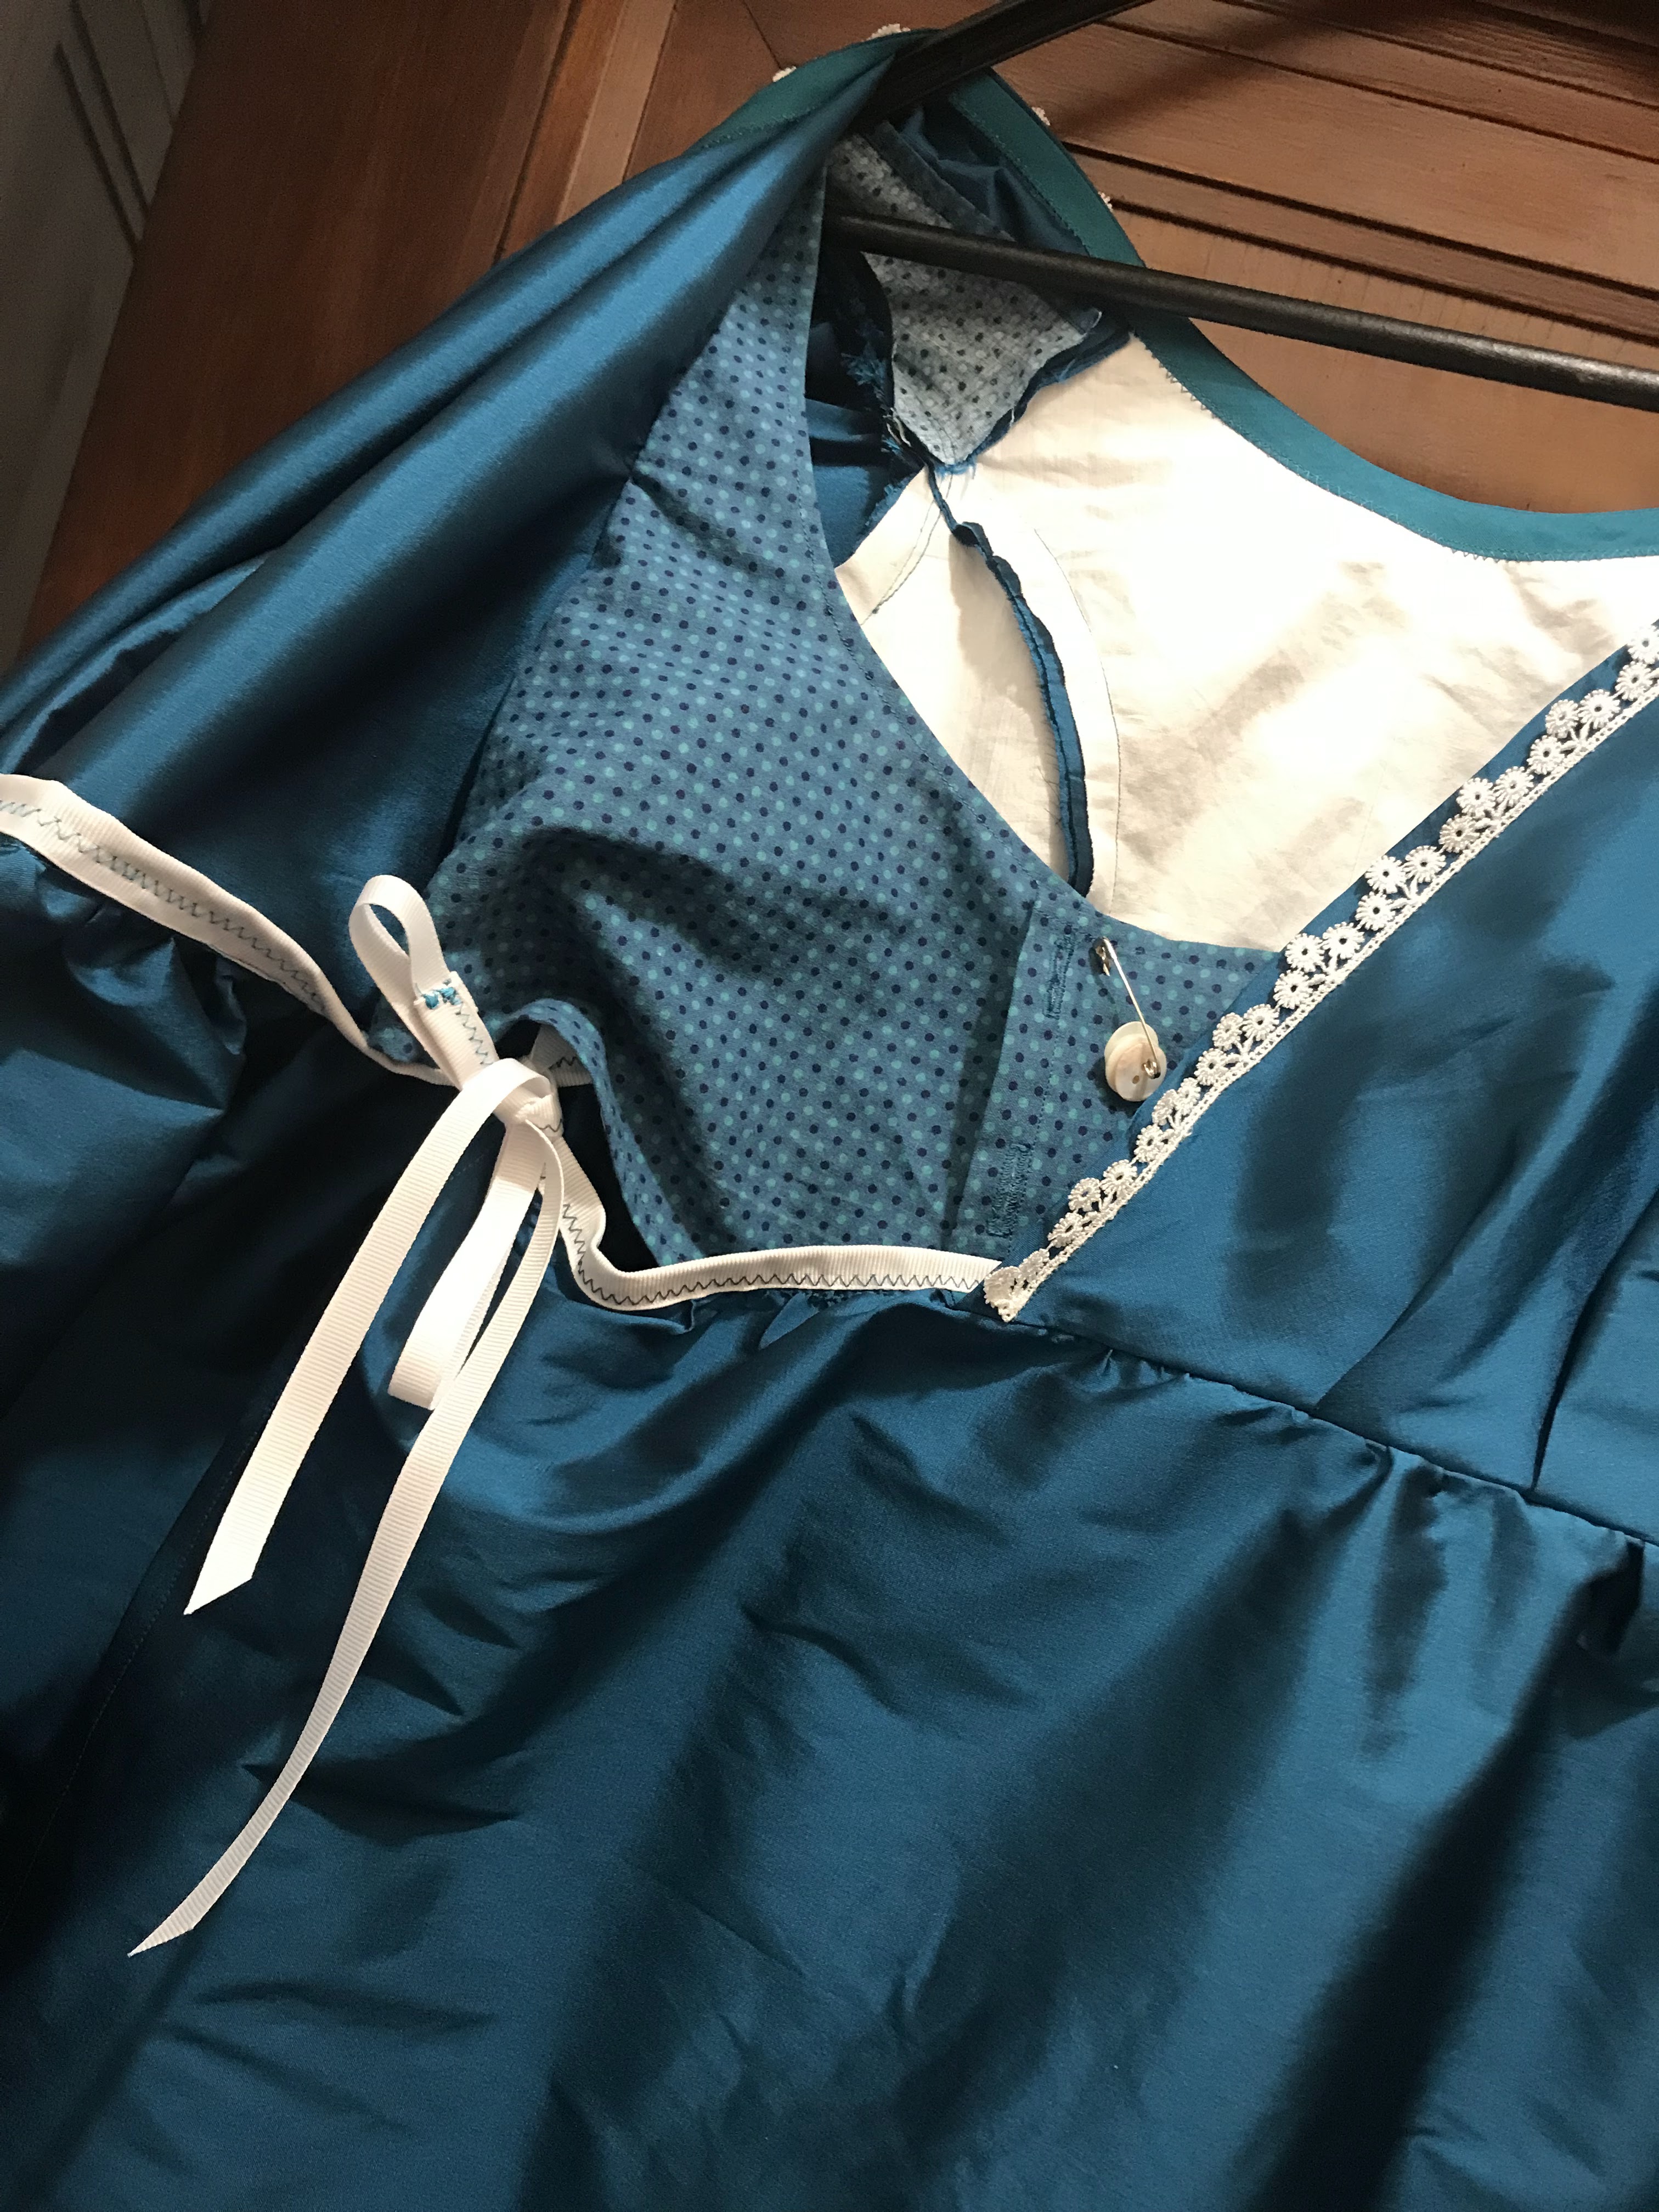
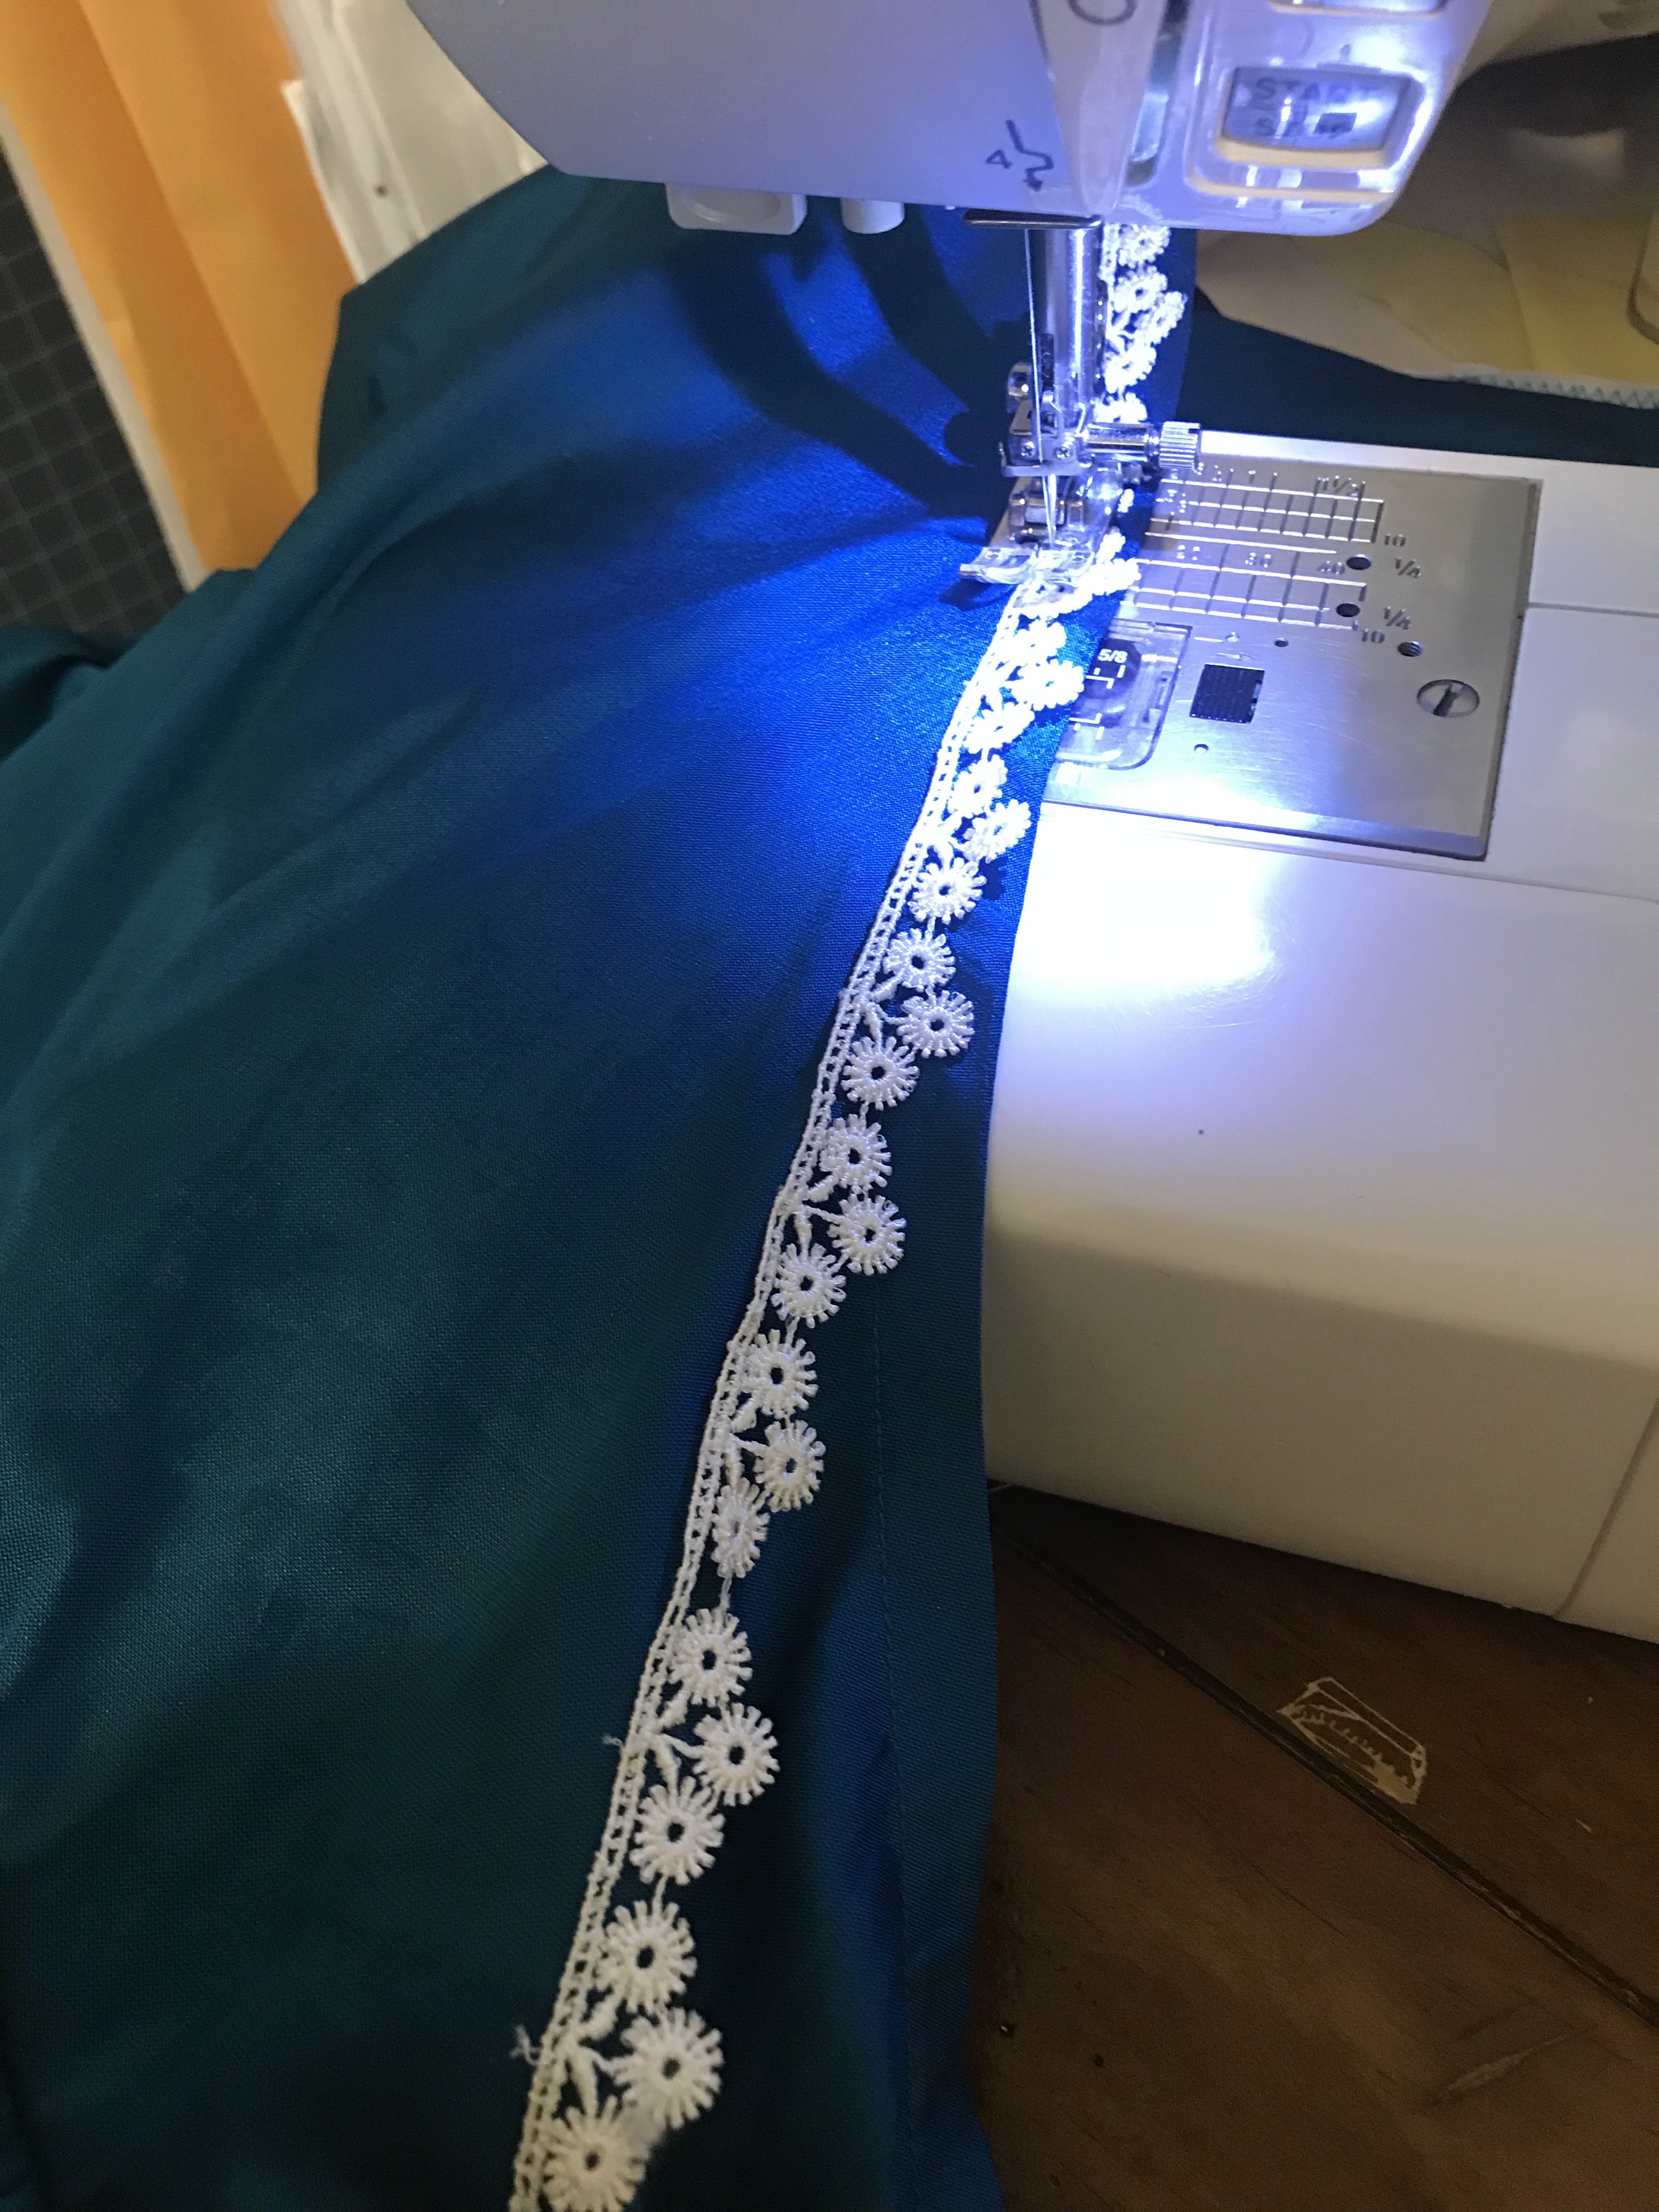
I cut the dresses out of the red cambric sheet, left over from this dress. Just for fun, I decided to use one of the fancy, little used, stitches on my sewing machine to "trim" around the neckline. 


I chose to have my niece's dress close with plastic pearl buttons down the back. For the doll's dress I used white snaps.


The fronts of the the dresses are rather plain, except for the neckline trim and the skirt pleats, because. . .


I made pinafores to go over the dresses! 


The pinafores are made without a pattern, from a scrap of floral cotton out of my stash. 


I used the dress bodice pattern pieces as a template to figure out the size of the pinafore bodices. The skirts are just rectangles, cut to be a bit shorter than the dress skirts. The fronts and backs of the pinafores are made exactly the same (other than the slit down the back of the doll's bodice to allow the pinafore to slip over her head), and they tie together at the sides. I decided this was the safest style of pinafore for an active toddler, since there were no long strings that could get wrapped around the neck during play.


Fully clothed, the rag doll was all wrapped up for my niece's birthday party. 


Upon unwrapping, my niece immediately kissed her new doll. 


So I'd say the gift was a success! As for the matching dress. . .


I hear tell she wore it for Thanksgiving, and Easter, and a few times in-between.


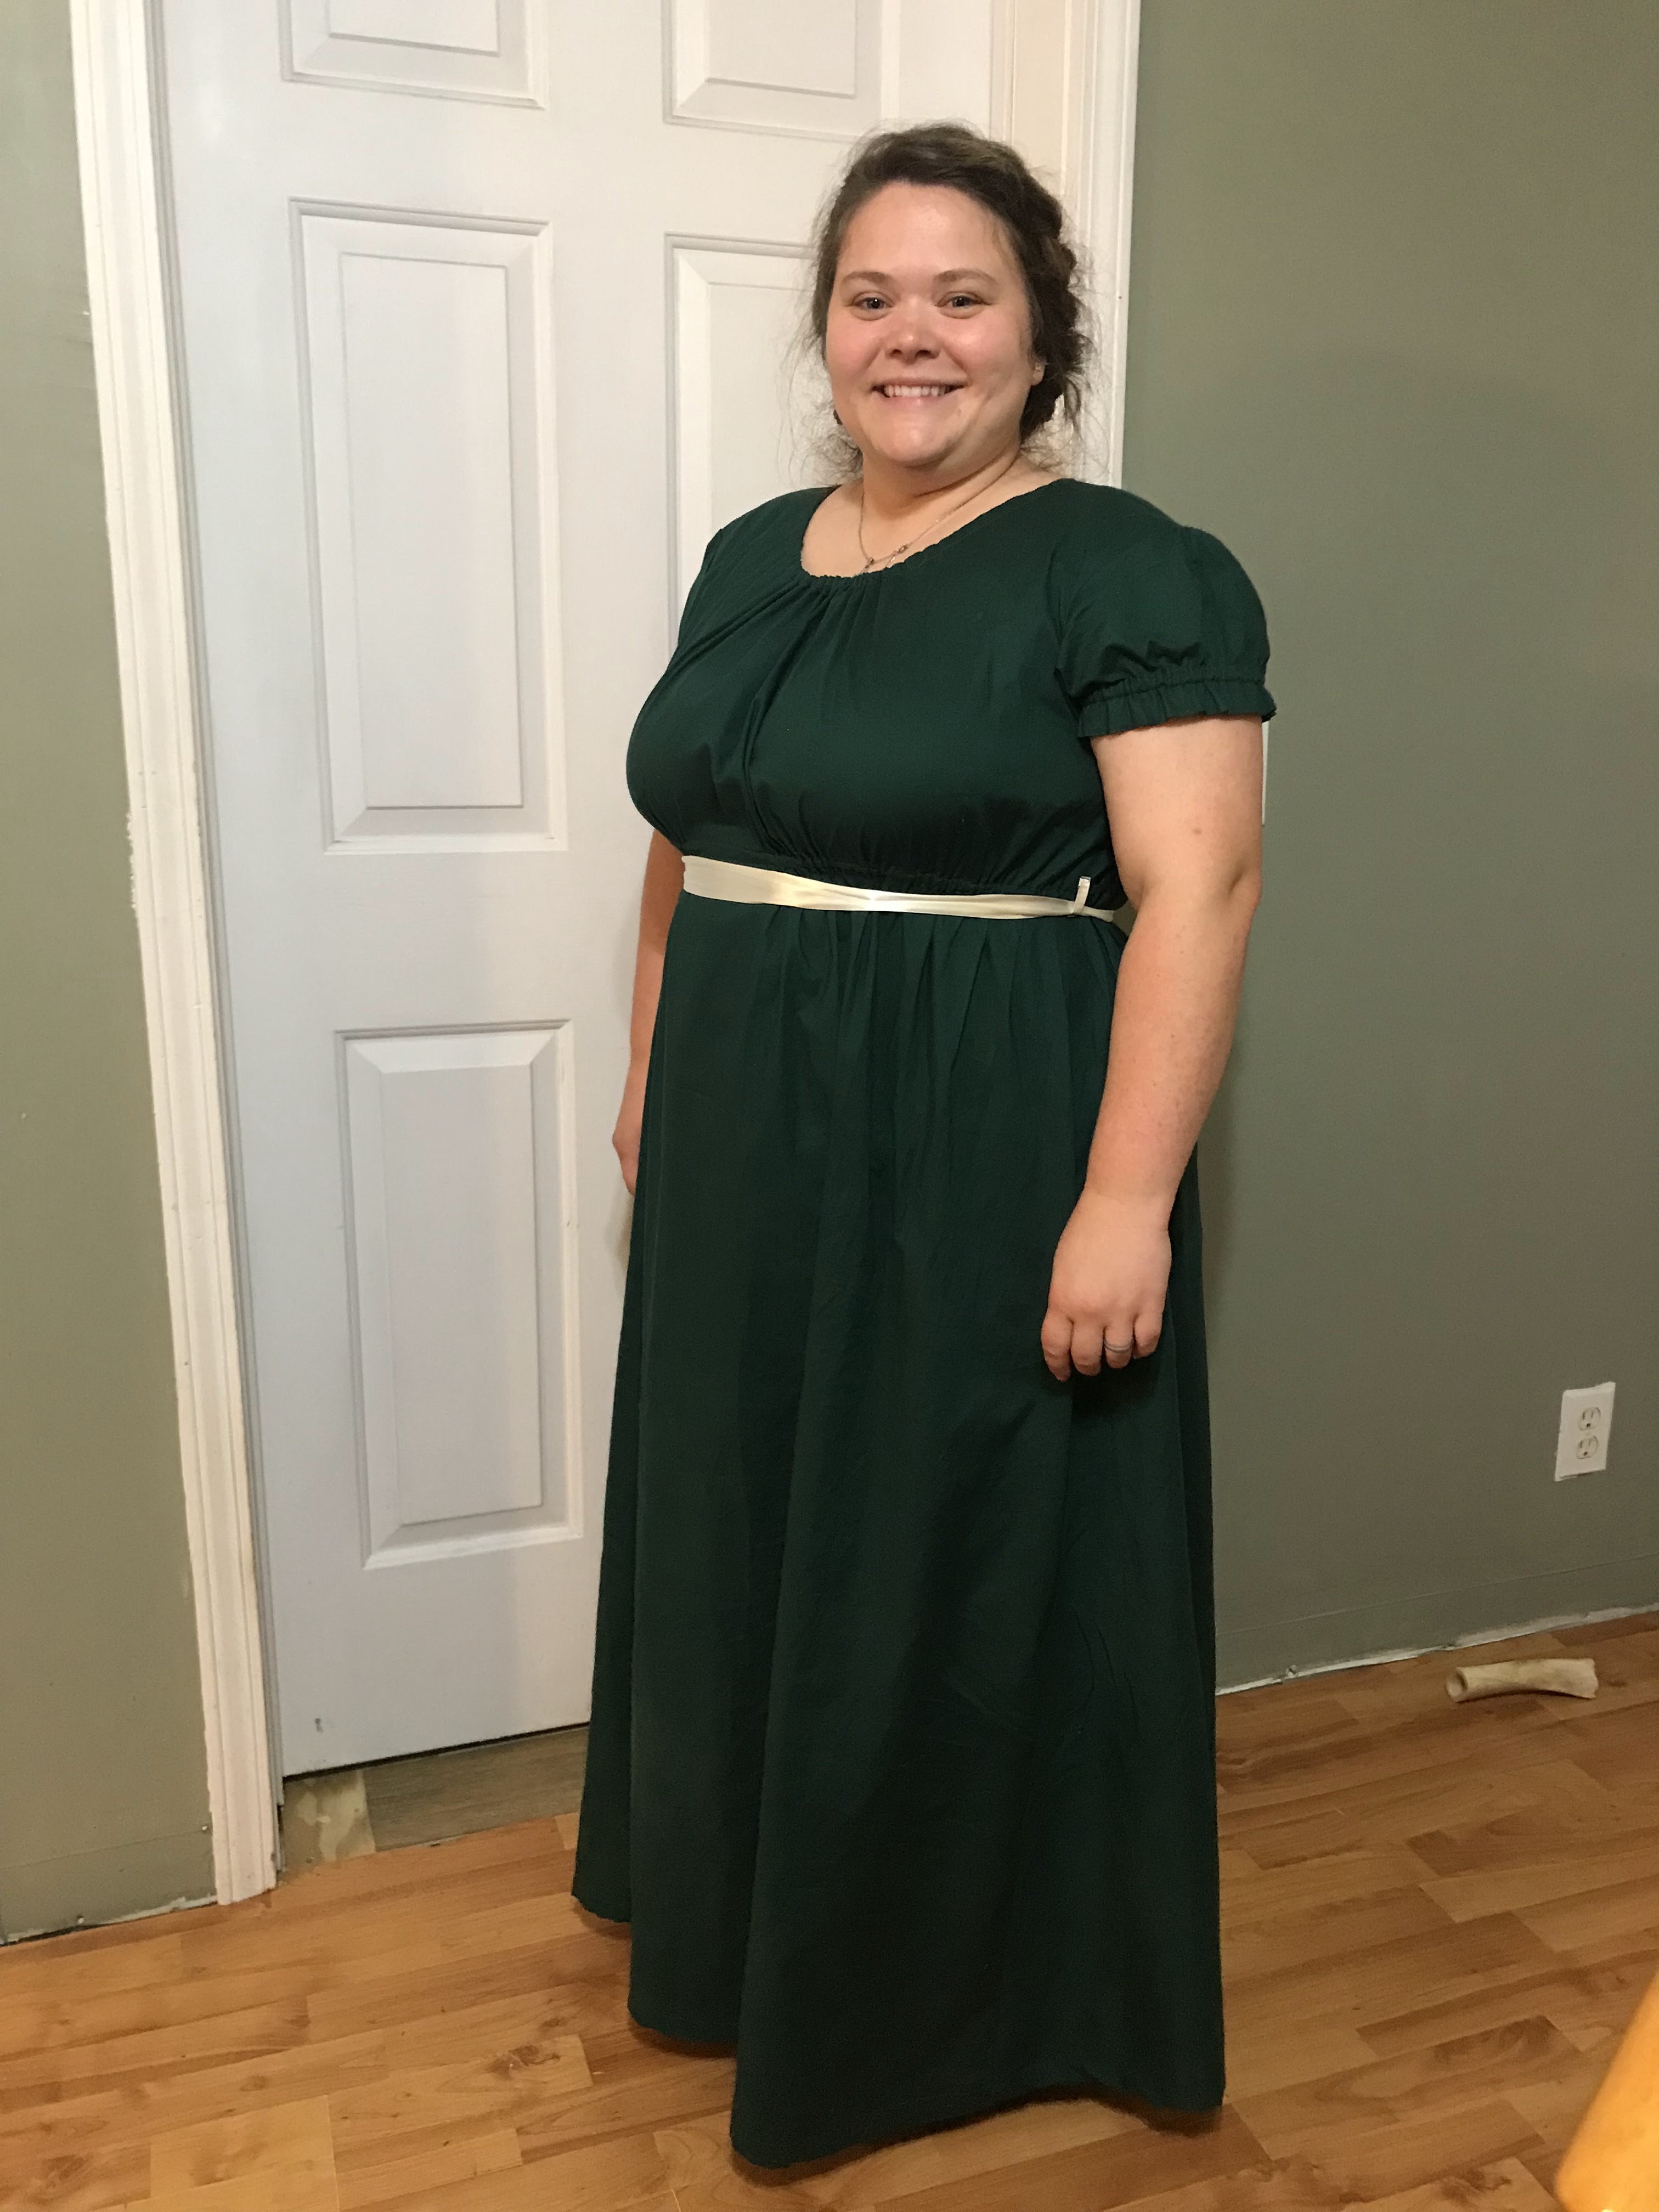
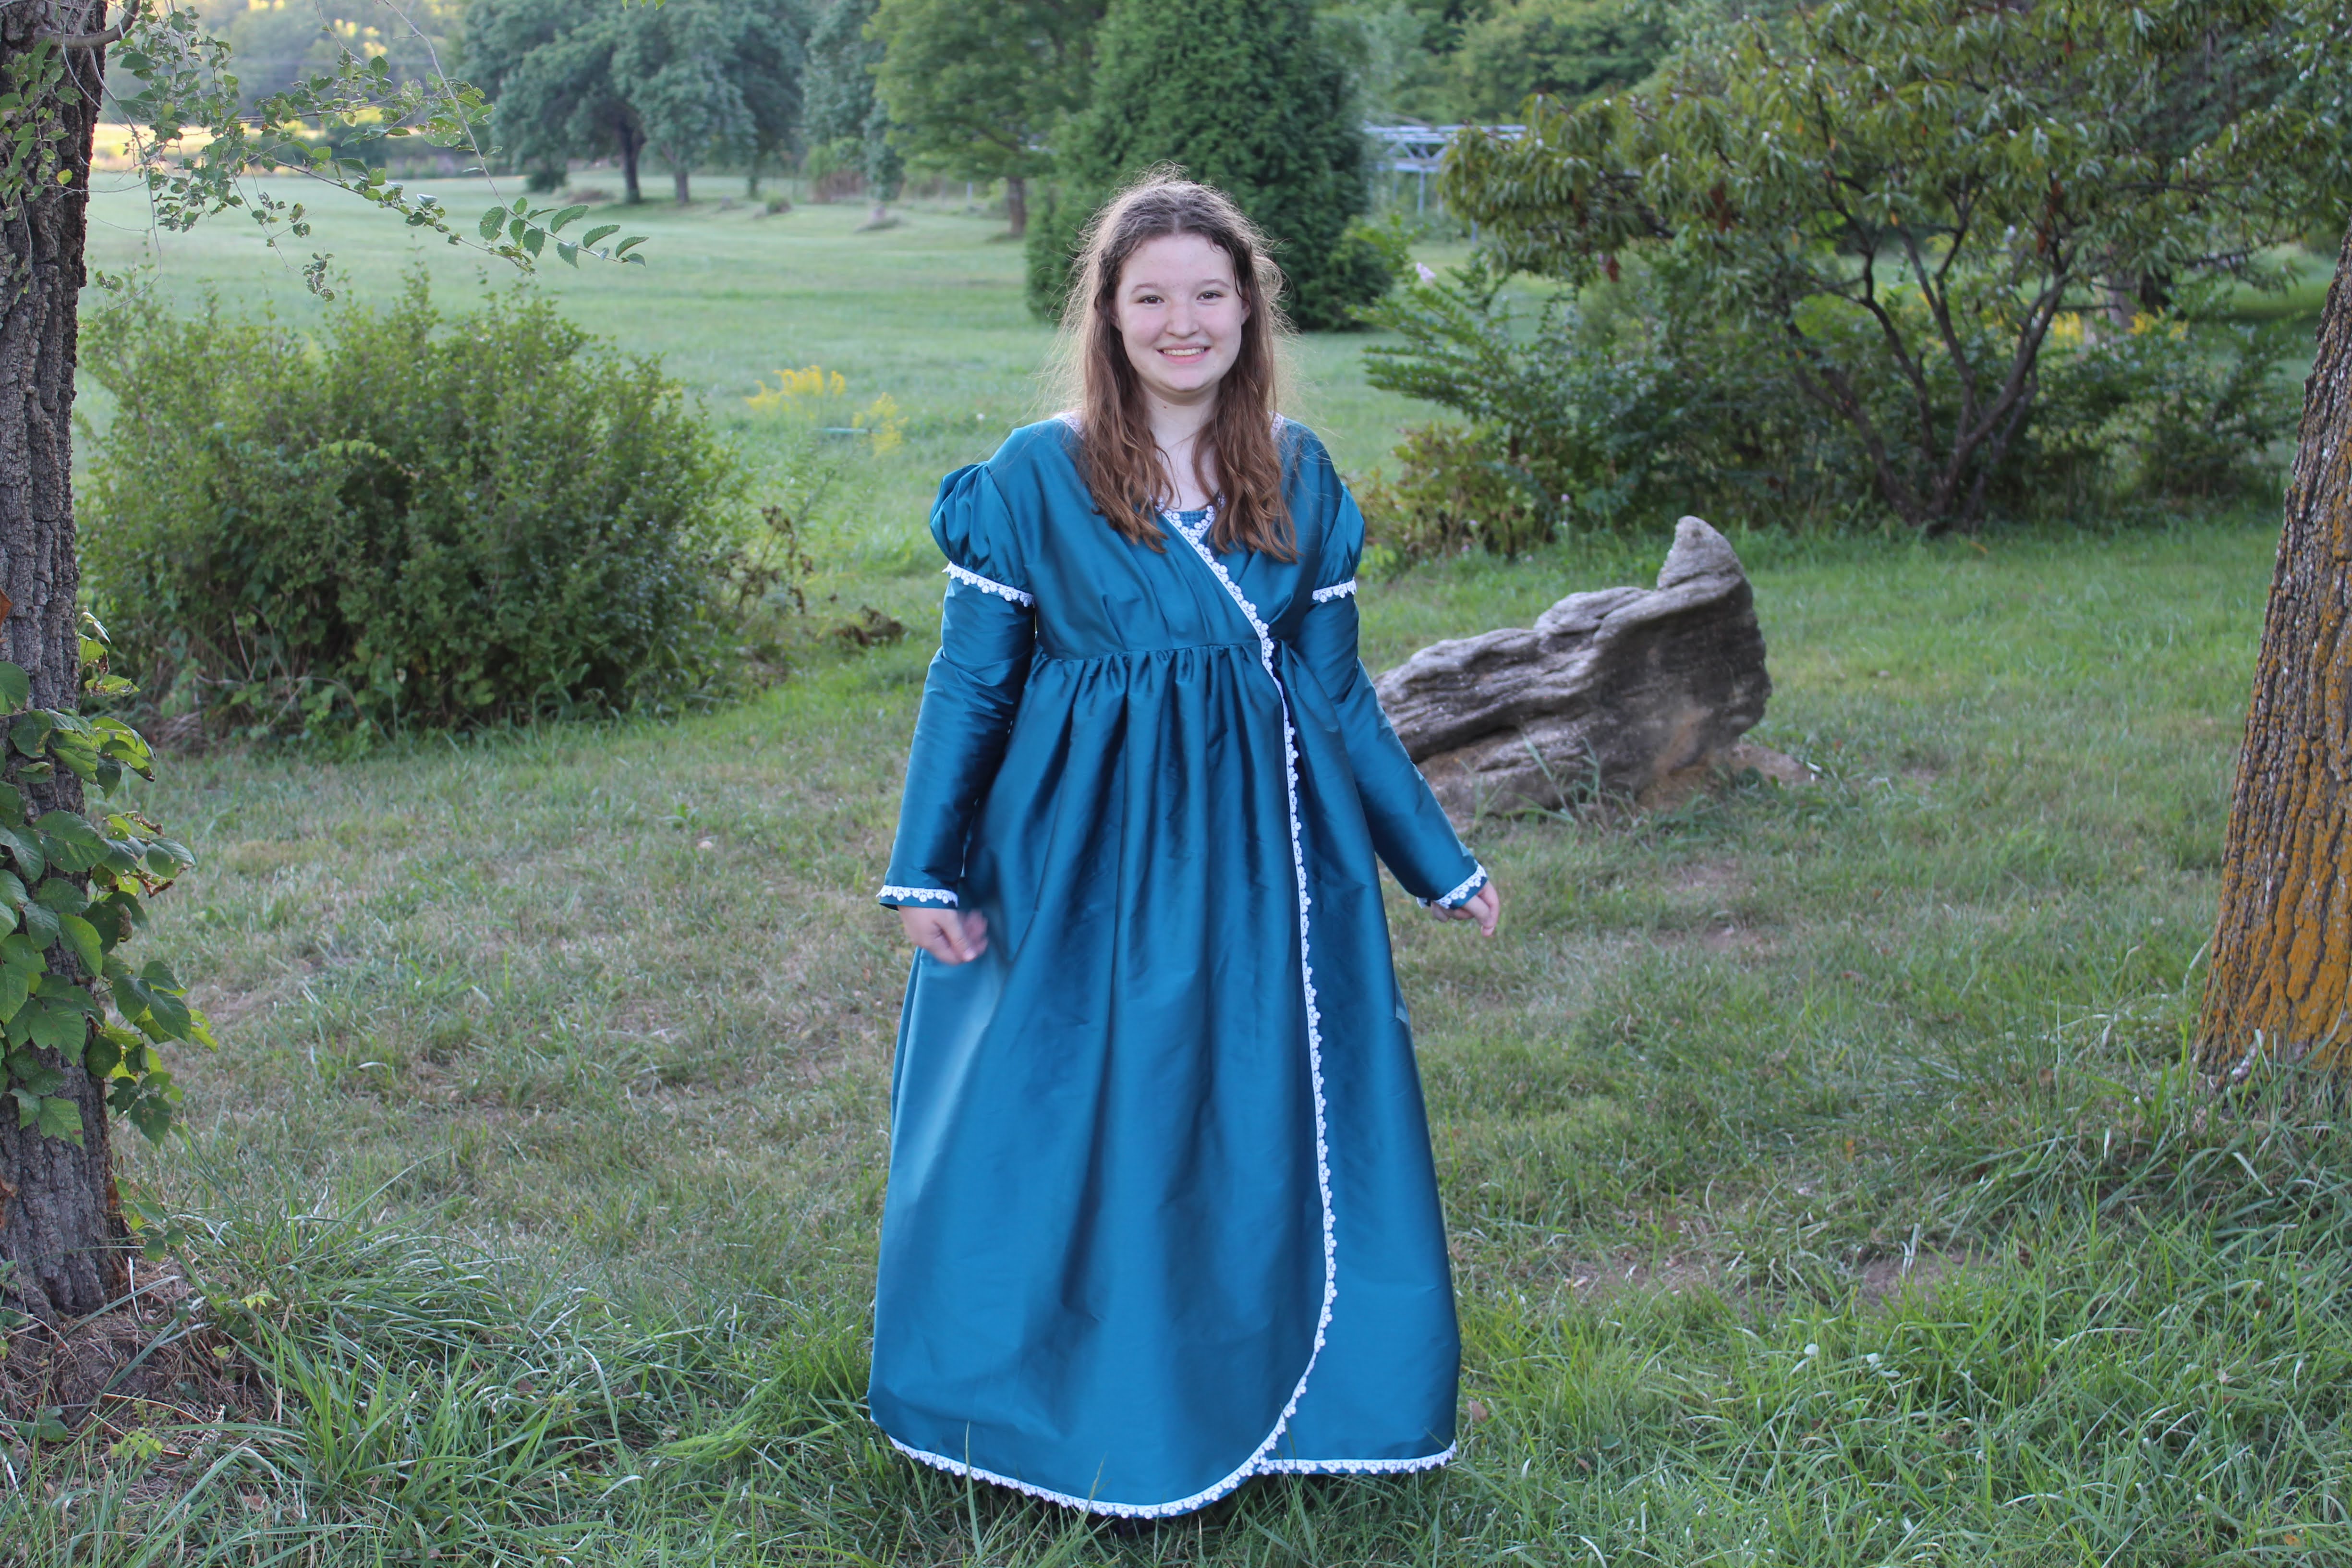
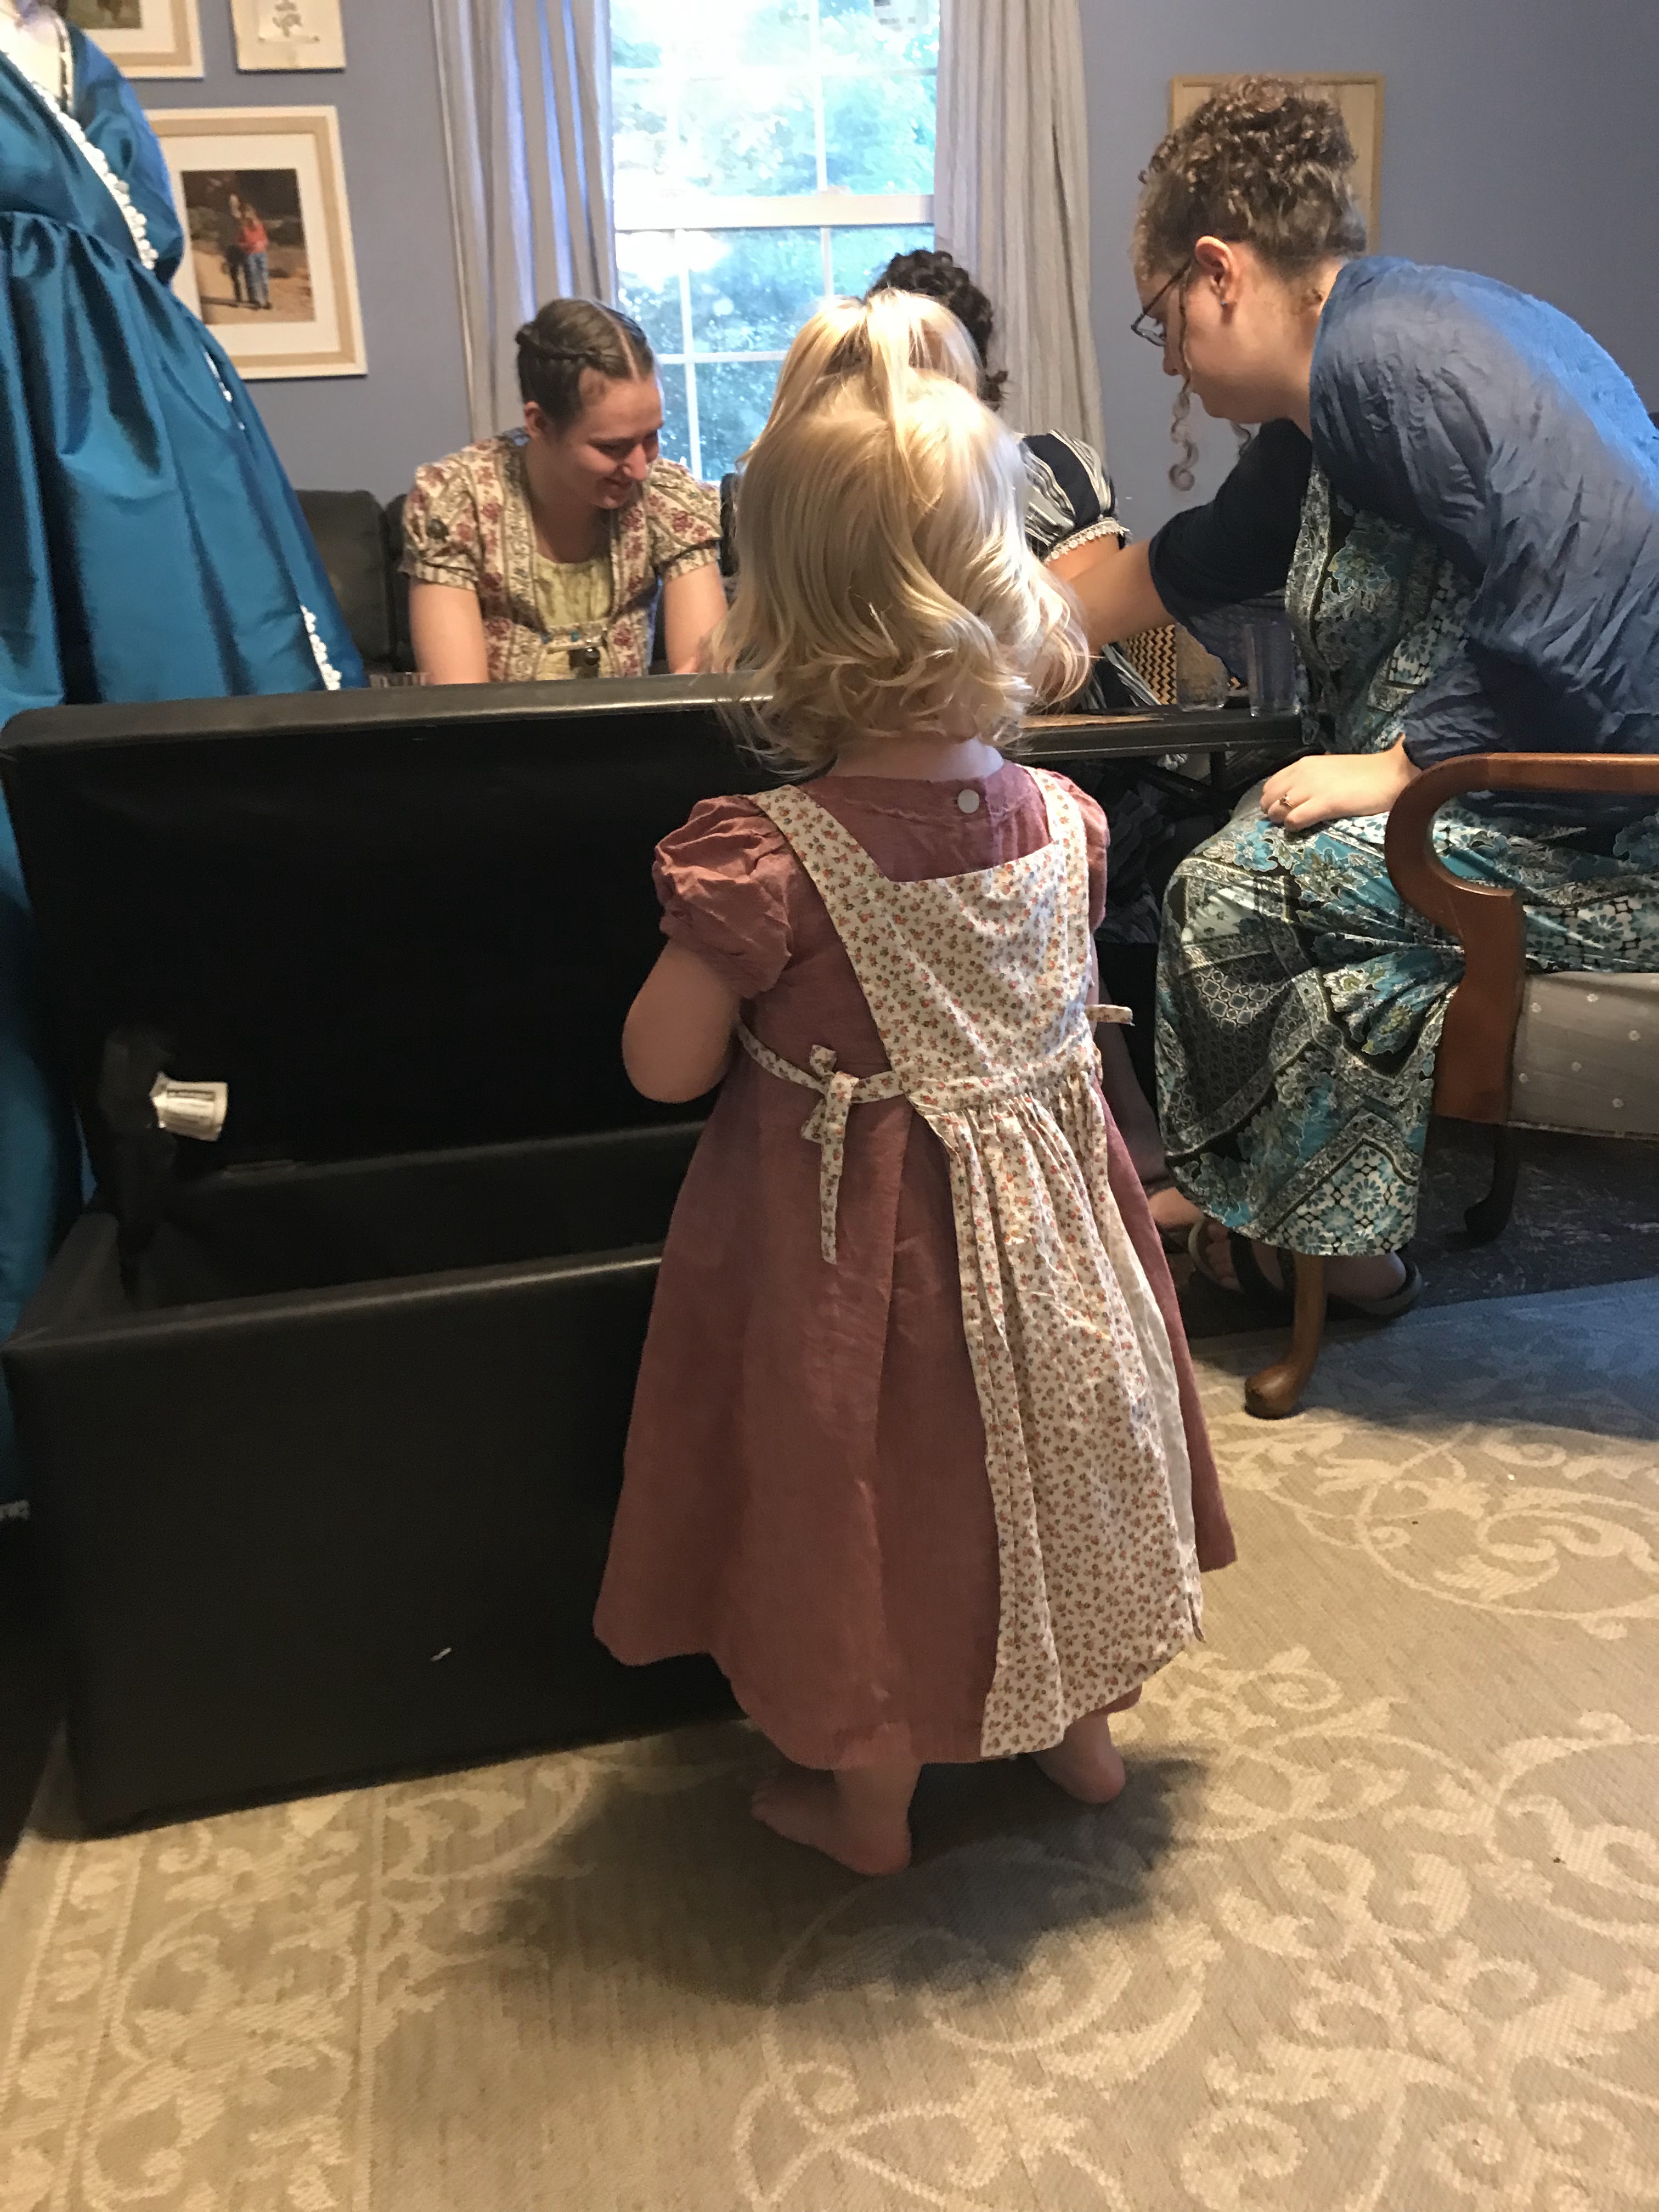
Most recently she wore it for my sister's Regency birthday party


Where she looked absolutely adorable!


So I'd say that half of the gift has gone over quite well too!


Wednesday, September 21, 2022

The Speedy Quick Drawstring Regency Dress

It was about 9 o'clock the night before my sister's Regency birthday party. My sister and I were hanging out in the living room at my parents' and discussing everyone's costumes for the following evening. We shortly came to the glaringly obvious fact that our sister-in-law did not have a regency, or even a regency-ish, dress. 

Well, I'd had a cup of coffee that evening so I was more awake than I typically am at 9pm, and this extra energy led me to the suggestion:

"Why don't we make her a quick drawstring dress? I'm sure we've got a suitable pattern and fabric around here somewhere."

My sister thought this was a brilliant idea, so we ran down to the basement to start going through my stash.


On our way to the basement I called my sister-in-law to get a couple of quick questions answered;

-Approximant bust measurement

-Favorite colors to wear

With this info we were ready to get started!


Now I do have several regency patterns in my sister-in-law's size, but we did not have time to make one of those. Quick and Easy was the name of the game! Thus, we decided to use Simplicity 8799 - a re-print of a 1950's night gown pattern. With a slightly fuller skirt, some sleeves, and a drawstring under the bust, it would be passible.


My sister cut out the pattern while I went in search of some fabric. My sister-in-law had told us dark colors, blues, greens, purples. . .


I found several yards of dark green cotton in one of my fabric bins - perfect! I ironed it flat, and then we were ready to cut out!


I cut out view A of the pattern, slightly lowering the front neckline, free handed some sleeves, and cut the remaining fabric into triangular gores to insert into the sides seams to make the skirt nice and full.


By this point my evening coffee had worn off, so everything was set aside to be sewn up the next morning.


Morning came and I sat down at my mom's sewing machine to begin. The first step was the sew button holes at the back neckline and waistline for the drawstrings to go through. And here I ran into a problem. My mom's buttonhole foot happened to be with my sewing machine, 2 hours away. Oops. She gave it to me when my buttonhole foot broke a couple years ago because she rarely sews buttonholes. This was fine when we, and our sewing machines, resided in the same house. But now? Yeah, this wasn't working so well. I ought to buy my mother a replacement buttonhole foot. However, that was not an option right at that moment. The local Janome store was closed. So I improvised and just free-handed some button hole shaped things with a zig-zag stitch.


After that hurdle was gotten over, the rest of the sewing went easily. I used twill tape to make the drawstring casing at the waistline and bias tape for the neckline casing. Ribbon drawstrings were inserted in those two locations and elastic was put in the sleeves.


 I added ribbon "belt carriers" at the side seams for a ribbon sash.


The ribbon sash was added and the dress was done!


It was finished in under 3 hours - with several hours to spare before the party began!


My sister-in-law arrived, put her dress on, and I was relived that it fit pretty darned well!


She looked like a regency lady for the evening, right along with the rest of us!


Not too bad for a last minute thrown together project!


Now, of course I'd like to make her a nicer Regency dress, and some Victorian dresses from the eras my sister and I both have so we can all dress up together. . .


So we'll see how long it takes us to get around to that!

Sunday, September 11, 2022

My Sister's Peacock Blue Regency Wrap Dress

 As I mentioned yesterday, I made my sister a new Regency era dress to wear to her Regency Dinner Party birthday party.


I basically made her a regency era inspired princess dress, because she was the birthday girl, the princess of the evening, how could I not?


After months of dreaming and brainstorming, coming up with ideas and rejecting them, this dress finally began when I sent my sister to my fabric stash and told her to pick a fabric. 


She chose a peacock blue taffeta. I picked this taffeta up on a day trip with my husband last spring. It's a polyester, but one of the nicest polyester taffetas I've ever handled. It was a great price and a gorgeous color, so I think I picked up 12 yards. I could certainly use about 4 yards for a dress for my sister!


Once the fabric was picked, we started discussing the design. We looked through my pattern collection and talked about different ideas. We looked at extant taffeta regency dresses on Pinterest. We considered trim options. After all that, our favorite dress was this 1810's dress we found on Pinterest. I have no idea where this picture originated, but it's been shared on many different blogs.


We also quite liked this late 1790's fashion plate from the Rijks Museum.


A regency wrap dress - that's what we wanted! There was just one issue, I didn't own a pattern for such a thing. Now I'm pretty sure I could have hacked a couple of the patterns I did have to get something passable, but I was a little limited on time, so I took the easy way out and bought the Sense and Sensibility Elegant Ladies' Closet pattern. Nice size range, exact style we wanted, reasonable price, quick to download and print out - it would do!


I allowed myself 2 days to make the dress, then I needed to get back to working on my dress for the fashion show. I cut out the dress and assembled the bodice the first day, then attached the skirt and trimmed the dress the second day.


My sister specifically requested that the dress have her favorite style of regency sleeves.


Short puffed over sleeves and long straight under sleeves. Since the pattern included 3 different sleeve options that was an easy request to accommodate. 


I flatlined the back of the bodice with a sturdy white cotton. For the bodice front lining flap thingies I used a blue cotton from my stash. (Left over from my sister's Japanese Festival costume from many years ago.) Due to my tight time frame, I didn't bother finishing most of the sleeves. This fabric didn't seem to want to fray too much. 


These front bodice flaps are meant to be pinned closed, but I thought that would probably annoy my sister so I decided to add buttons and buttonholes instead.


As far as the outer bodice goes, the waist/underbust seam is bound in grosgrain ribbon, and the underlap fastens at the side seam with a ribbon tie.


The overlapping side fastens with a hook and eye. The neckline is finished off with bias tape.


The sleeves, front opening, and hem are all trimmed with a white flowery lace from my stash.


I had just barely enough to go around the whole front opening and hem. 


I was quite pleased with how quickly and easily the dress went together, but there are a few things I wish I'd done differently, and might want to go back and change later. 


I ignored the skirt pattern pieces and just made the skirt gathered all the way around, like the 1790's fashion plate we liked. Honestly, I wish I'd made the front skirt flat like the pattern recommended, I think it would look nicer. The pleats on the bodice front along with the gathered skirt just makes things look bulky.


 The second issue I have is with the shoulders.


They're just too wide. the pleats at the shoulder seams really need to be tacked down rather than left free. 


This is an easy fix I can take care of later, but I wish the pattern instructions (which I did actually reference a few times throughout construction) mentioned this. I was a bit surprised when my sister tried on the dress, the night before her party, and the shoulders were too wide. 


Annoyances aside, my sister looked absolutely beautiful in her dress!


I'm so glad I got to make it for her!


And her birthday party was a lot of fun!