Saturday, June 24, 2023

My "Rilla Blythe" 1916 Evening Dress - The Fabric, Pattern, and Plan.

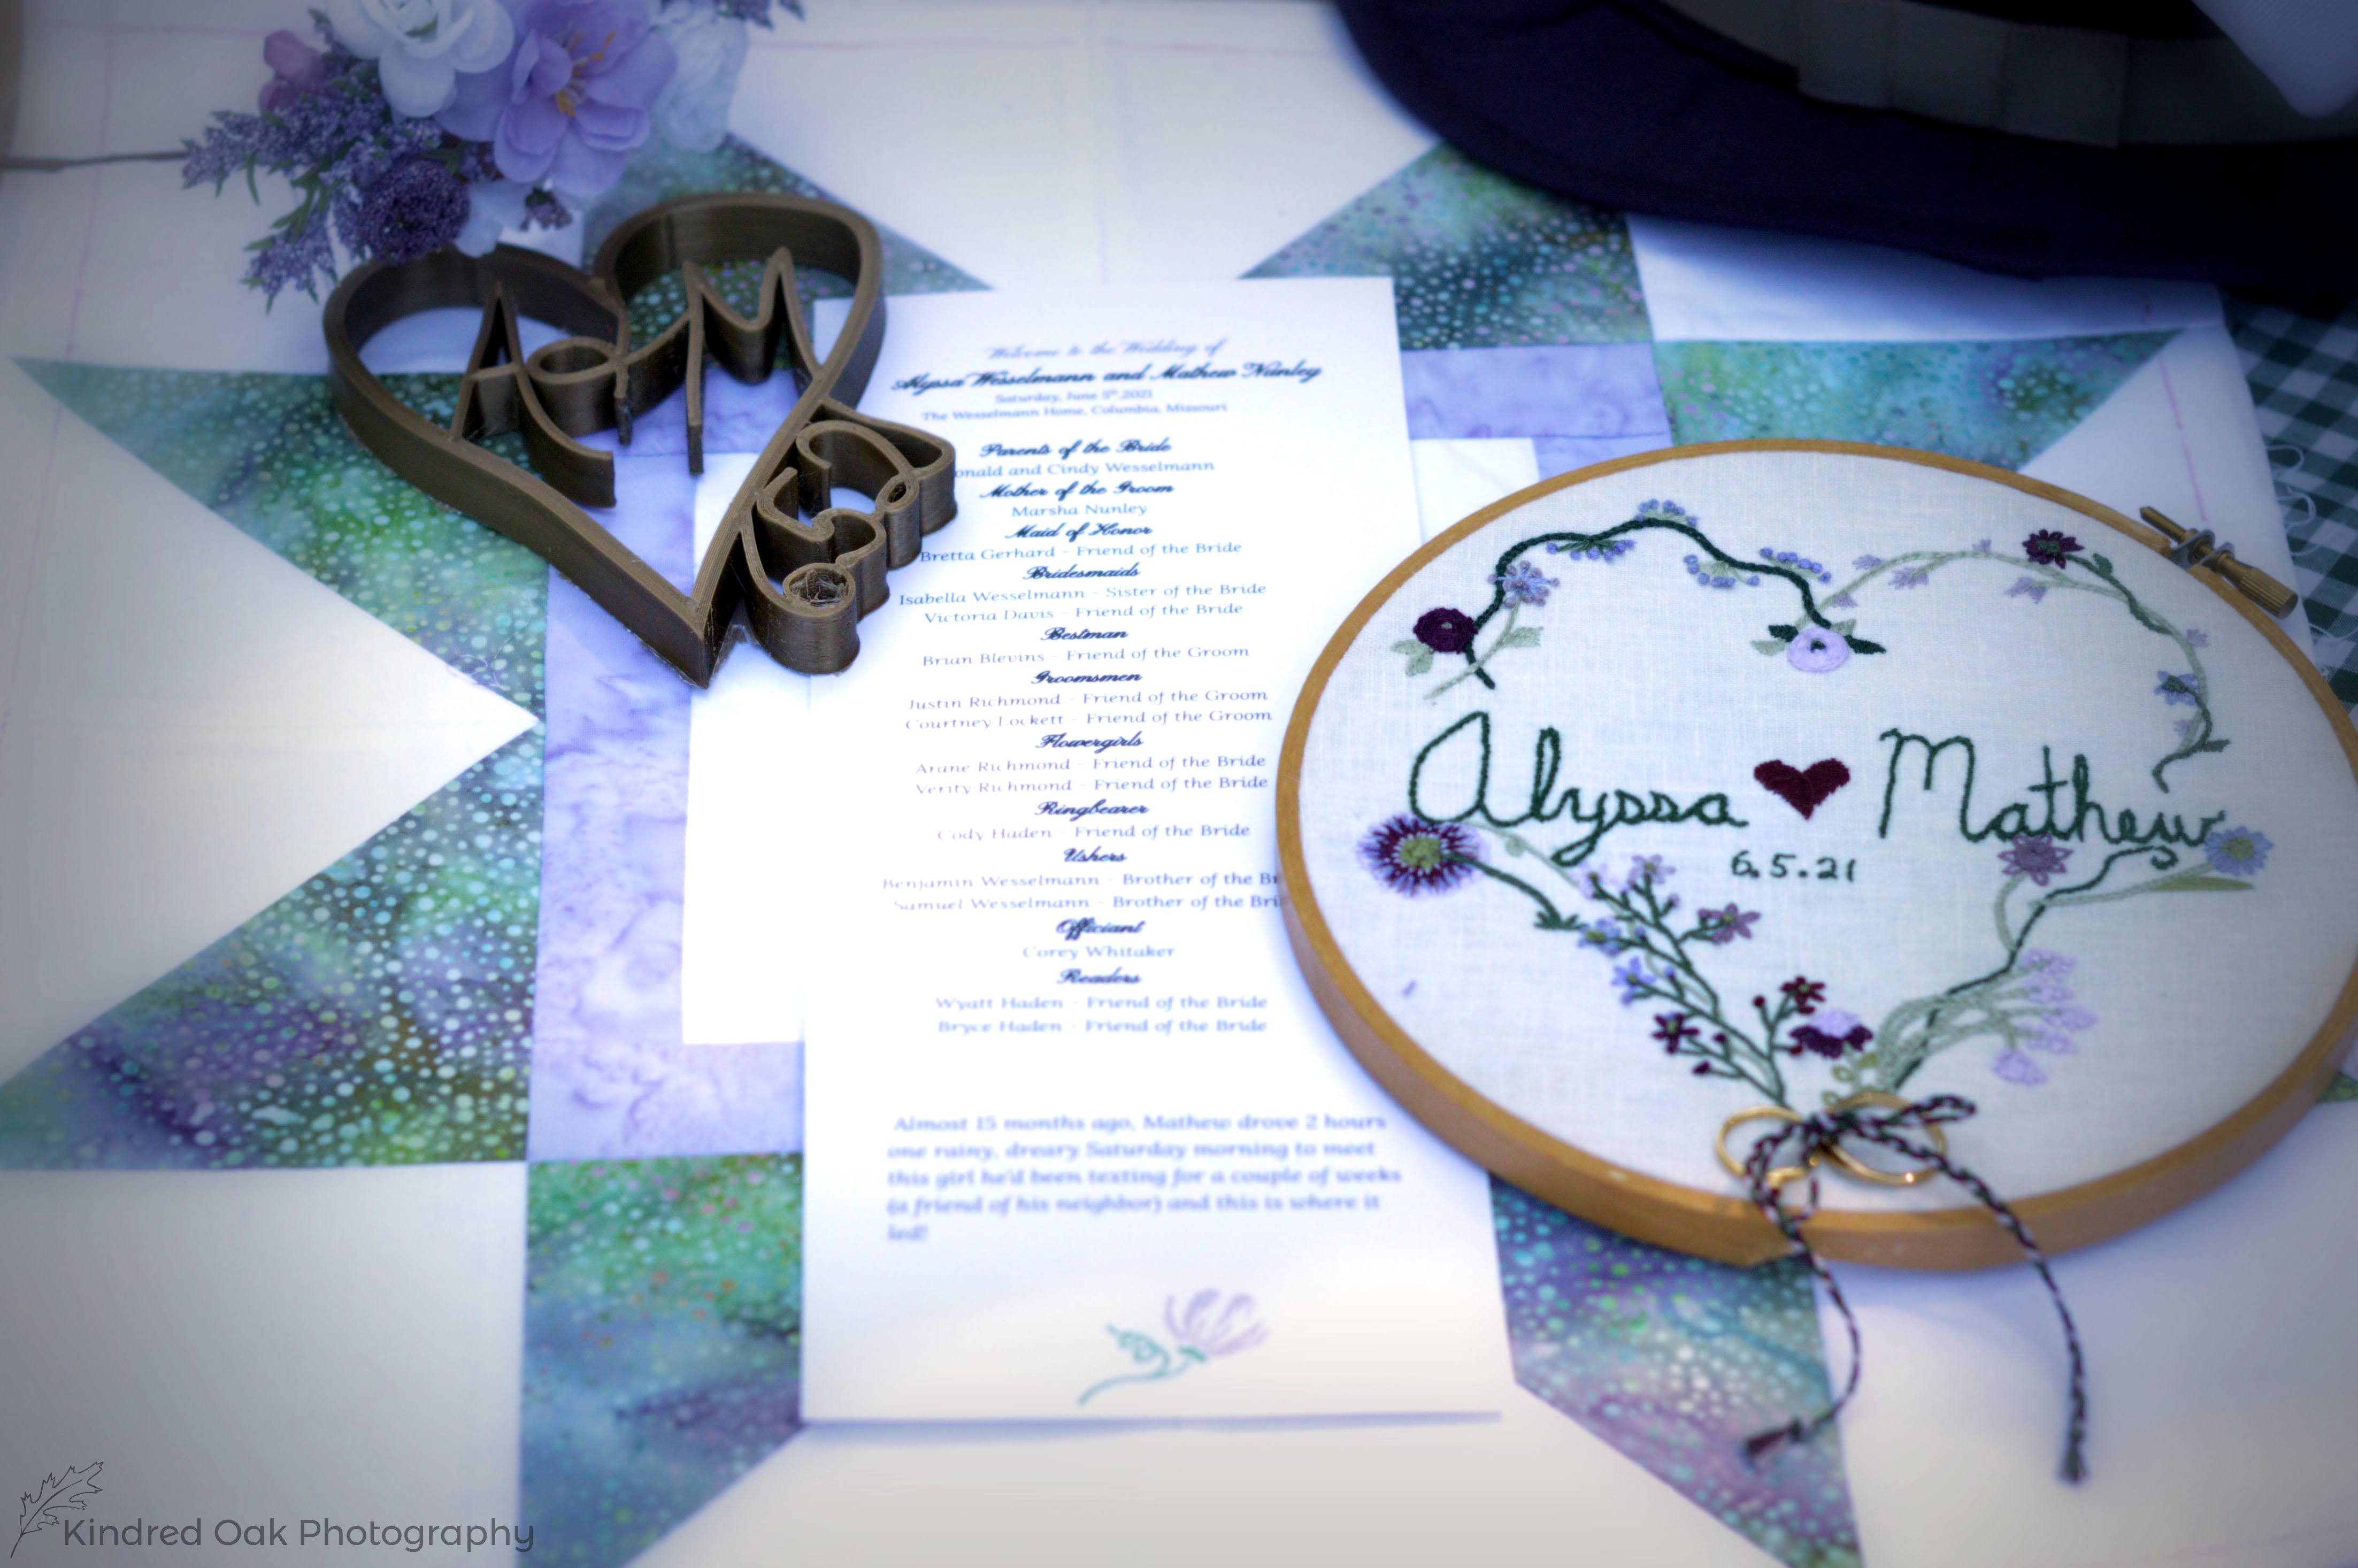
 Well I thought I would begin blogging my 1910's and 1920's makes, from the Historical Sewing Society outing at the beginning of this month, in the order I made them - undergarments, 1921 day dress, 1916 evening dress. However, I have yet to get pictures of the corset, petticoat, and combinations, so rather than delay blogging the entire project for who knows how long until I get those pictures, I decided I might as well blog things in reverse order - and hopefully by the week I'm ready to blog the under things, I'll have some pictures!


And thus, without further ado, let's talk about my 1916 evening gown!

As with the majority of my historical sewing projects, I've been planning this gown for years. The 1910's was never really an era that had my attention, until 2017 when the Dreamstress shared her 1916 "Gather ye Rosebuds" evening dress. I fell in love with that dress! Suddenly 1910's, and specifically 1916, was on my to-do list!

2017 was also the year I did the World Race. In Cambodia (Asia really was the best continent for fabric shopping!) I bought some silk. 5 meters of of a stunning green and purple changeable/shot light weight silk, and one meter of a dark green heavier silk, which paired perfectly with the changeable silk.


By the time I made it home from the World Race I'd pretty much decided these fabrics needed to become a 1916 evening gown. And over the past 6 years I have spent an awful lot of time on Pinterest looking at inspiration and dreaming of my gown. 


I quickly realized I wouldn't be exactly replicating any one 1916 extant dress or fashion plate as I was rather limited by how much fabric I had. Yes, I had 5 whole meters of changeable silk, but that silk was only 32" wide - so 5 meters of it was the equivalent of 2.5 meters of the 60" wide silk I normally work with. Add to that 1 meter of 44" wide dark green silk, and we're talking less than 4 yards of "normal" width silk. I was sure it could be done somehow, but I would have to let the fabric dictate the style as I was making the dress, rather than getting hung up on one particular style I wanted to re-create. 


I was particularly inspired by both the blue and the pink dresses in the above plate, and came to the conclusion that I would use my changeable silk as a floaty over skirt and my green silk for most of the bodice. What either of these elements would look like or what the rest of the dress (primarily the underskirt) would be made from, I had no idea.


In December of 2018 I participated in "Designin' December" and won the prize of a gift card to the Vintage Pattern Lending Library.  I spent days drooling over all the options on the website, and finally decided to use my gift card on a couple of 1910's patterns. One of which was the 1918 Dinner Dress Pattern. Now this pattern didn't look exactly like the 1916 evening dress of my dreams, but I thought it would be a good starting point. 

Thus, when I was actually ready to start making my 1916 dress in May, that's what I had to start with - a limited amount of beautiful fabric, a vague plan, and a pattern to hack. 


While I worked on my undergarments and day dress, I spent my free time continuing to browse Pinterest in an effort to really nail down what I wanted this dress to look like within the fabric and pattern parameters I had. I came to the conclusion I would need a third fabric to use for the underskirt. A dig through my silk stash reveled the leftover silk from my mom's mother of the groom dress - it looked great with my Cambodian silks! And there appeared to be just enough left for a plain tea length skirt. 


With that my plan was formed, I would use the under bodice pieces from my pattern to make a cross-over bodice from the dark green silk, and I would leave off the "over bodice" from the pattern. I would use the skirt pattern to make the under skirt from my mom's left over light green silk. From my changeable silk I would make the over skirt and the sleeves - the short puffed ones from the pattern. The over skirt would be made using that pieces in the pattern, but. . .
I wanted it to be fuller. And I didn't like the points being at center front and center back, so those would have to be re-oriented. So my plan was to cut several of the over skirt pieces out of my silk to add extra points and gathers - but how many over skirt panels I would be cutting out was entirely dependent on how many I could squeeze into my limited amount of fabric.


 10 days before the event I cut into my fabric - the idea was still a little fuzzy, but it was there and it was time to make this dress happen!
Now that I've rambled on about how I "designed" this dress, check back later for the story of how it came together!


Saturday, June 17, 2023

Valancy Stirling Snaith at the Museum and Rilla Blythe at the Gardens

 At the beginning of April it was announced that the St. Louis Historical Sewing Society would have a trip to the Art Museum and the Botanical Gardens the first weekend of June. Now, that would be my wedding anniversary weekend, however, after a quick consult with my husband we decided we could celebrate our anniversary the following weekend so I could go to the event - the first one this year that has actually worked with my schedule!


The following week the “suggested era” of costume for the event was announced -1920’s. 

1920’s?!?!?

I have a fairly full costume closet and a very long costumes in planning list, and the 1920’s are hardly featured at all.

Ok, so I do have my Vionnet evening dress and my pink and tan 1920’s inspired evening dress, but as the museum trip would be in the afternoon an evening dress didn’t seam appropriate.

So I did some brainstorming, consulted my “costume dream list” and came up with an idea.


At the time I was re-listening to the entire Anne of Green Gables series on Audiobook. I’d made it to Rilla of Ingleside, the final book. Set during World War One, all about Anne’s youngest daughter. As I listened to this every afternoon while working on my sister’s Robin Hood costume, I was dreaming of making my own 1910’s ensemble - something I’ve been planning on for years, but have never quite gotten around to.

And it hit me, why not make a 1918 or 1919 dress to wear to the museum? That was close and plausible for the target date, and I’d finally get to venture into the 1910’s!

As I was deciding this, the chatter in the sewing group was that people might be making and wearing more formal costumes for the evening’s trip to the botanical gardens. Ohhhhhh, that was just perfect! 


Back in 2017 I picked up some beautiful silks in Cambodia and I’d been planning on turning them into a 1916 evening gown ever since. Why not finally make that for this occasion? (Yes, I could have worn one of my 1920’s evening gowns instead, but I really, really, wanted to make this dress!)


Ok, I had a plan! Before I had finished my sister’s costume and could actually begin on my new dresses however, I’d finished listening to Rilla of Ingleside and moved on to L.M. Montgomery’s other works. Notably, The Blue Castle. 

The Blue Castle is set in the 1920’s, and I do love the story. The cover of the audiobook version I was listening to featured Valancie wearing an orange dress with blue trim. And that got me day dreaming of my own orange dress with blue trim.


And I came across the prettiest blue and orange 1921 dress on Pinterest. 1921, the very beginning of the 20’s. With the full skirt and longer hemline it could theoretically be worn over the same undergarments as my 1916 evening dress. The corset I was planning to make said it could be worn for ensembles from 1913-1921.


Only I didn’t have any suitable solid orange fabric in my stash. Well, Fabric Mart fixed that with a linen sale at the end of April. The orange dress with blue trim was happening!

At the beginning of May, one month before the outing, I had my sister’s costume complete and I started on my ensemble - 1910’s combinations, corset, petticoat, and two dresses!

The evening dress was finished the day before the event, and the afternoon dress was finished the morning of - but I’ll tell you the details of making those in later posts.


I had dresses to wear to the 1920’s events, and I enjoyed them!

At the art museum we went to an exhibit or Monet’s later work, alongside work of Joan Mitchell.

We enjoyed finding paintings that matched our dress colors to take pictures by.


And the hotel gift shop had the best selfie taking mirror!


As with any costume event, the best part was socializing and admiring one another’s costumes. After seeing everyone else’s ensembles now I’m inspired to make more 20’s stuff!


Photo by @papagena1791


Following the Museum I went out to dinner with a friend, and then we all met up again at the botanical gardens to see the Chihuly Glass exhibit throughout the garden.

As both of my dresses were worn over the same set of undergarments, I was able to quickly and easily change dresses in the parking lot.


I love the botanical gardens, and an evening spent wandering through them admiring glass sculptures with friends was just delightful!


The art museum was nice, but this was definitely my favorite part of the day!

We were joined by more group members than we’d had at the art museum so there were more people to chat with and more dresses to admire.


Couldn’t have asked for a better evening!

After a month spent making my sister’s prom dress, followed by a month spent making her play costume, followed by a month making my outfits for this event, I’m now out of big sewing deadlines for a while! Honestly, I’m a bit at loose ends. What do I make now? Something off my long historical costume dream list? Something for my husband? Modern dresses for me? Or should I go ahead and start on my ball gown for this fall so I have plenty of time to get that done? I can’t decide!


There’s something incredibly satisfying about finishing projects, but then what do you do when you’re done?!?!?

Sunday, June 11, 2023

A Vest for the Ring Bearer and an Embroidered Hoop for the Rings

We hit our second wedding anniversary this week, and somehow that feels crazy! In celebration of that I decided to go back and see if there were any wedding things I failed to blog in the past two years, and there was indeed! What did the ring bearer wear? And what did he carry?


His attire was the easy part. I made him a little green vest out of the same fabric as the bridesmaids’ dresses.


He actually came with me to pick up the bridesmaids’ fabric from Joann’s, and carried the entire bolt out to the truck for me like a gentleman. So it was only fitting that I make him something out of it!


I used Simplicity 4762, and I’m sure I got it sewn together in one evening, though at this point I can’t recall the specifics of that.


His mom got him black pants and shoes, a white button up shirt, and a matching green bow tie.

He made the most handsome little gentleman ever! (Not that I’m majorly biased or anything.)


As for what he would carry down the aisle, I was rather stumped on that one. All I knew is I didn’t really want a pillow. What’s the use of a fancy little pillow after the ceremony? You see them at thrift stores all the time, they’re pointless!


So I took to Pinterest to find other ideas. And I fell in love with the idea of a hoop of embroidery with the rings tied on. Now to find time to make that happen with the million other things I needed to do before the wedding!


I looked at a bunch of different embroidery designs on Pinterest and began to formulate my plan. 

I bought embroidery floss in our wedding colors (green and purple) and found an embroidery hoop.


I cut a square of linen and pulled out my Frixon heat-erasable pens.


I started by writing our names.


Once those were embroidered on I added our wedding date right underneath.


Then a drew a heart around the names and date.


I free-hand embroidered (for lack of a better term) vines and flowers along the heart I had drawn. I used the book Handsewn by Margaret Rowen to learn how to do the different embroidery stitches. (This is a book I checked out from the library many, many, times before obtaining my own copy. it's excellent!)


I did my best to make the flowers look as random as possible while still being cohesive.


I used as many different shades of purple and green as possible!


I started on the embroidery about one month before the wedding, after I’d finished my dress. This was my “sit in the school pick-up line and wait for the kids to come out” project for that last month.


The week before the wedding the embroidery was all done and I pulled the linen out of the hoop and ironed it to remove the Frixon marks. Then I put it back in the hoop, being careful to center the design.


I serged around the edges of the linen.


Then gathered the serged edge up and hid it on the back side of the hoop.


Finally, I tied on two gold rings, of unrecalled origin, which my mom gave me from her jewelry box. I was slightly tempted to tie on our actual wedding bands, but decided that would be irresponsible of me.


This piece of embroidery is one of my very favorite things I made for our wedding. It now hangs on our bedroom wall where I get to see it everyday. 


Much better than a fancy little pillow!


My ring bearer did an excellent job carrying it down the aisle and participating in the ceremony!


He stuck around for pictures, handed off the embroidery to some responsible adult, and was then ready for the fun of the reception.


By the end of the evening he was running around vest-less and barefoot in the goat pen - so I think it’s safe to say he enjoyed himself.


He sure was fun to have in the wedding!