When we left off two weeks ago, I'd come to the conclusion I needed to make a corset to wear under my wedding gown to support the weight of my hoop skirt. I wasn't thrilled. I'd already cut out my bodice according to the mock-ups I'd fitted over my modern bra and no corset. This meant, to use the bodice I'd cut out of my wedding dress silk, I'd need to make myself a corset that didn't alter my proportions too much, and put my bust at the same level and shape as it was in a modern bra. None of my historical corsets quite fit this requirement, so I would need to start with a new pattern!

One of my more recent corsets, my Edwardian S-bend, was made from a free corset pattern by corset maker Aranea Black. She has a wonderful corset pattern collection available for free on her website! My S-bend corset is incredibly comfortable, so I decided it would be worth checking to see if Aranea Black had any corset patterns with the right shape to go under my wedding dress. Most of her patterns are more modern than historical, but in this instance I decided something more modern might be just what I needed to keep the modern bust shape my bodice had been fitted to.

After looking through the options, I picked the over-bust Sylvia corset. With a nicely curved over bust shape and 6 different cup sizes to help get the bust fit just right, it seemed like a very good starting point!

I printed the pattern out, measured myself, picked my size, added seam allowance to the pattern, and made my first mock-up - boned with zip ties with a separating zipper in the front for easy on and off.

This first mock-up was too big. I'd been worried about making it too small, so I'd apparently gone too far the other way. I removed the zip ties, zipper, and lacing strips from my mock-up, double checked which size I'd used for my S-bend corset (one size smaller than I'd cut this mock-up), and cut down my pattern down to the correct size.

I made a second mock-up and tried it on.

The bust fit still wasn't quite right and the mock-up was a little tight in the hips.

So I added a little more room in the hips.

And re-shaped the bust a little bit.

I made a third mock-up, and tried my final wedding dress bodice mock-up on over it.

It worked!! The bust was at the right level and it was the right shape!

My bodice mock-up was now a little large in the waist, as the corset decreased my waist measurement a couple of inches, but that could easily be fixed by just deepening the waist darts a little bit on the final bodice!

With the mock-up made and perfected, I cut out my corset! The outer layer from the same silk twill I was using for my dress, and the strength layer from a cotton twill with zero stretch.

I sewed my corset together using the "welt" seam method, which is incredibly quick and easy and allows you to use your seam allowance to make boning channels, rather than applying those separately later on.

I boned my corset primarily with spiral steel boning - something I always keep on hand - but I used spring steel to bone the back panel on either side of the grommets. Spiral steel doesn't properly support grommets on a corset.


Finally, I installed grommets in the back, according to the pattern template,

And laced it up with linen tape! (I know a lot of people use ribbon for corset lacing, but I've found linen tape to be the most durable of the lacing materials I've tried, so I always keep a spool of it on hand.)

And with that, I had a corset all ready to wear under my wedding dress!

Well, almost. . .

Turns out I'd miss calculated the center front neckline dip, and had accidentally used a center busk that was too short. Oops. The corset now gaped open at the top.

I fixed the issue by adding a couple hooks and eyes to hold the front closed.

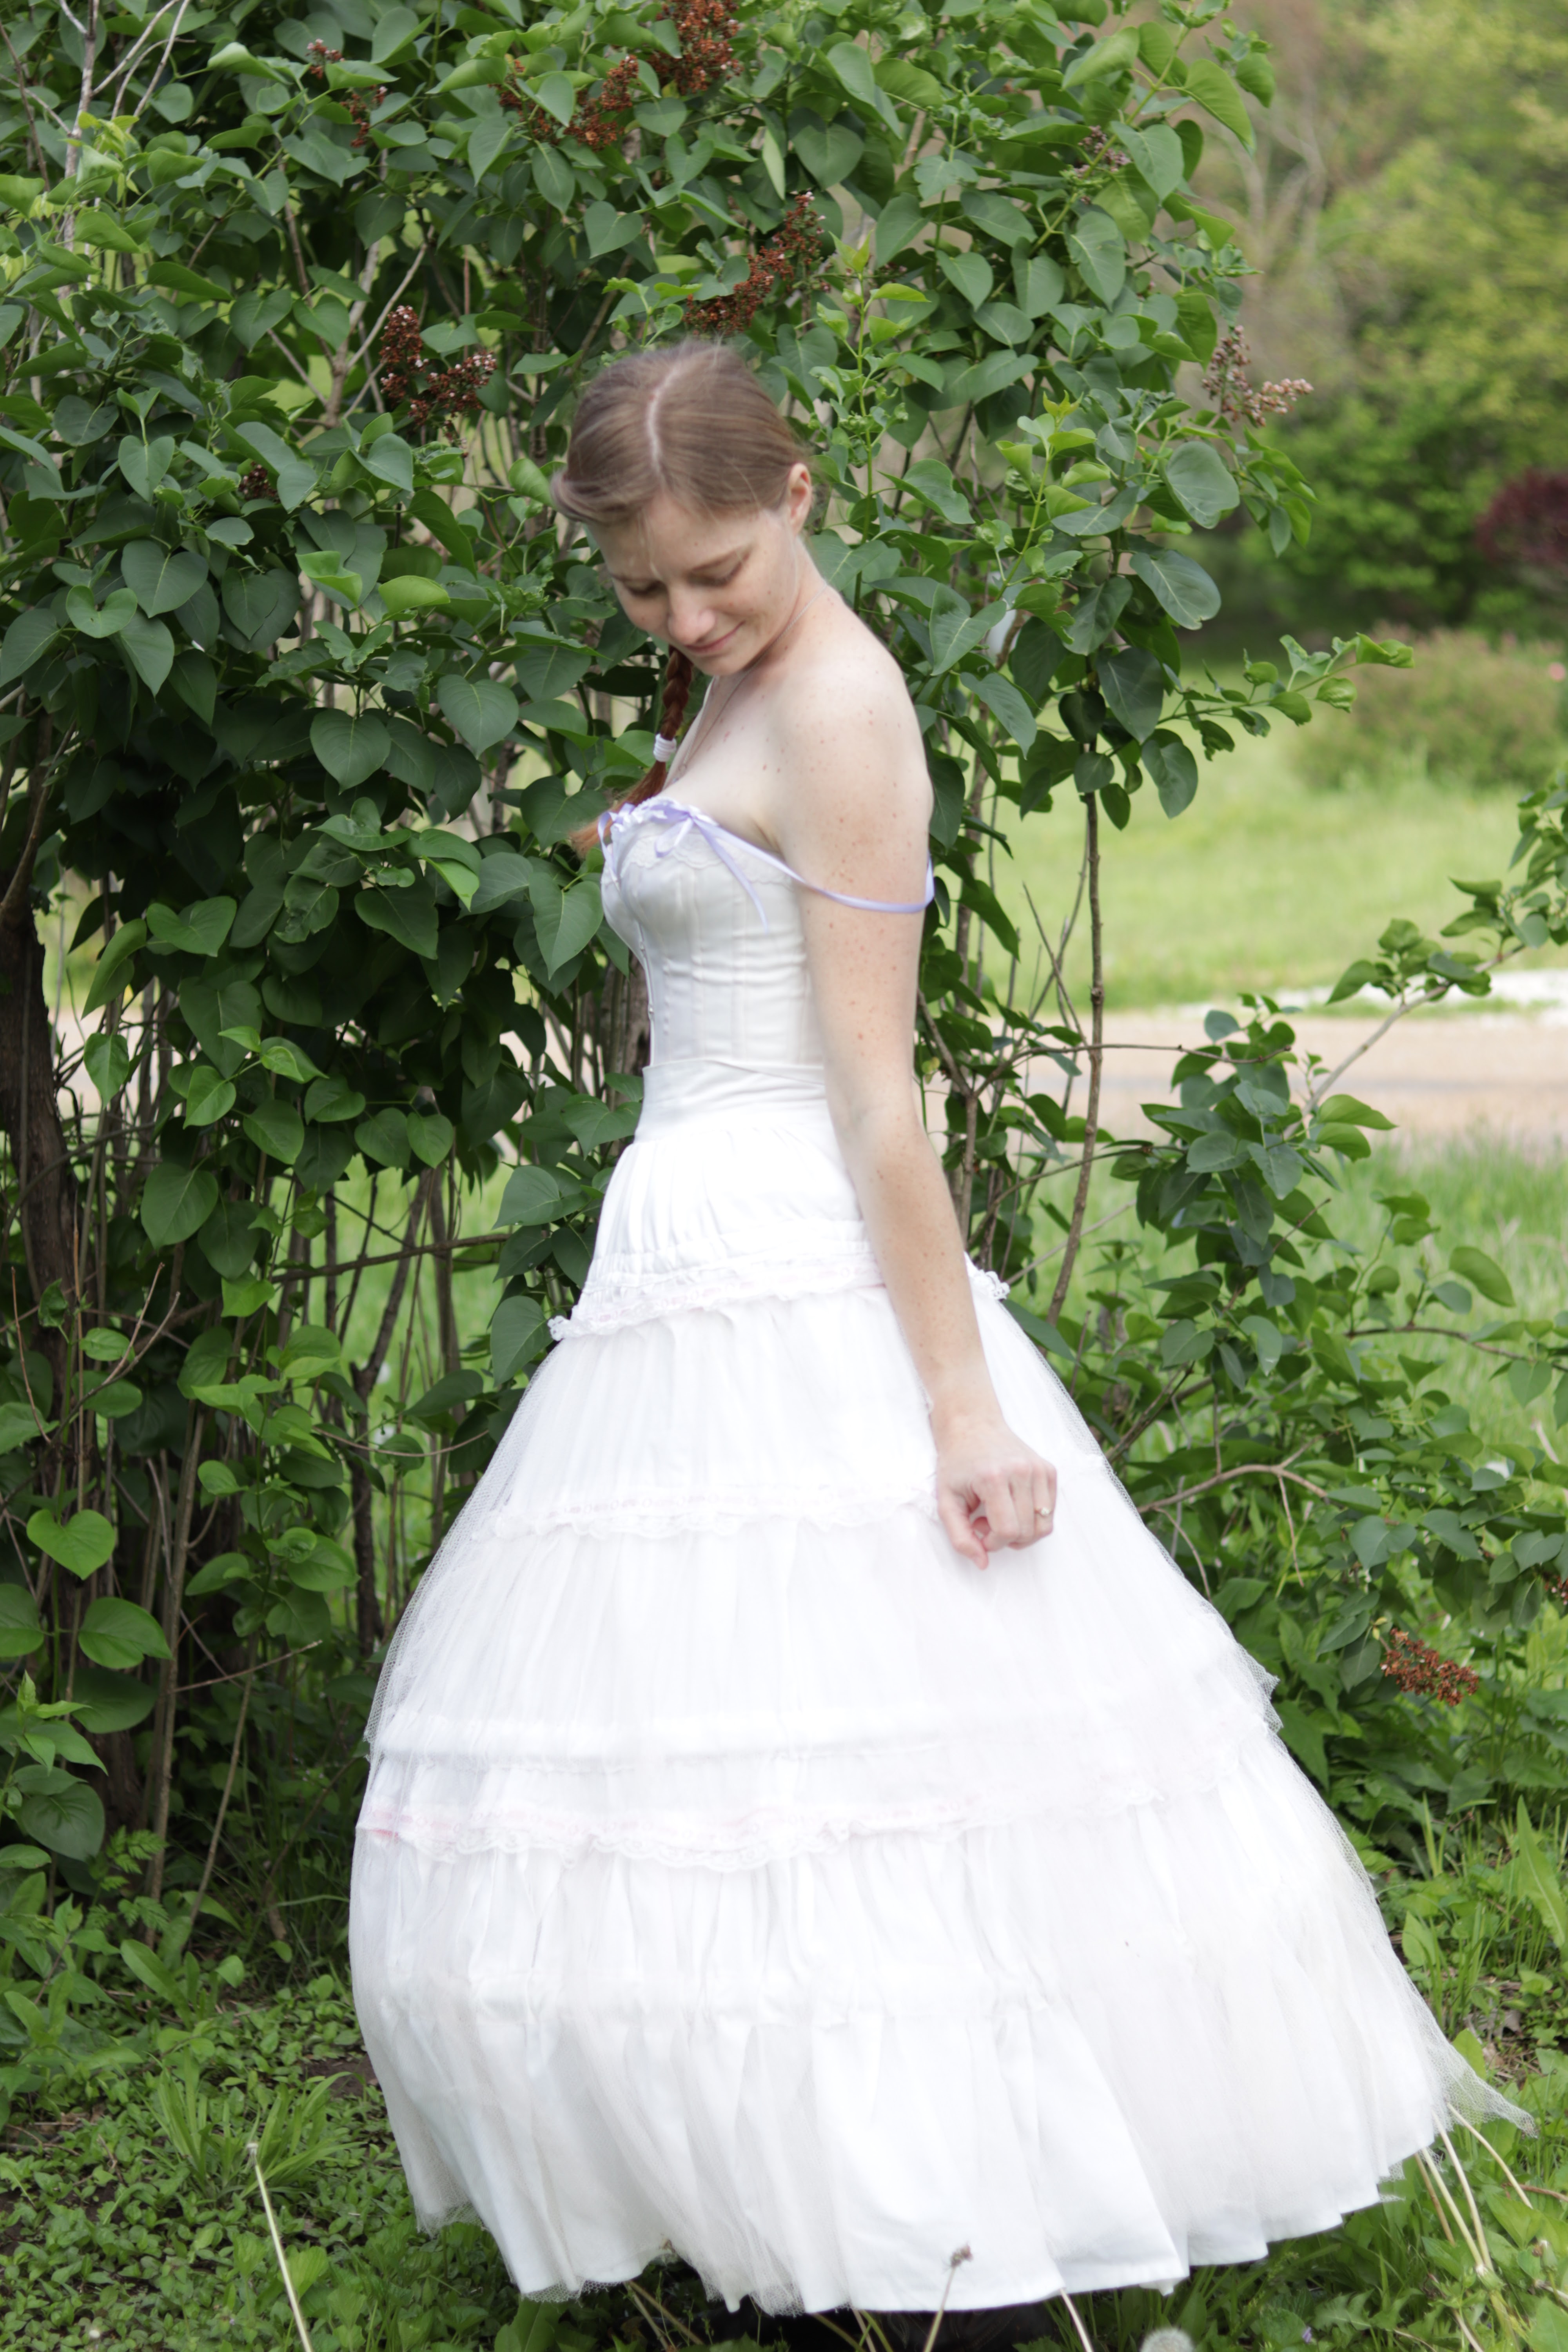
And with that, my wedding corset was ready to go!

It was very comfortable!

And supported the weight of my hoop skirt beautifully!
No more discomfort here!

My lesson was learned,

If one plans on wearing a hoop skirt. . .

One should always, always, plan on wearing a corset as well.

I promise, with a properly fitted corset, it will be more comfortable!

If you missed it. . .
Here you can find how the wedding dress design came together.
Here's the post all about the fabrics specifically chosen for the dress.
And here is the post about figuring out the perfect dress pattern.
Great work! Congratulations! On the wedding as well, of course. May your life together be one full of love, wonder and laughes. Regula
ReplyDelete