Sunday, September 29, 2019

The Chemisette With A Box-Pleated Ruffle

As I was making all the regency dress accessories I could manage for my sister's birthday party, I decided to make a chemisette to fill in the neckline of my gown.


What is a chemisette? It's more or less a faux shirt worn underneath gowns and jackets from the 1790's through the Victorian era to fill in low necklines, or just give the illusion of a shirt worn under a high necked jacket. Basically what was known as a "dickie" in the 20th century.


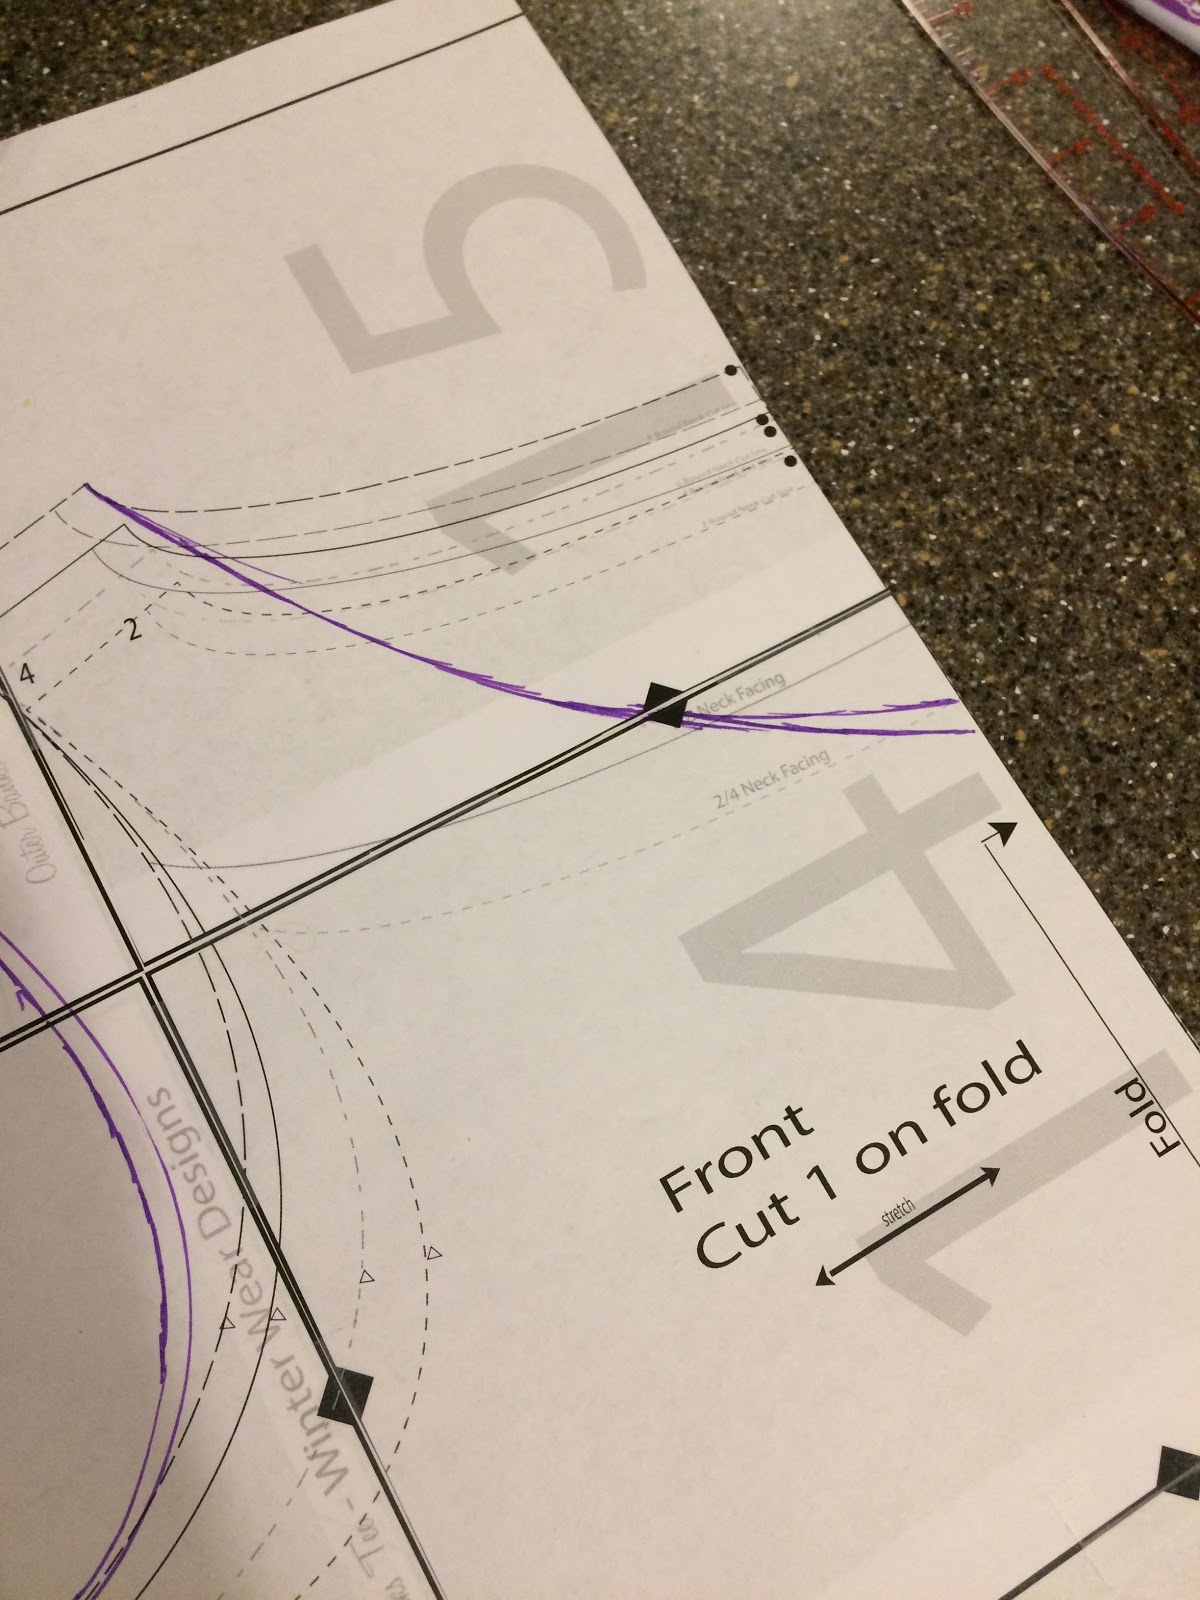
Anyway, I decided it would improve my regency appearance if I had a chemisette to wear with my gown. Thus, I began by scaling up an 1800-1825 chemisette pattern from Janet Arnold's Patterns of Fashion I. Chemisettes are patterned very simply so that took almost no time at all. 


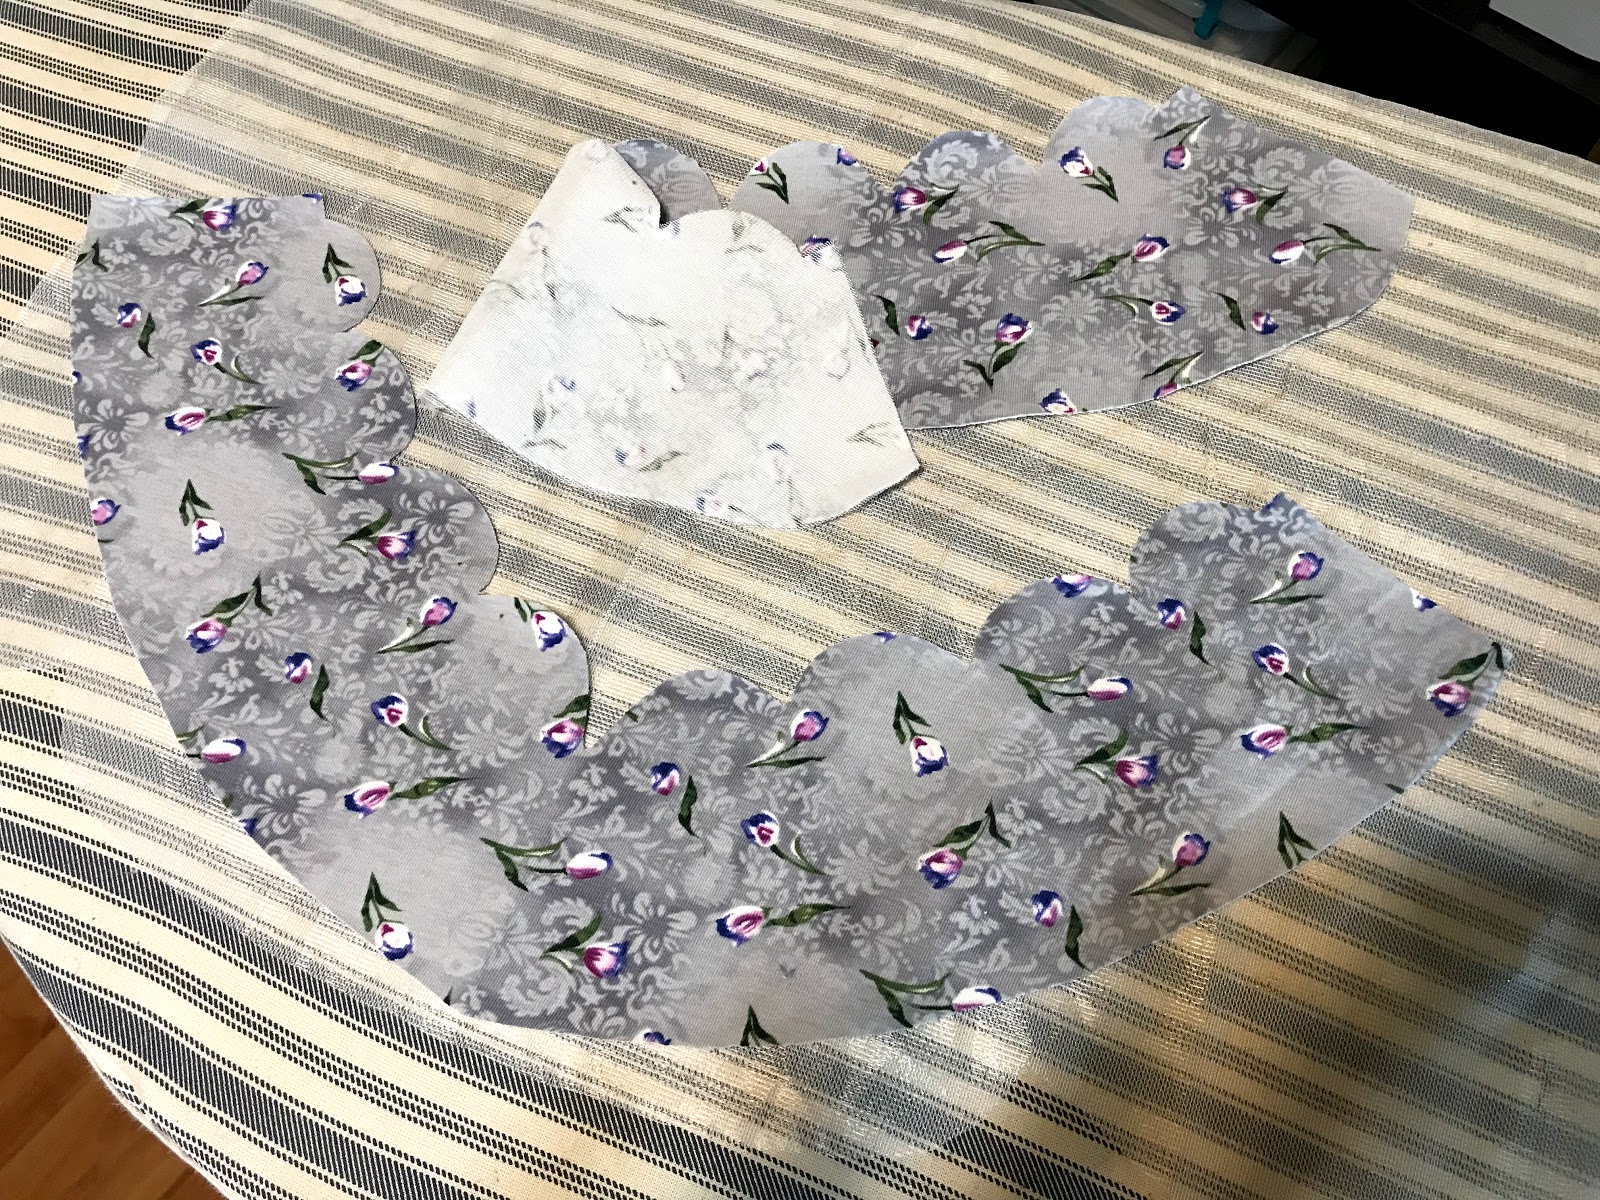
I cut the body of the chemisette out of white cotton muslin and the ruffles out of cotton organdy. I decided to have 3 ruffles around the neckline based on the pattern I was using and regency era portraits I'd been looking at online.


After everything was cut out, I began hemming the ruffles by hand. I hemmed, and hemmed, and hemmed some more. Each ruffle was 90" long and had to be hemmed on both sides. I hemmed ruffles for 2 weeks! Finally, after I'd hemmed 2 ruffles I decided I was done. I just couldn't face hemming another long strips of organdy. So, I went back to Pinterest and began looking for early 19th century portraits with examples of chemisettes with only 2 neck ruffles. I knew such chemisettes definitely existed, I just wanted a reference point - and what I found was even better than I'd hoped!

Woman portrait, 1823. Oil on canvas. 92.5 x 76.5 cm. Joseph Oleszkiewicz
National Museum in Warsaw.
I discovered this 1823 portrait of a woman by painter Joseph Oleszkiewicz. Not only does the chemisette this woman is wearing only have 2 ruffles, those ruffles are box pleated!! As soon as I saw this portrait, I knew I was copying that chemisette!

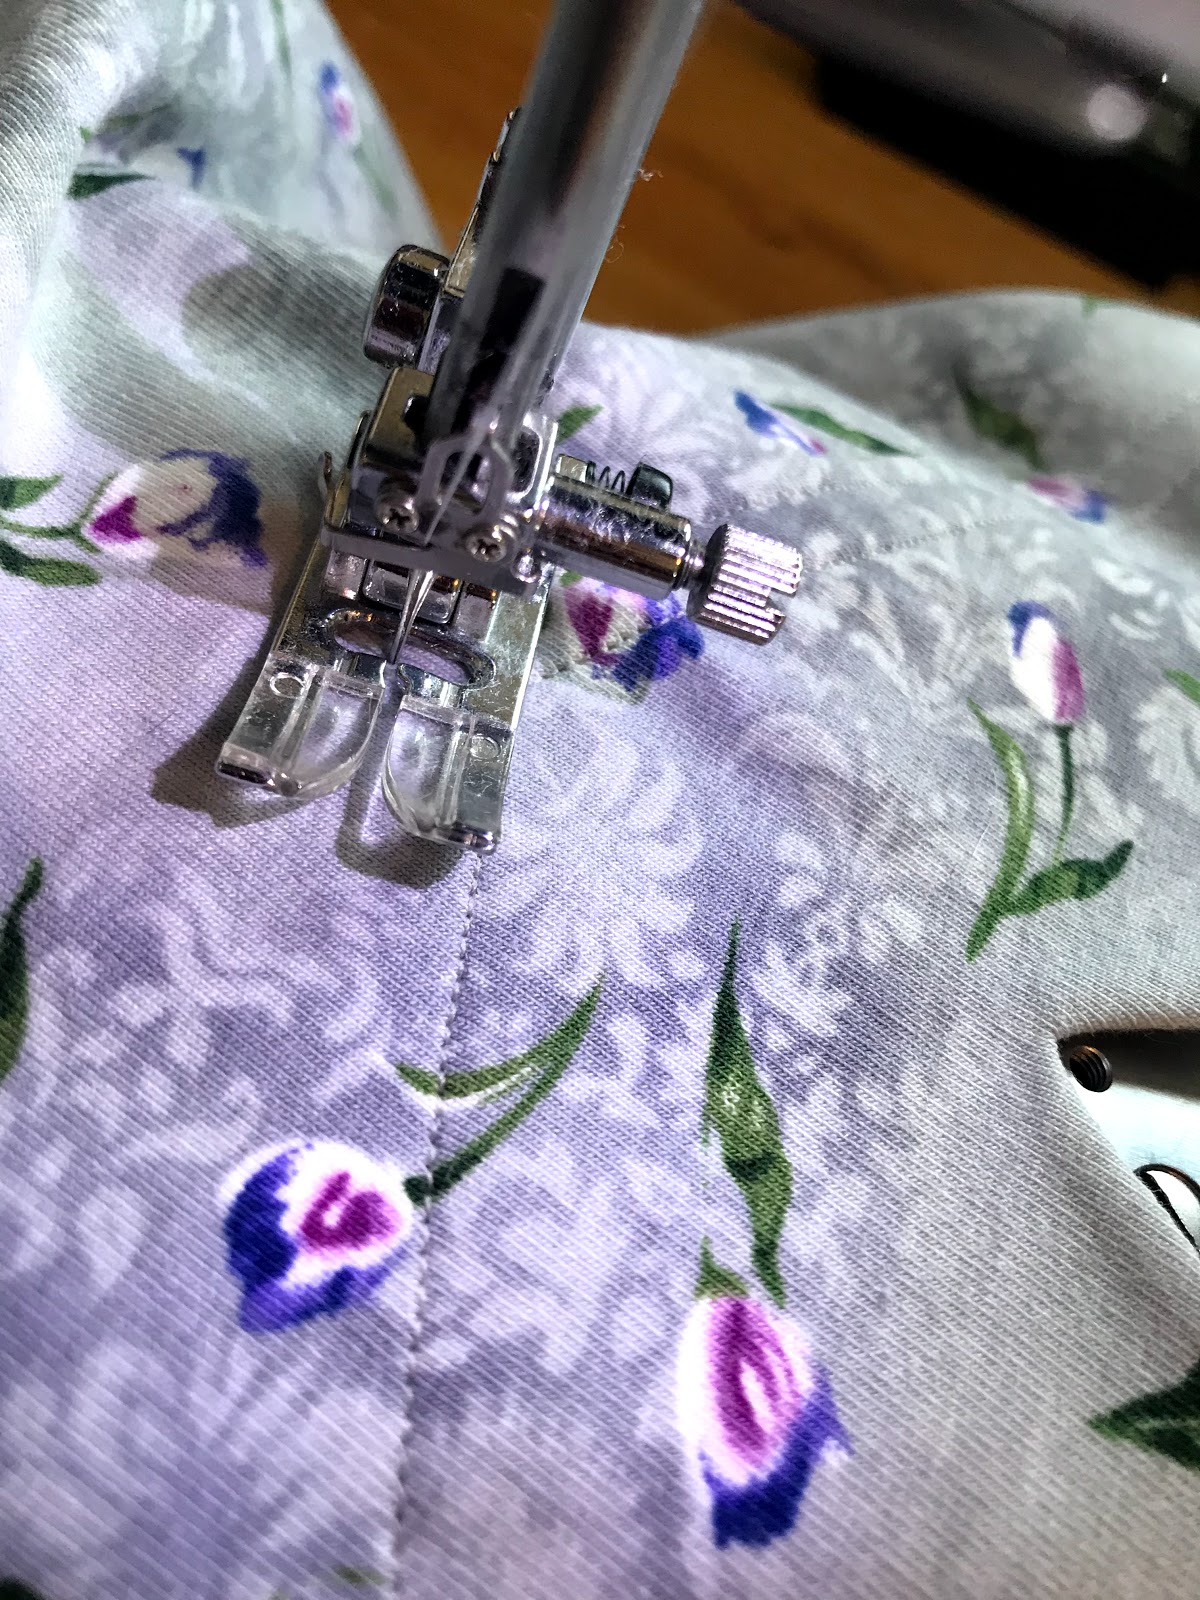
Box pleating while supervising trash burning.

Now, to give some reference about why I was so darned excited to see the box pleated ruffle in the painting: In Patterns of Fashion I, on most extant chemisettes from this era I could find online, and in most painting I could find online, chemisette neck ruffles are mushroom pleated. Mushroom pleats require specialized equipment I don't have. The entire time I was hemming ruffles I was brainstorming how in the world I would be able to simulate the look of mushroom pleats with my ruffles, and I wasn't thrilled with any of the ideas I'd come up with. Thus, when I found the portrait with the box pleated chemisette, I was ecstatic! Box pleats I could do, no problem!


I sewed up the body of the chemisette by hand with the tiniest flat felled seams I've ever managed to do, then tried it on.


Even though I hadn't done any mock-up of any sort, it fit fine. There's not a lot of ways you can screw up the fit of a chemisette. With the body done in a fraction of the time hemming two ruffles had taken, I began my box pleating.


All around the neckband, and part of the way down the front opening, the hemmed strips of organdy were pleated. Once again, this took a fraction of the time hemming the darned strips had taken, so before I knew it, I was sewing the ruffles in place.


Ruffles sewn to the body, the box pleats were pressed for extra crispness, and my chemisette was done!!


All ready for wear with my regency dress! (And another costume, which I'm actually wearing today and hope share with you this week!)


I'm very pleased with how similar my chemisette is to that in my inspiration painting! August's Historical Sew Monthly theme was "Out of a Portrait", and this chemisette was the perfect project for that theme!


The Challenge: Out of a Portrait
Item: Chemisette
What Portrait is it Based On? I do not know if it has a name, but it’s a portrait of a women painted by Józef Oleszkiewicz around 1823
Material: Cotton Muslin for the body, Cotton Organdy for the ruffles
Pattern: a 1800 - 1825 chemisette in Patterns of Fashion 1, by Janet Arnold.
Year: The portrait is dated 1823, but I’ll be wearing this with a dress from a bit earlier.
Notions: Cotton thread and linen tape.
How historically accurate is it? The basic pattern shapes are accurate, it’s all hand sewn, and the materials are plausible. The construction method and order was all guess work on my part so I’m not sure I got it quite right. Probably about 7/10
Hours to complete: I don’t know, hemming those organdy ruffles took forever!!
First worn: Mid-September for my sister's Pride and Prejudice Birthday Party.
Total cost: The organdy was a $2 find at a thrift store, the muslin was $2 a yard, and I used about a yard, add a couple dollars for thread and linen tape for a total of $6


A chemisette may have not been the most exciting thing to sew, but I'm very glad I took the time to make it. It's just the finishing touch my regency look needed. And, I'll be able to wear it with a verity of future eary 1800's dresses I have planned. Such a very, very, useful piece this will be in my historical wardrobe!

Tuesday, September 24, 2019

How to Add a Scalloped Neckline to Any Top Pattern

It was in church one Sunday morning, over a year ago, when I noticed the back neckline on the shirt worn by the lady sitting in front of me was scalloped! Yes, it was a fantastically, beautifully, scalloped neckline! Clearly my attention was caught by this neckline, and along side my sermon notes from that Sunday are sketches of several garments I thought I might add a similar neckline to. I do have a fondness for scalloped edges.


It took a couple months, but last fall I finally got around to making myself something with a scalloped neckline. I applied the neckline I had in mind to the Outer Banks Boat neck by Winter Wear Designs, because I really love the fit of that pattern on me. 


The first version of my scalloped necked Outer Banks tee turned out just as fabulously as I'd hoped, so I immediately made myself a second one. I wore the first version to our family Thanksgiving dinner, where my aunts liked the scalloped neckline so much I decided to make a scallop-necked shirt for each of them as a Christmas gift. Then this spring, I decided to make myself another one for my Easter outfit. And while I was making one, I figured I might as well make two. Thus, I also made this one, out of a floral print cotton spandex jersey, with the poet sleeves from the Winter Wear Designs sleeve add-on pack (These sleeve patterns are free with a code found in the "files" section of WWD Facebook group!)


And while I was making this floral, scalloped, Outer Banks Boat Neck, I took pictures of each step so I could share a tutorial on how to make  a scalloped neckline. Thus (several months later than I intended to write it), without further adieu, here is how I added the scalloped neckline to the shirt pattern. This method can be used with almost any top pattern, so pick your favorite and have fun!


Step 1: Decide what basic shape (pre-scallops) you want your neckline to have. There won't be much stretch in the neckline when all is said and done, so it's best to make the neckline large enough to fit over the head with minimal stretching. A boat neck, scoop neck, v-neck, or square neckline will all work. I chose to do a v-neck, so I drew that onto my pattern.


Step 2: Add Scallops to your new basic neckline shape. Find a round object about the size you want your scallops to be. For me, the rounded end of my tape dispenser turned out to be just right! Starting at the center fold line of your pattern piece, trace around the round object, then move it up the neckline, placing it right next to the scallop you just traced, and trace it again. Repeat this until the whole neckline on the pattern piece is scalloped, then do the same on the neckline of the back pattern piece. Please note: I made sure to have the scallops end where the seam allowance began at the shoulder seams so no scallops would be caught in that seam.


Step 3: Trace the new scalloped neckline and make corresponding front and back facings for the new neckline. A good facing is usually about 2"-3" wide.


Step 4: Cut out all pattern pieces from your chosen fabric and interface your facing pieces. For knit garments, I use whatever knit interfacing I can find at Joann's. If you're applying a scalloped neckline to a woven garment, any light to mid weight interfacing you prefer will do.


Step 5: Sew the shoulder seams of the shirt body pieces and the facing pieces.


Step 6: Right sides together, pin the facing to the skirt neckline, matching up the shoulder seams and all the scallops. Don't be stingy with the pins here - for best results pin each individual scallop.


Step 7: Carefully sew around each scallop stitching the facing to the neckline. At each divot in between the scallops, sink your needle into your fabric and lift your presser foot in order to pivot.


Step 8: Clip between each scallop - making sure to cut right up to the seam line, but not through it - and trim the seam allowance around each scallop down to 1/8". 


Step 9: Turn scallops right side out by flipping the facing to the inside of the garment. Work each individual scallop with your fingers until it is completely turned out, nice and round, not pointed.


Step 10: Press that new scalloped neckline nice and flat.


Now you could be done here and proceed to finish your shirt like normal according to the pattern instructions, but personally, I like to add a couple rows of top stitching around the neckline to hold the facing in place inside the shirt.


I find facings that flip out super annoying and don't mind the look of a top stitched down facing usually, but others have different preferences.


After deciding whether or not you want a top stitched down facing, go ahead and finish your top according to the pattern directions, side seams, sleeves, hem, etc..

Close up of my top stitched facing. I did two rows of top stitching as I felt it looked more intentional than just one row did.
And with that, your scalloped neckline shirt is done!!


With this pattern I have successfully made scalloped-necked shirts out of cotton-spandex jersey, rayon-spandex jersey, 100% rayon jersey, double-brushed polyester-spandex jersey, and knit crape (or Liverpool).


I have yet to encounter a knit fabric I have not been able to turn into a scalloped-necked top, provided I properly interface the scallops.


So that's it! Thus far I've made 6 Outer Banks Boatnecks with scalloped necklines, and I'm sure I'll make more in the future!


This simple "hack" really is a great way to dress up an otherwise "basic" top!


Sunday, September 22, 2019

Visiting Rocky Ridge Farm in Costume

As a child I read all the Little House books by Laura Ingalls Wilder. Of course I did, that's really no surprise. I'd get wrapped up in the world of Laura and Mary and long to be a pioneer back then. It majorly influenced my play. Whenever cousins came to visit, we'd don our sunbonnets, load up our playthings in a little red wagon, and "move out west" where we'd then set up housekeeping in our playhouse, which we pretended was our new cabin.

Yet, despite the fact I live, and I have always lived, in the same state where Laura wrote the Little House books, I never actually got to visit the Laura Ingalls Wilder home. That is, until yesterday.


My mother and youngest two siblings visited the home and museum about a month ago on their way home from vacation. Of course, when they told me about it after returning home, I had to give them a hard time for going without me. It was very quickly decided that we must go as a family this fall. 


This weekend was the "Wilder Days" event at the home, Rocky Ridge Farm, and we decided that was as good of an excuse as any to make the drive to the southern region of the state and visit the historic site!


And because dressing the part makes visits to historic sites even more fun, my sister and I opted to dress up for our day trip. Since we were going to visit Laura's home, my sister wore the Laura dress I made her for her birthday last year. Since Laura, Almanzo, and their daughter, Rose, moved to Rocky Ridge Farm in 1894, I decided to wear my blue paisley 1890's dress.


Part of the fun of visiting the site during an event was the spirit of festivity in the air when we arrived. The farm was alive with music! There was a fiddle competition, in honor of Pa, on the front yard of the white farm house. On another stage, near the Rock House, there was a stage where local bands were playing country, folk, and bluegrass. It was all a wonderful sound track to the day.


Our first activity was to visit the white farm house Laura and Almanzo built after buying the farm. I didn't take any pictures inside, but I loved it! Old houses really make history come to life for me.


My sister brought along a ball of yarn and a crochet hook, which she kept in her pocket throughout the day. as we waited to tour the house, she worked on her crochet chain - homework for the crochet class she's taking.


The crochet was tucked away, back in her pocket, whenever there was something more interesting to see or do, but it was out again for the short tram ride to our second stop of the day - the Rock House.


Rose built to the Rock House as a gift for her parents in the late 1920's, and they lived there for part of their retirement before moving back to the white farmhouse in the mid 1930's. The first few Little House books were written here.


After touring the Rock House, we walked the 3/4 mile path back to the farmhouse for our final stop of the day - the museum. The trail follows the approximate path Laura and Rose would have taken while Rose lived in the farm house, and Laura and Almonzo in the Rock House. During this time, Laura and Rose worked on some books together, so their walks back and forth to see each other were many!


There were no pictures allowed in the museum, but it was awesome! Along with photographs and original belongings of the Ingalls family, the museum also held several garments Laura made for herself! There was a stunning white lawn dress she made around 1900 with tucks and inset lace. I walked all around the glass case, looking at it from all angles. I'm not sure I'll ever be skilled and patient enough to make something as intricate as that dress (the lace insets looked seamless!), but I definitely want to make myself a lacy white Edwardian era dress now!


 All in all, I enjoyed the day, I enjoyed the time with my family, and it just makes me happy to have finally visited the place where the Little House books were written!

Wednesday, September 18, 2019

The Regency Gown My Sister Sewed Herself

My sister made her own dress for her Pride and Prejudice themed birthday party - and I am so proud of her!


After she finished actually reading Pride and Prejudice at the beginning of the summer, she decided that would be the theme of her birthday party this year. 


Clearly, it would be a costume party, because in this house we take every possible excuse to dress up!


Now my sister does have a few regency costumes in her closet left over from the Pride and Prejudice play she was part of two years ago, along with the regency dress I made her almost 3 years ago. However, quite understandably, she wanted a new regency dress for her party. I'm always up for excuses reasons to add to the costume collection, so this was just fine with me!


I can't remember if I suggested she make her own dress, or if she came up with the idea herself. Either way, my sister would be making herself a new gown for her party.


When the idea for her gown was first discussed, she decided she wanted it to be sea-foam green. I told her I didn't know if I had any fabric of that shade in my stash, but she was welcome to look!


Upon looking through the material I had available, my sister picked a white and blue-green stripped cotton. It would do for the look she had in mind.


For the pattern she decided to use the drawstring option of Butterick B6074.


I helped her lay out the pattern pieces on the fabric, then she cut out the dress and proceeded to sew it up according to the pattern directions.


 We were a little short of fabric, so she had to piece the front shoulders to make it work - she did well with that!


By the end of August, she'd finished the bodice of the dress. She worked on it on the weekends, when I was home from work to answer any questions she might have.


The sleeves were her first ever experience with gathering - a skill which intimidated her. She nailed it!


When I left for Uganda all she had left to do was attach the skirt to the bodice. I texted her a few times while I was gone asking how the skirt was coming, and she said she's have it done by the time I got home.


On Thursday, two days before the party, a day and a half before I'd be home, my mom sent me this picture. My sister had finished her dress!!


It was done!!! Her very first historical costume she made herself!!


I am so proud of her for finishing it!!!!


On Saturday she wore it for her birthday party with pride, and all her friends were super impressed she'd made it herself!


The girls drank tea.


Decorated bonnets.


Played "Guess that Character".


And just generally had a good time!


Now my sister is full of ideas for what she might do for her birthday party next year.


And she's full of ideas for future historical costumes she might make herself.


Now that she's made one, more will follow. Historical costuming is addictive like that!