Saturday, July 28, 2018

1940's Style Everyday Wear - The Casey Skirt and Brooks Blouse

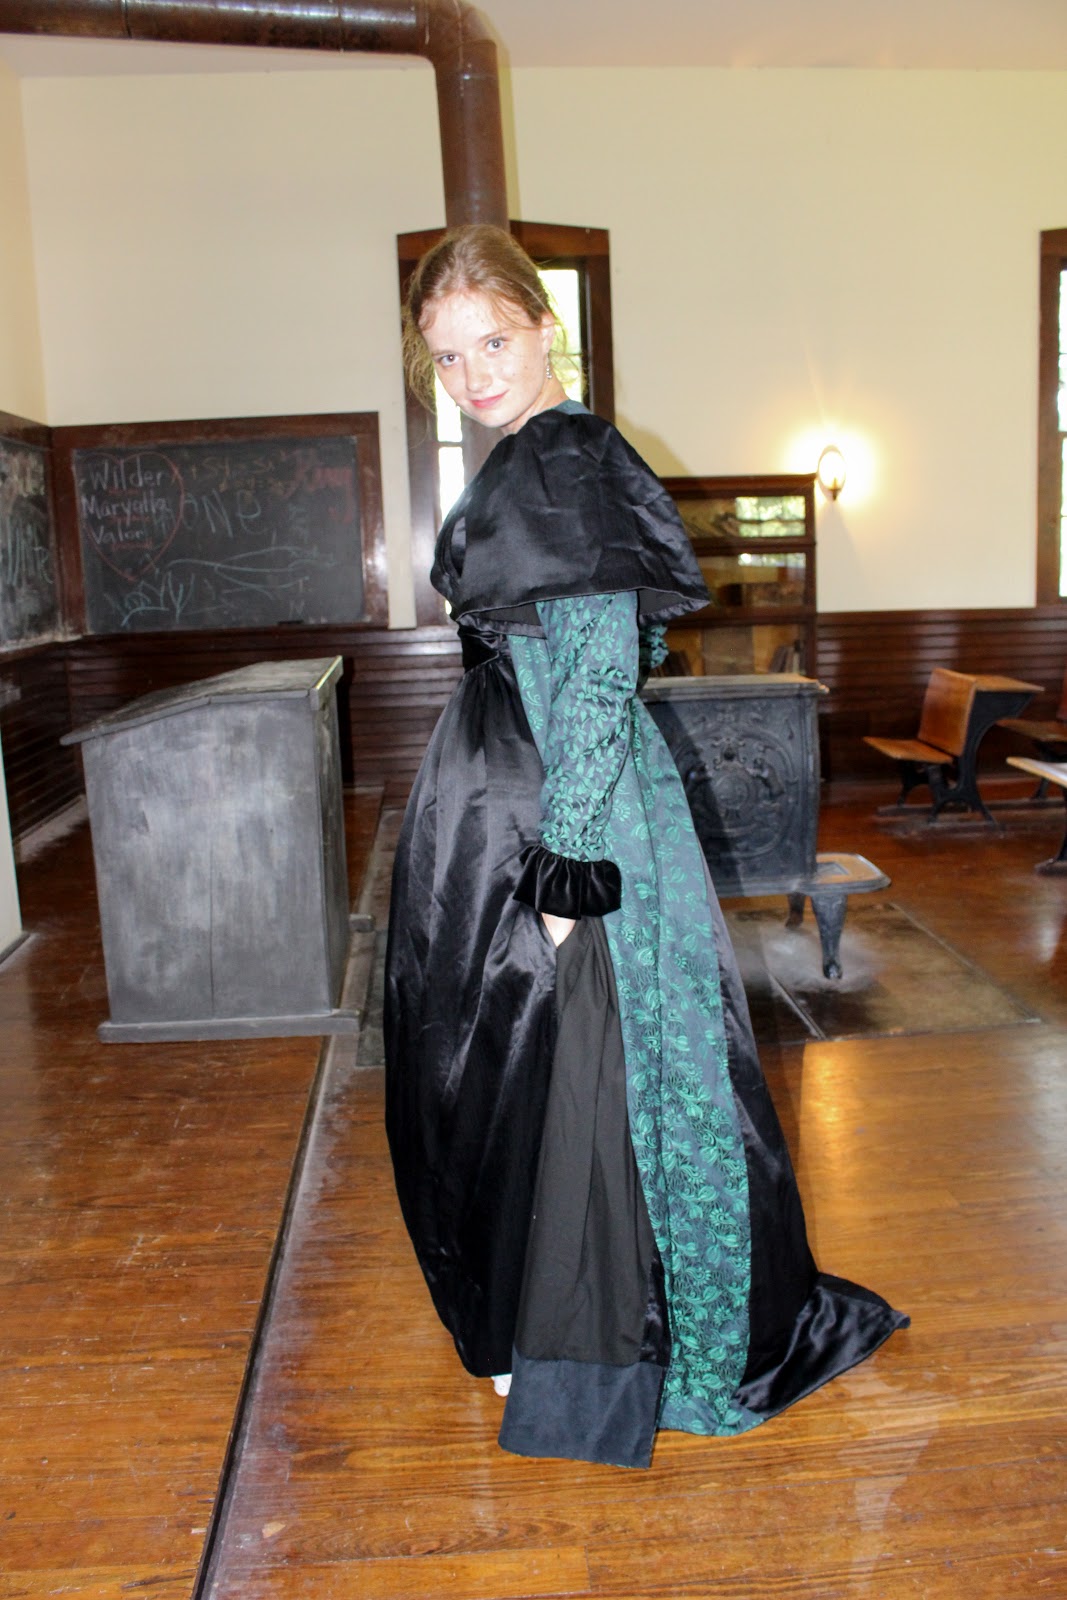
It was the map dress that got me interested in 1940’s fashion. Prior to that project, my only real interest in vintage fashion was the fun, poofy, full skirted, dresses of the 1950’s. Then, I read about dresses made from old army maps at the end of the 40’s. These dresses intrigued me. So, I bought some map fabric and a re-printed 1940s pattern, and decided to make my own map dress. This drew me into observing 1940s fashion, and I fell in love with all the little details that make up the clothes of the 40’s! The shirring, pleats, tucks, darts, and draping are things to be admired. It was an era of rationed fabrics, so the tailored details make the clothing memorable rather than exaggerated silhouettes.


Once I returned home from the world race and a year of wearing my map dress around the world, I was eager to try my hand at making other 40’s style garments. Thus, I made myself and my mom each a dress, while my little sister got a dress, a hooded blouse, and a pair of overalls - all from 40’s re-print patterns.


In June I had the opportunity to test a 1940’s style skirt pattern for Brigid Everson, the designer behind Brijee Patterns. I've followed her blog since last year and appreciated her style, so I was excited to try out one of her patterns! This skirt was a little more everyday wear and a little less attention grabbing dress than my other 40’s style projects, so I figured it would definitely have a place in my wardrobe!


Thus, I decided to test the Casey Skirt pattern. I found some polyester suiting in the perfect shade of green and was ready to get started! As I mentioned before, the skirt is a little more basic than my previous dresses, but that doesn't mean it's short on fun eye catching details! In fact, when I decided to make this skirt I was actually worried that one of the details might be a little too eye catching.


The pockets! Oh the amazingly large patch pockets! I was afraid they might be too much, a little too large and visible. I considered leaving them off my skirt all together and adding my own inseam pockets instead. But pockets.


I really love nice large pockets in my clothes. And I really, really, appreciate it when designers actually decide to include such pockets in their patterns. Thus, I made my Casey Skirt with the pockets. And I don't regret it. Not one bit. Yes, they are eye catching, but every single comment I've had about this skirt has been positive, especially regarding the pockets. I don't think they're too much at all. No, I think these pockets are just right for this skirt. They perfectly balance out the single inverted box pleats on the center front and back of the skirt.


Neither detail overwhelms the other, which leads to a lovely, well rounded, final garment. A garment that pairs nicely with an awful lot of other things in my wardrobe.


It turns out, the particular shade of green I used for my skirt is practically a neutral color for me. I've worn this skirt with all sorts of tank tops and blouses I already had hanging in my wardrobe. I didn't need to make any blouses to go with it. Yet, I couldn't resist when Brigid requested testers for the 40’s inspired blouse pattern she’d designed to go with the Casey Skirt. I wanted to make the complete set!


I love the way this next pattern, the Brooks Blouse, is shaped with inverted pleats at the waist - two in the front and two in the back.


The blouse is perfectly designed to be tucked into the skirt, and still look good worn untucked with jeans and shorts as well.


The fabric suggestions mentioned the blouse could be made from both woven and knit fabrics. Being the practical person I am, I decided I might as well try this concept out by making two blouses, one from a knit with a crepe-like texture, and one from a woven rayon challis. After all, it couldn't hurt to make myself two new blouses, and comparing the results from each type of fabric might help the designer out.


First, I made the knit blouse. As no closures were needed (because knit stretches, it's awesome like that), this blouse was a rather quick sew. Typically I sew knit garments on my serger, but with this blouse I used my regular sewing machine, because I was just too lazy to re-thread my serger that day. The knit I used was relatively stable and very easy to sew on a regular machine.


I found the fabric at Joann's for 60% off, and with this pattern in mind, I couldn't resist picking up a bit. It has a really cool crepe like texture and I knew the colors would coordinate perfectly with my skirt.  


So, I made my blouse one morning and wasn't disappointed at all with how the blouse paired with the skirt! Honestly, my only complaint at all about the knit version of the Brooks Blouse is that I feel the neckline is too high, but that's something I can easily fix on this blouse and do differently on any other knit blouses I make from this pattern.


Now the woven blouse doesn't have that problem. Even though I used the exact same pattern pieces for both the knit and woven blouse the woven blouse neckline came out at the perfect height. See, the woven blouse neckline is finished with a facing, while the knit neckline is finished with a neckband. The neckband on the knit blouse adds height to the finished neckline, while the facing adds no height. Next time I make the knit blouse, I'll cut down the neckline a bit prior to adding the neck band so the neckline will match that on the woven blouse.


I made the woven blouse a few days after the knit blouse, and it was really fun to compare the two. While I love how easy the knit version is to wear (and I've worn it plenty since completion), I think the woven version is actually my favorite.


I used a rayon challis remnant I had on hand for the woven blouse and it has a beautiful drape, very well suited for this pattern.


The drape of the fabric gives this blouse a softer, more fluid silhouette than the knit blouse. Which is why I prefer the look of this blouse. Also, I appreciate the extra detail the woven blouse requires.


Buttons! A row of pretty buttons marching down the center back of the blouse. I just love the aesthetic of buttons down the back of a garment!


Especially when those center back buttons line up perfectly with a center back pleat! 


I quite like this collection of three 1940's inspired garments I made! These patterns are well drafted, easy to use, and were a pleasure to test. If you want to make these patterns for yourself, all the Brijee patterns can be found here!


I received the patterns for free in exchange for testing and giving my feedback on them, but all thoughts and opinions in this post are my own :)


Thursday, July 19, 2018

Winter Wear All Summer Long

I needed a swimsuit cover up. I hadn't had a decent one in years. So, when Suzanne Winters of Winter Wear Designs announced the theme of Winter Wear summer blog tour would be "Pool Side", I knew just what I would make for it.


I had a length of nearly sheer, light and drapey, mystery knit in my stash. White, with big blue roses. Pretty and airy. Honestly, I have no idea where it came from, but it was clearly perfect for a swimsuit cover up.


Suzanne suggested her Amuse Boho dress pattern for a cover up, so I took the idea and ran with it.


My fabric draped perfectly for the gathers under the front yoke, and was light enough to make the 3/4 length sleeves comfortable - perfect for providing sun protection when I'm not in the water.


The pattern offers two different options for the back of the dress; one straight, sold piece from neck to hem, or a separate yoke, like on a button down shirt, with the remainder of the back cut a little wider and gathered on to the yoke. For my cover up, I chose a combination of these two options.


In the left hand corner of the above picture you will see the pattern piece for the back of the dress. If you are making the plain back, you would cut down the gray and black line on the right, from neck to hem. If you chose to make the yoked and gathered back, you would cut off the very top of the pattern piece along the solid black line corresponding to your size. You would then cut out  two separate back pieces for your dress; the yoke and the lower back, cut wide to be gathered into the yoke. I trimmed off neither of these sections and instead opted to add a little extra fabric by cutting the back out as one solid piece, the same width as the gathered lower back piece would have been. I then pleated the extra fabric at the very top to make it the same width as the yoke would have been. This gave me a solid, one piece back, with the fullness of the yoked version.


I top stitched down my pleats and was thrilled with the effect they gave to the finished garment - perfect for throwing on over my swimsuit to head to the pool!


My cover up turned out just as I wanted it to, but I decided it wasn't good enough. Or more accurately, it was good enough, I just needed more. I needed a second cover up that could double as a normal, every day looking, dress for those pesky errands that sometimes must be run on the way to and from the pool. The slight sheerness of my new cover up prevent it from being that. 


Enter, the Magnolia Dress! When I first saw this dress on the Winter Wear website, the back caught my attention. 


That fabulous triangular back insert! It was just so much fun! I couldn't resist asking Suzanne if I could sew up this dress too for the blog tour. She very kindly agreed and I went fabric shopping.


Both a length of blue floral double brushed polyester jersey (one of the softest fabrics ever!), and a coordinating plum colored rayon jersey, came home with me from the fabric store. I printed off the pattern to begin on my dress, and was thrilled to discover there were pattern pieces for pockets!! For once I didn't have to add my own pockets to a dress pattern!


Pocket, and a fun back? Oh yes, I quite like this dress. It works very well as both a swimsuit cover up and an easy wearing summer dress for those days I don't feel like picking out an outfit (or finding a non-wrinkly cotton sundress in my closet). It's been worn probably twice a week since I finished it last month!


So, it would appear, I am now set when it comes to garments to wear over my swimsuit. However, when I get stuck on a theme, I just have to continue with it. Thus, when Suzanne offered all of the blog tour participants a chance to sew her latest pattern, the Endless Summer Shorts, I jumped on it. 


After all, I justified, some days you just don't wanna wear a dress and shorts are more practical to throw on over your swimsuit. I did need some new shorts. . . and, I already had fabric in my stash I could use to make said shorts.


The shorts came together easily one evening, and I had fun trimming the pockets with rick-rack. The finished shorts fit beautifully! This is quite possibly the first shorts pattern I've made that hasn't required any sort of pattern alteration to look good and be comfortable. I'll be using it again next time I need to add shorts to my wardrobe.


Now, if you give a seamstress a shorts pattern, she's going to want a tank top pattern to go with it. One that's loose enough to throw on over a swimsuit. None of the tank tops I've recently sewn met that last requirement, as they're all pretty form fitting.


Thankfully, Winter Wear Designs has a nice, basic, quick and easy to sew, tank top pattern, the Trendy Tank. (and it's even free if you join their Facebook group!) So, I downloaded that, and made one out of a green rayon jersey remnant I picked up at Joann's. 


The tank top turned out cute and comfortable, and was easy to make, So, I thought "Why not make a second?" I pulled out what was left of the thin white and blue knit from my swimsuit cover up (the garment that started this whole craze, turning this into a very long blog post), and made one more tank top.


To avoid see-through-ness, I decided to make my second trendy tank double layered. I cut my pattern out twice from the left over fabric, one layer slightly longer than the other for a fun look, then proceeded to sew it up using the burrito method - an amazingly easy way to construct a lined sleeveless garment. The final tank top almost feels too elegant to wear over my swimsuit, but I like it just the same! 


I suppose I can no longer say I'm in need of clothes to wear over my swimsuit. After this blog tour my closet is stocked full! A swimsuit cover up, a comfy summer dress, a pair of perfectly fitted elastic waist shorts, and 2 new tank tops.  I think I'm all set now! Which is good, as I've still got a few more weeks of taking this kids I nanny to the pool every other day, and then I have a beach vacation coming up in a couple weeks! With this haul of summer clothes, packing should be a breeze!


Now, if you want to see more options for Summer clothes from Winter Wear Designs, here's the rest of the tour!

Pull up a lounge chair and a cold drink, and don't miss a single stop on the Poolside Blog Tour:
7/16
Jackie Burney for Winter Wear Designs
Meriel of Elli and Nels

7/17

7/18

7/19
Diane of Sewing With D

7/20
Livia of Liviality
Patricia of Sew Far North

Wednesday, July 11, 2018

The 1895 Minerva McGonagall Tea Gown - Finished!

Well, I did it. It's done! My 1895 tea gown, inspired by Professor McGonagall in Harry Potter, is completed and wearable!


In the late Victorian era, a tea gown was primarily an at home garment. It was what an upper class lady would wear while she was at home resting between visiting friends in the morning, and before dressing for dinner in the evening. Fancy loungewear, if you will.


In this context, the best place to photograph my tea gown would have been the parlor of a 120 year old house. Unfortunately, I did not have one of those readily available for my photographic needs. So, after considering my options, I decided a local replica 19th century schoolhouse would suffice for my photo shoot. After all, this gown was inspired by Professor McGonagall, a teacher at Hogwarts School of Witchcraft and Wizardry. Thus, lacking a 19th century mansion, I decided to do a Minerva McGonagall photoshoot, and the school house felt fitting. (English castle ruins were also in short supply.)


Photography location explained, let's get on to the good stuff! How does one actually wear a tea gown (that doubles as a Hogwarts teacher costume)? All one piece, my tea gown slips easily over my head. I wear it over my standard 1890's undergarment - a combination corset, corset cover, and 3 petticoats. Now, as tea gowns were loungewear, there is some debate whether or not they were worn with corsets. After all, it is easier to lounge without a corset on! Personally, I have decided to wear my corset under my tea gown as I like the 19th century silhouette it gives. However, I also made the tea gown easy to adjust if I ever chose to wear it without a corset.


The tea gown settles at my hips, like a skirt, then I pull on the sleeves.


Once the sleeves are on my arms, I fasten the twill tape waist stay around my waist.


Next, the bodice is fastened. As tea gowns are meant to be easily put on and taken off in the middle of the day, all my fastenings are on the front and I can easily do them up myself.


First, the bodice underlap is fastened in place with a hook and bar. Then the bodice overlap is fastened in place, also with a hook and bar.


And with that, the tea gown is securely on and all that's left to do is smooth the front "over dress" in place.


The front "overdress" hides the skirt placket and the side seam pockets, because every good dress has pockets!


Pockets, they are the perfect place for concealing things,


Such as wands. Every set of wizards robes must have a wand pocket after all!


And with that, I am Professor Minerva McGonagall, ready to teach young witches and wizards how to transfigure things!


Let's pretend for a moment, shall we, that the beautiful gardens surrounding the school house are the grounds of Hogwarts Castle?


Let's set off exploring, beautiful silken trains trailing behind.


Honestly, the back of the tea gown my be my very favorite part of it.


Originally, I'd planned for the back to be all one fabric, no center back contrast, just like the original. However, I didn't have enough silk jacquard for that to work. So, I took a hint from this 1880's tea gown and made the train, flowing down from the waist, from black silk satin.


And I absolutely love the result! It definitely turned out better, or at least more interesting, than my original plan would have!


It's the layers and different texture that make this tea gown so much fun!


The green, and the black. . .


The streaked satin, and the jacquard. . .


The velvet ruffles. . .


The bodice pleating. . .


The front layers. . .


The sleeve dimensions. . . 


And the back train.


All together it makes one perfectly fun, fabulous, and magically inspired tea gown.


Perfect for wearing while instructing stone statues to defend Hogwarts;


Or relaxing in a garden like an 1890's lady of leisure.


I now have a beautiful gown that works for both activities!


What more could I ask for?


If you have not followed along with my 1890's tea gown making journey so far and want to catch up, check out the links bellow!

You can find out how I got the inspiration here.

Check out the tea gown I decided to copy here.

See how I made the pattern here.

Read the struggles I ran into mocking it up and cutting it out here.

And observe how it all came together here.


A huge thank-you to my friend Bretta for taking all the amazing pictures for me!


Now, what costume should I start on next??