Showing posts with label Goats. Show all posts

Sunday, August 11, 2024

The Goat Dresses

 Who wouldn't want a goat dress?


No, No, No. I don't mean a dress for the goat to wear! I mean a human dress, with a goat print on it!


Despite my years and years of raising goats, and my (slightly fewer) years of making myself what ever dress struck my fancy, I actually never considered making myself a goat dress, until The Dreamstress shared this Gilbert Adrian dress on Facebook last year.


It has Sheep on it! (Ok, lambs to be precise.) If a fashion designer in the 1940 could make a sheep dress, why the heck hadn't I made a goat dress yet???


All I had to do was find some goat fabric - and for some reason goats are just about the most under represented farm animals when it comes to animal prints. There are goat prints out there, but they're generally something I have to actually order, verses something I can just go into a local fabric store and buy (after a good half hour of feeling it, considering it, staring longingly at it, and carrying it around the store while admiring other fabrics. I have my method.)


Well, back in January I found a goat print at my favorite place for novelty print cottons - the Mennonite fabric store out in the middle of nowhere. It was blue, with cartoon goats all over it - quite different from the realistic looking lambs frolicking on a green background of my inspiration dress - but it was a goat fabric! So I bought 3 yards of it. 


I decided I could use the cartoon goat fabric to make goat dresses for my two favorite preschool-age girls. I'd already made both of these girls chicken dresses, and they both love my goats, so obviously they needed goat dresses!


For two months I intended to just make the little girls dresses out of this goat fabric, and I'd keep my eyes open for just the right goat print for a dress for me. Then it came time to cut the dresses out, and I couldn't do it - I wanted a goat dress right now too! So I shifted plans. All three of us would get matching goat dresses.


To make my three yards of goat fabric stretch I decided to take inspiration from the Gilbert Adrian dress and make the bottom section of the skirt green, just using my blue fabric for the bodice and upper section of the skirt. I found a 2 yard cut of a lovely green swirly fabric at the City Sewing Room for this purpose. And to make sure I'd have plenty of my goat fabric, I also bought 1 yard of a solid pale blue cotton for the collars, cuffs, and waist bands.


Next up, figuring out a pattern! In homage to the inspiration dress, I wanted something vintage(ish atleast), with cut on sleeves and some sort of a collar. To make things slightly complicated, said pattern also needed to come in both adult and children's sizes. Thankfully, I had something that would work in my stash!


 McCall's 7184 - it met all the requirements! This is one of my favorite blouse patterns (you can see my previous versions here and here), and thankfully it comes in both children's and adult sizes - and I own a copy of each! All I had to do was trace off the blouse pattern in the girls' size, shorten the sleeves, shorten the blouse length to the waistline, ignore the darts, add a waist band, sleeve bands, and a skirt, and I'd be set to go! That might sound like a lot, but it was really quite easy. I decided to make the dresses button all the way down the front, as that's been a favorite style of mine lately. 


Not wanting to distract from the design of the dress, and especially the goat print, I decided to use clear buttons on the dresses. I had a nice set of large transparent buttons off of a duvet cover (the duvet cover that became this skirt) for my dress, but finding crystal clear buttons for the girls' dresses proved slightly more challenging. I had one card of clear vintage patterns just the right size - but there were only enough for one dress. Neither Hobby Lobby nor Wal-Mart had any clear buttons, and I didn't have time to go check Joann's that week. So, in the end I I had to settle for a card of clear-ish buttons from my stash for the second little dress. Those worked fine, they just weren't my first choice.


Once the dresses were done, I needed an occasion to give the girls their dresses - and neither one had a birthday any time soon. So I decided to make an occasion, an occasion where we could all three wear our dresses together.


A tea party!! 


I fixed a tea tray with all the most kid-approved foods - chicken nuggets, cookies, and berries. After asking each girl individually ahead of time if they preferred hot of cold tea, the vote was unanimous and I made some iced tea to fill the little tea pot with.


 When the girls arrived for the tea party I gave them each a gift bag. They unwrapped their new dresses, and were both very excited to put on the goat dresses right away!


After they finished their tea, we went outside to find the goats.


Because, if you have a goat dress, obviously, you must wear it to play with goats!!


Monday, February 22, 2021

A Cwtch Cosy Hoodie with a Baby Goat Pocket

 Oh my has it been a week! Or two. . .


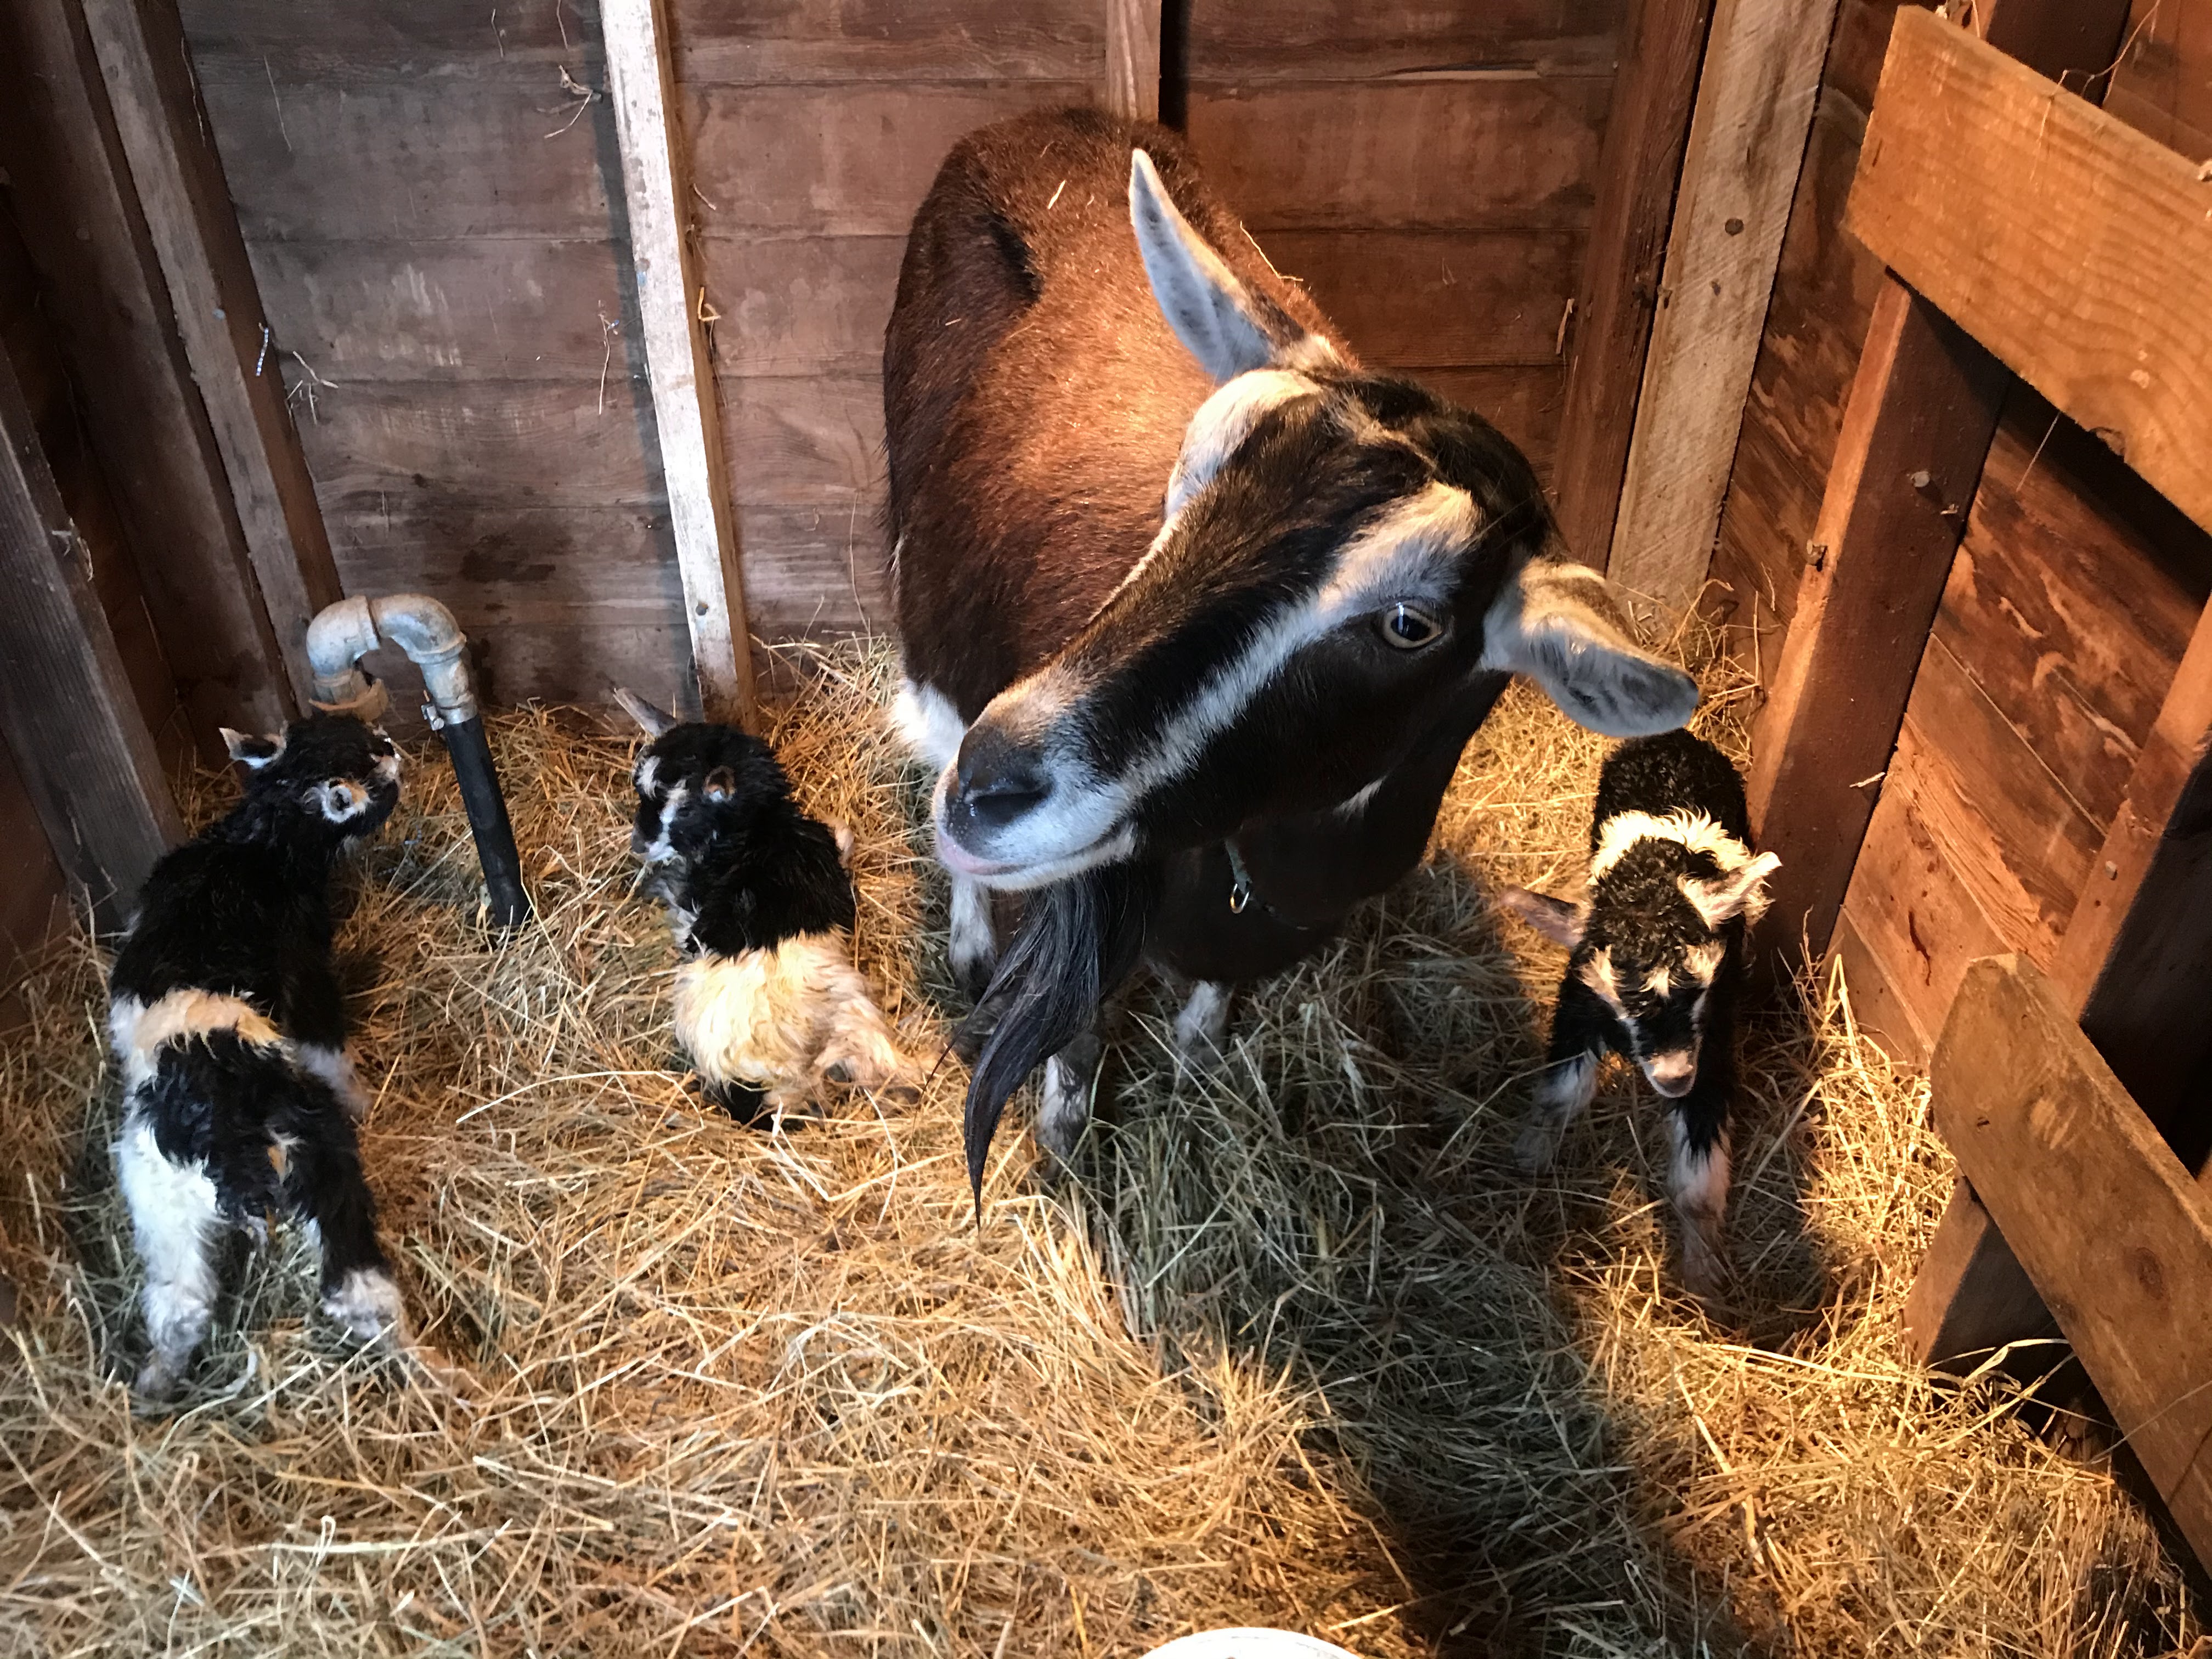
Goats being goats, my entire herd decided to kid in the past two weeks. Yes, the two coldest weeks of the year, with temps going down in the negatives and snow falling every other day. That was fun. . .


Every shed was full, and then more than full. Goats wound up in the garage. Babies came into the house. Heat lamps went up everywhere. Thank God we didn't loose power like Texas did, because even with heat lamps it was a struggle to keep the babies warm enough and there were a few sleepless nights. And, thank God for wood heat, so even if we had lost power the house would have still been warm enough for us people, and probably all the baby goats would have wound up in the house at one point or another.


Speaking of cold. . . I may have been spoiled previously with my nice warm sewing room and bedroom on the main level of the house (fantastic wood heat, remember), but this summer, my sewing room and bedroom moved to the basement. The cooler temperatures of this level were fabulous and supremely comfortable all summer long. Then it got chilly. And my sewing room was a little less comfortable to spend all day in than it previously had been. The fleece pants that have been abandoned in my bottom dresser drawer since high school? Oh yeah, those started getting worn. All. The. Time. The fleece top my future mother-in-law gave me? Possibly my most used Christmas gift this year. Same goes for the fuzzy socks she gave me.


I used to never wear fleece - too warm and synthetic-y for me to be comfortable. This basement room changed that however. As the winter got colder, I decided I needed to make myself some warm loungewear to wear while sewing. The single pair of fleece pants and the fleece top did need to be washed once in a while at least. . .

Thus, when Mother Grimm asked for testers for a new lounge hoodie, I jumped on it! Cozy sewing clothes, here I came!


This is meant to be a over sized snuggly hoodie, which I made a little less over sized by sizing down when I found myself between sizes, rather than sizing up. It's still plenty loose and comfy, but fitted enough to be easy to work in. I find things that are too loose tend to get in my way while sewing.


The hoodie is designed to be made from fleece or minky-type fabrics. As I mentioned earlier, fleece isn't a fabric I particularly enjoy wearing, so it's not a fabric I really have in my stash. Thus, my hoodie would be made from something other than fleece!


You know what fabric I do enjoy wearing? French terry. Of the cotton variety, preferably, not the synthetic. It's pretty soft and snuggly, and much less sweaty than synthetic stuff. As I appreciate this fabric, it's one I have collected whenever I've come across it at a decent price. For my hoodie, I decided to use an oatmeal and white striped French terry, acquired cheaply at Wal-Mart at some point in the past couple years. I didn't have quite as much fabric as I needed for this pattern, but with careful cutting and the addition of a center front seam on the hood, I made it work.


Now, as much as I like French terry, it's not quite as snuggly and insulating as the dreaded fleece I have recently become accustomed to. So, I decided to fully line my hoodie with some magnificent paisley double-brushed polyester, left over from this top I made a few months ago. I used the same material for the pocket and the sleeve cuffs.


Double-brushed polyester jersey is pretty much "fleece light". Soft, very synthetic, and quite insulating. It's not quite as sweaty as fleece, as it is lighter weight, but it's a fabric I will only wear in the cold months. I don't hate it the way I hate fleece, but I don't love it either. That said, it is incredibly, amazingly, wonderfully, soft. Thus, I was lured into buying several pieces of it before I realized it's fleecy properties. So, not my favorite fabric, but it did work wonderfully to make my hoodie a little more insulating and snuggly - basement sewing room appropriate in other words.

The pattern gives instructions on how to fully line your hoodie if you would like to do so - very convenient. 


As with the outer French terry layer, I didn't have quite as much fabric as I should have for the lining. So, I pieces the sleeves together within an inch of their life. Not in the most orthodox sewing practice (In modern sewing at least. Piecing was more common historically.), but I like getting as much mileage as I possibly can from my fabric and I am very pleased than I managed to use up this piece completely and entirely!


Once all the piecing was done, I sewed up the hoodie in one morning, tried it on, and was very pleased to find it just as snuggly as I'd hoped it would be!


Perfect for staying cozy while sewing in the basement!


As an added bonus, when baby goats started arriving a few days later, I discovered the pocket was big enough to hold a new born baby goat!


Who wouldn't want a hoodie with a goat pocket?!?!?


This little lady is Odette, one of Giselle's triplets. She mostly stays with her mama and siblings, just comes inside to be snuggled every now and then.


I'm happy to report that after a couple cold and worrisome weeks, it has warmed up, the sun is out, and Odette along with her siblings and all the other babies are now doing very well and enjoying playing and exploring outside!


The basement however, is still a little chillier than I would prefer sometimes, so my new hoodie is seeing lots of wear!


If you're interested in making cozy lounge hoodie for yourself, the pattern is available in both children's and adult sizes on the Mother Grimm website. Use the code Cwtch50 to get the pattern 50% off!

Wednesday, February 19, 2020

Matelasse 18th Century Pockets and Baby Goats

When preparing for my trip to Uganda, I knew I wanted to take two hand sewing projects with me. A primary hand sewing project and a back-up project just in case I finished the primary project. I already had my red wool petticoat all cut out and ready to go, so I just needed to figure out what my second project would be. After rejecting a couple different ideas because I didn't have time to gather supplies or to properly prepare patterns, I settled on a rather simple, but supremely useful, project - Pockets.


In the 1700's pockets were not sewn into dresses, rather pocket bags were made separately and attached to tapes which were tied around the waist and worn under dresses and petticoats. The pockets could be huge and were easily accessible slits in the side seams of the petticoats and gowns.

Reaching into my pocket worn beneath my petticoat.
When you think about it, this is such a practical idea! Why sew pockets into every dress or skirt when you can just sew one set of pockets and use them with all your garments?


  I did not yet have a set of pockets, and that seemed like a travesty to me. (Ok, so I do have a set of pocket hoops, which serve much the same function, but they only work under 18th century gowns of a certain silhouette, so I needed something a bit more universal.) Thus, I decided I was going to make myself a set of pockets during my Uganda trip.


Pockets are a rather simple garment over all, but there were still a couple decisions to make. Primarily, what materials would my pockets be made from? What would they look like? 18th century pockets can be quite elaborately embroidered. Now I would love a set of embroidered pockets, but I didn't feel like taking the time to do that at the moment. Thus, I took to the internet to see what other, non-embroidered, examples of pockets I could find. I could have just made a set of pockets from plain linen fabric, which I knew would be historically accurate, but that sounded boring. I wanted to see what other options I had.


I found several examples of matelasse pockets in online museum databases. (Such as this one from the V&A and this one from the MFA Boston) As I'd just made a matelasse petticoat, this made me super excited. I had fabric left over from my petticoat! I could totally make a set of matelasse pockets for myself!


I pulled my matelasse scraps out of my stash, drafted a pocket pattern based on the one in Janet Arnold's Patterns of Fashion 1, read about pocket construction in Costume Close-up, then cut out my pockets so they would be ready to sew on my trip.


The matelasse would be used for the front of the pockets, but most extent pockets were backed in plain linen or cotton fabric. So I needed to find something in my stash to use for the backing and binding of my pockets. Inspired by this set of pockets at the MET with its opening bound in red fabric, I decided I wanted to use something other than white material for my backing and binding. After some looking through my stash, I decided to use a lavender linen tank top as my backing and binding fabric. I made this tank for myself several years ago, but it never fit right, so it was time for it to become something else. There was just enough fabric in the top for me to cut out two pocket backings and binding.


I took my cut out pockets with me and began sewing them at the airport on my way out of the country. By the time I returned to American soil a week and a half later, I had a complete set of pockets.


The front and back pockets were stitched together with a back stitch and the binding, cut on the straight-of-grain, is applied with running stitches on the back and slip stitches on the back, according to the descriptions given in Costume Close Up.


At the top of each pocket is a channel, which the waist tape is threaded through.


After making my pockets this way I realized all the pocket examples I've seen actually have the waist tape sewn to the top of the channel, rather than sliding on the waist tape the way mine do, so I did that wrong, historically speaking. Oh well, I like the adjustability this way, so it can be historically inaccurate.


These pockets are my entry for the second Historical Sew Monthly challenge of the year - Re-Use: use thrifted materials, old garments, or bedlinens to make a new garment.

What the item is: Pockets
How it fits the challenge: These are made out of scraps of a cotton matelasse bedspread (left over from making my matelasse petticoat for the December 2019 challenge) and the lavender linen is harvested from a top I made myself, which never fit right, out of a pair of thrifted linen pants - so a double re-use on this material!
Material: Cotton matelasse from a bedspread and linen from a thrifted garment.
Pattern: The pocket pattern from Janet Arnold's Patterns of Fashion 1.
Year: 18th Century
Notions: Thread and cotton twill tape for waist tie.
How historically accurate is it? Well, linen and cotton matelasse were used to make pockets in this era, and they're all handsewn, however, in the era, the cotton matelasse would have been actually woven with a design shaped for pockets, rather than just cut from a bedspread scrap, and I've not seen any linen in this particular color on extent pieces, so probably about 75%.
Hours to complete: A little here and there as I was traveling so I'm really not sure, but probably around 10 hours for both pockets.
First worn: 2/1/2020, just for pictures
Total cost: All left over materials for other projects, so essentially $0. However, of you were to go back and count the cost of each little thing it would probably come out to around $5 or less.


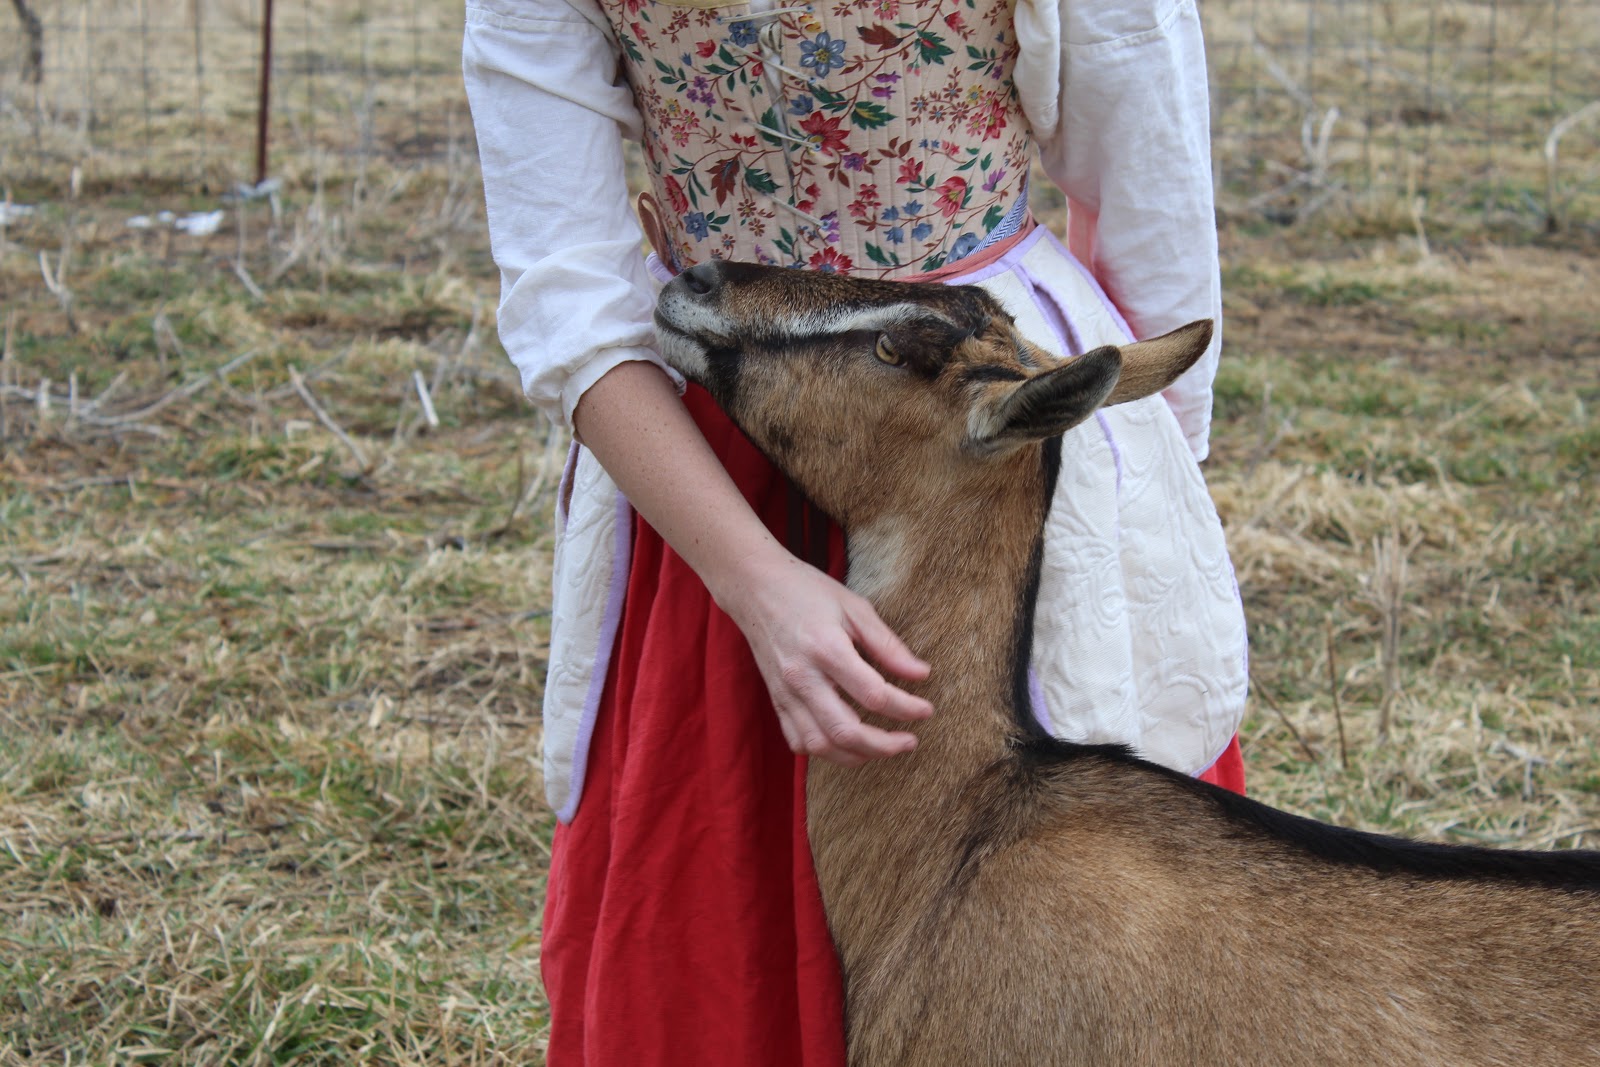
After returning home from my trip to Uganda, when it came time to photograph my new pockets, I thought it would be fun to take pictures with my goats, a la 18th century shepherdess. My sister and I trooped out to the goat pen and expected the goats to come running, the way they usually do when they see me.


Only on this day the goats were a little grumpy with me. It was mid morning and I hadn't fed them yet. So I stood in the pen and called to them, and they stood at the feed trough and cried at me. "No pictures unless you feed us."


Eventually a very pregnant Florecita decided to join me and posed nicely for some pictures. (And as soon as we finished pictures, I hurried up and fed everybody!)


A few days later, kidding season kicked off, and Florecita was the second doe to kid!


My pocket pictures were taken on Saturday, and on Wednesday morning I came out to feed and found Zillah with a big single doeling in the kidding shed. I named the baby Flurry as it snowed that day.


Less than 24 hours later, at 2:30 am Thursday, Florecita followed with twin does, named Azalea (front) and Fresia (back).


Sweetie quickly followed with triplet does Thursday afternoon - Delacour (top), Dobbina (bottom left), and Dittany (bottom right).


Friday it was Ocarina's turn, with a doe (droopy ears, named Mandolin) and a buck.


Saturday I got a break, but Sunday afternoon it was a set of twin bucks, Fred and George, out of Sunrise. Sadly, she rejected the black baby, Fred, so he's a bottle baby now.


Monday it was triplets from Giselle, two does (the tan babies, Astoria and Dalia) and a buck (the black one, Ralph).


And, after making us wait several days, Milkyway finally kidded last Friday afternoon with a set of twin bucks (still unnamed). 


9 days start to finish. 7 mamas and 15 babies. All healthy. It's been my shortest and easiest kidding season to date!