I had my design. I had the majority of my fabrics. The big decisions were made before I even got engaged. Except for one. I didn't know what pattern I would use to make my wedding dress. Big 4? Indie? Make my own? All were options, but where to start? Let's look at my "final" design again.
I wasn't concerned about a pattern for the skirt. My plan for that was just 3 panels of silk, sewn together and cartridge pleated to the bodice, just the way I've done before for early Victorian gowns, such as my
black wool 1840's dress. As for the over skirt, I figured I could drape that easily enough. Thus, all I needed was a bodice pattern and there were a number of features I wanted it to have.
~ A point at the center front waist (basque waist)
~ A square neckline
~ A "v" back neckline
~No bust dart coming out from the side seam, but perhaps double darts coming up from the waist
I considered drafting my own pattern for this, but I'm much more comfortable majorly altering a pattern than I am making one entirely from scratch. (One day I will force myself to acquire some more pattern making skills, but I decided today was not that day) So, instead, I went through my pattern collection and pulled out any pattern I came across that met a couple, or at least one, of the above criteria. That left me with this.
Vogue 8729, which had a front square neckline, back v-neck, and could easily be altered to have a basque waist.
Simplicity 4468, an original vintage pattern from the 60's which was in my size and had a nice back "v" shape, and some really neat darts. I could easily change the front neckline to a square.
The Charm Patterns Night and Day dress had the front neckline shape I wanted.
McCall's 4696 featured a basque waist, square neckline, and (unlike the Vogue and Charm patterns) no bust darts coming out from the side seams. In fact, it had no darts at all.
Simplicity 8404, the live action Beauty and the Beast Belle ballgown pattern, which had a square front neckline, a sight back v-neck, a basque waist and no side seam bust darts, only darts coming up from the waistline.
I could either combine a few of these pattern to get what I wanted, or just pick one and alter it until it was just right. As the Belle pattern had pretty much all the features I wanted, and would only require a bit of tweaking to get everything "just right" I decided to go that route. It did feel a little awkward however to use a Disney costume pattern to make my decidedly-not-a-costume wedding dress.
Oh well. The costume pattern envelope didn't matter. What was important here was the pattern pieces inside, and those would do just fine.
All I needed were the basic bodice pieces, numbers 1 (front bodice), 2 (back bodice), and 7 (center front bodice). Everything else was for the trim or skirts and didn't apply to my wedding dress at all. I cut out the bodice pieces in my size and got to work!
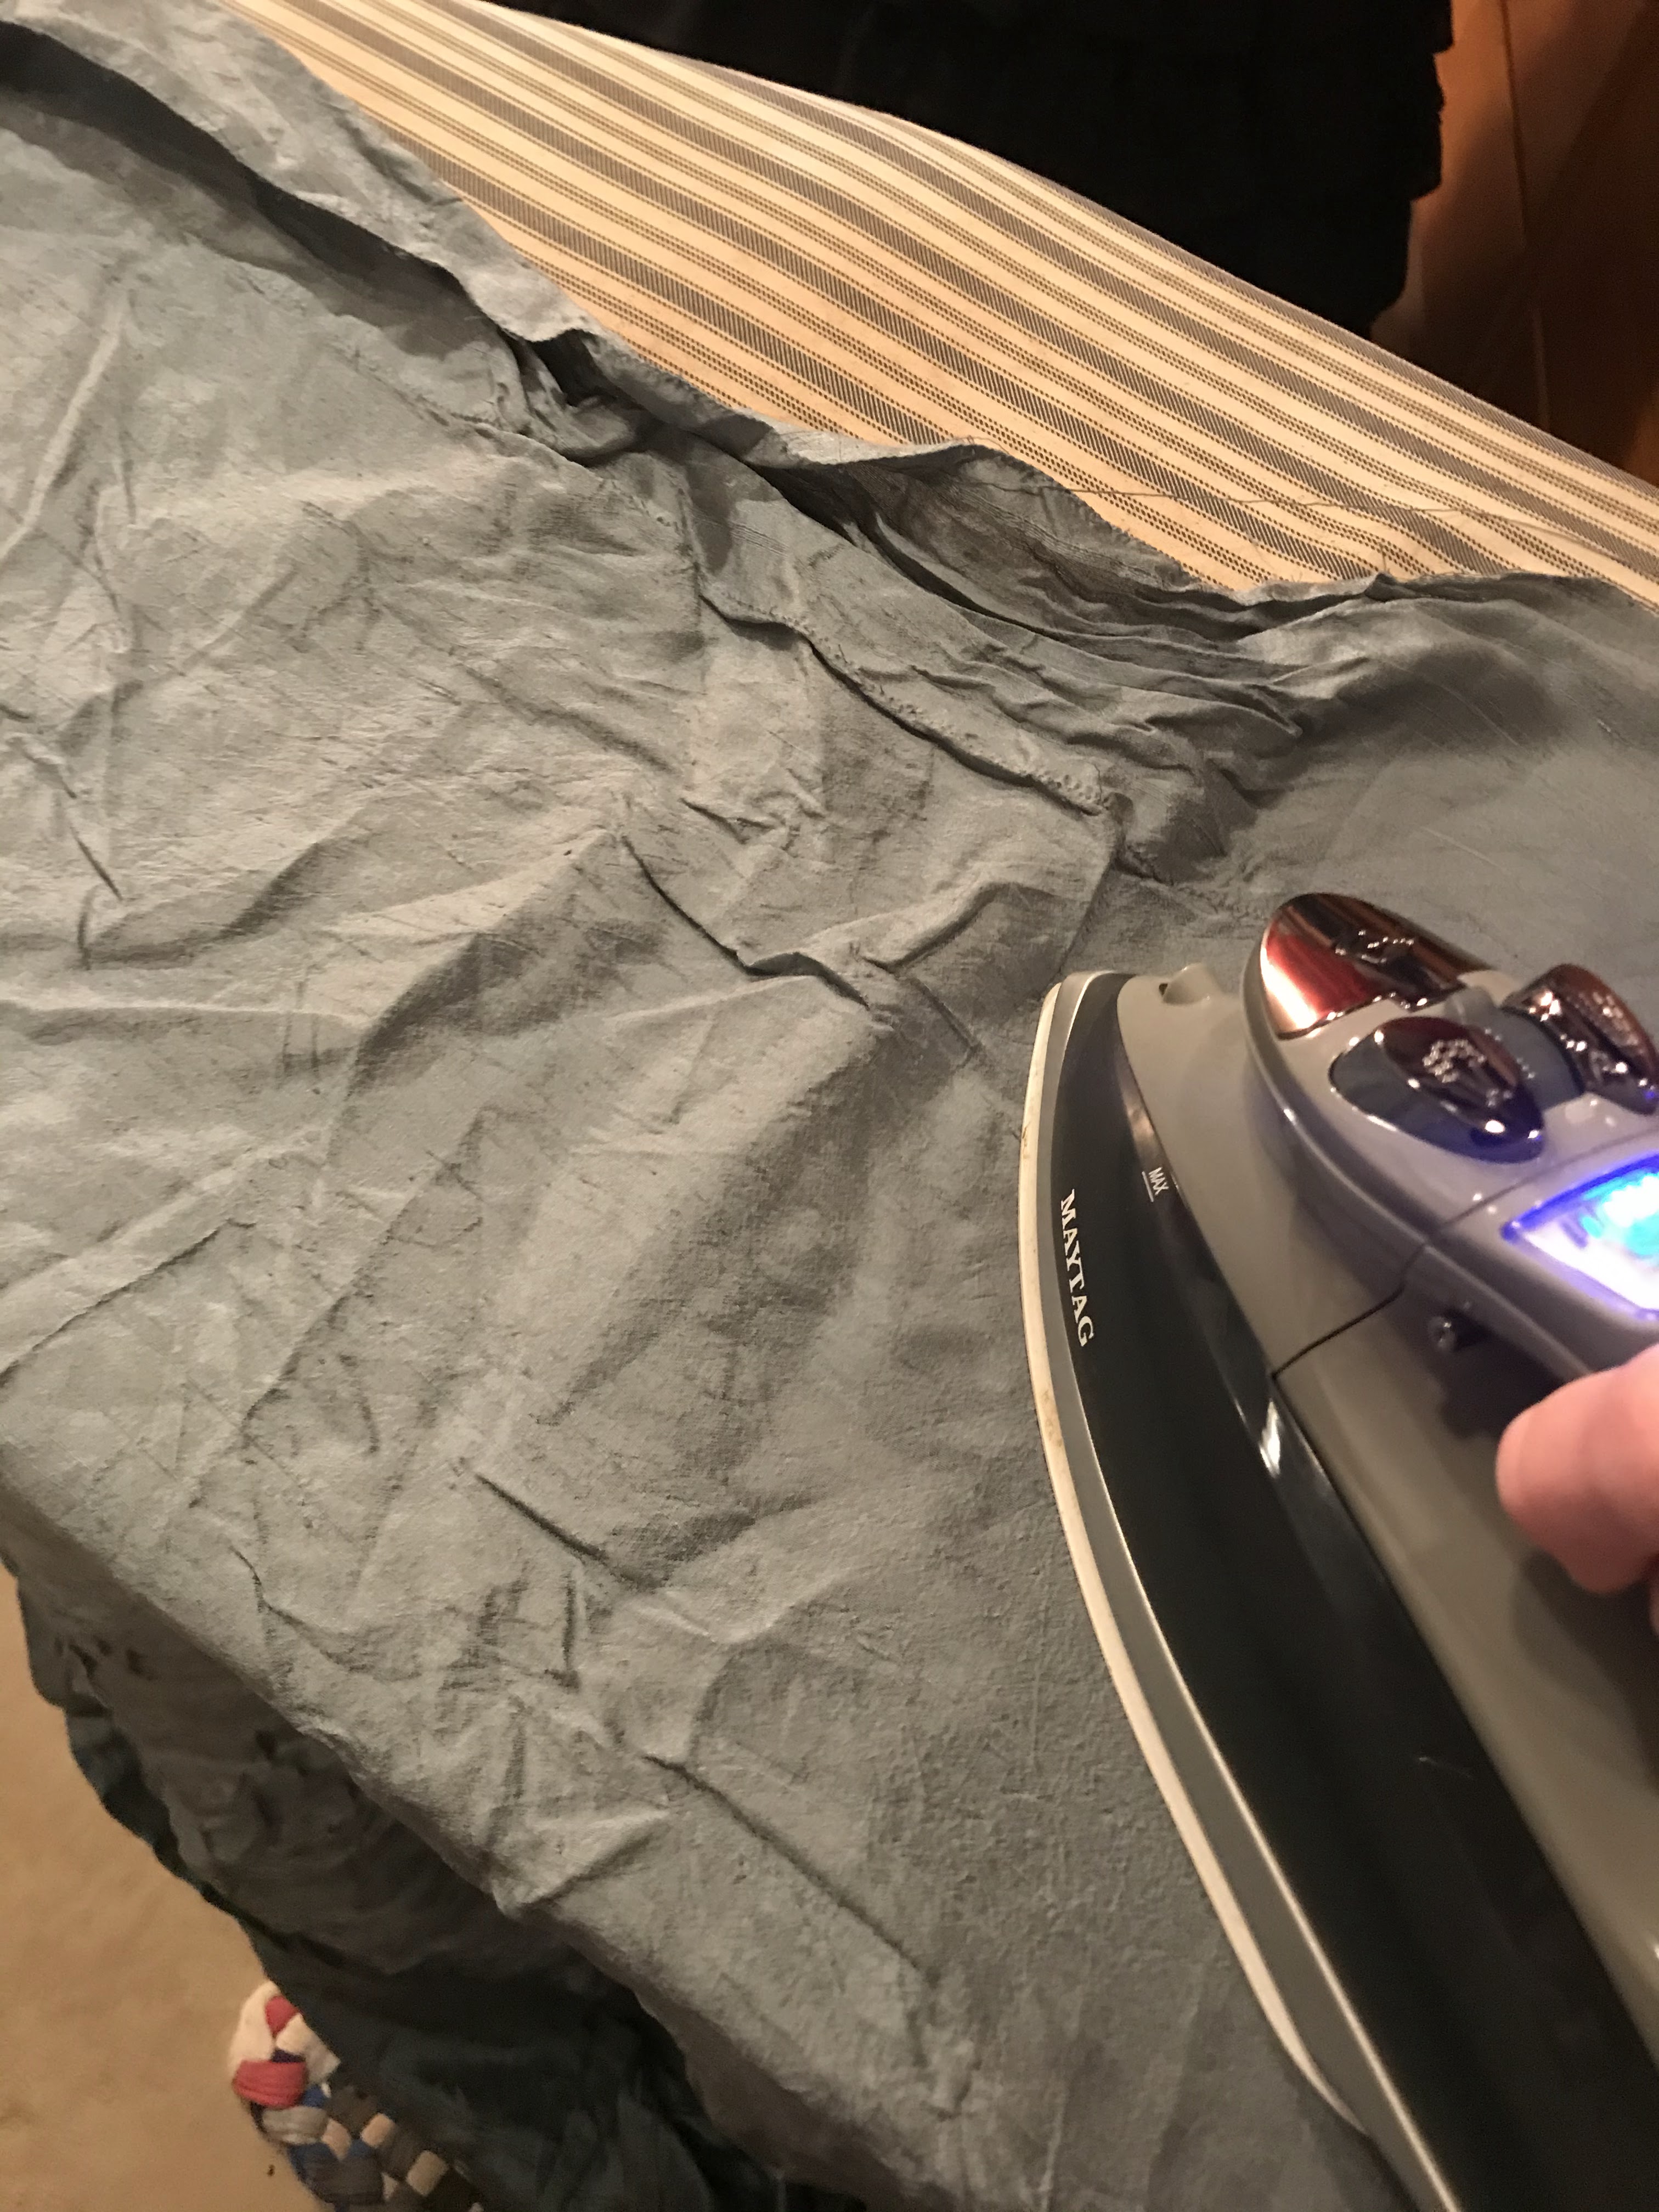
First I made a few preliminary alterations, lowering and widening the front and back neckline a touch. Then I cut out my first mock-up from some old blue curtains.
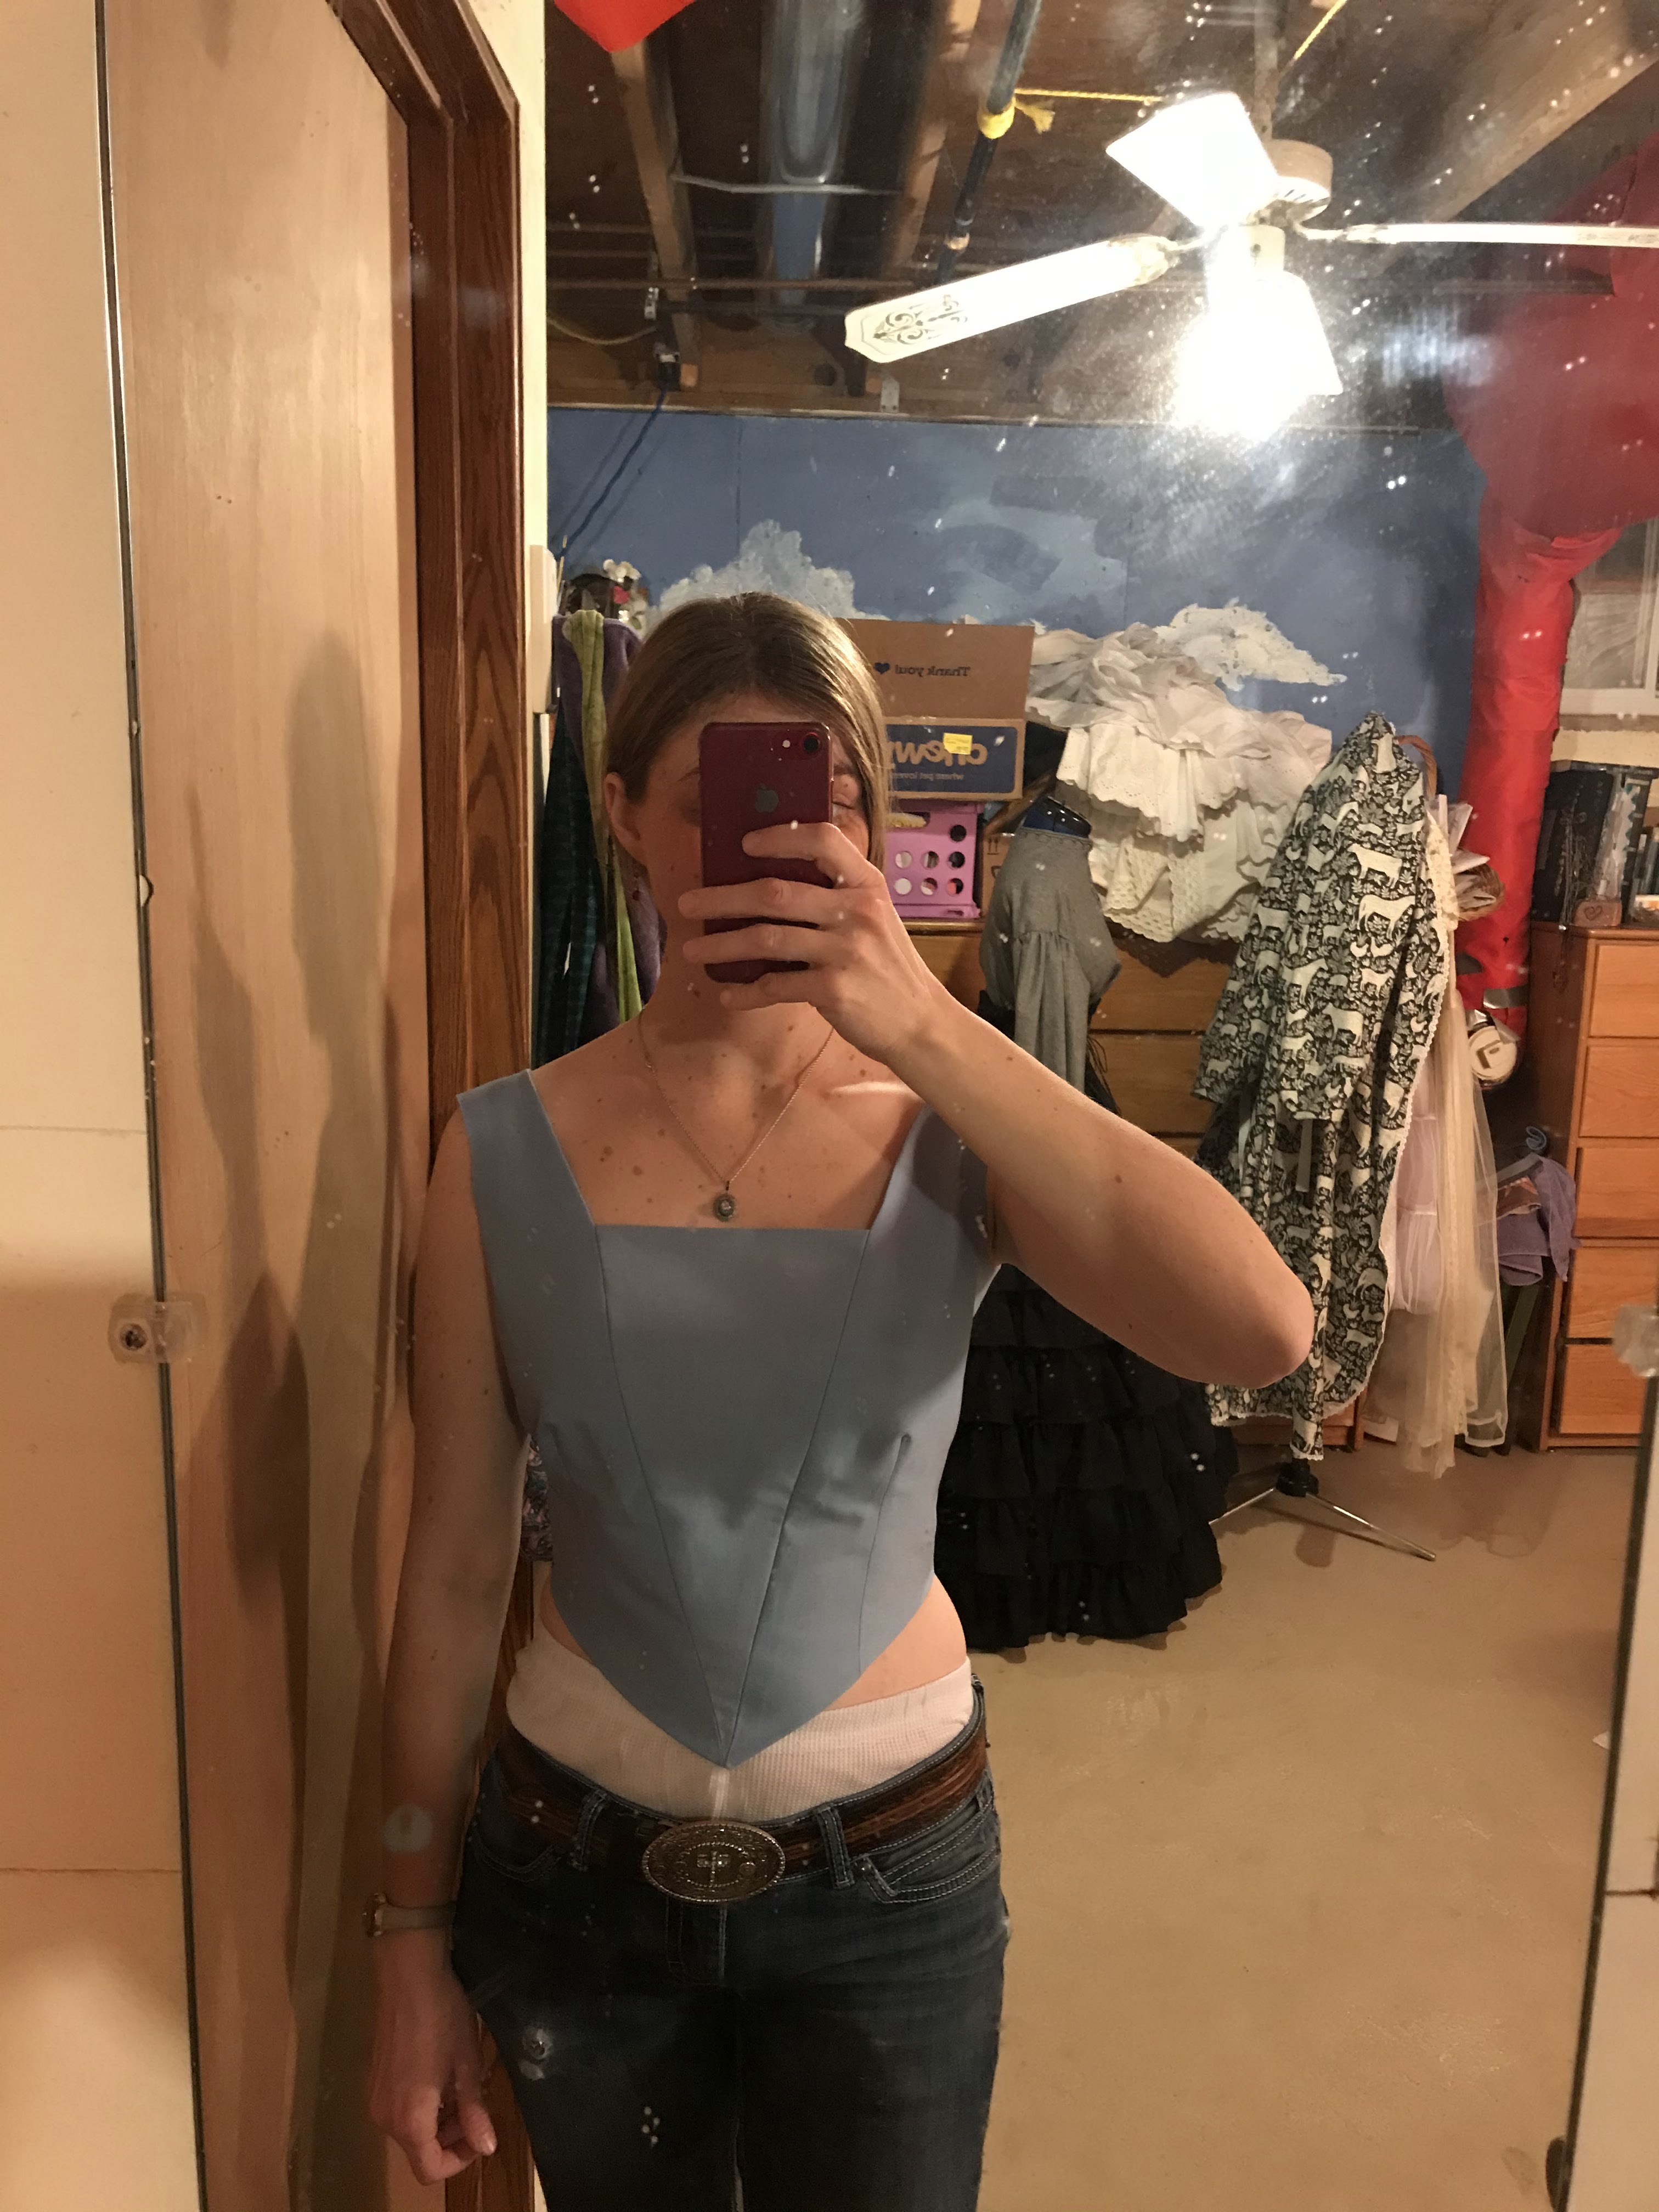
I sewed the mock-up together, pinned some wide lace around the neckline to simulate the collar idea I had in mind, and tried it on. I loved it. My wedding dress design was coming to life right before my very eyes and I just couldn't believe how much I loved the shape of it!
Oh yes, I'd picked the right design! However this bodice pattern needed a few more alterations to get the fit just right.
First I needed to remove a little bit of length from the shoulder straps, then I needed to lengthen the bodice a bit over all, and lower the bust darts by about an inch.
There was also some weird wrinkling across the back, so I tried folding that out of my pattern piece.
Mock-up #2 was then made, from the same blue curtain as the first.
The waistline now hit me at the right place (yay!) but didn't like the shape of the darts. They just didn't lay nice!
Also, the back neckline was now too low (it revealed my bra strap, and yes, I did intend to just wear a normal bra under my wedding dress) and there was still that weird wrinkling across the back above the darts.
First, I decided to cut the entire bodice out on the bias instead of the straight-of-grain as I had been doing. Then I decided to remove the darts entirely from the back bodice piece and pin a bit more length out of the top half of the pattern piece. Perhaps no darts on the bias would succeed where darts on the straight-of-grain had failed?
Then on my front bodice pattern piece I pinned a chunk of width out from waist to bust point. The darts were just too wide to lay nice, so by doing this I essentially transferred half the dart width to the seamline of the center front bodice.
I did not mark my new narrow darts on my bodice front, but rather pinned them in place on my body after the mock-up had been assembled.
The results were more than satisfactory!
Between the bias cut and the new dart arrangement my bodice front fit was pretty much perfect! I had my final pattern ready to go!

The bodice back however was another story. It was still doing it's weird wrinkle thing.
I tried pinning out a new dart from the waist to about the bottom of my shoulder blade. Horribly wrinkly.
Then I tried pinning out a curved back side seam, like you see on Victorian bodices.
Lo and behold - it worked! That curved seam fixed the issue!
I disassembled this latest bodice mock-up, and carefully cut out the new back seam I had pinned. I did the same with my new front darts.
The only bodice piece which had not under gone alteration from the original pattern was the center front bodice.
I traced my altered and cut up third mock- up pieces onto paper to make a new pattern.
I added 5/8" seam allowance to my new back side seam so it would match the the rest of the pattern.
I double checked and trued my new front darts.
And with that, I had a pattern.
I was fairly certain this was my perfect, final pattern and I could cut into my silk now and start on the actual wedding dress. But. . . I cut out one final mock-up just to be sure.
 |
| First bodice mock-up compared to final bodice front mock-up. |
The mock-up from my "new" pattern fit beautifully!
All was ready. I could cut out my bodice. My wedding dress bodice. I could hardly believe I was to this point! I was honestly a little nervous about messing something up. So, I ordered a book.
I've read an awful lot of blog posts over the past decade by people who made their own wedding dresses. A very large number of those blogs highly, highly recommended the book Bridal Couture by Susan Khalje. Well, I had an Amazon gift card my grandma gave me for Christmas burning a hole in my pocket, so I used it to order a used copy of this out of print book. When the book came, I read it cover-to-cover.
While I read the book I took a break from working on my dress, and made a silk petticoat to wear under my wedding dress instead.
After I read the book I felt confident and ready!
I cut out my bodice. A layer of cotton twill for the interlining and a layer of silk twill. This wedding dress was happening! Actually, in-progress, happening!!
Of course I was beyond excited! I tried on my bodice mock-up again, this time with my mom's wedding hoop skirt just so I could envision the silhouette of my dress. And you know what? That hoop skirt was heavy. In the past I'd worn it with costumes over a corset so I'd never noticed the weight of of it. Without a corset to support the weight however? Dang, it was uncomfortable. There was no question about it. If I wanted to be comfortable on my wedding day I would need a corset.
Dangit! Dangit! Dangit!
One really ought to fit bodice mock-ups over the undergarments the finished bodice will be worn with. Well, it was too late for that. I'd already mocked-up my bodice to perfection and cut it out of the silk. Now I would need make a corset specifically to fit under the bodice I'd cut out. Crap.
Clearly a corset would slightly change my body shape no matter what, but hopefully I could keep the alteration minimal. Just to be safe however, just in case any alteration would be required to my bodice pattern, not a single stitch would be sewn on the bodice I'd just cut out until after I made a corset to wear it over.
Dang it.
Check back next weekend to hear all about the wedding corset from start to finish!
And stop by tomorrow if you want to know about the silk petticoat I made to wear on my wedding day!
In case you missed it, last weekend I shared about my dress
design and
fabrics - the foundation of this dream gown!