Thank you to everyone who commented (either here or on Facebook or Instagram) on my post about Felicity's Birthday Dress, my birthday, and the infertility my husband and I have been experiencing the past two and a half years. Thank you for the messages of support, thank you to those who shared their own similar experiences with me, and most of all, thank you for the prayers. I truly, truly, appreciate all of it.
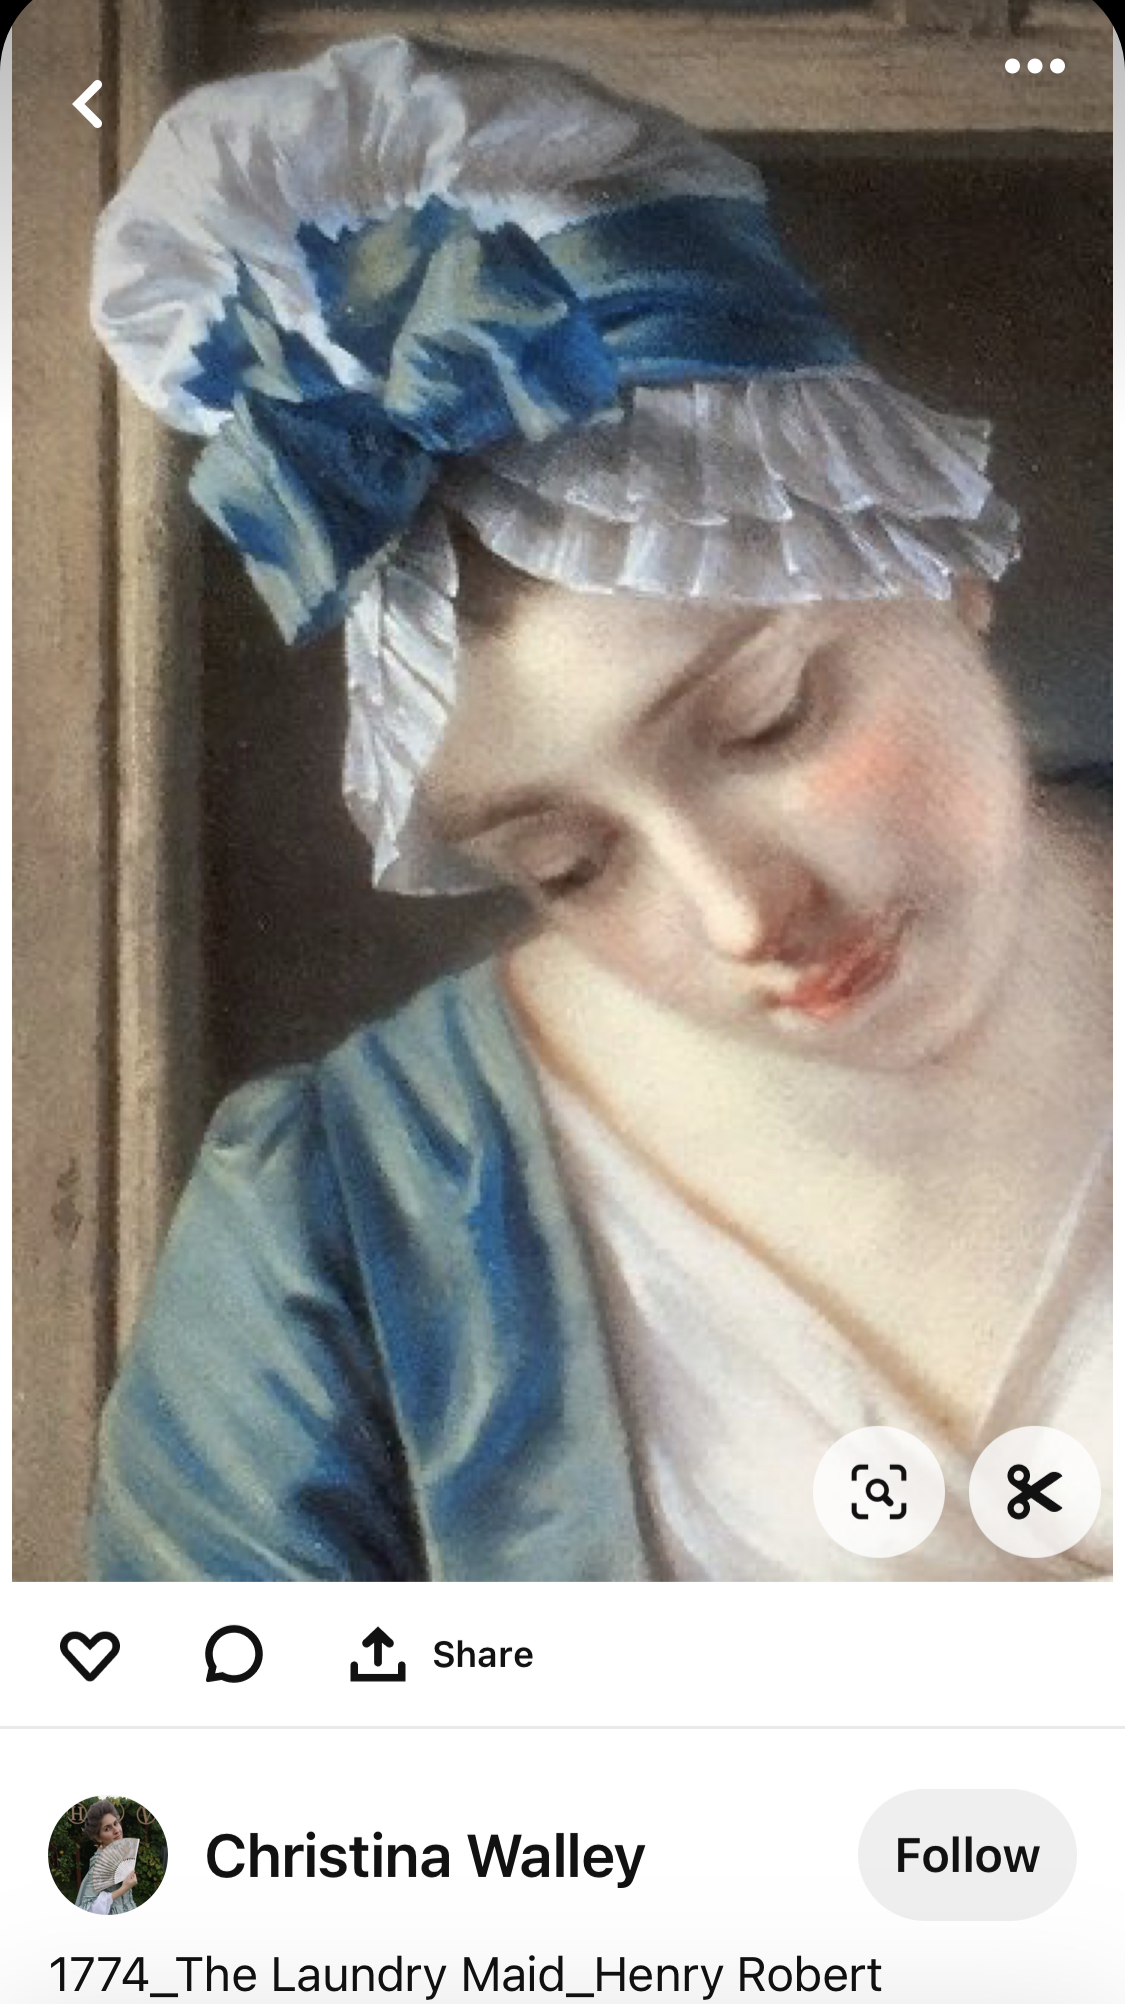
As I mentioned, by my birthday, I had the gown and apron of Felicity's birthday ensemble done, or at least wearable. However, thanks to the awesome surprise party my husband threw me, I didn't get the chance on my actual birthday to wear the outfit. Instead, my friend and I decided to do afternoon tea at a local tea shop a few weeks later - and having an extra three weeks to finish the ensemble was perfect! It gave me time to make a new cap for the occasion, and add the finishing touches to the dress.
Actually, forget the finishing touches on the dress - first I needed to finish the petticoat!
Funnily enough, the petticoat was the first part of this dress I did any sewing on. I sewed up the side seams on a delightful June afternoon while I sat outside and watched my niece and goats play in the yard. And that is as far as the petticoat got.
Ok, so by my birthday I did have it hemmed, but I did not have it pleated, and I certainly didn't have it leveled over the false rump I would be wearing with the dress, (Frances rump, by Scroop Patterns, for anyone wondering.) Somehow, the opportunity hadn't presented itself for me to rope someone into sitting on the floor to measure the distance from hemline to floor while I stood very still wearing the rump and mostly finished petticoat.

Eventually I realized I could just put the rump and petticoat on a dress form and level the hem that way - so that's what I did! I pleated the petticoat (not as evenly as I would have liked, as it turns out I did not get the petticoat cut perfectly on-grain, and off-grain linen is hard to pleat prettily.), basted the pleats into place, then put the petticoat on the dress form over the rump, and carefully pulled the petticoat up and down at the waistline until them hemline was even. It's a rather tedious task, but it sure feels good when it's done! Look at that even petticoat hem!
Petticoat done, I could finally move onto the more fun part of adding pretty little details to the gown!

First off - ruffles! Rather than make a new set of sleeve ruffles, I grabbed the linen ruffles I made several years ago to go with my silk caraco and basted those into my gown sleeves.
Then there was the neckline ruffle, and that I had to make brand-new for this gown.
Felicity just had a ruffle go across the front of her neckline, rather than all the way around like the ruffle on her school jacket. So that's the way I wanted to trim my gown - and I had to make a new linen ruffle to do it. I sewed the ruffle to a strip of twill tape the correct length, then basted it into one half of my gown neckline. Since the gown closes center front, the ruffle gets pinned into the other other half of the gown neckline once the front is done up.
Speaking of "doing up" the front, these gowns were usually done up with pins, but as I mentioned in one of my Strawberry Sacque posts, I do not enjoy pinning myself into gowns. Thus, I went with another, perfectly historically plausible, option - hooks and eyes down the front.
No complaints! This was definitely the way to do it! Easy and consistent to do up every time I wear the gown.

That said, looking at these pictures, I should probably add some boning to the front of the gown to keep it from bunching up between the hooks and eyes. Is it worth it though, since most of the time the gown is worn with an apron that hides the issue? I'll let you know if I ever decide to do something about it.
Petticoat, ruffles, hooks and eyes - the gown was definitely done now! But, the week before our tea, I decided to add one last little detail - twill tape in the skirt.
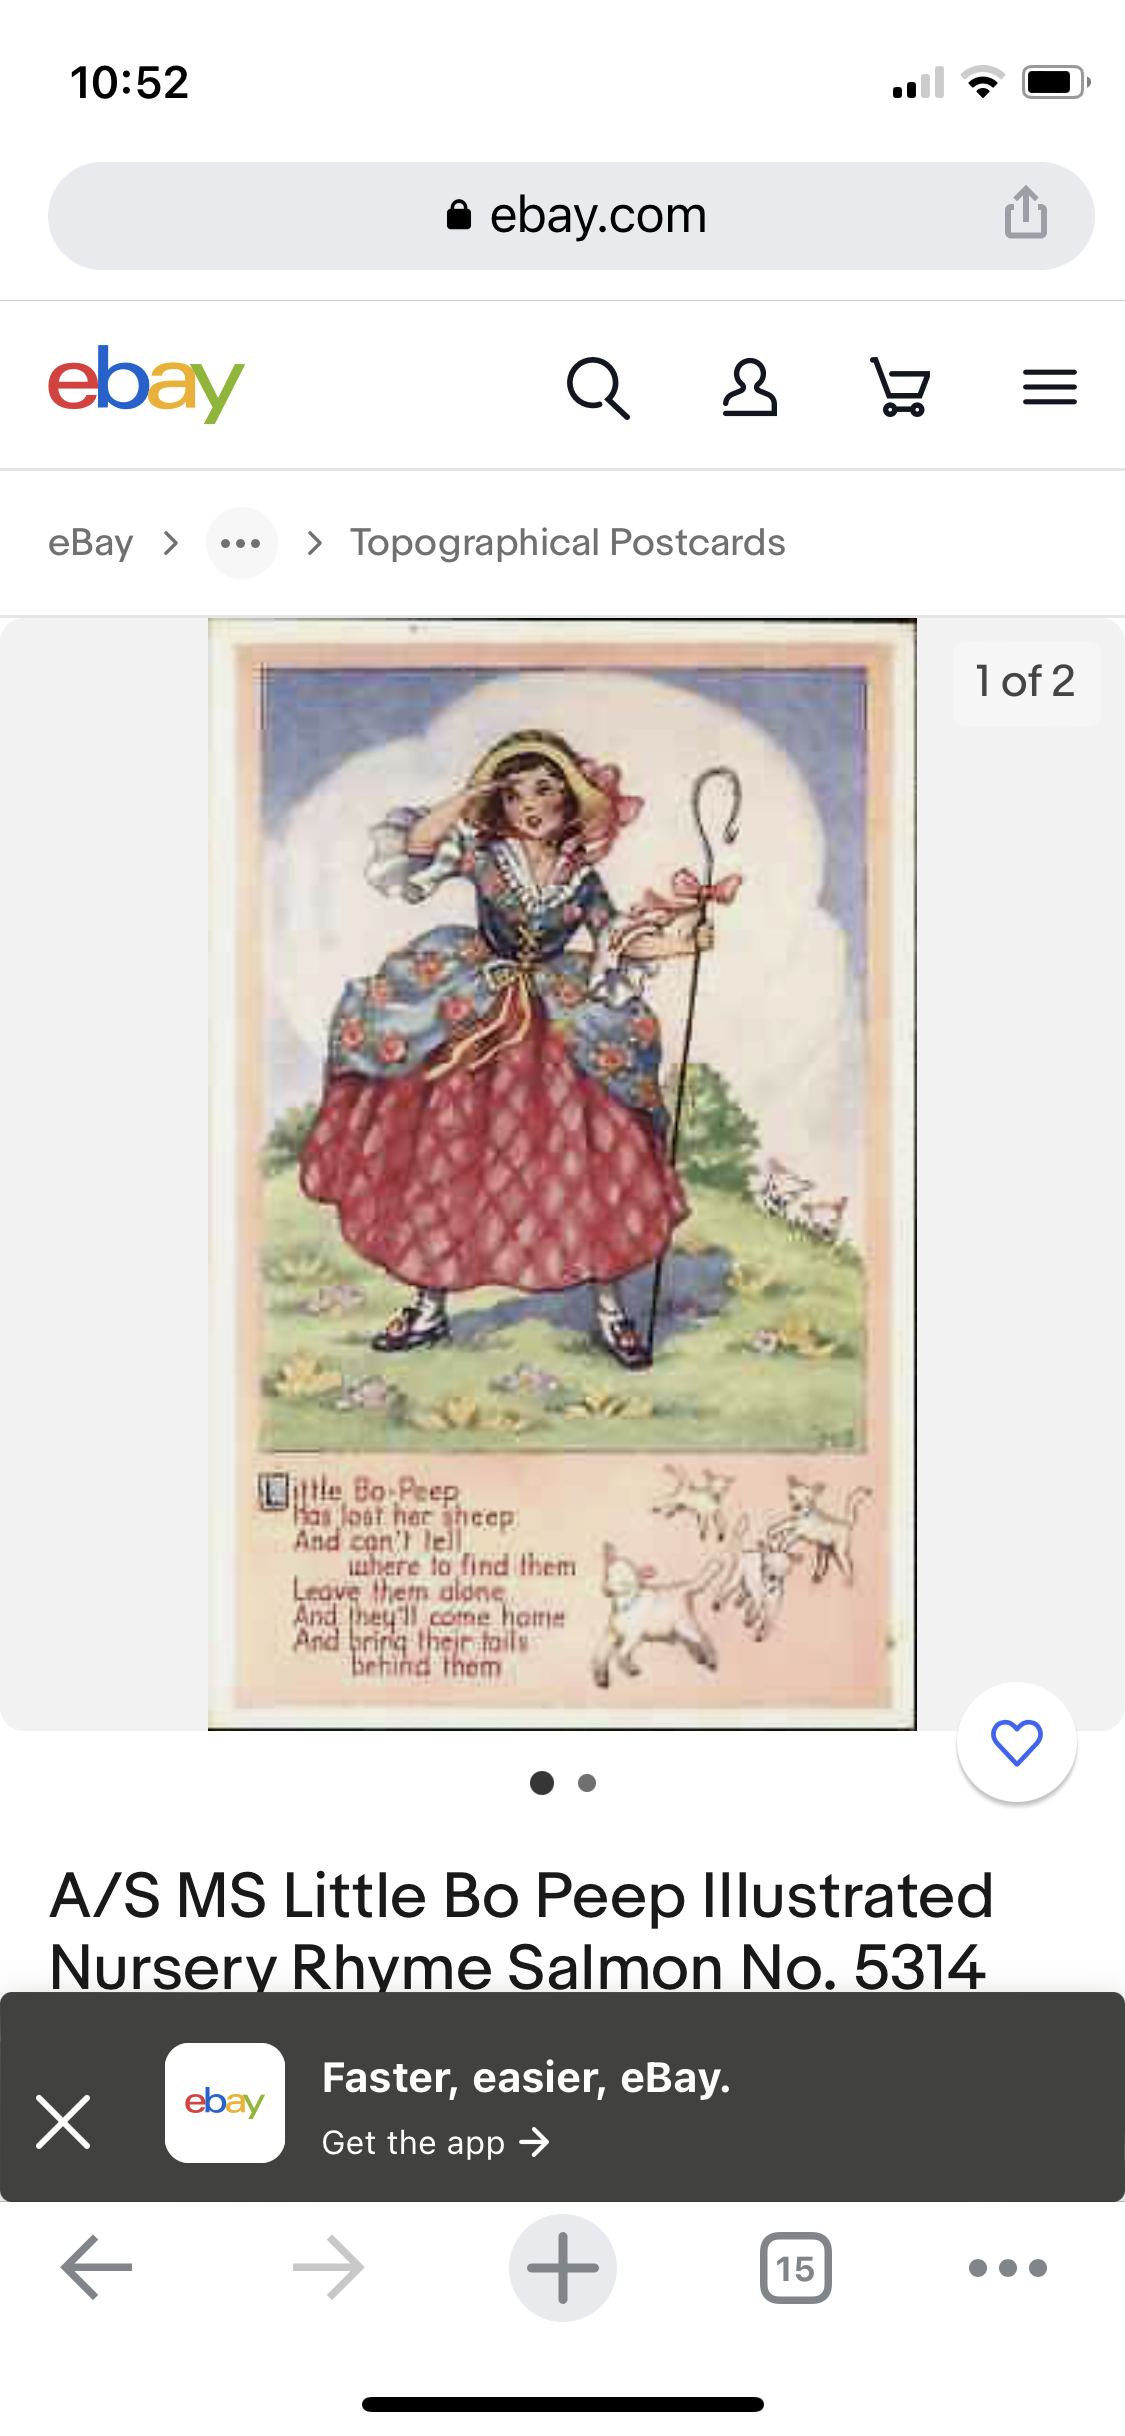
One of last year's Historical Sew Monthly themes was "Once upon a Time" ~ Make something inspired by a fairy tale or folk tale. As I contemplated my options for this challenge Little Bo Peep crossed my mind.

You know how the rhyme goes:
Little Bo Peep has lost her sheep, and doesn't know where to find them
Leave them alone and they'll come home, wagging their tails behind them
As a goatherdess, I feel some affinity for the shepherdesses in stories - and as someone who currently has two "free range" goats, I can definitely relate to Little Bo Peep wondering where her animals are, and said animals running home with wagging tails and jingling bells (Ok, maybe if she had bells on her sheep they would have been harder to lose. Honestly, that's exactly why my goats got bells this fall, so I could hear where they were grazing when I couldn't see them!)
All that said, I thought it might be fun to make myself a Little Bow Peep outfit. I looked up vintage LBP images online, and what do you know? Most showed her wearing an 18th century inspired dress with the skirts looped up!
One even showed her in a pink gown similar to Felicity's birthday dress!
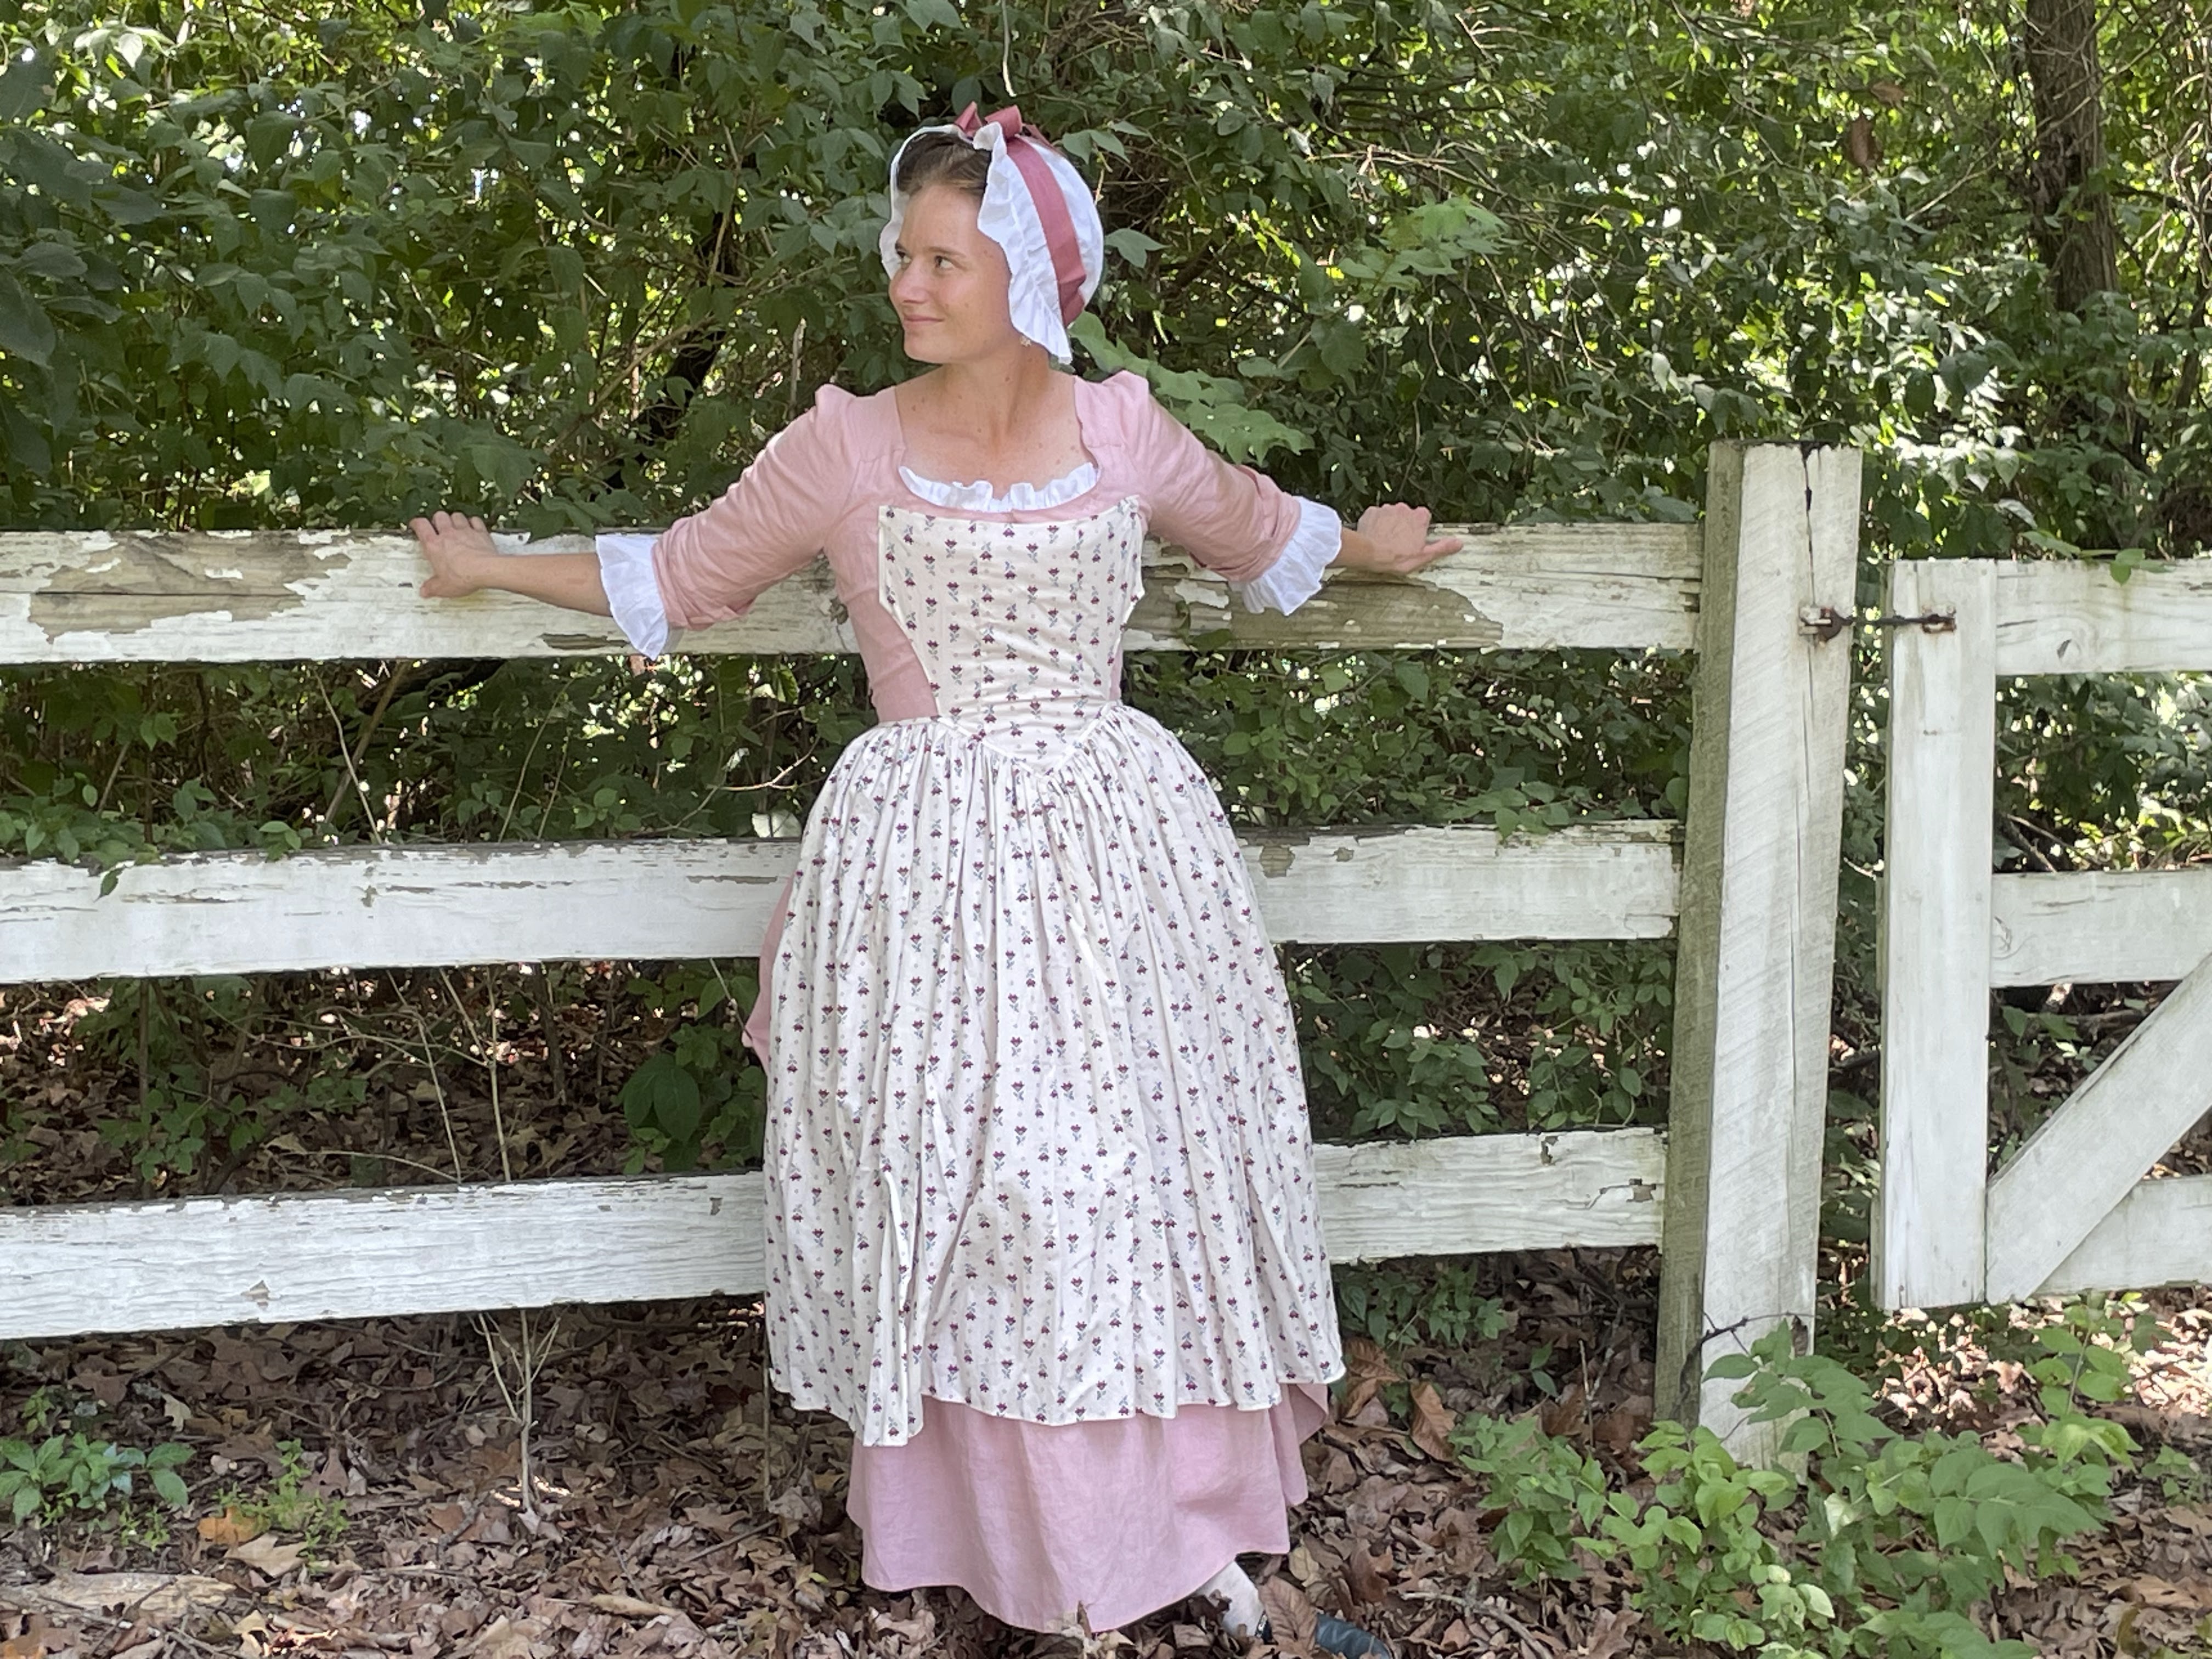
So, with this in mind, I decided Felicity's birthday dress could do double duty as a Little Bo Peep dress, and added ties to the inside of the skirt so it could be looped up as I wished.
It's quite a fun look!
And the tea I wore the gown to?
That was great fun!

What the item is: English gown with a closed front, inverted back pleats, and a looped up skirt.
The Challenge: Once upon a time - I originally decided to make this gown to match Felicity’s in Happy Birthday Felicity, however that’s not exactly a fairy tale, so just that inspiration would make this gown a stretch for this challenge. Enter inspiration #2! As I was considering my project for this challenge, Little Bo Peep crossed my mind, and I decided to look up pictures online. A lot of vintage Little Bo Peep images featured her wearing an 18th century gown with the skirt looped up. Thus, I decided to loop up the skirt of this gown in a similar manner, despite Felicity’s dress having a plain skirt.
Material: Pink linen, with a white linen/cotton blend lining
Pattern: Larkin and Smith English gown, altered to get the closed front and inverted back pleats.
Year: Late 1770’s to early 1780’s
Notions: Twill tape, thread, and metal hooks.
How historically accurate is it? All hand sewn, using period techniques, out of appropriate fabrics, thought the lining would be more accurate if it were all linen rather than a blend. The pattern is also accurate. The hook and eye front closure isn’t inaccurate, but it’s less common than a pinned closure would be. The once concern I have with accuracy on this gown is the inverted back pleats and looped up skirt - I know these things were a thing in the era (though rare in the case of the inverted back pleats), but I haven’t seen evidence of linen gowns with these features, just silk gowns with the inverted back pleats and silk or printed cotton with the looped up skirt.
Hours to complete: About 2 weeks, but I’m not sure on the specific hours.
First worn: 7/29/23
Total cost: The linen was around $10 a yard, and I probably used about 6 yards for the dress and petticoat. Everything else was stash, so $60ish
If you missed any part of this series:
Making the dress
Making the apron
Making the cap
Wearing the Gown for a Sister Photoshoot