As I cut out the collar and bodice front pieces from my hot pink silk, it was hard to believe this was it - the last pieces of silk I needed to finish this gown I’d been working on since February.
When I actually started sewing these last few pieces together, it was crazy! Could they actually be going together this fast? Was this dress seriously almost finished?
And when I finished hand sewing on the last hook and eye, I stared at the finished bodice in disbelief. Then I couldn’t stop smiling. It was done! This project that had followed me all throughout 2020 was actually finished! It was almost unreal!
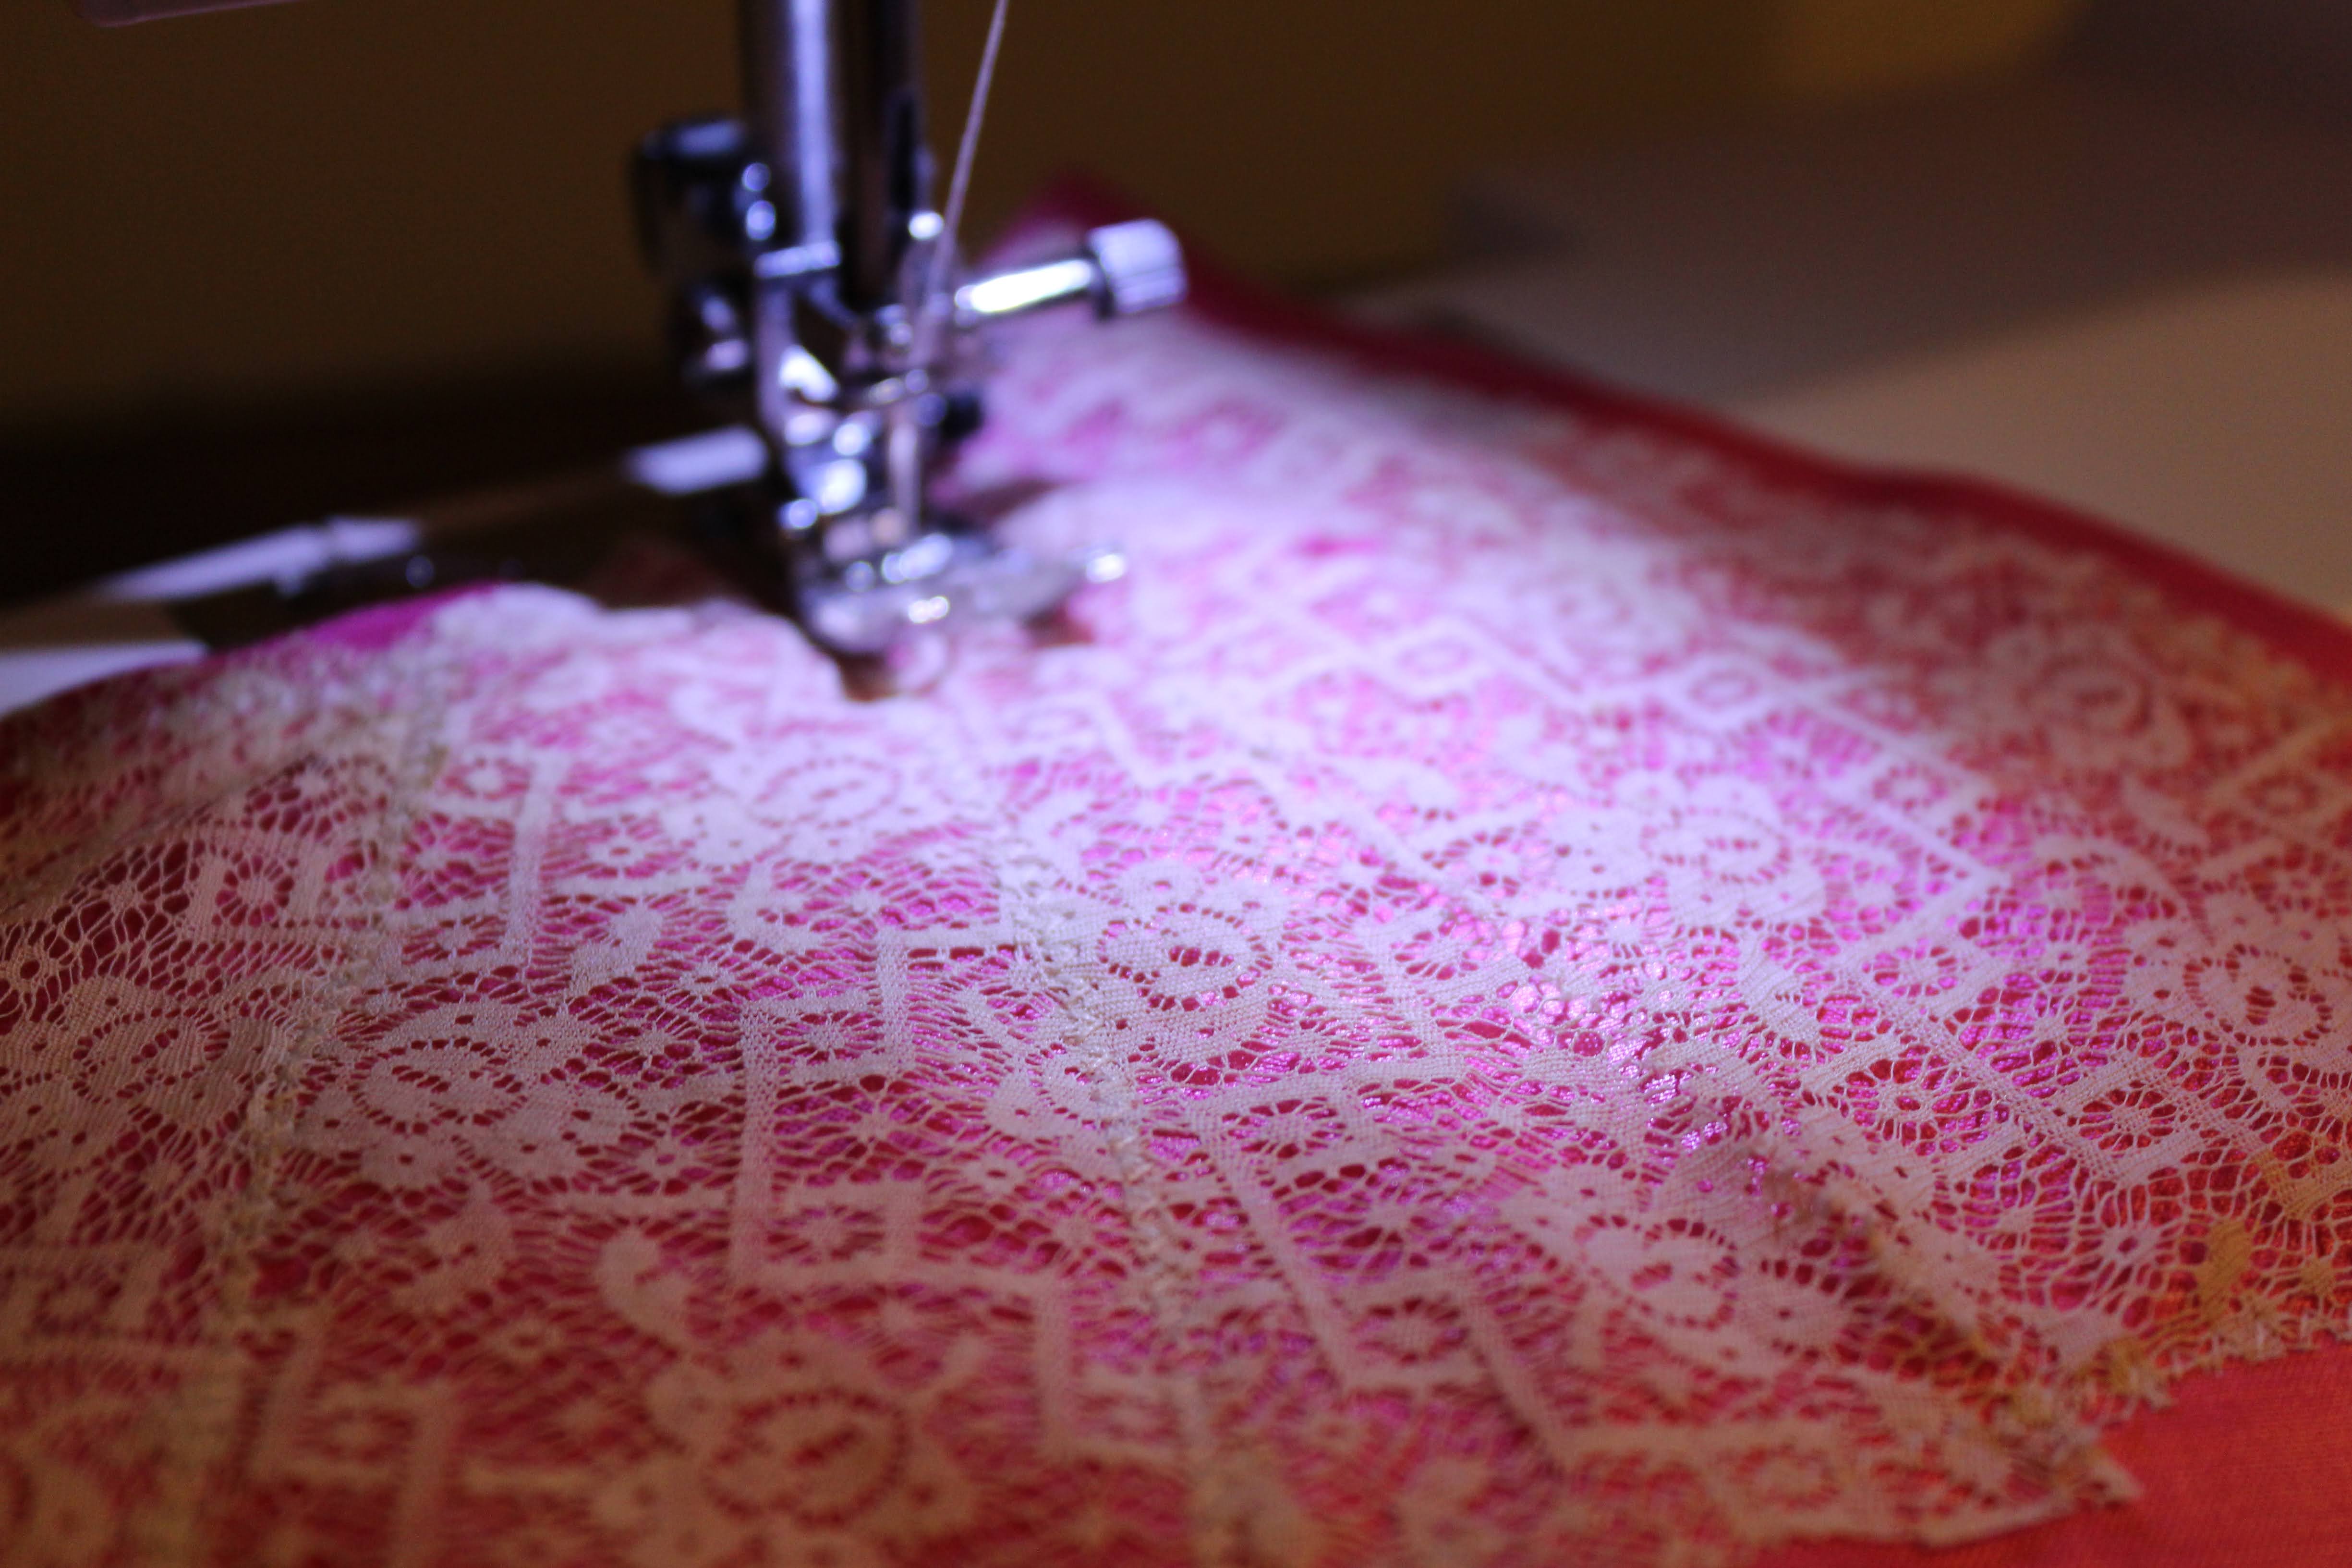
After draping, drafting, and just generally sorting out the pattern for my 1901 evening gown bodice, the first thing I did was make the collar. It was the last piece of this gown that would be trimmed in fur.I started by cutting the collar out of both silk and cotton muslin (for flat lining) using the pattern I'd drafted. Then, I cut it out of lace was well, and attached all three layers together with a zigzag stitch around the edges.
I did not have very much of the vintage, or possibly antique, lace I'd chosen to use, so I had to do some pretty substantial piecing on the back of my collar pieces.
I just used a zig-zag stitch to attach all the little pieces of lace together and hold them onto the silk. Pretty quick and easy, and surprisingly, not particularly noticeable.
It's not completely invisible, of course, but with the very limited amount of lace I had I'm just pleased I managed to have enough to cover the whole collar!
 |
| See the stitching lines on the flat-lining here? That's where the lace is pieced on the right side. |
Once the entire collar was covered in lace, I cut out two more collar pieces from the silk, sewed them to my lace, silk, and cotton collar pieces right sides together, then turned my collar right side out and pressed it.
Now the collar itself was done and it just needed the trimmings! More lace, and fur! The original also had silk roses on the bodice, but I decided to skip that on mine for now. I really like the lace I used, and didn't want to cover any of it up.
Looking at a zoomed-in picture of the original dress's bodice, I noticed a narrow lace trim all around the edge of the collar, so I searched my stash for something similar.
Thanks to an estate sale, I had the perfect trim!
I hand sewed the trim all around the edge of the collar, just peeking out from the underside. Then I sewed on the fur, also all around the edge, just peeking out from the under side.
I have done plenty of sewing with fur on this project, and I am not a fan of it! So I was thrilled when I finished sewing the fur to the collar, because that meant I was done sewing with fur on this gown, and could take a long break from it!
Once all the fur was on, the collar itself was done, and ready to attach to the bodice. There was just one problem, I had to make the bodice first.
The bodice lining was hanging out on my dress form with my draped bodice overlay pattern attached to it. So, the first step was to pull this incomplete bodice off my dress form and take out the basting at the side and shoulder seams.
Then I finished the bodice front lining. First, I trimmed down the neckline a bit, and took some length off the bodice at the side seams so I wouldn't have to worry about the lining peeking out from underneath the bodice draping.
Then, I finished the edges with bias tape, and the lining itself was more or less done.
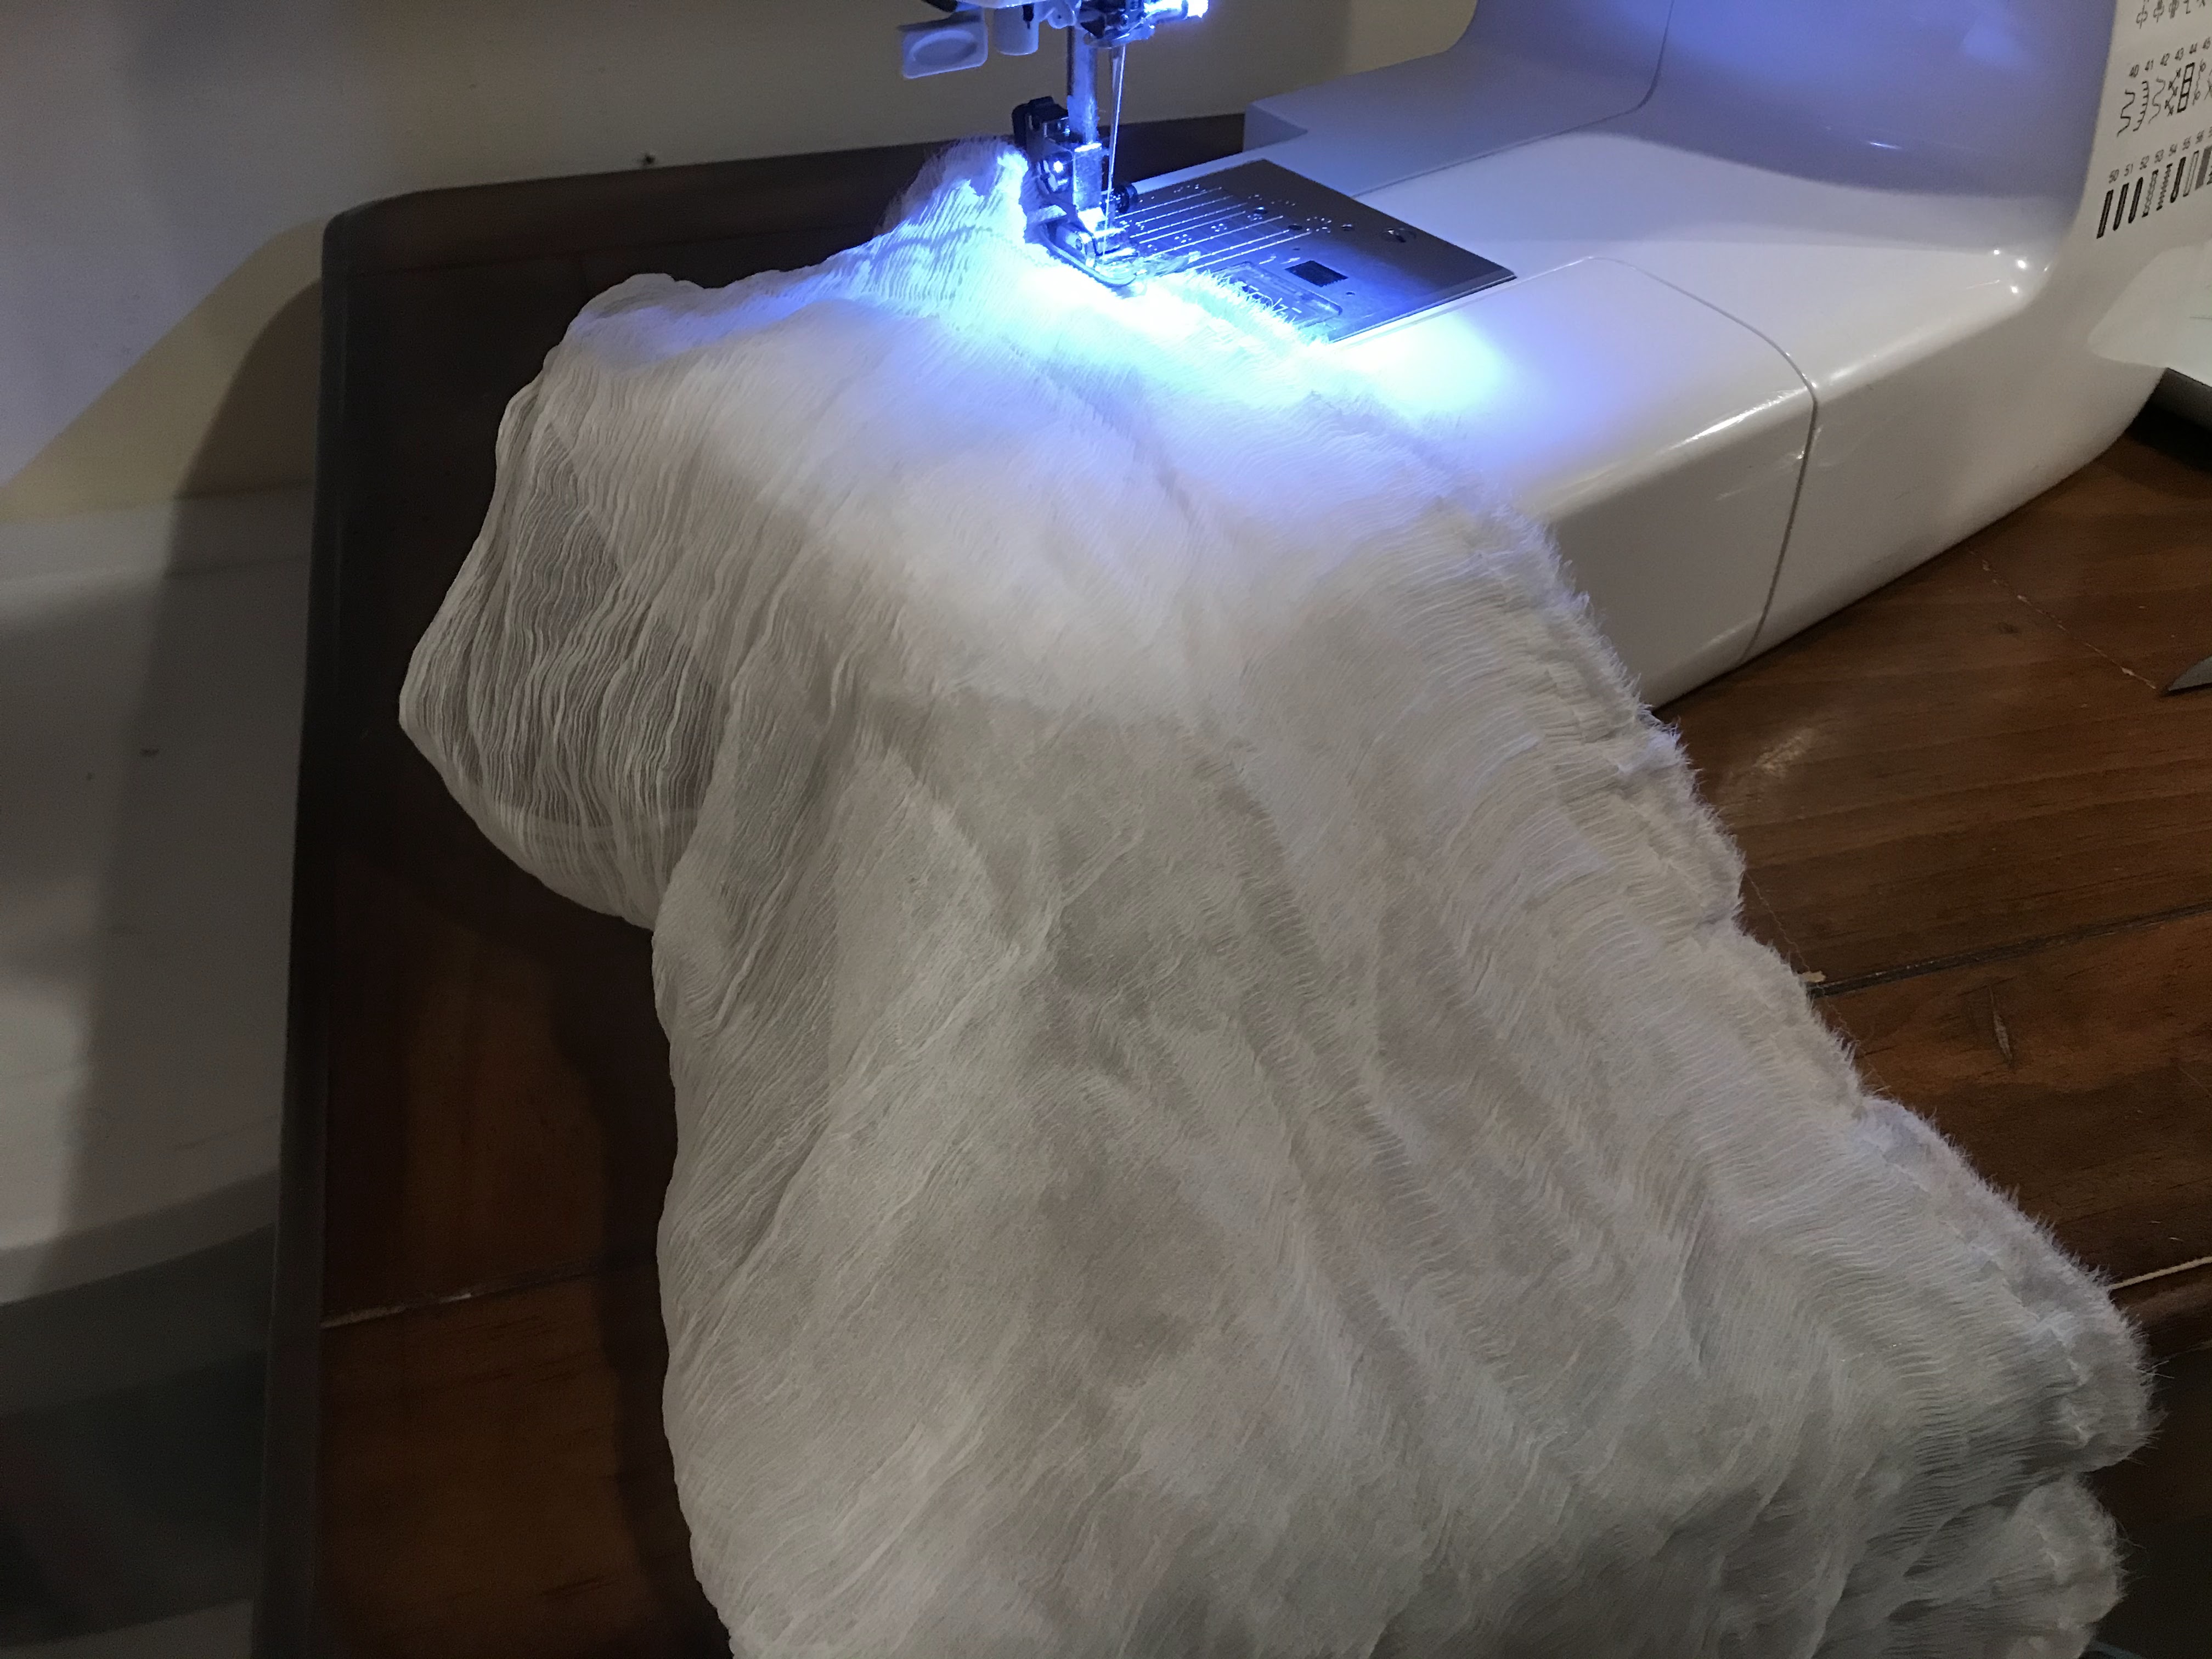
Next, I made the fluffy bust covering/overlay piece out of what was left of the white silk crinkle chiffon I'd used for
the sleeves.
I cut a large rectangle according to the measurements I'd taken during my pattern drafting session. I folded in in half length-wise, then ran gathering threads along the top folded edge, and the bottom edge.
Using my bodice lining, I figured out how long the top and bottom edges of the chiffon needed to be, and gathered them accordingly.
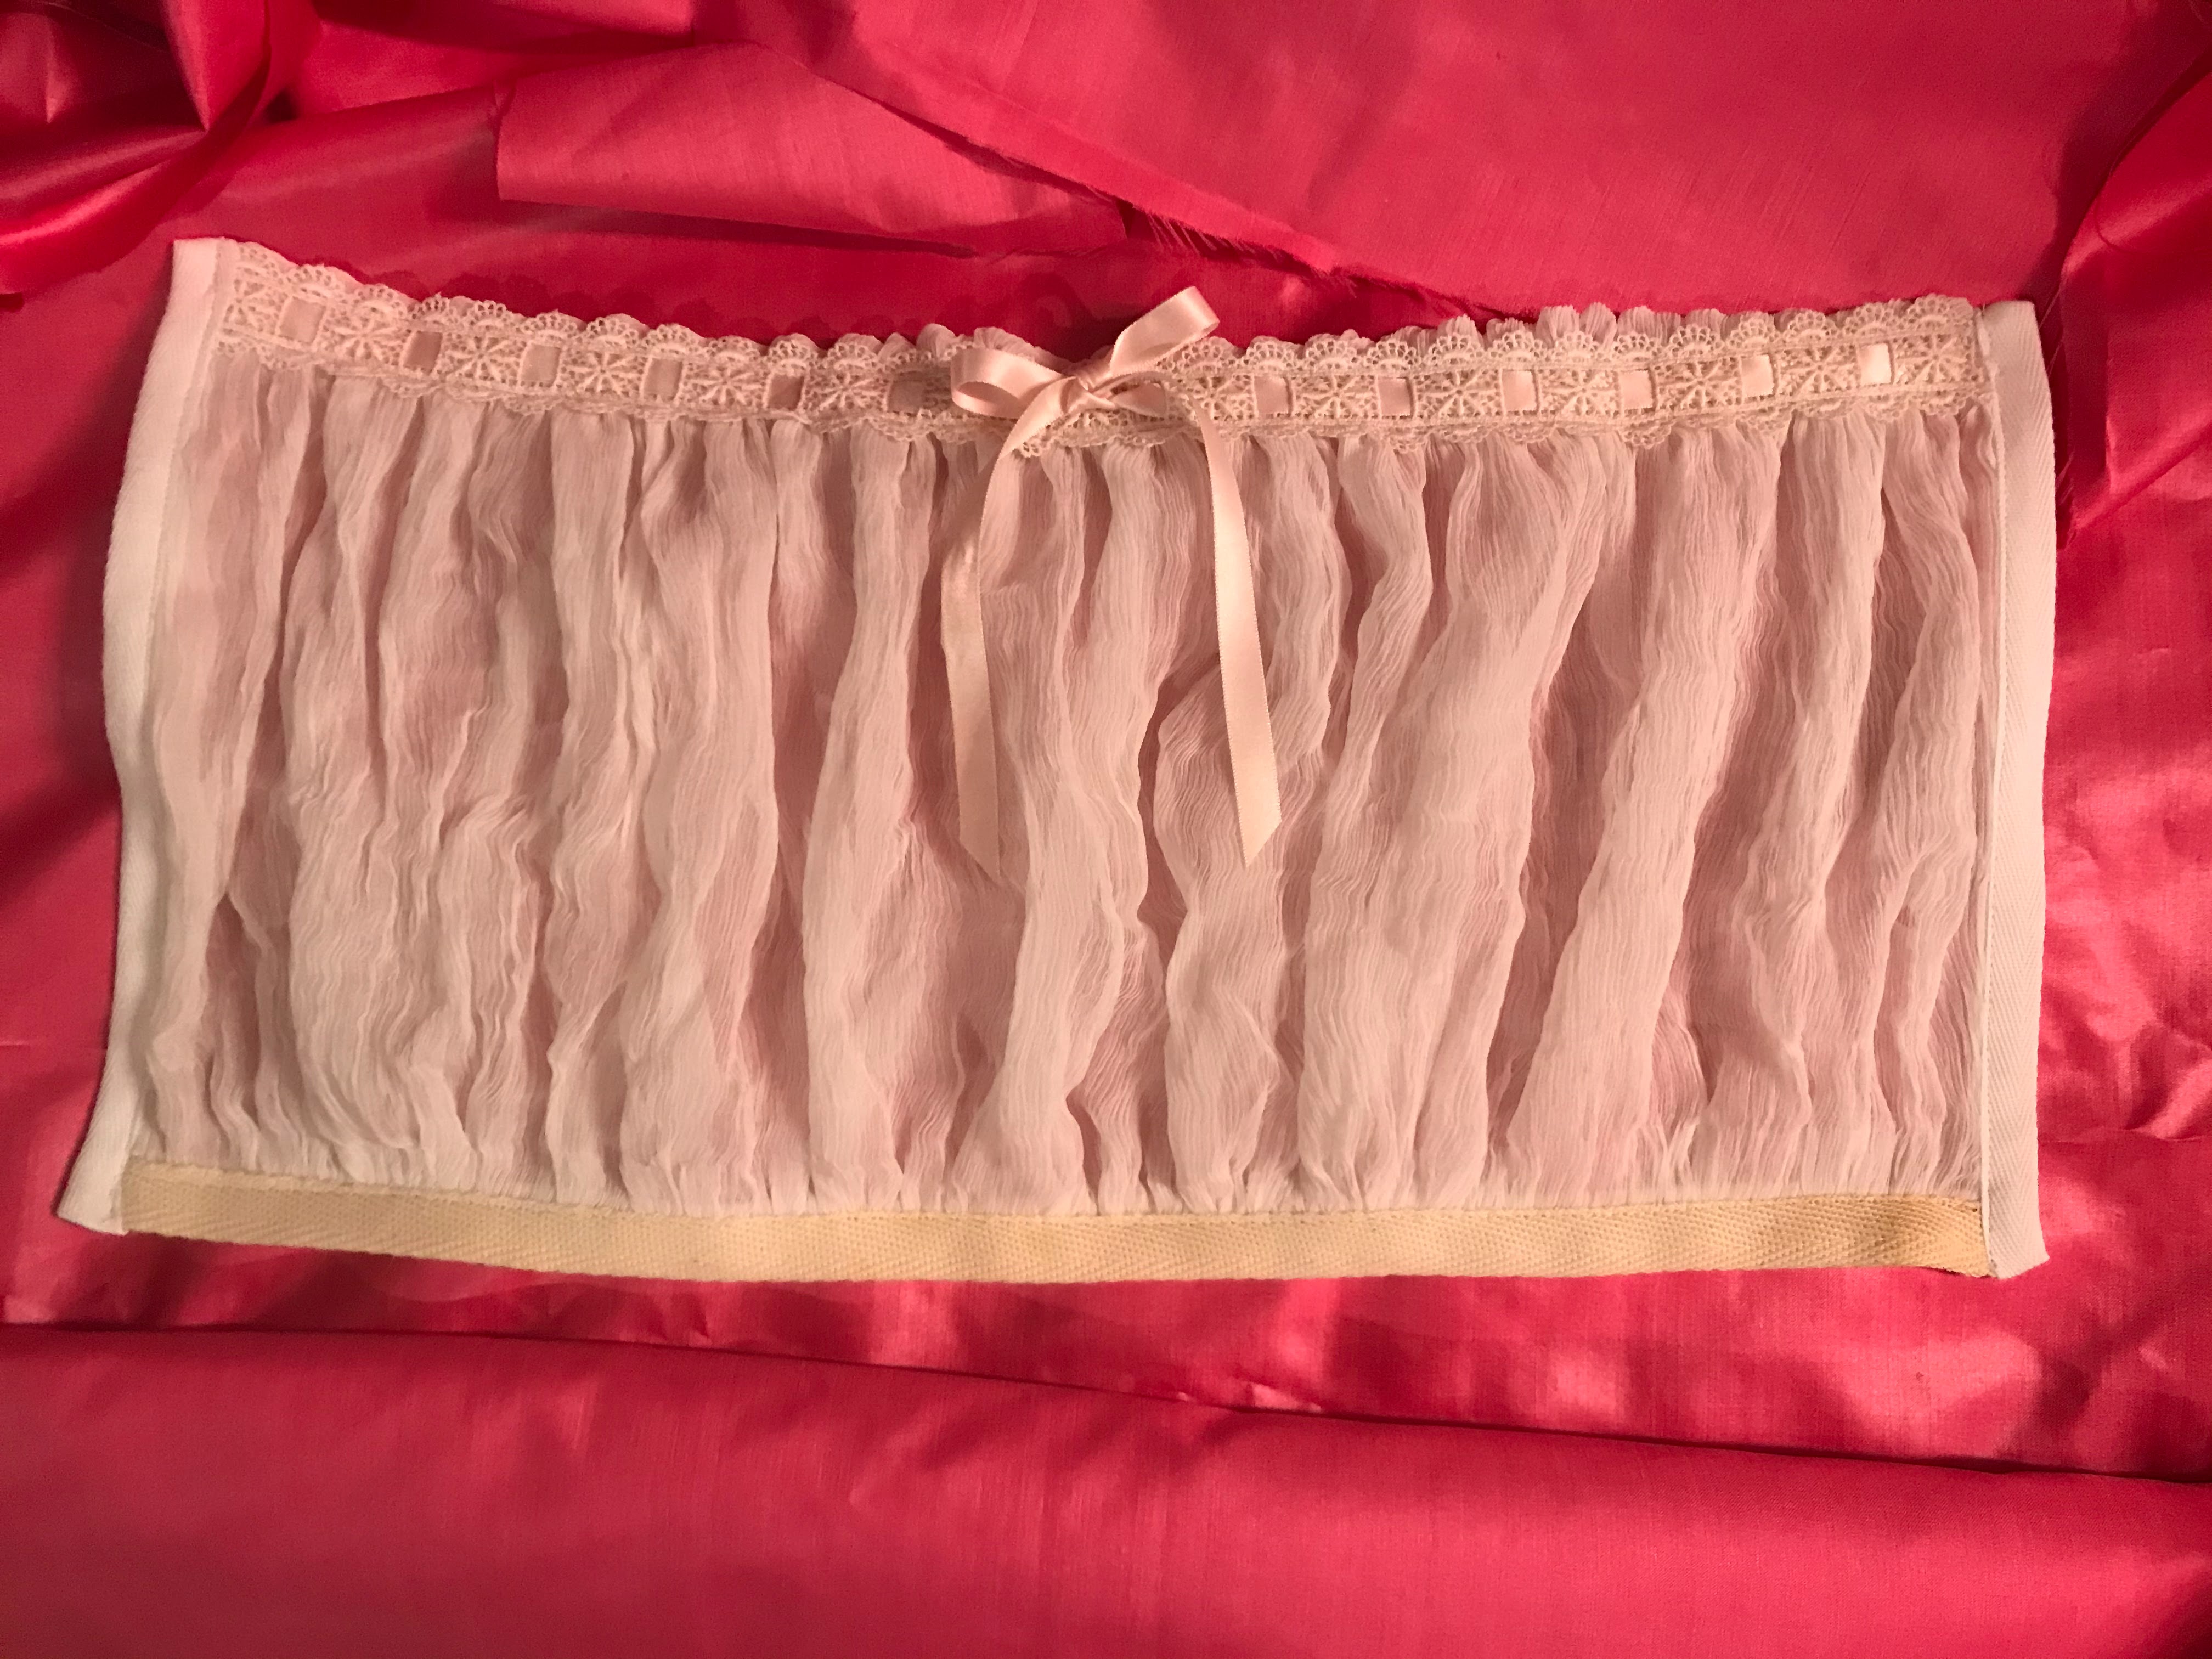
The bottom raw edges were incased in a piece of twill tape cut to length, and the top folded edge was attached to a piece of beading lace cut to length. The twill tape came in a bag of stuff from an estate sale, and the beading lace in a bag of stuff from an antique mall.
Once the lace was sewn on, I ran a pale pink rayon ribbon (given to me in a bag of stuff from a lady at church) through it, and tied a bow right in the middle.
The original doesn't have a bow, or even a ribbon, but I liked this beading lace, I wanted to use it on the project, and I figured adding a ribbon would add some adjustability to the neckline to prevent gaping. Thus, the ribbon and bow.
The ends of the chiffon were finished with more twill tape, then I pinned the whole piece to the bodice front lining.

The right side would be sewn to the bodice lining, and the left side would be held in place with hooks and eyes. I used a friction pen to mark where those hooks and eyes would need to go.
That done, it was onto the final piece of the bodice - the front overlay pieces. Using my muslin pattern, I cut the bodice fronts on the bias out of both the hot pink silk, and more cotton muslin for the flat lining. I used a zig-zag stitch to attach the silk and flat lining to each other around the edges.
Then, I pinned the pieces to the bodice lining at the shoulder seams, armscyes, and side seams.
The front bodice was then sewn to the back bodice at the shoulder and side seams, the sleeves were set, the collar was added, and the ends of the bodice front overlay were pleated to size. Finally, I made some bias tape out of my left over silk, and sewed it all around the edges of my bodice to make a facing.
And with that, all the machine sewing on this gown was done!
The end was more than just in sight, it was almost here!
I ironed my bias facing in place, then hand sewed it down.
On New Year's Eve, I sewed on all the hooks and eyes.
This includes two hooks on the bottom edge of the back of the bodice.
These hook into thread loops I made on the waistband of the waistband of the skirt to keep everything together while I'm wearing the dress.
I tried desperately to finish this dress in 2020, but it was a few minutes after midnight when I sewed on the last hook and eye. So, that goal wasn't exactly met, but before I went to bed that night, I did, finally, after about 11 months of on and off work, have a finished, fur-trimmed, hot pink silk, 1901 evening gown!!
I'm using this bodice for the last Historical Sew Monthly 2020 I had to complete - Get Crafty. With the fur trim and all the pattern making stuff (outside my normal habits for sure!), I'm calling this a pretty crafty make!

What the item is: Edwardian Evening Gown Bodice
The Challenge: Get Crafty - I’m claiming this bodice counts as I got pretty crafty with the fur and lace trims as well as the pattern, which had to be draped and finagled as I went along.
Material: Silk Lustring, Silk Chiffon, Silk Organza, Vintage Lace, Fur, Modern Lace, Cotton Twill, Cotton Muslin.
Pattern: Black Snail 1890’s evening gown bodice, altered for the bodice lining. I draped the outer layer of the bodice myself.
Year: 1901
Notions: Thread, bias tape, hooks and eyes, rayon ribbon, cotton tape, petersham ribbon, spiral steel boning.
How historically accurate is it? The materials and pattern are pretty good overall. The construction started out well-researched in the beginning, but as time went on on I just wanted to get it done and I just went for it in a way that made sense to me, and stopped caring if it was HA or not. We’ll say 75% when all’s said and done.
Hours to complete: I don’t even know. I was supposed to make this for an event in April, but then COVID happened and I lost my motivation to finish. I then picked up this bodice and worked on it in starts and stops throughout the year. Well, it’s finally, finally, done! But the construction was too broken up for me to have any clue on the time spent.
First worn: Not Yet.
Total cost: I spent $80 on all the silk for the complete gown and $60 for the vintage fur coat I repurposed. I used about 1/4 of those materials for this bodice, so let’s say $35. The other materials either came from my stash, left over from other projects, or thrift stores, antique malls, or estate sales for very cheap. Let’s say $15 total for all those materials for a total of $50 for the bodice.

And that's it! This gown is done!!!! Finally!!!!! I actually finished it!!!!!!! Come back in a few days to see pictures of the full gown!