Under a year and a half from buying the fabric to finishing the gown. That's a pretty good turn around time!
A solid year from finishing the gown to blogging about it. Yeah, I'm behind on some stuff.
Anyway, let's get to talking about the dress in question!

In the spring of 2020 Sara from Ensembles of the Past posted this fabric for sale.


Upon receiving my fabric in the mail, I began planning, and dreaming, and researching for this dress. I pretty quickly decided I wanted my dress to be 1870's - the first bustle era. Full of floof and rufflyness! With 13 yards of fabric, I should have plenty of yardage for all the ruffles!!
I made a Pinterest board of extant 1870's cotton summer dresses for inspiration and bought the Black Snail Patterns "Seaside Costume" pattern to use as my starting point.

To trim the dress with I bought a roll of wine colored vintage petersham ribbon off Etsy.

And a matching wine colored belting ribbon along with a black "bee" slide buckle from Ensembles of the past.

All of this was procured during the summer of 2020. Upon arriving in the mail, everything went into my stash, where it lingered until summer of 2021.
Of course I kept thinking I would start the dress, but without an event to wear an 1870's summer dress to, I had little motivation to actually begin.
Finally, The Saint Louis Historical Sewing Society announced it would be having a tea at the end of July 2021.
What a perfect excuse to finally make my summer bustle dress!!
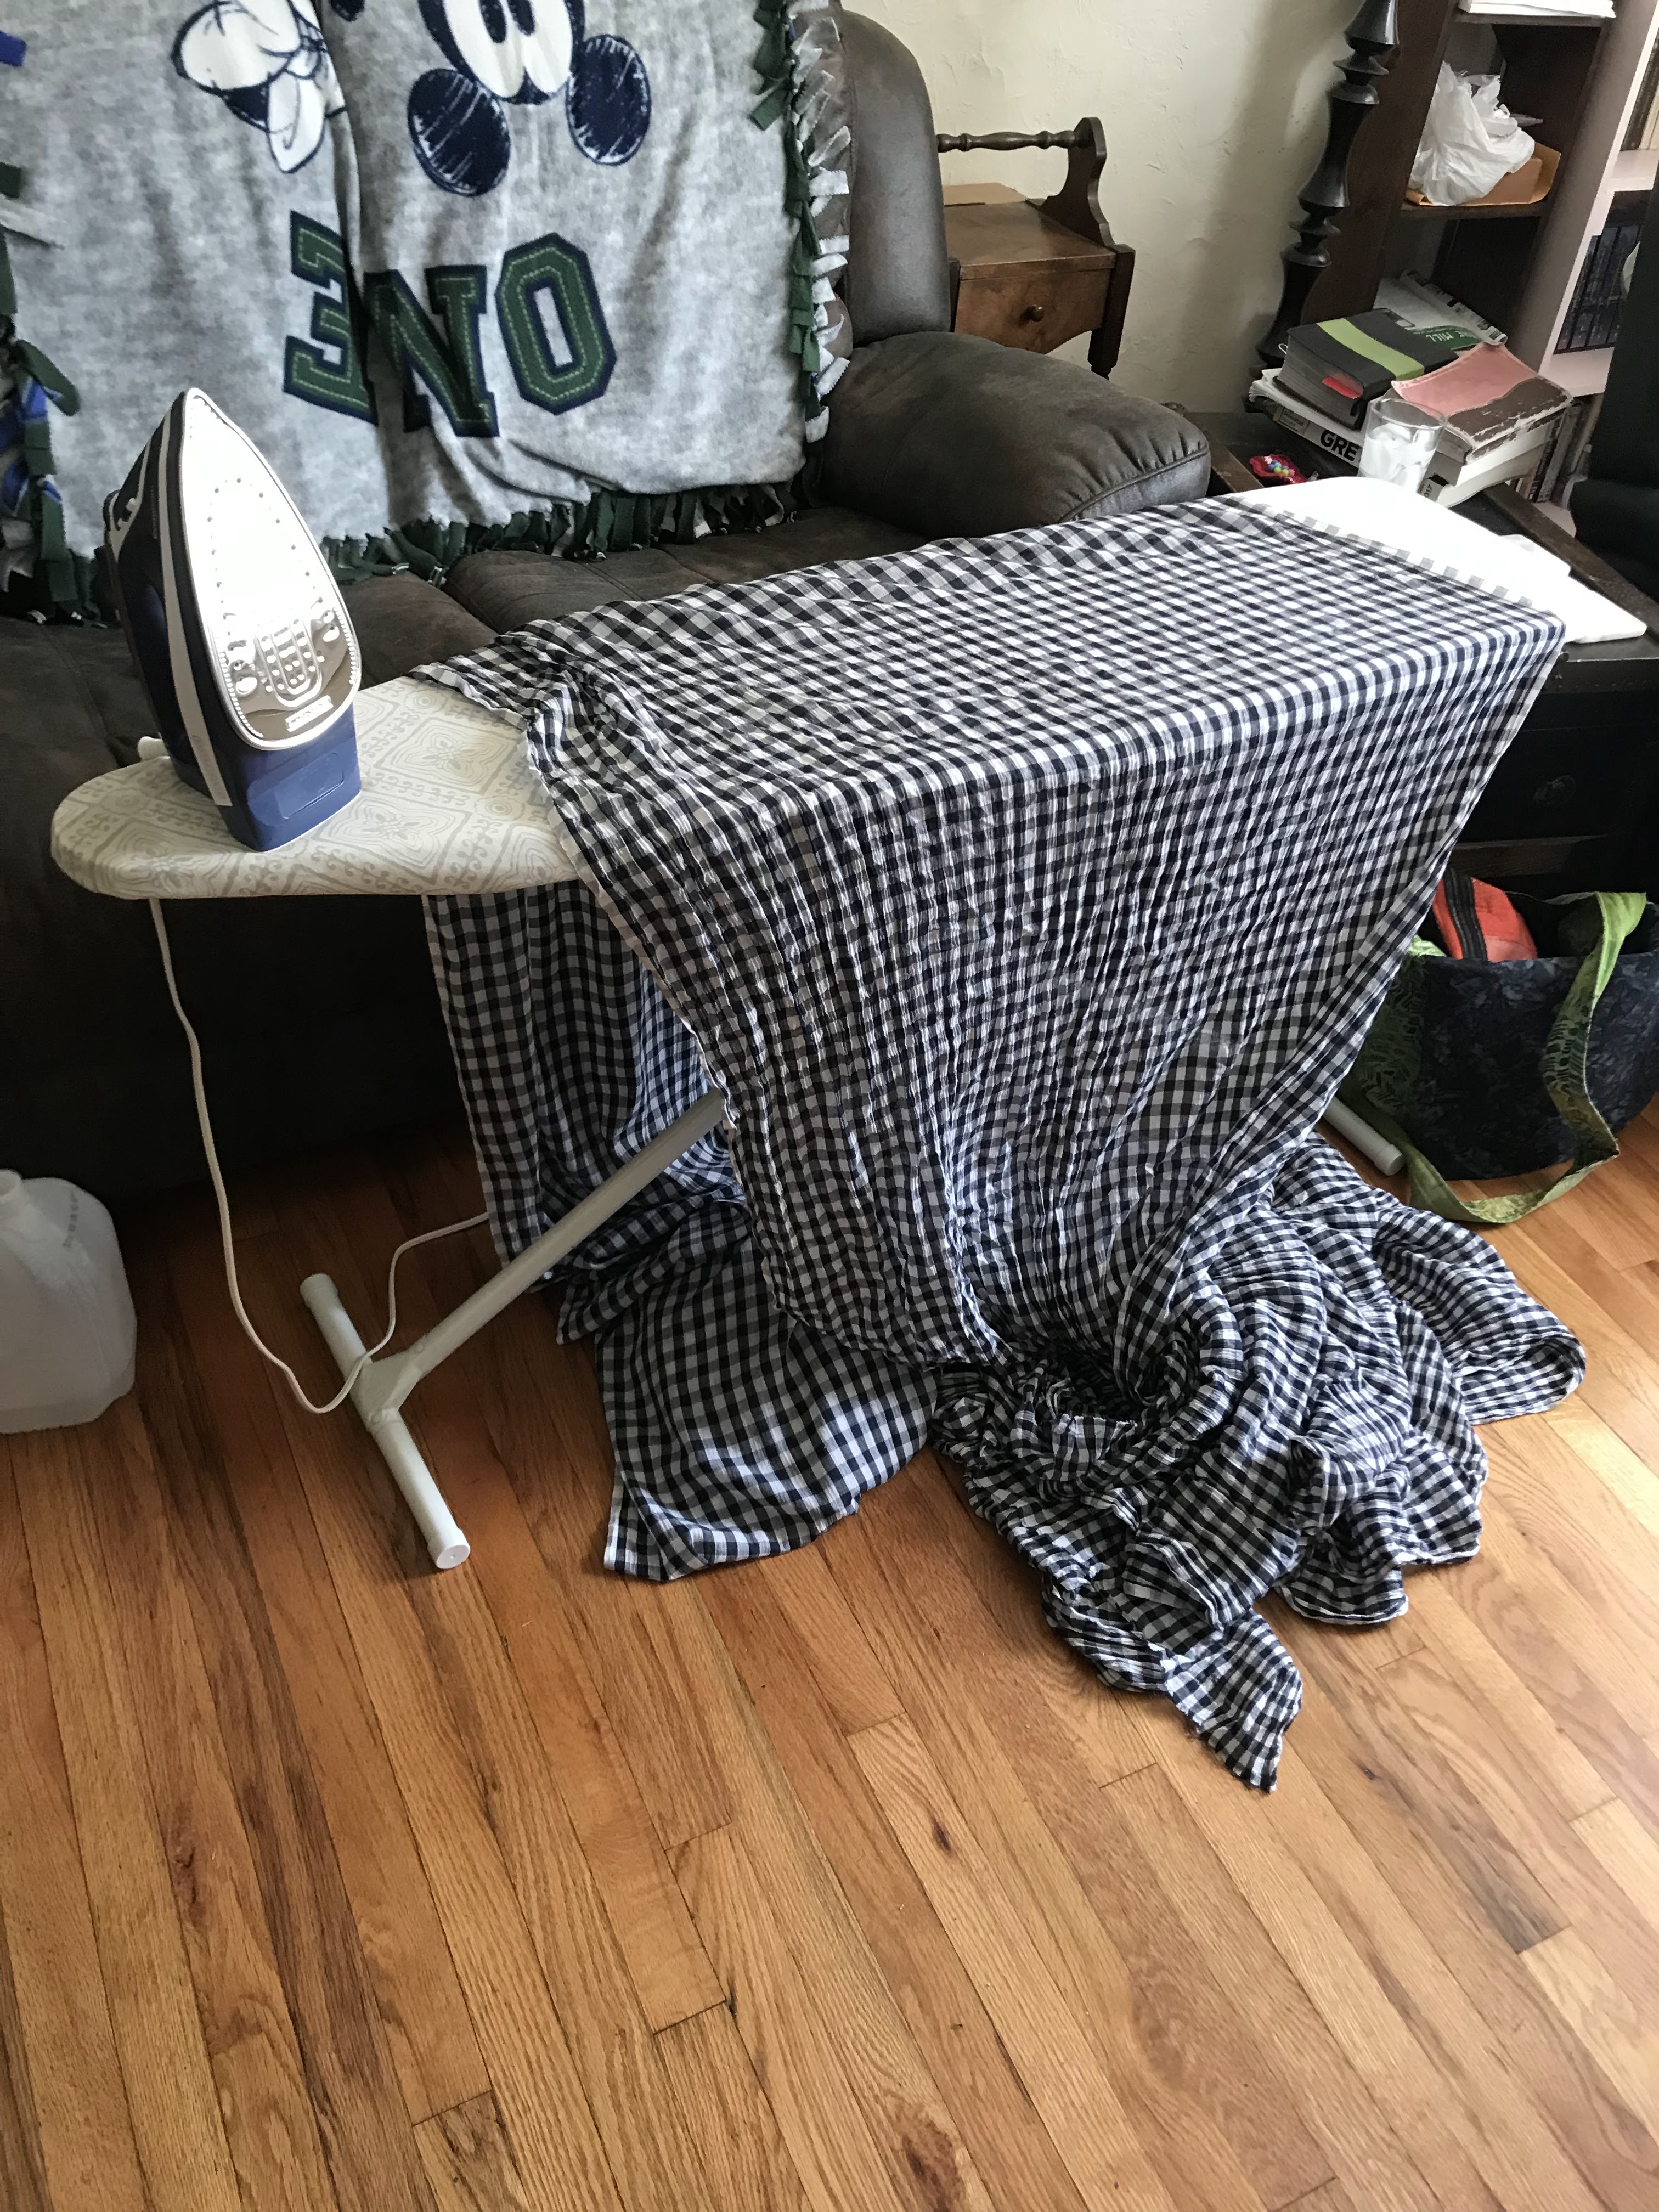
I unearthed the gingham from my fabric stash, prewashed, and ironed it.

I located a vintage cotton percale flat sheet in my stash to use for the lining. This sheet was still in it's original package, tightly woven, and sturdy as can be, perfect for a flatlining!

She walked me through it. Turns out it wasn't as terrifying or different as I thought it would be. It only required one extra step.
I mocked up the bodice a second time and was relived to discover that this time the mock-up could actually be pinned closed over my bust. What an improvement from mock-up #1!

I made a couple more minor fitting alterations and then began the design changes. I cut the neck-line into a "v" shape, shortened the sleeves to elbow length, and decided to leave the the bodice open from waist to hem rather than sewing it closed like the pattern recommended. I also decided to add a bit more fullness to the skirt.
These alterations made to the pattern, I cut into the gingham. I cut out all my pattern pieces and a bunch of bias-cut ruffles. Once I finished cutting out All. Those. Ruffles. I was actually out of fabric. Good thing I had 13 yards to start with!! Ruffles required it!


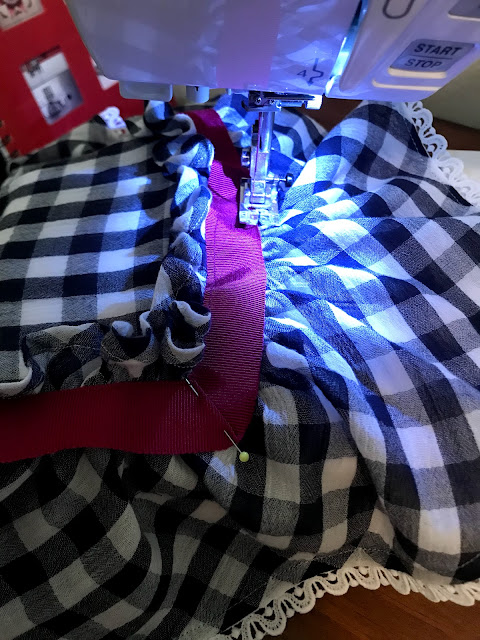
I edged all the bodice ruffles with cotton lace from my stash.

And attatched all the ruffles with a band of petersham ribbon.


I tried on the bodice when I set the sleeves - and I was thrilled!! My first bustle dress, and it was coming along beautifully! I couldn't wait to finish this gown and wear it to tea!

I hand sewed on the ribbon around the neckline, but everything else was machine sewn, because I started this gown less than 3 weeks before the tea. I did not have time for a bunch of hand sewing.

Besides, by the 1870's the sewing machine was in heavy use. So there was really no reason for me to worry about visible machine sewing when it came to the trim.

I had 4 days left to finish this ruffly, gingham, 1870's summer dress - AND IT WAS GOING TO HAPPEN!


