Saturday, March 28, 2020

Wide-Legged Blue Jeans

In the past couple years wide legged and straight legged pants have been making more and more of an appearance in the sewing world (and, to an extent, the world at large as well). The more I've seen of them, the more the style has appealed to me, and I've been tempted to buy more than one PDF pattern for these pants. However, something's held me back. As much as I've admired these wide, straight-legged pants on Instagram, I wasn't sure if I'd actually like them on me. Spending $15 and a whole lot of time taping together for one of the trendy PDF patterns seemed like a lot for just testing out a style, which I might not even like.


Then I saw Simplicity 8701 during a pattern sale, and picked it up just as fast as I could. it appeared to be the solution to my dilemma. $2 rather than $15. Tissue paper I could just cut my size out of real quick rather than a ton of printer paper to tape together. And, a pattern company I'm very familiar with and already know the fit of, rather than one I've never used before. Now, I'm still interested in picking up a couple of those PDF patterns I've been admiring, but the Simplicity pattern seemed to be a pretty good, low investment, way to try out the style.


Of course, actually getting around to making these pants took way longer than expected. I finally cut them out in January, well over a year after I bought the pattern.


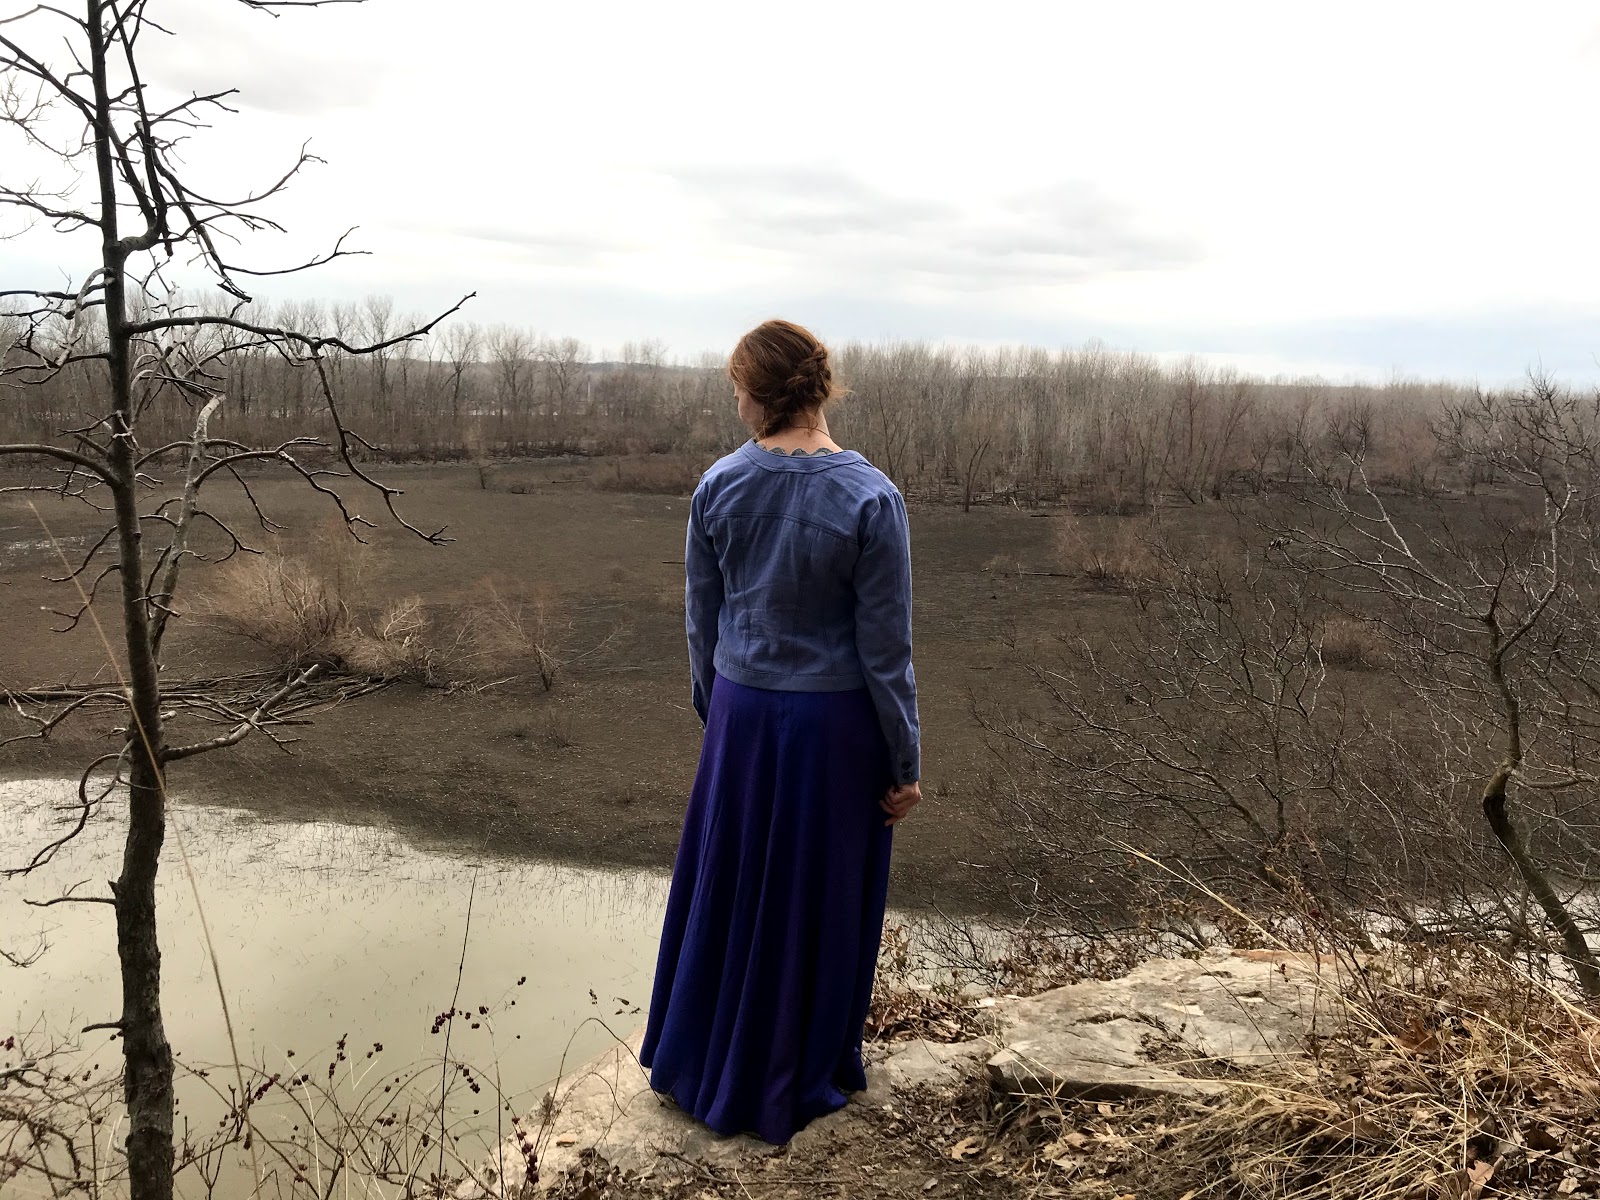
I decided to make them out of a piece of heavy, medium blue, denim I found in my stash. I think my grandma gave it to me, but I couldn't actually say for sure. I have an awful lot of fabric. And I lose track of where I acquire it.


Since I was using denim, I decided to make my pants as jeans-like as possible. Thus, I adapted the front of the pattern to have scoop pockets, like blue jeans, rather than the patch pockets the pattern featured. Of course, I made these pockets extra deep, because the bigger the pockets the better!


In keeping with the jeans-theme, I also added back patch-pockets. Designing and decorating back pockets is probably my favorite part of jeans making.


The back of the patterns is fitted with darts, rather than a yoke, the way jeans are, and I left it that way. The only alteration I made to the back pattern pieces was to raise the back rise an inch or so. I have yet to meet a pants pattern I haven't needed to add height to the back rise of. Darned butt.


I had just shy of 2 yards of this denim, which I figured would be plenty for a pair of pants. Not quite. The fabric was narrower than I expected, so I had to get a little creative. One of the back legs is majorly pieced together, as is the waistband. The back pockets are made from the scraps of denim I cut out of the front of the jeans, to make the scoop pockets, appliqued onto some darker denim scraps from my stash.


The denim featured red thread running through the selvage, which I made sure to keep visible on the back pocket.


And since there was already a little bit of red, I decided to add more. Thus, all the top stitching is done in red.


I didn't have any red top stitching thread on hand, so I just used plain All-Purpose thread, which worked out better than I expected. I was afraid the thinner thread would disappear into the denim, but the red is a distinctive enough color that the top stitching is nicely visible, though less than overwhelming.


To finish off the pants and make them as jeans-like as possible, I added some rivets to the front pockets and a jeans button to the waistband.


On first attempt, I managed to make my button hole too small. So, I cut it slightly larger, then just zig-zag stitched around the edges. Not the prettiest button hole I've ever made, but it does it's job.


So, now that I've made them and have been wearing them regularly for a couple months, what do I think of these wide-legged, straight-legged pants?


Generally speaking, I like them. I wear them about once a week. This style most likely won't be replacing my boot-cut jeans for everyday wear, but I'll probably make a couple more pairs, and try out different patterns, in the future. 


I have plenty of non-stretch, heavy, bottom-weight fabric in my stash, and this style is perfect for that!


So stash-busting and wide-legged pants, here I come!

Tuesday, March 24, 2020

The (Almost) Modern Edwardian 10-gore Princess Skirt

Goodness, it's been a week, hasn't it? Last time I posted, the kids I nanny were still going to school like normal and I was planning to go to church like normal come Sunday. I kept reminding myself I needed to get to the library over the weekend to pick up some books I had on hold. Now? All schools in the state are out for the foreseeable future and I'm not sure how many weeks it will be until my church holds a Sunday service again. The library closed it's doors last Monday night, without even a suggestion of a re-open date.
Of course, the event I planned to make the 1901 evening gown for has been canceled, along with everything else, but that's honestly the least of my worries or disappointments right now. Was it seriously less than 2 weeks ago that I was giving myself deadlines for each individual piece of the costume so I could be sure to have it done in time for the event?
Even with all the Covid-19 worries and my event off the table, however, I've decided to press on and finish this evening gown before starting another big project. It's approximately half done, and I should definitely try to finish it before losing all momentum. I may not have anything to wear to it b  right now, but I'm sure, once this is all over, I can come up with something.


And so, without further adieu, lets talk about my recent Edwardian sewing adventures, starting with a project only vaguely connected to the evening gown plans. A small project, which allowed me to just dip my toes in the waters of Edwardian costuming, before diving in head first with the pink silk and fur gown.


For Christmas, my Grandma gave me several Truly Victorian patterns off my wish list. One of which was the 1906 10-gore Princess Skirt pattern. Now this pattern didn't exactly fit with any of my 2020 costume plans, it was just really pretty and I wanted in my closet. So, in February, I decided to make it as my introduction to the Edwardian era.


I had, by this point, already made an Edwardian corset (which I still need to photograph and blog), like a proper historical costumer who makes the undergarments first. However, on the day I decided to start this skirt project, I did not feel like putting on said corset to take my Edwardian measurements. I figured I could just cut the skirt according to my normal measurements and take in the waist later. This proved to be a less than great decision. With a normal waist measurement of 28" and a hip measurement of 38", I fit perfectly in size E.


As I didn't feel like making a mock-up first, I decided to make my skirt out of a fabric I wasn't very attached to, but would still happily wear if the skirt turned out nicely and fit well - a synthetic blend blue moire I picked up at a thrift store. The moire had some rather dramatic fading streaked throughout so some areas of the fabric looked more purple than blue. I decided that would be fine, and tried my best to use the parts of the fabric which weren't faded too badly.


I traced off the pattern in my "non-corseted" size (Tracing the pattern, rather than cutting it, is probably the best decision I made when it came to the prep work for this project.), cut it out of the faded moire, cut a partial flat lining from cotton twill, and set to sewing.


The first step was to flat line the top section of the skirt in cotton twill to support the very high waist this style has. With that done, it was on to making the nicest concealed hook and eye placket I've ever seen.


The instructions described how to conceal the hooks and eyes in the placket seams for an absolutely beautiful finish. This was a bit more work than my usual method of just slapping on the hooks and eyes at the end - but look how pretty it is! I will definitely use this method for future skirt plackets.


You can hardly even tell where the placket is on the finished skirt!


Fancy placket done, the skirt gores were sewn together like normal. I decided to add in-seam pockets to the side seams, right below where the flat lining ended.


I anchored the top edge of the pockets to the bottom of the flat lining to prevent the weight of the pockets from distorting the shape of the skirt.


After all the gores were sewn together, the next step in the instructions was to bone the seams at the waist, where the skirt was flat lined. Knowing I wouldn't be able to adjust those seams once the boning was sewn in, I decided this was a good time to try on the skirt over my Edwardian undergarments and make any adjustments necessary.


First I tried on the skirt without any historical undergarments - and it fit beautifully! The waist didn't even seem to need boning, it stood up beautifully all on its own. At this point I was tempted to keep this skirt as it was and wear it in every day life. As I'd meant for this to be an Edwardian skirt however, rather than a modern one, I figured I ought to actually try it on with my Edwardian undergarments before finishing it.


So, on went my corset and bum pad, followed by the skirt - which now did not fit at all.


It was too big through the waist and too small in the hips. This meant the waist wrinkled horribly and the pockets gaped wide open. The skirt was simply not wearable over my Edwardian undergarments, which decreased my waist measurement to 26" and increased my hip measurement to 40-something".


I decided it wasn't worth attempting to alter the skirt to work over the undergarments, so I would just finish it as it was, to wear in my modern life.


I finished the upper edge with bias tape made from fabric left over from my plaid tiered skirt.


The hem was trimmed to the correct length, then finished off with a wide, bias-cut, hem facing of the same cotton plaid.


I then wore the skirt to church the very next Sunday. (Clearly, this was before social distancing because of the virus became a thing.)


At church no one said a word about my skirt. So we'll just assume it didn't look too out of place. Or at least no more out of place than what I usually wear.


After church I ran to the auto-parts store to pick up oil and an oil filter for my truck. There I did get a "Nice Dress!" from a guy in the parking lot. 


That afternoon I went for a walk with my family on a local trail (and drafted my brother to take pictures for me), and the long skirt did not get in the way at all when it came to walking, or climbing up steep, narrow trails to see the river from the top of the bluff.


Thus, all in all, I'd say this skirt works pretty darned well for modern wear.


However, I still do want a skirt like this for historical wear, so I think I'll re-trace the pattern in the combination of sizes required to fit over my Edwardian corset, bum pad, and petticoats, and make it again!

Friday, March 13, 2020

Plans and Materials for the Pink Silk and Fur Edwardian Evening Gown

Last fall, I impulsively bought 10 yards of hot pink silk lustring. I'm really not a hot pink kind of girl so I'm not entirely sure why I bought 10 yards of hot-pink fabric in the Facebook de-stash group, other than the fact it was a really good price for silk. I can't pass up a good deal on pretty fabric!


As soon as I paid for my fabric and started waiting for it to arrive in the mail I realized "Oh crap! What the heck am I going to make with 10 yards of hot pink silk?!?!" I definitely hadn't thought that through before deciding to buy the fabric. (Late night fabric buying on Facebook is probably not recommended.) So I did what one does, and turned to Pinterest for inspiration. I looked through all of my historical clothing boards to see what, if any, hot pink gowns I had pinned. It took me surprisingly little time to find a gown I wanted to re-create.


This 1901 evening gown held at the Munich City Museum stood out to me almost immediately. Yes, it's pink silk and fur, which sounds rather garish when you describe it. Yet, when I look at it, it's beautiful and elegant and I want to wear it! Go figure. I suppose a beautiful gown is more than the sum of it's parts.


As soon as my hot pink silk arrived in the mail, I decided it was absolutely going to become that gown and I needed to find fur to trim it with. I briefly considered using fake fur, but it didn't take me long to decide real fur would be even better if I could get my hands on an old, unloved, fur coat to re-purpose. I went to my local antique mall and found just the thing - a lovely dark brown fur coat, which already had a few holes in it so I wouldn't feel bad disassembling it for my project.


In my stash, I already had some white silk chiffon left over from a recent project, which would be perfect for the sleeves! Add in some remnants of lace I've acquired over the years, which would work for the collar, and all my materials were set. Now I just needed an event to make this gown for.


 The event appeared amazingly quickly as well. In April the Saint Louis Georgian Sewing Society has plans to go see Swan Lake in late Victorian and Edwardian attire. Thus, I have a deadline to finish the dress by! 


Hot pink, fur-trimmed, silk Edwardian evening gown, here I come!


Thursday, March 12, 2020

The Teal Uganda Dress

The weather over the past week has been making me think it's spring, though I'm hesitant to actually believe it as we've had snow in April the past two years. The grass is turning green. The chicken's egg production has doubled. I'ts been above freezing for well over a week. It's been over two weeks since there was any snow. Sunday it was so delightfully warm I wore a sundress all day - without a jacket.


The exact sundress I wore on Sunday? That would be the second dress I made from fabric I bought during my September Uganda trip to wear during my January trip.


I learned the hard way the first time I washed the fabric, this lovely dark teal cotton wax print is not colorfast in the slightest. It dyed an entire load of laundry teal. Thankfully, most of the load was just jeans, which are now a little bluer than they were, but there were a couple things I was quite sad to have stained. All that to say, I definitely should have pre-washed this fabric by itself, rather than with a load of regular laundry. And I'm only washing this dress with things like jeans from here on out.


Moving on from my fabric pre-washing woes, I decided to use Vintage Vogue 1172, a design from 1957. It called for nearly 6 yards of fabric, which worked out well since my cut of wax print was, you guessed it, 6 yards long.


The skirt (the main fabric hog of course) is essentially a full circle skirt, plus some. It's comprised of 4 quarter-circle gores sewn between 4 narrow A-line skirt panels.


These A-line panels are at the center front, center back, and sides of the skirt.


Thus there are no true side seams in the skirt, just side front and side back seams where the quarter circle gores are sewn to the A-line panels. This made deciding on pocket and zipper placement interesting.


I decided to add my inseam pockets (not included in the pattern, I just put pockets in everything) to the side front seam between the side panels and the gores.


As for the zipper, the pattern recommended putting it on the left side, where a side seam generally would be, and just cutting a slash into the skirt for the zipper. I was not convinced this would be very sturdy, nor did I think I'd be able to get a very nice looking zipper installation this way.


I decided to instead put a lapped zipper in the left side back seam, where the princess seam of the bodice lines up with the gore-to-panel join in the skirt.


Not a very orthodox zipper placement (I've never seen a zipper in this seam before), but it maintains the structural integrity of the dress and blends in seamlessly with the design.


That said, if I make this pattern again, I might just go the easy route and add a center back seam to both the bodice and the skirt and stick the zipper there. I'll let you know next time I have 6 yards of fabric begging to become just such a dress.


Fabric hog, strange zipper placement, and all, I really do like this dress quite a bit.


It's very comfortable, and I imagine I'll wear it quite a bit as an everyday dress this summer.


The bodice, with it's combination of princess seams and side bust darts, fits very well.


The wide, slightly low neckline lays nicely and perfectly showcases this necklace I was given on my first trip to Uganda. The ladies made the beads themselves from paper!


This pattern seems to be a bit longer waisted than most Vogue patterns I've used as the waist seam actually hits me at my natural waist, if not a little lower, rather than right at the bottom of my rib cage  where most "waistlines" hit me.


The belt pattern piece included in the pattern is slightly curved for a very nice fit! I made this belt just like I made the one for my lavender dress - interlined with cotton duck canvas, finished with a buckle (picked up on clearance at Hobby Lobby a while back) and hand sewn eyelets.


I wore this dress for church and going out to dinner (on our way to the airport) on our last Sunday in Uganda.


It made me slightly ridiculously happy to get to wear this dress in the same place I purchased my fabric.


I finished this dress about 2-3 days before we left for Uganda - and it was definitely worth it!