Sunday, February 22, 2015

Civil War ball gown - bodice done!

Well the first part of my civil war ball gown, the bodice, is done!

(and I need a chemise that won't show above the neckline of my bodice) 

Once I got home, the first thing I did was sew the eyelets on the back so that the bodice could be laced up. I then proceeded to try to open them using a variety of pointy objects. That took a while.


But eventually that was done.


All laced up! (the lacing up took a while, apparently I should have made bigger eyelets)

Now I think my favorite part of the bodice is the sleeves, and sleeve trim. 


I sewed on the beads on the drive home, but ran out of daylight before I could sew on the lace, so once I finished the back eyelets I got the lace sewn on, and I love the end result! 

Next I need to make the bretelles, (shoulder strap things shown on the pattern), and then the skirt!


And of course somewhere in there I needed to make myself another chamise, one that won't show above the bodice neckline, but that should only take me a couple hours.

I'm really excited about the bodice being completed, and I can't wait to finish the rest of the gown! 


Thursday, February 19, 2015

Sewing on the road


This week I've been on a trip with my mom and little sister. My mom asked me to come with her. My dad and youngest brother volunteered to take care of my goats if I went. So I took off work for the week, and went.  Now part of this trip was spending a lot of time in a hotel room.Well me being me, I decided to bring along my sewing machine and a project to work on, my Civil War ball gown! Yes, I have finally started on it!


First I unpacked the box everything for the gown was in. I sorted everything out and read through the pattern direction to figure out what I needed to do next. Now the bodice was mostly completed. I just needed to bind the top and bottom edges, then make and attach the sleeves. But first I needed to fit the bodice.
The bodice actually fit me pretty well, but once I was laced up in my corset it was several inches too big. So with my mom's help I got it taken in. We mostly took it in at the center back, but also took some in at the front side seams. Once that was I sewed the bias tape to the top edge to bind it, then made the piping to bind the bottom edge.


Now before I could sew the piping on to bind the bottom edge I needed to insert the boning in the front and back of the bodice. The woman who gave me all the stuff to for the dress already had plastic boning cut and ready to insert, but I had some spiral steel boning left over from my corset that I wanted to use. The spiral steel boning lays better and offers more support than plastic boning. So I decided I might as well use it since I already had it.
Now I was ready to cut and insert the boning, only cutting the boning didn't go as well as I'd anticipated. I only had one pair of pliers with me, the ones on my multitool. I figured they worked fine for cutting bailing wire in order to fix the fence, so they should work fine to cut the boning. Well, I was wrong. I tried to cut the first piece of boning and my pliers got stuck. Really stuck, like I couldn't open them or get the boning out of them stuck. I tried and tried to pull them open but I just couldn't!


So we made an emergency trip to walmart to buy pliers. Needle nose, to pry my multitool off of the boning, and then wire cutters to cut the boning. Well, they worked! Pretty soon I had my multitool back in back in my pocket and my boning all cut!

                                     
I inserted the boning and sewed piping to the bottom edge of the bodice. I then had to do some hand sewing to completely finish the top and bottom edges, but that didn't take too long. Next I made the sleeves and sewed them on to the bodice, just in time to pack up and head home!
Now I had plenty of hand sewing to do on the way home! First I sewed the lace trim to the neckline. Once home I will thread some ribbon through the lace.


Next I sewed the beaded trim to the sleeves. The beads are beautiful, but they are heavy and kept getting tangled up with my thread. Still, the end result was worth the frustration!


And then I ran out of daylight, so no more hand sewing, but I'm really excited about the next trim I'm going to sew on. This lace. 


I got it on the trip, I saw it at Hancock Fabrics and knew it would be just perfect for this gown! I'll sew it on to the sleeves underneath the beads.
So now the bodice is almost done! Once I sew that lace on I just have to sew some eyelets on the back so that the bodice can be laced up. I'll make those with my nice sewing machine, which I left at home. So hopefully by tomorrow I'll be done with the bodice (and have pictures to show you)!

Sunday, February 15, 2015

Historical underpinnings

When you think of historical undergarments what's the first thing you think of? Probably a corset or a hoop skirt. At least that's what I thought of when I decided to make my purple plaid dress. Well I already had a hoop skirt so I decided to make my self I corset to go with it, to wear under the dress. When I decided this the Butterick patterns were on sale at Joann's so I picked up B4254  and got to researching "how to make a corset".

I decided to make the one in the upper right-hand corner

 Well there is an awful lot of information on how one should make a corset. To sum it all up I learned that I should use steel boning for the best results and make sure that the corset fit me perfectly so it wouldn't be uncomfortable (and here all along I had thought corsets were supposed to be uncomfortable, well apparently not). The steel boning was easy enough, I ordered 10 yards of spiral steel boning online, but the perfect fit took some work.

In about a week I made the corset according to the instructions, with just a few adjustments. I used cotton canvas, lined in with white cotton broadcloth on the inside and covered it with pink broadcloth on the outside. I added some white lace at the top for a decorative touch. I then had my mom lace me up it it. Well I guess it fit ok, but not great. It was too tight in the hips and bust, causing me too look flat chested and the corset to be rather uncomfortable. This wouldn't do. I had to figure out how to fix it.

After doing some more research I realized that I should have made a corset with bust and hip gores to accommodate my curves and give me the 19th century hourglass shape. Well at this point I considered making an entirely new corset, but as I'd put all the work into this one that didn't appear to be the best plan, so after lots of thought I decided to figure out how to add gores to the corset I already had. 
Adding bust gores was easy enough,


I ripped out the seams on either side of the cup pieces and hand sewed in a long triangle of fabric (3 layers like the rest of the corset, white, canvas, and pink)

The corset was then a bit too big in the bust, but it's much easier to make things smaller than make them bigger so that was easy enough to fix.

I then had to add the hip gores. This was a little tricker as all the hip seams had boning in them so I couldn't add the gores at a seams. So I cut my corset (This made me a little nervous), between 2 seams on either side, from the bottom and up about 3 inches. I then hand sewed in the gores.


Well then the corset fit perfectly! 


Or maybe not. There is supposed to be about a two inch gap in the back when the corset is laced as tight as it can get. As you can see, when mine is laced as tight as it can get, there is no gap, but oh well, now my corset gives me the correct hourglass silhouette, and its pretty comfortable. 

Under my corset I'm wearing a chemise and drews, two more required victorian undergarments, made from Simplicity 2890. The chamise prevents chaffing from the corset and the draws are for warmth and modesty's sake.   

Once the corset, chemise, and draws were done, I was ready for the hoop skirt, If my dress were from about 15-20 years latter than it is. Apparently hoop skirts weren't around until the mid 1850's, so I really shouldn't wear one with my late 30's/early 40's dress. Instead I needed lots of petticoats.

First I made a corded petticoat, using think cotton cord sewn tightly into tucks on the petticoat. 


It turned out pretty well, but didn't give the skirt enough of a bell shape, so I made a quilted petticoat to go underneath it.
                                          

For this I cheated and used pre-quilted fabric. I made a yoke out of cotton broadcloth since the quilted fabric was too thick to gather. I also faced the hem with broad cloth.


Now of course I needed some regular petticoats to go with the corded and quilted ones. So using a sheet with eyelet edging that I found at Salvation Army I made this one with lots of tucks for a little extra stiffness.
                                          

Its was really easy to make and looks almost identical to this original petticoat from the 1850's

It's full enough to go over the quilted and corded petticoats, but not quite full enough to go over a hoop skirt, so with my civil war ball gown this petticoat will need to be worn as a modesty petticoat under the hoops. 
Now the petticoat that I can wear over all my other petticoats or even my hoop skirt is this one.
                                         

It's made of cotton muslin and the eyelet came off a bed skirt I got at Goodwill (I love thrift stores, old sheets make great, inexpensive fabric for lots of different projects) I think this my favorite petticoat, it's just so pretty!

So those are all the underpinnings that had to be worn in the 19th century, I love old fashioned dresses, but goodness, I'm so glad I don't have to wear all of that every day (but it's a lot of fun to wear once in a while!)

Now this week I'm traveling with my mom and I brought my Civil War ball gown along to work on. That's a dress I can wear my hoop skirt with! I can't wait to get started!!


Wednesday, February 4, 2015

Purple plaid dress - completed ensemble

Well I finally did it! I completed my entire late 1830's outfit! Last fall you may remember I made this purple plaid wool dress (and started this blog to chronicle making it)

Once I finished the dress I decided I was going to make a cloak and bonnet to go with it, so I tracked down patterns and bought fabric. Then life happened and I didn't get them done as soon as I'd hoped But finally, as of last week, both the cloak and bonnet are done! 


I love how the entire ensemble looks!


I think I might need to make myself a muff, though, to keep my hands warm!


For the cloak I decided to make one similar to the one on the left in this fashion plate from 1842.


I made the cloak from tan wool. The capelet and lining are made out of dark brown cotton poplin.


One thing I noticed that I really liked on some cloaks from the mid 1800s was the pleats or gathers on the capelet, so I knew I wanted to add pleats to mine. 

An original cloak from the mid 1800's


 To do this I cut the poplin capelet pieces twice as wide as they were supposed to be and then pinned and presses the pleats into place until the outer part of the capelet was the same size as the lining. I then  sewed on pleated ruffles and brown velvet ribbon to add some more texture and hold the pleats in place. 

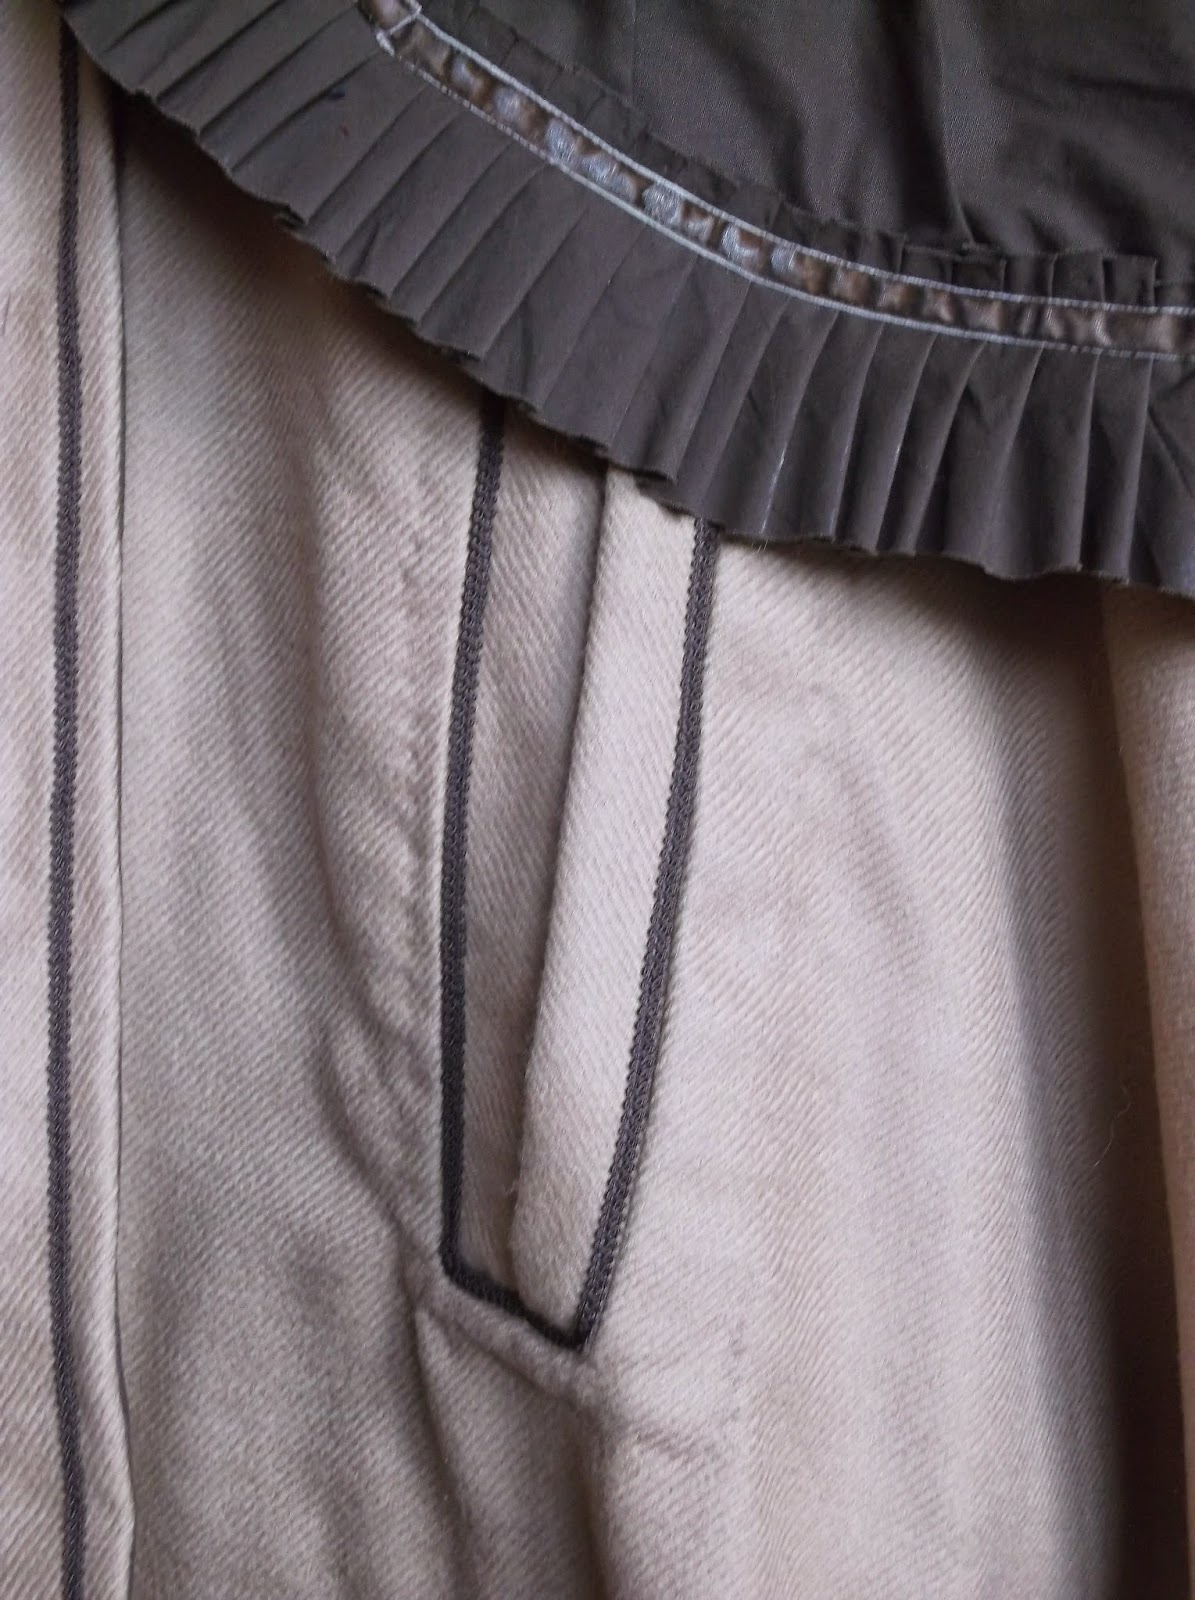
Another element I noticed in the pictures of the original cloaks I looked at was the slots on the front to stick your hands out through. By having these, while wearing the cloak, you could still use your hands and keep your cloak wrapped around you at the same time to stay warm. 
To add these slots to my cloak I basically made two huge bound buttonholes, one for each hand.


They look pretty good and serve their purpose!

Those are the highlights of the cloak, so now onto the bonnet!

After looking at picture after picture of bonnets from the 1830's and 40's, I finally decided to make mine based off of this one from the early-mid 1840's.


I had already bought some tan wool for the outside of the bonnet, and some brown silk for the lining, and I had a pattern that would work perfectly, McCall's M5129, so once I figured out which bonnet I was making I got to work!


I made the bonnet form out of cotton buckram.


I then covered it with the wool, and added the silk lining.

Then it was time for the fun part! The decoration! I really liked how the band across the top of the original bonnet appeared to be gathered, so I decided to attempt something similar with some of the leftover silk.

And it turned out pretty awesome!


I sewed on some realistic looking fake flowers, and it was done!


There was only one problem, the silk was too slippery, so the bonnet kept slipping off my head to hang down my back. That was frustrating! I spent all this time making myself a bonnet and then I couldn't wear it! Well I did some more research and discovered that through the mid 1800's women still wore caps in the house. I wondered if wearing a cap under my bonnet would keep the bonnet from slipping off my head. I figured it was worth a try, so I decided to make one like this one from the mid 1830's.


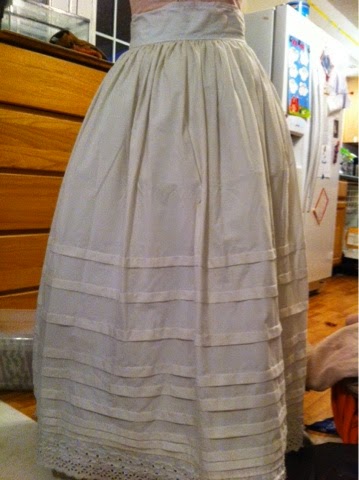
Using some eyelet fabric and making up a pattern as I went, a couple hours later, this is what I had.


I love eyelet!


The cap worked splendidly! My bonnet now stays on my head with the cap beneath it, and I can look historically accurate wearing the cap with my dress indoors!

I am thrilled with how the entire ensemble came out, it's so much fun to wear (whenever I get the chance), and was so much fun to make! Now, on to my civil war ball gown!