Showing posts with label Outer Banks Boatneck. Show all posts

Monday, April 5, 2021

My Easter Outfit, Made Well in Advance

 Something about the fact I'm getting married in 2 months and currently sewing my wedding dress, (It's coming along beautifully, thank you!) meant I did not have time to make myself a new Easter Dress this year. Darn. There is such a lovely tradition of a new dress for Easter Sunday, and I like to keep it up. 

I spent a good amount of the first half of last week contemplating what I would wear Easter Sunday. Then, I realized, past me had actually prepared for this very moment. I had a brand-new spring outfit in my closet, just waiting to be worn.


About a year ago, I found a 1(ish) yard remnant of brightly colored polyester taffeta at a local Mennonite-run fabric store. The woven pattern of pink, and green, and yellow squares was cheerful and fun. I wanted this fabric, but what could I use it for? I carried it around the fabric store for a while contemplating the possibilities.


Finally, it struck me, I could make a pleated skirt out of this fabric! So springy! So fun! It was settled, the plaid polyester taffeta was coming home with me. Now, what would I pair said skirt with?


The colors in the plaid were a bit different than anything I could recall off hand in my closet or my fabric stash at home. Thus, I took another trip through the remnant pile at the fabric store. I unearthed a 5/8th yard cut of faux quilted knit in just the right shade of dusty, orangey, pink. It would be tight, but I thought that with a bit of clever, careful, cutting (sleeves off-grain, contrast facings, and that type of thing), I just might manage to squeeze a top out of this bit of fabric. So onto my pile of purchases this remnant went.


Of course, I intended to make this springy outfit within a couple weeks of bringing the fabric home. And, of course, that didn't quite happen. It wasn't until November, the least springy time of year, that I took an evening and made the outfit. 


Really, it did go together very quick and easy. Like most things, I have no idea why it took me so long to get around to making this!
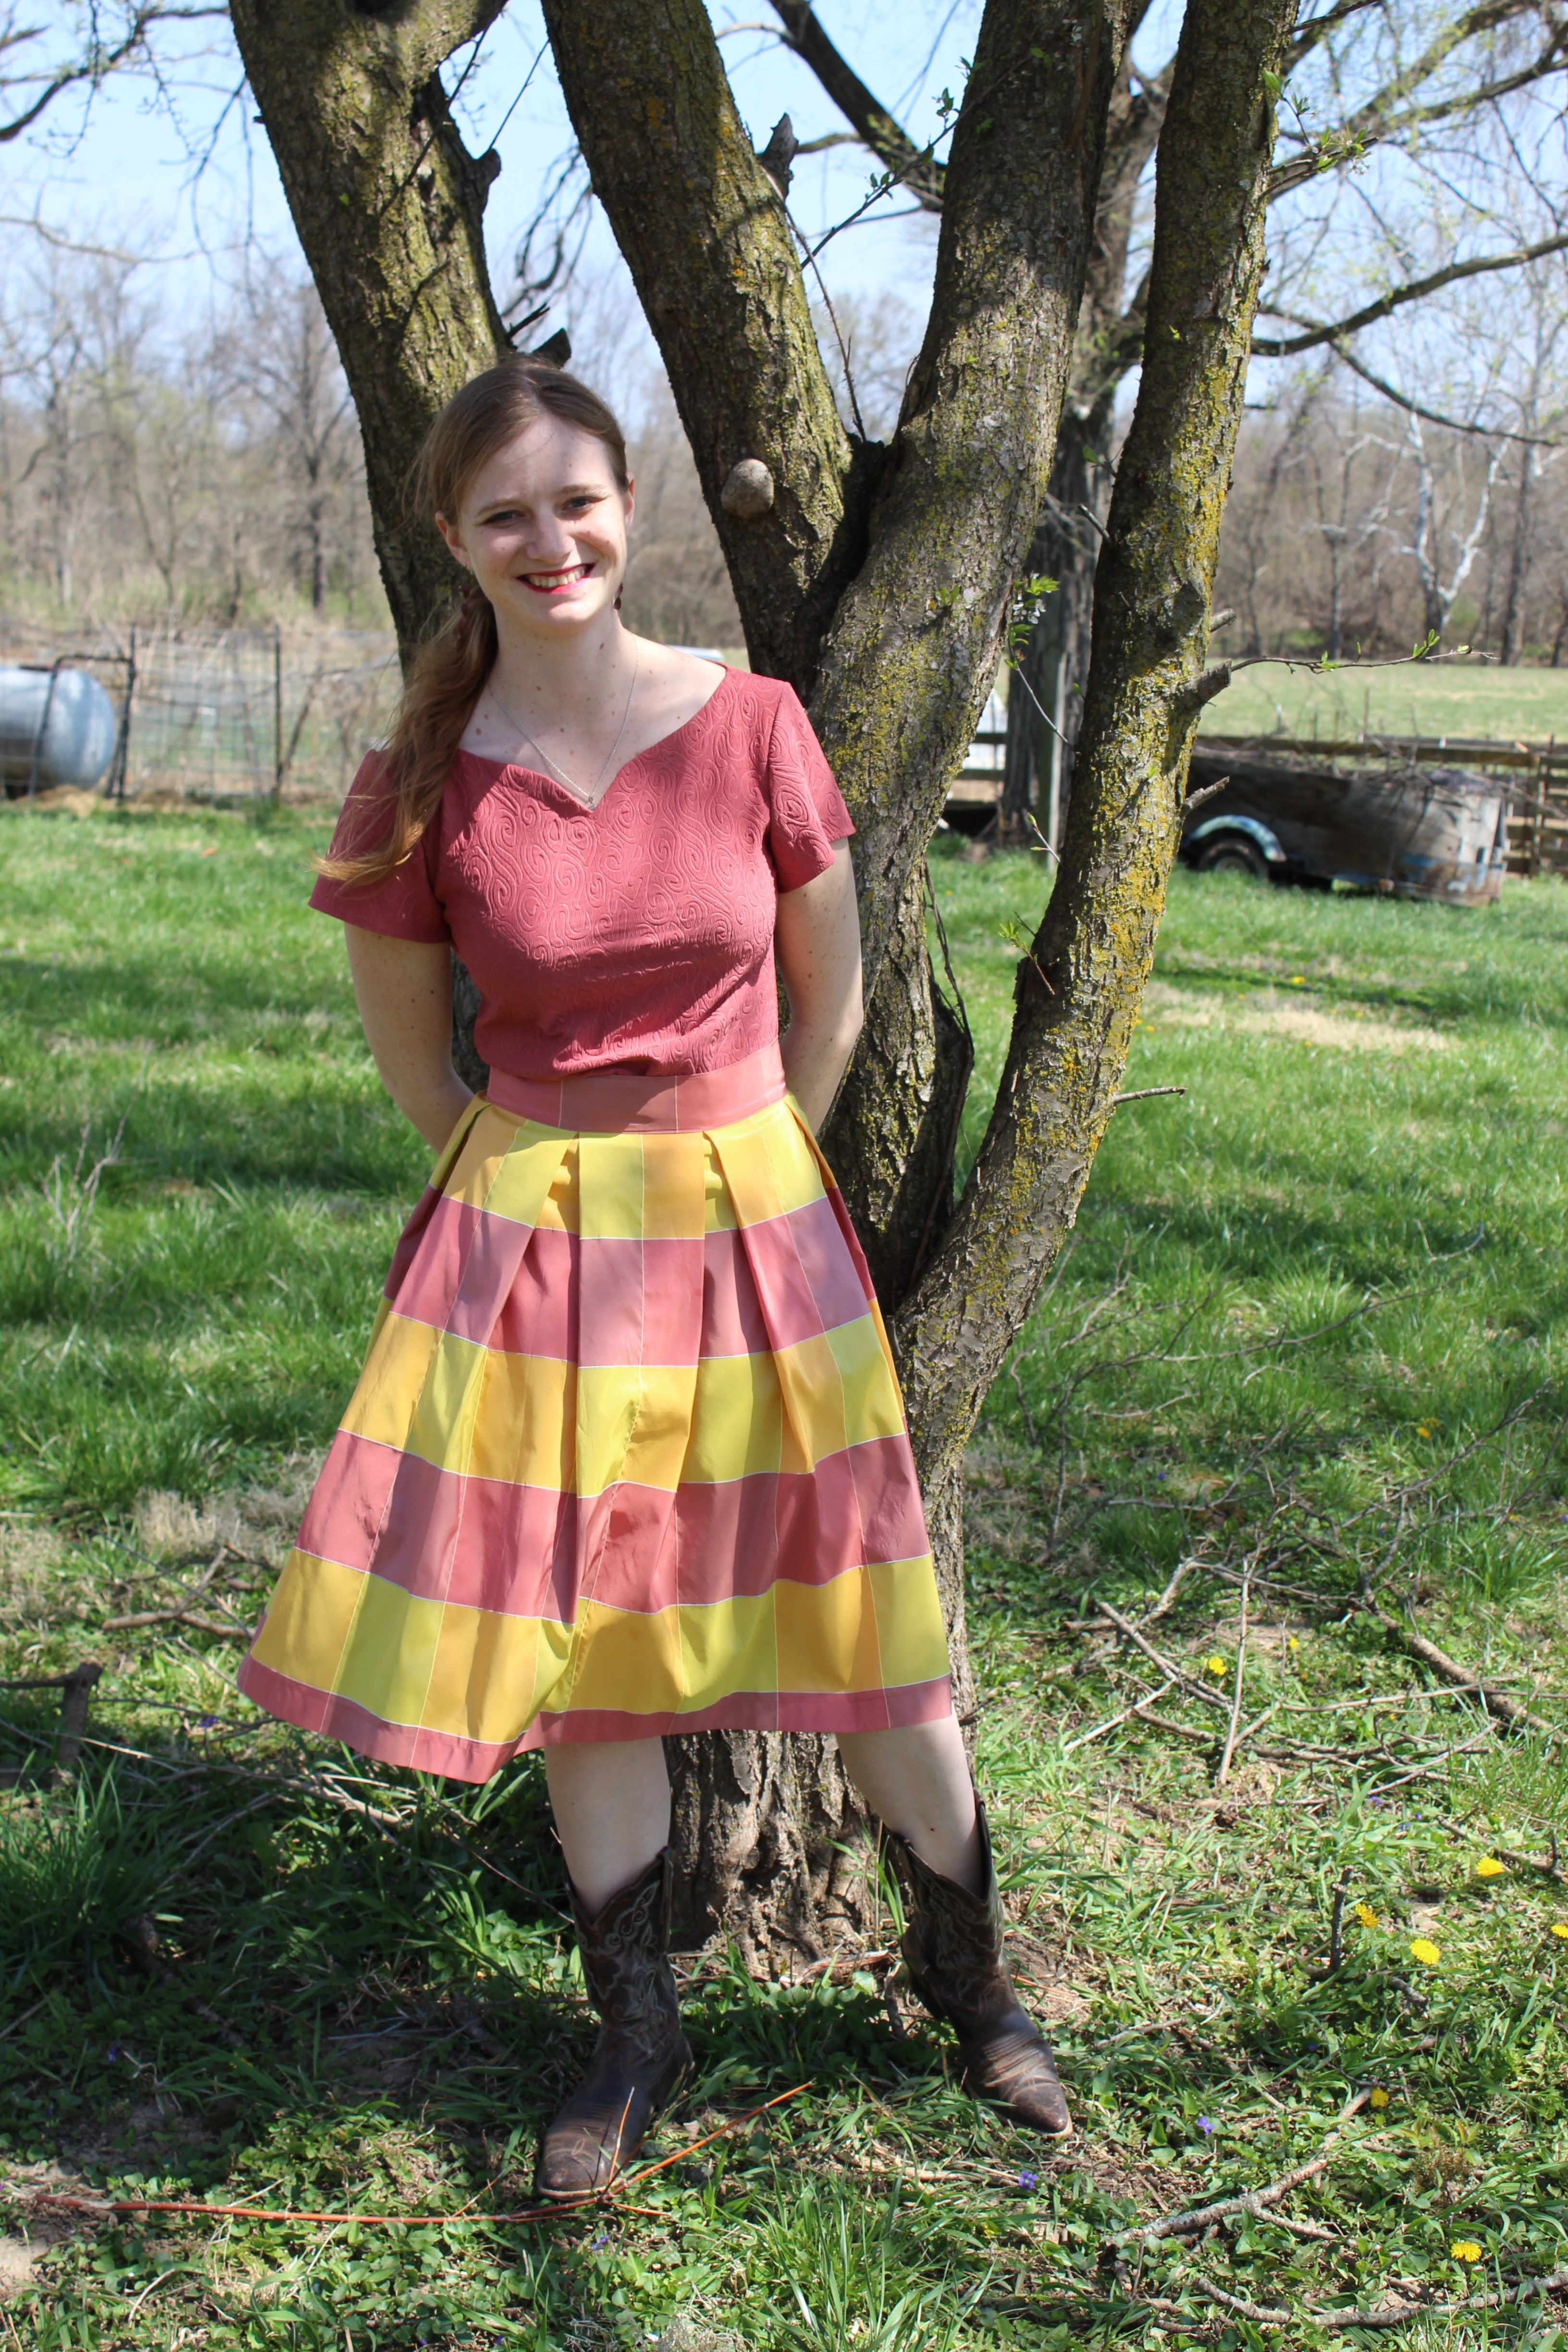

The skirt required no pattern. I cut a long narrow rectangle from one end of the fabric for the waist band, then cut the remaining fabric in half, so I had two pieces of fabric just over a half yard long. I carefully matched the plaid, added inseam pockets (made from cotton out of my scrap bin), and sewed these two pieces of fabric together selvedge to selvedge. 


Now, I didn't want a size seam zip, and there was no center back seam to put a zipper in, so I improvised, and cut a slash in the center of the back skirt panel, for an exposed metal zipper.


I think this is only the second exposed zipper I've ever done, but it wasn't too hard to do. I looked up a tutorial online, somewhat followed the instructions, and am reasonably pleased with the results.


Once the zipper was in, I played around with the fabric until I had a pleat arrangement I liked, then I sewed the skirt to the waistband.


 Then I finished off the skirt with this double hook and eye thing out of a package of miscellaneous  hook and bar type closures I picked up in Japan back in 2019. (Pre-pandemic, a lifetime ago.)


And, with that, the skirt was done.


On to the top! Out came my trusty Winter Wear Designs Outer Banks Boatneck pattern. What else would I have used?


Anytime I want a quick top, this is the pattern I use. It fits me well and is a great base for just about anything.


For this version I hacked the neckline to have a bit of a sweetheart shape, like this sweater I made last winter.


I used the bishop sleeve pattern piece to make short flared sleeves like those on my Easter top from 2 years ago. I just had to make these sleeves a bit shorter than those ones (and off-grain) to accommodate my fabric shortage. 


Turns out this faux-quilted knit is a bit too stiff to get nice drapey flared sleeves, but oh well. They look nice enough.


Once I finished the top, I tried it on with the skirt, looked in the mirror, and decided I liked the outfit. Then, I hung it up in my closet. It was November after all, and just a bit too chilly to wear this ensemble out and about.


Outfit hanging in my closet, I sort of forgot about it as the winter got cold and long. 


Until last week, when I was contemplating my new Easter dress, or lack there of. Then I realized, I did have a new outfit to wear. One that had been waiting all winter long.


Little did I know in November that I was making my Easter outfit, well in advance, since I would be engaged and sewing my wedding dress when April rolled around. At the time I just thought I was sewing a spring outfit 6 months late.


Isn't it funny how things work out?


I had a rather nice Easter with my fiancé and immediate family. We went to church to celebrate the resurrection of our Savior, then came home and enjoyed a ham dinner. I did miss seeing the extended family however, and look forward to next year when the pandemic should be a thing of the past and large family gatherings are a thing once more!

Happy Easter!

Thursday, March 5, 2020

The Sweater with Leg-of-Mutton Puffed Sleeves

On one of my flights home from Uganda I noticed a woman wearing a sweater with leg-of-mutton sleeves and I was stunned. How had I never thought to make an every day top with sleeves like that?? I love puffed sleeves!!

Now, for those of you wondering, leg-of-mutton sleeves are those which are puffed and very full at the top of the arm, and more fitted below the elbow. Bishop sleeves, on the other hand, are almost opposite, very full at the bottom of the sleeve, rather than the top, before being gathered in a tight cuff. (Here's a couple bishop sleeved tops I made last winter.)


Leg-of-mutton sleeves are the puffed sleeves which were popular in the 1890's - one of my favorite eras of fashion. They are the sleeves loved by Anne Shirley and frowned upon by Marilla for "wasting fabric" in Anne of Green Gables. (That scene in the book made me fall in love with puffed sleeves as a child, and, clearly, I have yet to fall out of love with them.)

  
This leg-of-mutton sleeved sweater on my flight from Brussels to Chicago made me realize I needed a top with similar sleeves in my wardrobe. Thus, within 24 hours of returning home, I had just such a sweater cut out and ready to sew together. (Though it would be the following week before the sweater actually got sewn up as I had to take a break and go to Florida for a cousin's wedding.)


I started with my trusty, tried-and-true, pattern, the Outer Banks Boatneck by Winter Wear Designs. This is, I think, the 12th time I've made this pattern. I've made a couple personal fitting alterations (mostly just adding a bit of width to the shoulders, like I have to do on every pattern.) and it fits me perfectly every time!


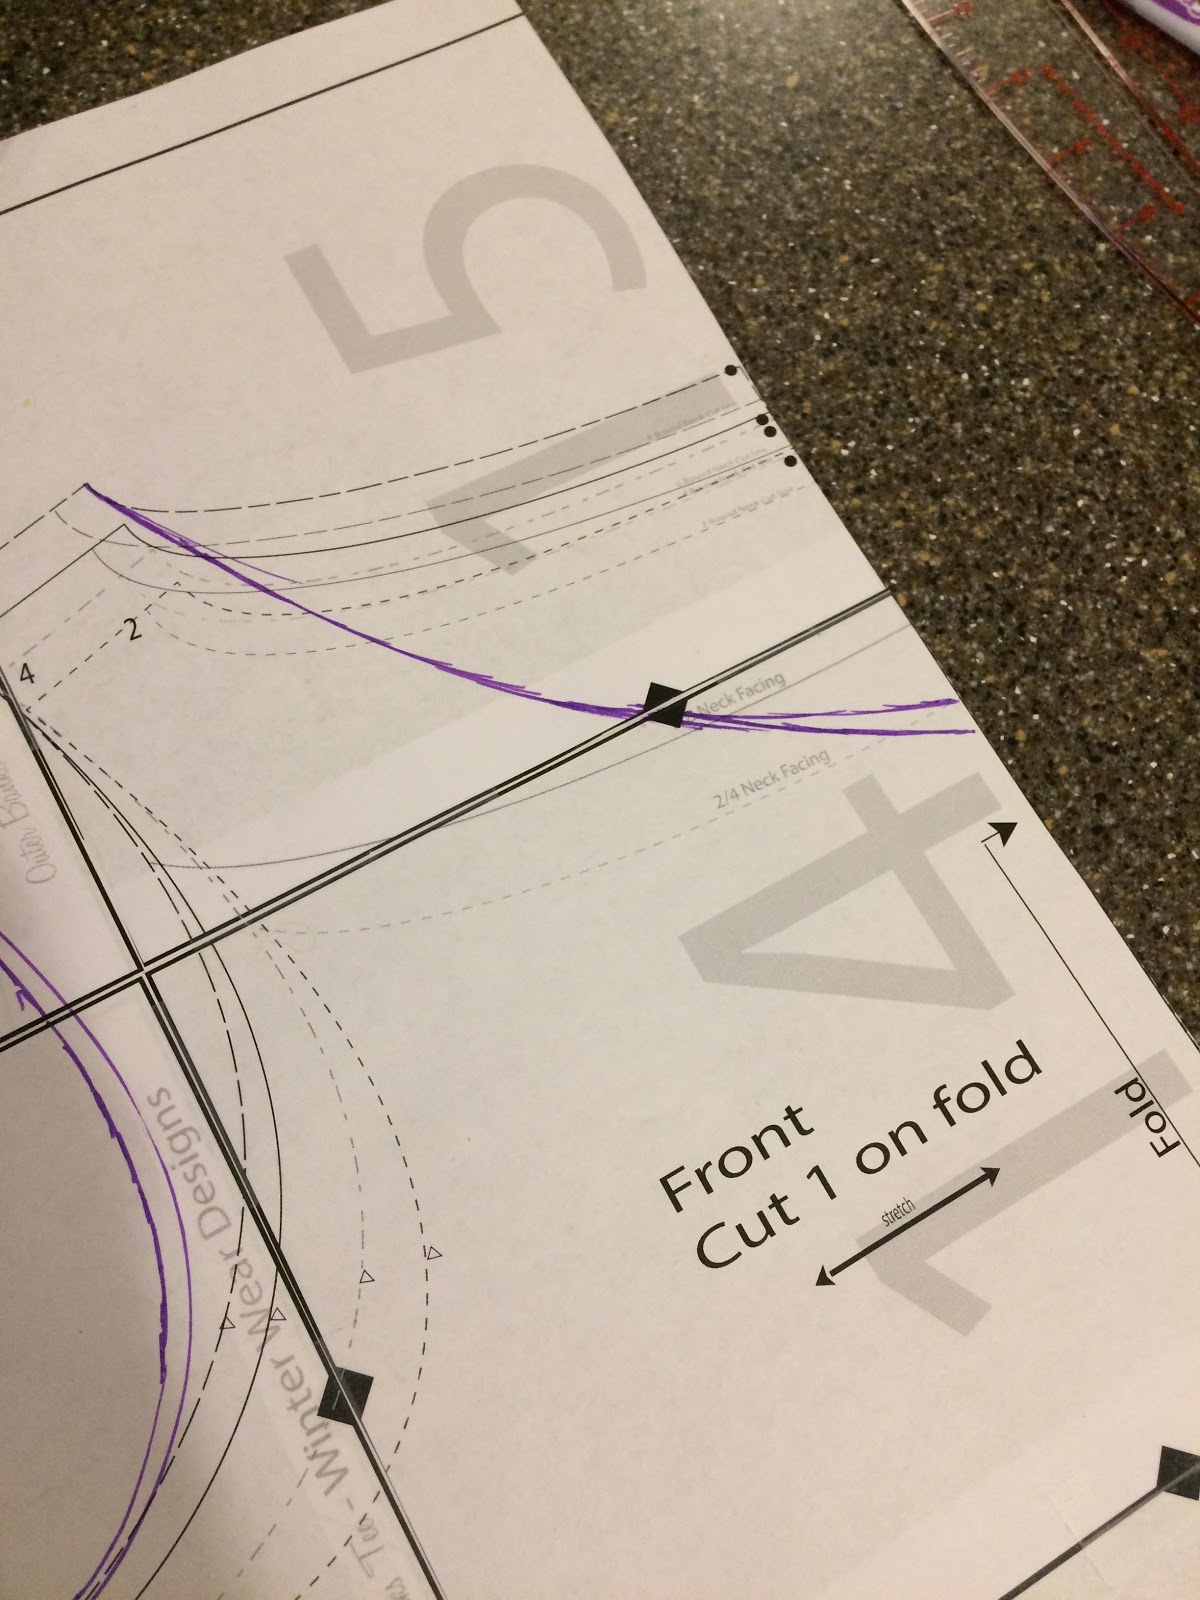
As I don't actually like the way bateau necklines look on me (I've altered the neckline shape every time I've made this pattern.) for this shirt I opted to slightly lower the front neckline and give it a bit of a sweetheart shape.


To do this I first cut out my front bodice with the normal bateau neckline, then free-handed my new neckline idea with the rotary cutter and altered the neckline facing to match.


Neckline sorted, it was on to the sleeves - the true eye-catcher of this top. I started by tracing the plain long sleeve included with the Outer Banks pattern.


Next I slashed my traced pattern piece from sleeve head to just above the elbow, where I wanted the fullness of my leg-of-mutton sleeves to end.


I spread the pattern piece apart where it was slashed until I thought it looked like I'd added enough fullness for a decently puffed sleeve.


Then I filled in my sleeve head with scrap paper. I drew in the new sleeve head shape following the underarm curves up at the front and back and adding a bit more height for extra puffiness.


With that my leg-of-mutton sleeve pattern was done and ready to use, it was on to cutting out and sewing up!


 I picked up an incredibly soft cotton rib-knit at a local quilting shop last spring and it seemed like just the fabric for my new sweater. It was a narrower width than most knit fabrics so the 2 yards I had was just barely enough to get the sweater, with it's puffed sleeves, cut out of.


 As I've had disastrous results when attempting to hem rib knit before, I opted to finish the sleeves and hem with bands instead of a traditional hem.


Since this rib-knit had no spandex to keep it from stretching out and loosing shape, I stabilized the seams between the shirt and the bands with fold-over elastic from my stash. (clear elastic is better for this, but I was using what I had on hand.


This sweater took a little longer to make than the Outer Banks Boatneck usually does, due to needing to gather the sleeves into the armscye, but it still went together relatively quickly and easily.


The finished sweater is just what I hoped it would be - soft, comfy, and snugly, with fabulous sleeves!


For pictures I paired it with my gold skinny jeans from 2 years ago, which recently got an update.


The old metal zipper I'd used for the fly gave out, loosing teeth until it didn't work anymore.


I ripped the old zipper out and replaced it with jeans buttons and button holes for a button fly, since that was easier than installing a new zipper would have been. (A new zipper would have required removing the waistband, this didn't.)


With their fancy button fly my gold skinny jeans are back in regular wardrobe rotation, which makes me pretty happy.


Who knew gold skinny jeans would get worn as often as they do?


They pair well with a surprisingly wide variety of tops in my wardrobe, and it's always exciting when a new top can be worn with them.


Such as a soft blue sweater with fabulous puffed sleeves!


Tuesday, September 24, 2019

How to Add a Scalloped Neckline to Any Top Pattern

It was in church one Sunday morning, over a year ago, when I noticed the back neckline on the shirt worn by the lady sitting in front of me was scalloped! Yes, it was a fantastically, beautifully, scalloped neckline! Clearly my attention was caught by this neckline, and along side my sermon notes from that Sunday are sketches of several garments I thought I might add a similar neckline to. I do have a fondness for scalloped edges.


It took a couple months, but last fall I finally got around to making myself something with a scalloped neckline. I applied the neckline I had in mind to the Outer Banks Boat neck by Winter Wear Designs, because I really love the fit of that pattern on me. 


The first version of my scalloped necked Outer Banks tee turned out just as fabulously as I'd hoped, so I immediately made myself a second one. I wore the first version to our family Thanksgiving dinner, where my aunts liked the scalloped neckline so much I decided to make a scallop-necked shirt for each of them as a Christmas gift. Then this spring, I decided to make myself another one for my Easter outfit. And while I was making one, I figured I might as well make two. Thus, I also made this one, out of a floral print cotton spandex jersey, with the poet sleeves from the Winter Wear Designs sleeve add-on pack (These sleeve patterns are free with a code found in the "files" section of WWD Facebook group!)


And while I was making this floral, scalloped, Outer Banks Boat Neck, I took pictures of each step so I could share a tutorial on how to make  a scalloped neckline. Thus (several months later than I intended to write it), without further adieu, here is how I added the scalloped neckline to the shirt pattern. This method can be used with almost any top pattern, so pick your favorite and have fun!


Step 1: Decide what basic shape (pre-scallops) you want your neckline to have. There won't be much stretch in the neckline when all is said and done, so it's best to make the neckline large enough to fit over the head with minimal stretching. A boat neck, scoop neck, v-neck, or square neckline will all work. I chose to do a v-neck, so I drew that onto my pattern.


Step 2: Add Scallops to your new basic neckline shape. Find a round object about the size you want your scallops to be. For me, the rounded end of my tape dispenser turned out to be just right! Starting at the center fold line of your pattern piece, trace around the round object, then move it up the neckline, placing it right next to the scallop you just traced, and trace it again. Repeat this until the whole neckline on the pattern piece is scalloped, then do the same on the neckline of the back pattern piece. Please note: I made sure to have the scallops end where the seam allowance began at the shoulder seams so no scallops would be caught in that seam.


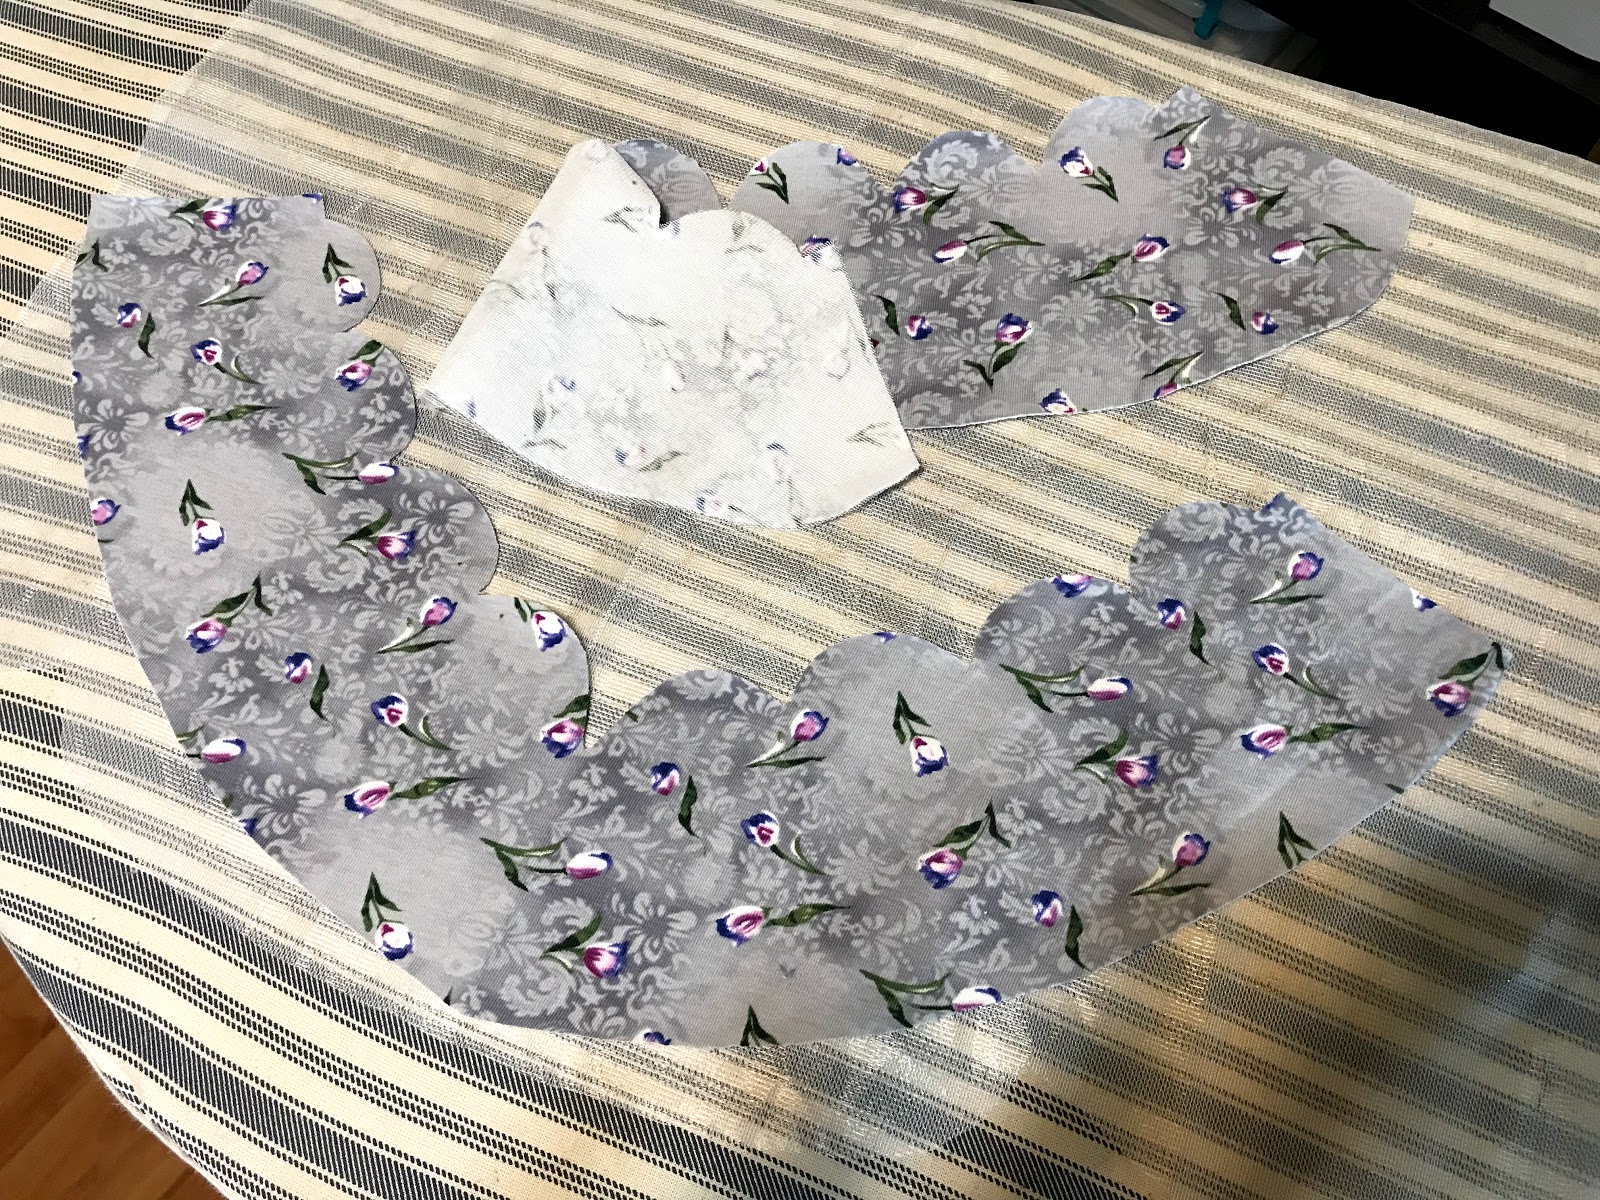
Step 3: Trace the new scalloped neckline and make corresponding front and back facings for the new neckline. A good facing is usually about 2"-3" wide.


Step 4: Cut out all pattern pieces from your chosen fabric and interface your facing pieces. For knit garments, I use whatever knit interfacing I can find at Joann's. If you're applying a scalloped neckline to a woven garment, any light to mid weight interfacing you prefer will do.


Step 5: Sew the shoulder seams of the shirt body pieces and the facing pieces.


Step 6: Right sides together, pin the facing to the skirt neckline, matching up the shoulder seams and all the scallops. Don't be stingy with the pins here - for best results pin each individual scallop.


Step 7: Carefully sew around each scallop stitching the facing to the neckline. At each divot in between the scallops, sink your needle into your fabric and lift your presser foot in order to pivot.


Step 8: Clip between each scallop - making sure to cut right up to the seam line, but not through it - and trim the seam allowance around each scallop down to 1/8". 


Step 9: Turn scallops right side out by flipping the facing to the inside of the garment. Work each individual scallop with your fingers until it is completely turned out, nice and round, not pointed.


Step 10: Press that new scalloped neckline nice and flat.


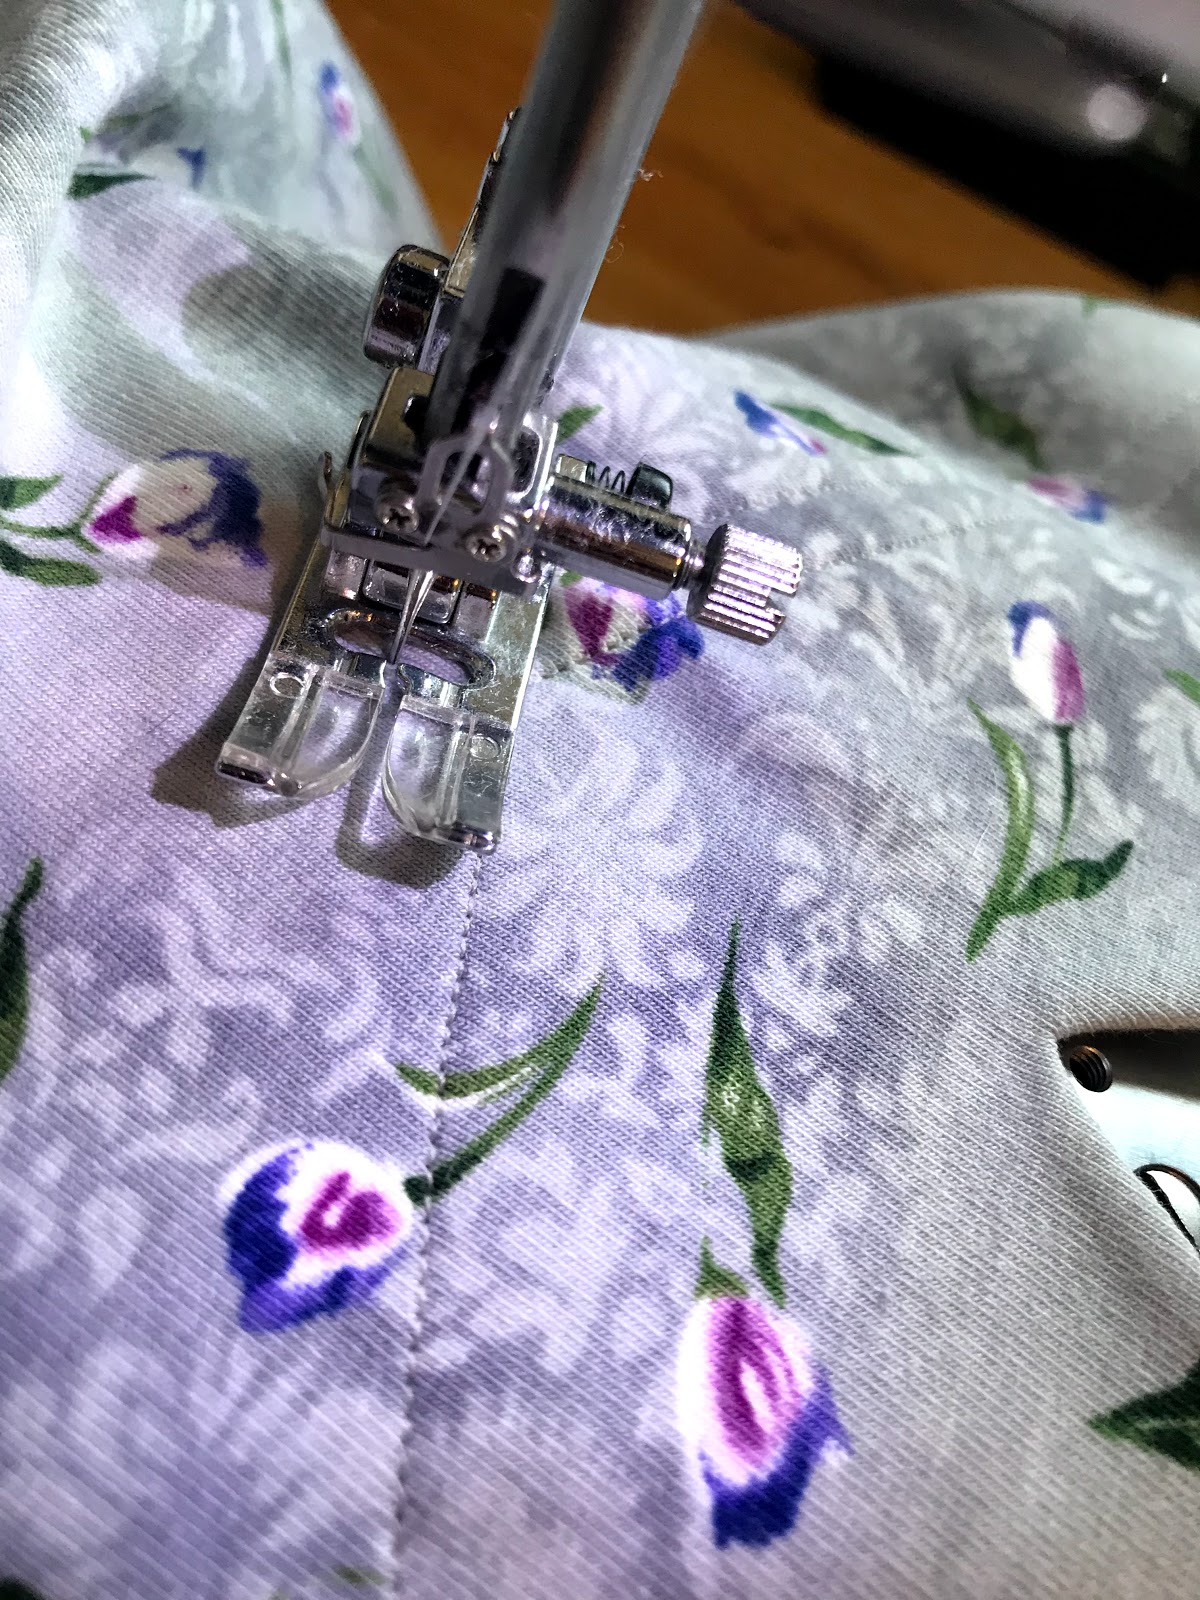
Now you could be done here and proceed to finish your shirt like normal according to the pattern instructions, but personally, I like to add a couple rows of top stitching around the neckline to hold the facing in place inside the shirt.


I find facings that flip out super annoying and don't mind the look of a top stitched down facing usually, but others have different preferences.


After deciding whether or not you want a top stitched down facing, go ahead and finish your top according to the pattern directions, side seams, sleeves, hem, etc..

Close up of my top stitched facing. I did two rows of top stitching as I felt it looked more intentional than just one row did.
And with that, your scalloped neckline shirt is done!!


With this pattern I have successfully made scalloped-necked shirts out of cotton-spandex jersey, rayon-spandex jersey, 100% rayon jersey, double-brushed polyester-spandex jersey, and knit crape (or Liverpool).


I have yet to encounter a knit fabric I have not been able to turn into a scalloped-necked top, provided I properly interface the scallops.


So that's it! Thus far I've made 6 Outer Banks Boatnecks with scalloped necklines, and I'm sure I'll make more in the future!


This simple "hack" really is a great way to dress up an otherwise "basic" top!