Thursday, October 31, 2019

A Golden Wrap Crossroads Sweater

Gold sweater knit. It was pretty, and only $1 a yard, so I bought 2 yards of it. I brought that fabric home with no idea what the heck I was going to turn it into - but it sure was pretty!


It only took me over a year, a request from my sister, and a blog tour, to get around to actually using the metallic gold sweater knit for something. The resulting garment? Well I think it was worth holding onto this fabric for over a year for.


And so, with that said, welcome to my slot on the Winter Wear Designs "Fall into Sewing" blog tour! Now let me tell you how we got here.


Back in the summer, my sister and I were going through my fabric stash, looking for a fabric to complete an outfit I was making for her. We happened across this rather thin, very stretchy, metallic gold sweater knit, and I asked my sister if she liked it. She answered the affirmative and I asked her what she'd like from it. After thinking a moment, she decided it would make a brilliant wrap sweater.


Fantastic! After a year of lurking in my fabric stash this fabric was finally earmarked for a project! I was excited to turn it into something my sister would enjoy wearing, and I knew just the pattern I would use for this wrap sweater of hers.


The Crossroads Sweater by Winter Wear Designs! It's a mock-wrap sweater pattern, which I sewed for myself last fall. I figured it could easily be used for a true wrap sweater with just a couple modifications. 


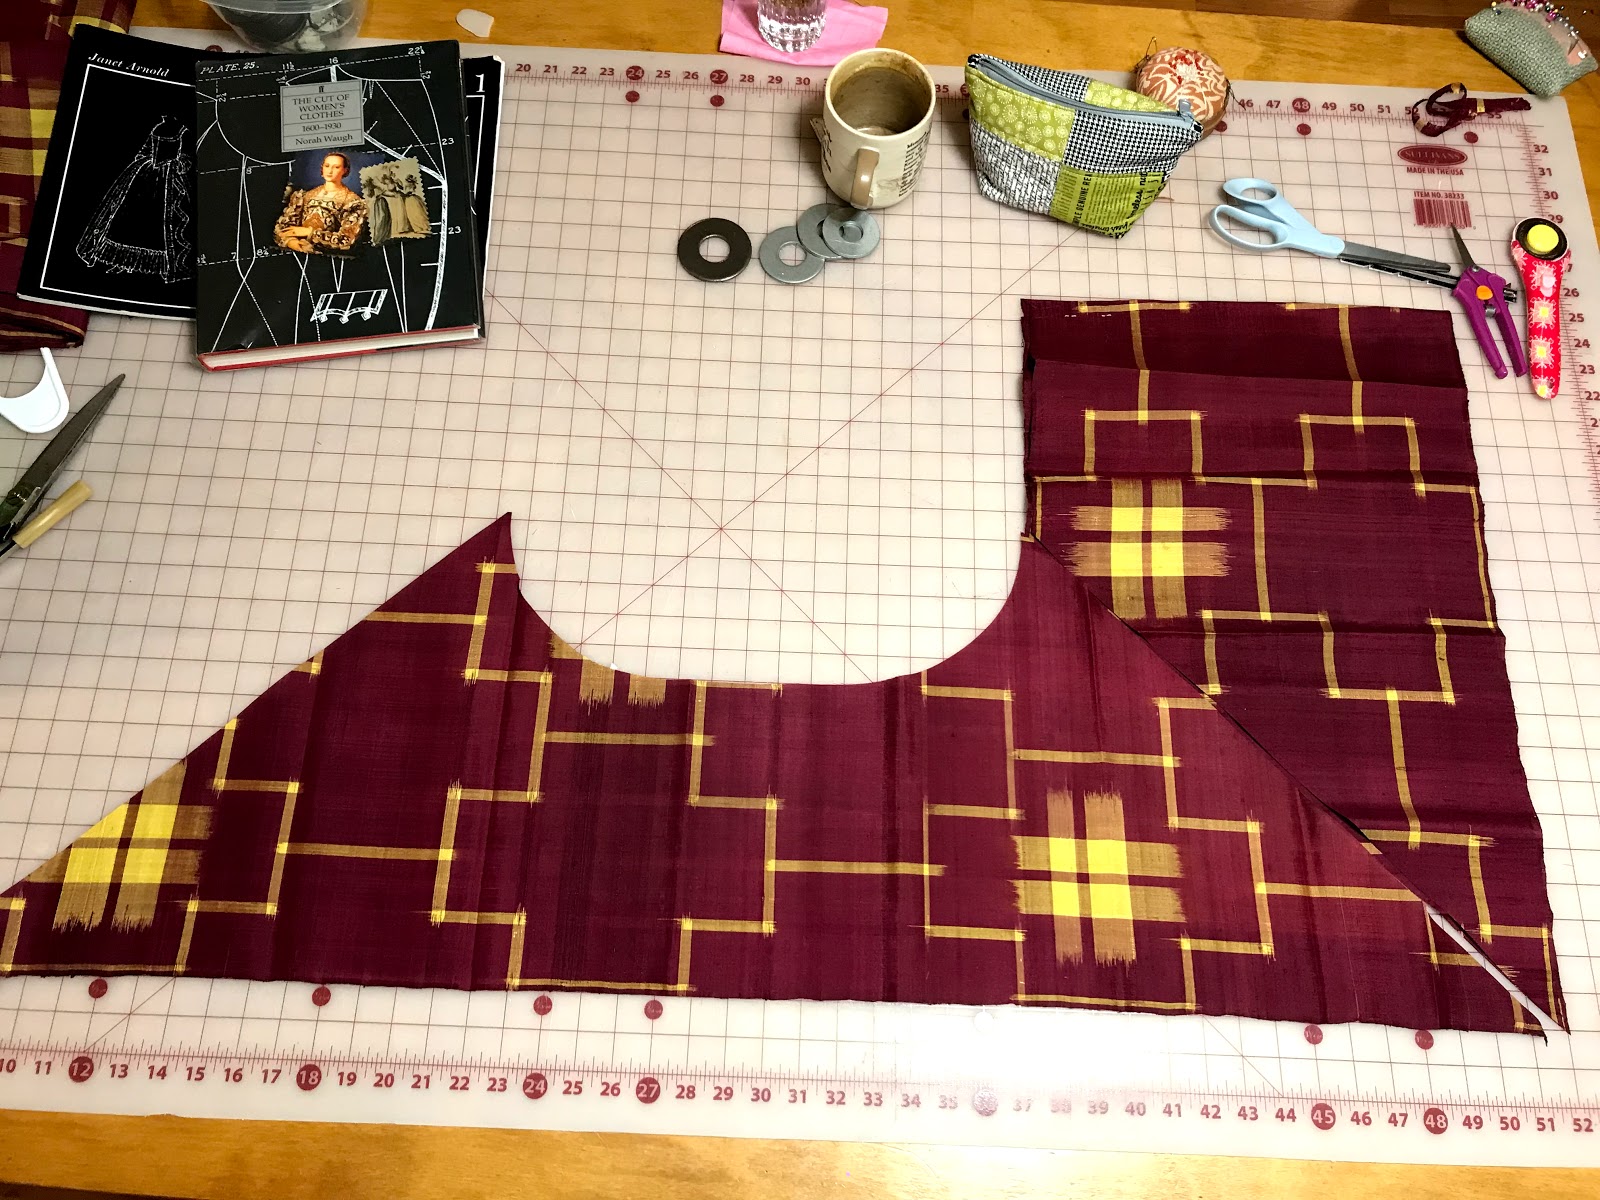
I cut out the front, back, and sleeve pieces as usual, no changes, except to add cuffs to the sleeves. (personally I prefer cuffed sweater sleeves to hemmed sweater sleeves.)


What I did not cut out was the collar. Instead I cut out two long lengths of fabric about 5" wide for ties, and  two 4" wide bands of fabric for finishing off the bottom and neckline edges.


I sewed up the shoulder seams and side seams, without stitching short sides of the front pieces into the opposite side seams, as you would if you were making a mock wrap sweater. Instead I left the short ends free. I set the sleeves like normal then proceeded to finish the neckline and bottom edges with the bands of fabric I'd cut.


The "short ends" of the front I gathered up and stuffed inside the open end of the long ties I'd made.


I folded in all the raw edges then zig-zag stitched the ties to the sweater.


Finally, I sewed a large button hole, interfaced on the back with a scrap of cotton muslin, into one of the side seams at waist level for threading the tie of the under lapped side through.


And with that the sweater was done - two months after my sister requested it. 


Life got busy and this sweater got pushed off, and pushed off, until this blog tour came around. I feel a little bad about how long it actually took me to get around to fulfilling this request, but at least she has it now - right in time for cold weather!


All in all though, this really wasn't a project worth putting off - it only took a total of two hours to make, including cutting, and the finished product turned out even better than I'd expected! With only a two hour time commitment, I could have easily fit making this sweater into my sewing schedule sooner than I did. I just didn't realize it would take that little time!


An easy one evening project with excellent results and the gold sweater knit out of my fabric stash and in my sister's closet? I have nothing to complain about here!


The finished sweater is just what my sister wanted, and I'm pretty darned pleased with it!


Don't miss any of the stops along the tour:

10/28

10/29

Laura Hinze of Custom Made By Laura

10/30

Laurie Roberts of The Bear and the Pea Atelier

10/31


Patricia of Sew Far North

11/1

Livia of Liviality

Laurie Roberts of The Bear and the Pea Atelier

Tuesday, October 29, 2019

A Regency "Tunic with Points" from Japanese Silk

When I bought a bundle, several yards in total, of narrow silk at a recycle shop in Japan back in June, my first thought was that I could use this silk for something Regency.


Now, this magenta and yellow slubby silk with a cross-hatch pattern really isn't historically accurate for the early 1800's in the western world. Among other things making the fabric rather historically inaccurate, Japan wasn't even opened for trade with the western world until 1853, 50 years after the era of the garment I wanted to make. So, yes, Japanese silk. The year 1801. Technically they don't work together. But did that stop me? No, and I don't regret it one bit!


I brought home the silk with a vague idea in the back of my mind about what I wanted to make from it. I began by looking at Regency era fashion plates and extant garments online to see if I could find something close to the idea I had - and I did!


(I can't seem to find a source for this beyond Pinterest, sorry!)

Saved to one of my Pinterest boards I found this 1804 fashion plate. The yellow sleeveless spencer jacket thing was exactly what I had in my mind!

Source
A bit more Pinterest browsing brought me to the above 1801 fashion plate featuring a magenta version of a similar garment. I studied both fashion plates, paying close attention to how the "skirts" of the garments appeared to be laying in the depictions, and came up with a plan for how I would cut my garment from the narrow silk in my possession.


For the bodice of the garment, I decided to adapt the drop-front gown bodice lining pattern from Patterns of Fashion 1, by Janet Arnold, which I'd used to make my Regency gown 3 years earlier. As I'd already altered these pattern pieces to fit me and used them successfully in a previous project, I decided to just skip the mock-up and go straight to cutting out the final garment. Amazingly, this worked out fine!


First I cut the bodice lining from the same pink striped linen/cotton blend shirt I'd used to line my turban cap with. (The fabric from that old shirt is now completely used up!) As I wanted the front of this sleeve-less spencer jacket type thing to fasten right under my bust, I lowered the front neckline considerably.


After I cut out the lining from the linen, I cut out the silk from the same pattern pieces.


The bodice front pattern pieces were a bit too big to fit on my narrow silk, so I had to piece together the front pieces. No big deal - piecing together narrow fabric to cut out large pattern pieces is period accurate!


I didn't use any pattern for the skirt section of the garment. I formulated a rough idea in my mind of how the skirt panels must be shaped based on how the skirts lay in the fashion plates, measured a couple things, then cut right into my silk.


The back skirt is cut almost like a triangle with a half circle cut out at the waistline. The side seams are cut on the bias, at a 45 degree angle, to get those delightful "points" which I fell in love with in the fashion plates. The front skirt panels are cut as straight widths of fabric with no shaping except for the side seams, which are cut at a 45 degree angle for the points.


On the finished garment I'm very pleased with how the back skirt turned out, but I do wish I'd patterned the front skirt differently and given it more shape. Oh well, it turned out well enough and I can't be bothered to change it now.


I sewed together all the main pieces by machine, then took the garment with me to Uganda and finished up all the hand sewing on that trip.


Before I left I pressed under 1/4" around all the edges of both the lining and the silk. While I was gone I slip stitched the edges together.

Sewing away a layover on my way to Uganda.
Once the bodice layers were sewn together, I attached the skirt. I'd sewn the skirt side seams prior to leaving with narrow machine-sewn french seams. I initially attached the skirt  to the bodice with a whip stitch, then decided I didn't like how the skirt was laying that way. I went over the whip stitches with a running stitch, and am very pleased with the way the skirt lays after that!


The skirt didn't require hemming as I'd cut the bottom edge on the selvage to save myself the bother. I did, however, have to narrowly hem the edges of the front opening. That went pretty quick.


With the construction done, I moved on to the trimmings - tassels, made from silk thread, to attach to the points!


I made the tassels and attached the tassels, and then, 3 nights into my trip to Uganda, the thing was done and wearable.


If I'd realized how quick it would go together I would have hand sewn the entire thing on the trip rather than machine sewing the long seams before leaving!


The one thing I didn't get done on my trip to Uganda was add some sort of fastening to the front overlap. I just couldn't find any buttons or anything I liked for this project!


Thus, for the time being, I opted to skip the fastenings. I wore the newly finished garment safety pinned closed in the front to my sister's birthday party the day after I returned home from Uganda. It worked.


Safety pins and all, I love how this thing turned out! It was just the thing to dress up my plain white regency gown!


Fabric bought in Japan. Design based on French fashion plates. Sewn in Uganda. Worn in America. What is this thing actually?


Is it a sleeveless spencer jacket with a skirt? A waistcoat? A short open robe? Well, according to the French description on the 1801 fashion plate, helpfully translated for me by a friend in the Saint Louis Georgian Sewing Society, the technical name is "A Tunic with Points".


So there you go, this trans-continental garment is a Tunic with Points - and I love it!


Tuesday, October 22, 2019

Finishing and Wearing the Black Wool 1840's Dress

I can now actually move my arms in the black wool 1840's dress I made over the summer! (Here's the blog post about the patterning and making of the bodice of this dress, here's the post about the skirt and "finishing" the dress)


Back in May, when I was figuring out the pattern for this dress, the sleeves were most definitely the trickiest part - no surprise there! 


While trying to get the slim sleeve silhouette I was going for, I over fitted the sleeves below the elbow. As a result, when I put on the finished dress I could barely move my arms. That was frustrating. 


Thankfully, I knew I could fix the problem, I just needed to let out the sleeve seam a touch at the forearm. The sleeve fit great through the bicep and I'd spent quite a bit of time perfecting the fit of the armscye and sleeve cap. So neither of those areas, which would have been harder issues to fix, were interfering with the fit. The only part of the sleeves I'd really screwed up was, at least, the easiest part to fix.


That said, when I originally finished the gown, I was in no mood to go back and re-do any part of it, so I set the project aside for a while. I pulled it out again earlier this month and set to fixing it so I could comfortably wear it to a Halloween party.


While watching TV in the evenings after dinner, I worked on fixing the dress. I let out the sleeve seam below the elbow, giving each sleeve an extra 1/2" of ease. It's not a whole lot of extra room in the sleeves, but it is just what I needed!


The sleeves now fit comfortably and I can actually move my arms above my shoulders!


While I had the dress out to resolve the sleeve issues, there were a couple other little things I had to fix. I stitched the pocket bags to the pocket openings in the skirt.


Originally I'd just attached the pockets at the waist seam so they were handing loose inside the skirt. They did not stay lined up with the pocket openings very well this way, and were always hard to find when I reached through the pocket slits in the skirt to put something in my pocket. This was very annoying.


Thus, I slip stitched the pocket opening to the pocket slit in the skirt and now the pockets are much more convenient to use!


The final thing I had to fix was the hooks and eyes up the back. Partially due to the way the too tight sleeves had been pulling at the bodice, partially due to rather weak the hooks and eyes I used, and partially due to my annoying wide shoulders, the first time I put the dress on after originally finishing it, some of the eyes on the back of the dress stretched out. 


One eye stretched so much it completely straightened out and slipped free of the stitching! Once I fixed the sleeves so they wouldn't be pulling and putting extra stress on my bodice fastenings, I sewed a couple new eyes on.


At the high stress points where the original eyes stretched out, I doubled up the eyes. Now those hooks have to hook through two eyes apiece, so hopefully there will be no more stretched out eyes!


Even with the extra security of the doubled eyes on the back of the dress however, I wasn't fully satisfied with the hooks and eyes I'd used. They just felt too loose, like the hooks could easily come unhooked at any time. I considered changing them out for higher quality hooks and eyes, like those on my Renaissance gown, which I knew would stay hooked, but I really, really, didn't want to have to sew on all those hooks and eyes down the back of this dress again. I don't particularly enjoy sewing on hooks and eyes, so instead, I fixed the issue another way. I went down the back of the dress and "squished" each hook closed a little bit with a pair of pliers. Now they feel like they are securely latched onto the eyes when the back of the dress is hooked up, and I'm much less worried about them coming undone!


If I run into any more issues with the hooks and eyes I used, I will probably go back and replace them, but for now, I'm satisfied!


I wore this dress all day on Saturday and had no issues with the hooks coming undone!! Amazing what squishing things with a pair of pliers can do!


I began the day by going out to the grounds of our local historical society with my brother to photograph the dress.


The dress stayed done up and comfortable for the entire duration of our photo shoot - even when I decided to climb up on top of a fence!


That afternoon I kept the dress on to go to my cousin's marching band competition. 


I got a few surprised looks, but it was all worth it when a short rain shower popped up. The water just rolled right off the worsted wool of my dress and I stayed warm, dry, and comfortable, while everyone else's jeans soaked up the water immediately. I highly recommend 1840's wool dresses for such occasions!


I finished out the day by going to a Halloween croquet party that evening, and the dress did not impede croquet playing at all - I actually did marginally better than I usually do! (But I'm still horrible at croquet)


So all that to say, my black wool 1840's dress is done!


The issues have been fixed!


It is wearable!


It is comfortable!


It has been worn!


Is it perfect? No.


There are definitely still little things here and there that I could stress out about fixing, but I'm not gonna do it.


I like the dress as is, and I will wear it as is.


Even if it's not perfect.


Historical Sew Monthly October - Details

What the item is: 1840's wool dress

How it fits the challenge: It's the details which make this "plain" black dress special, The short over sleeves, the shaped sleeve openings, the piping, the "princess seams" which go up into the shoulders (seaming distinctive to this decade), the piped sleeves, the cartridge pleats, the striped polished cotton lining, the lining and padding in the skirt.

Material: Light weight worsted wool outer with polished cotton lining.

Pattern: Early 1840's bodice pattern in Cut of Women's Clothes, by Norah Waugh.

Year: Early 1840's

Notions: Thread, cotton cording for piping, cotton batting for the skirt hem and back, hooks and eyes, cotton tape for bone casings, spiral steel boning.

How historically accurate is it? It's 90% hand sewn (only the pockets and skirt lining are machine sewn), using what I know of period construction techniques. The pattern is accurate. The main fabric is accurate. Polished cotton is an accurate lining choice, however my polished cotton is striped, which I don't think is accurate. The notions serve their purpose, but are not all completely accurate. All in all, I'd say 80-85%

Hours to complete: I have no idea. A lot.

First worn: October 19th

Total cost: The wool was $30 for 5 yards, the lining was gifted to me, all notions were from stash. So I'll add $10 for the notions I used and say $40 total.