Showing posts with label 52 Week Challenge. Show all posts

Monday, April 5, 2021

My Easter Outfit, Made Well in Advance

 Something about the fact I'm getting married in 2 months and currently sewing my wedding dress, (It's coming along beautifully, thank you!) meant I did not have time to make myself a new Easter Dress this year. Darn. There is such a lovely tradition of a new dress for Easter Sunday, and I like to keep it up. 

I spent a good amount of the first half of last week contemplating what I would wear Easter Sunday. Then, I realized, past me had actually prepared for this very moment. I had a brand-new spring outfit in my closet, just waiting to be worn.


About a year ago, I found a 1(ish) yard remnant of brightly colored polyester taffeta at a local Mennonite-run fabric store. The woven pattern of pink, and green, and yellow squares was cheerful and fun. I wanted this fabric, but what could I use it for? I carried it around the fabric store for a while contemplating the possibilities.


Finally, it struck me, I could make a pleated skirt out of this fabric! So springy! So fun! It was settled, the plaid polyester taffeta was coming home with me. Now, what would I pair said skirt with?


The colors in the plaid were a bit different than anything I could recall off hand in my closet or my fabric stash at home. Thus, I took another trip through the remnant pile at the fabric store. I unearthed a 5/8th yard cut of faux quilted knit in just the right shade of dusty, orangey, pink. It would be tight, but I thought that with a bit of clever, careful, cutting (sleeves off-grain, contrast facings, and that type of thing), I just might manage to squeeze a top out of this bit of fabric. So onto my pile of purchases this remnant went.


Of course, I intended to make this springy outfit within a couple weeks of bringing the fabric home. And, of course, that didn't quite happen. It wasn't until November, the least springy time of year, that I took an evening and made the outfit. 


Really, it did go together very quick and easy. Like most things, I have no idea why it took me so long to get around to making this!
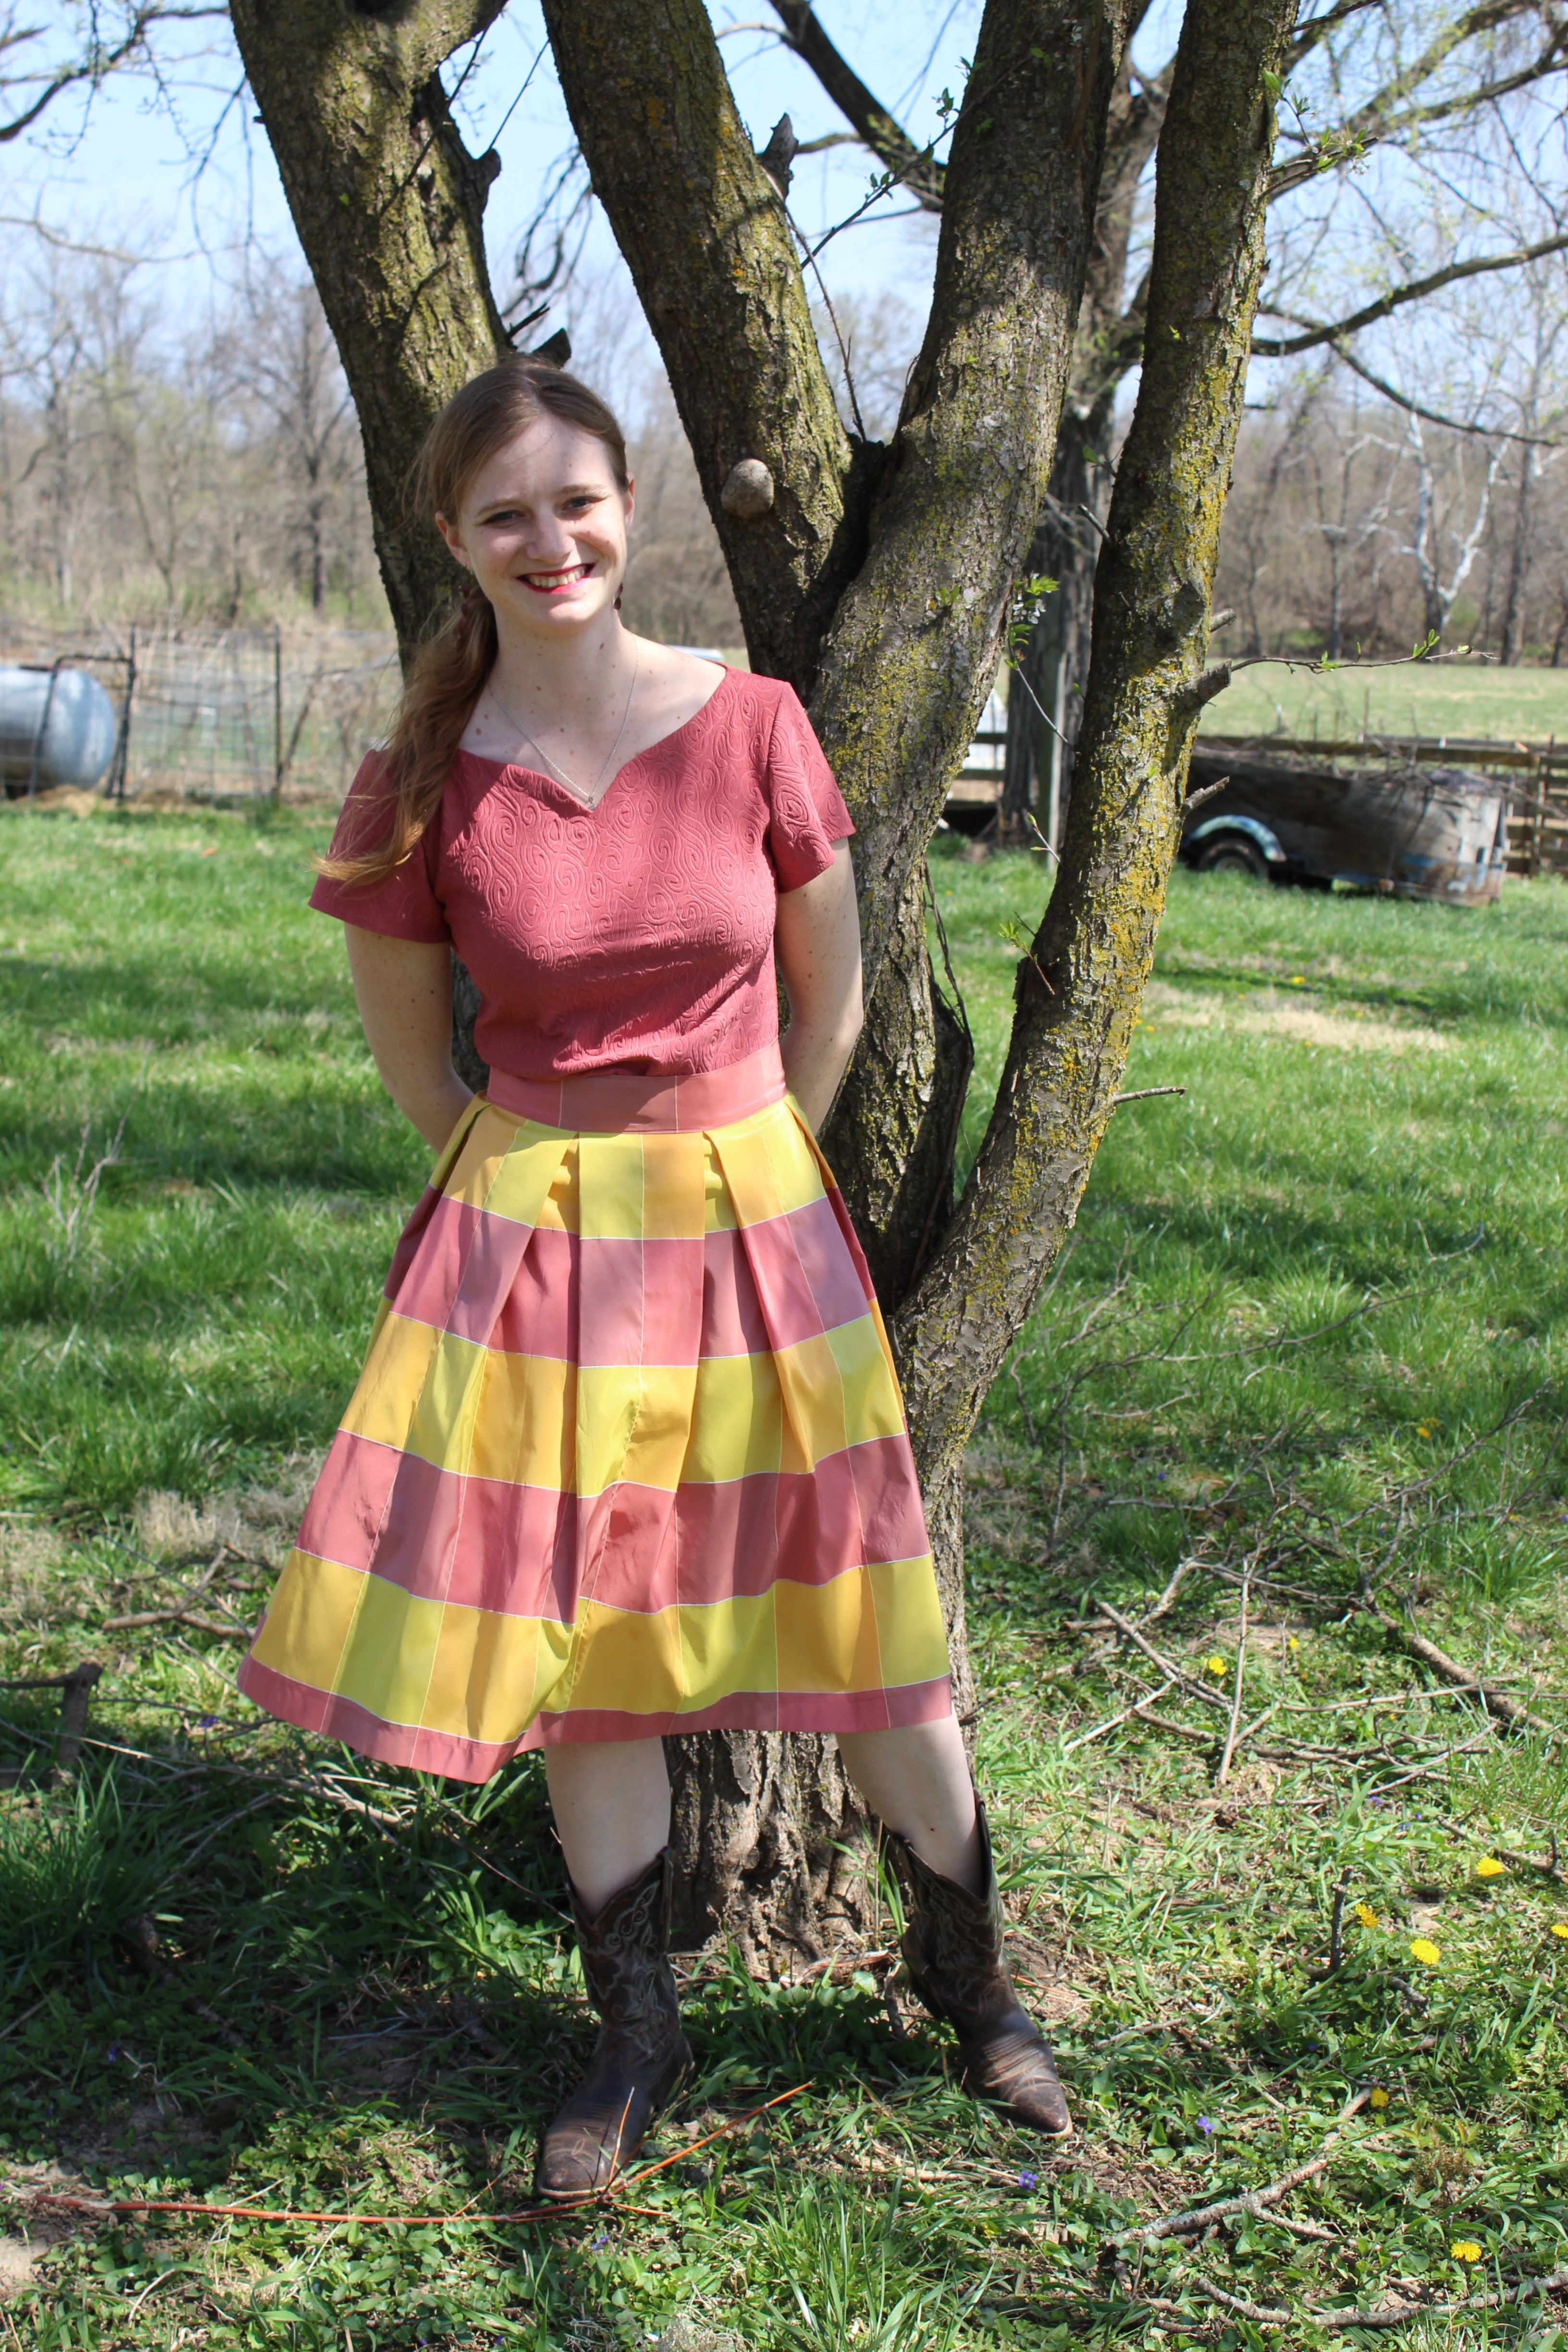

The skirt required no pattern. I cut a long narrow rectangle from one end of the fabric for the waist band, then cut the remaining fabric in half, so I had two pieces of fabric just over a half yard long. I carefully matched the plaid, added inseam pockets (made from cotton out of my scrap bin), and sewed these two pieces of fabric together selvedge to selvedge. 


Now, I didn't want a size seam zip, and there was no center back seam to put a zipper in, so I improvised, and cut a slash in the center of the back skirt panel, for an exposed metal zipper.


I think this is only the second exposed zipper I've ever done, but it wasn't too hard to do. I looked up a tutorial online, somewhat followed the instructions, and am reasonably pleased with the results.


Once the zipper was in, I played around with the fabric until I had a pleat arrangement I liked, then I sewed the skirt to the waistband.


 Then I finished off the skirt with this double hook and eye thing out of a package of miscellaneous  hook and bar type closures I picked up in Japan back in 2019. (Pre-pandemic, a lifetime ago.)


And, with that, the skirt was done.


On to the top! Out came my trusty Winter Wear Designs Outer Banks Boatneck pattern. What else would I have used?


Anytime I want a quick top, this is the pattern I use. It fits me well and is a great base for just about anything.


For this version I hacked the neckline to have a bit of a sweetheart shape, like this sweater I made last winter.


I used the bishop sleeve pattern piece to make short flared sleeves like those on my Easter top from 2 years ago. I just had to make these sleeves a bit shorter than those ones (and off-grain) to accommodate my fabric shortage. 


Turns out this faux-quilted knit is a bit too stiff to get nice drapey flared sleeves, but oh well. They look nice enough.


Once I finished the top, I tried it on with the skirt, looked in the mirror, and decided I liked the outfit. Then, I hung it up in my closet. It was November after all, and just a bit too chilly to wear this ensemble out and about.


Outfit hanging in my closet, I sort of forgot about it as the winter got cold and long. 


Until last week, when I was contemplating my new Easter dress, or lack there of. Then I realized, I did have a new outfit to wear. One that had been waiting all winter long.


Little did I know in November that I was making my Easter outfit, well in advance, since I would be engaged and sewing my wedding dress when April rolled around. At the time I just thought I was sewing a spring outfit 6 months late.


Isn't it funny how things work out?


I had a rather nice Easter with my fiancé and immediate family. We went to church to celebrate the resurrection of our Savior, then came home and enjoyed a ham dinner. I did miss seeing the extended family however, and look forward to next year when the pandemic should be a thing of the past and large family gatherings are a thing once more!

Happy Easter!

Sunday, March 14, 2021

A Little Lavender Witch Hat

 Ever get an idea in your head and decide you're going to do it, even though you don't really have time for it? It can't really take that long, can it? Yeah. . . That's about half my sewing projects. (Go ahead, ask me how wedding sewing is going, I dare you. Actually, it's going fine. I'm pretty much on schedule. But I'm not telling anyone about the random items I've added to my list. . . they won't take that long to make. . .)

Actual footage of me reaching toward the shiny new little project that "won't take too long".

Anyways, back in January, I made this 1790's open robe. I decided to wear it to a somewhat Hogwarts themed dinner with my family. And, since I was wearing it to such a dinner, clearly I needed a witch hat to wear with it. Thus, the night before the dinner, I decided to make that witch hat.


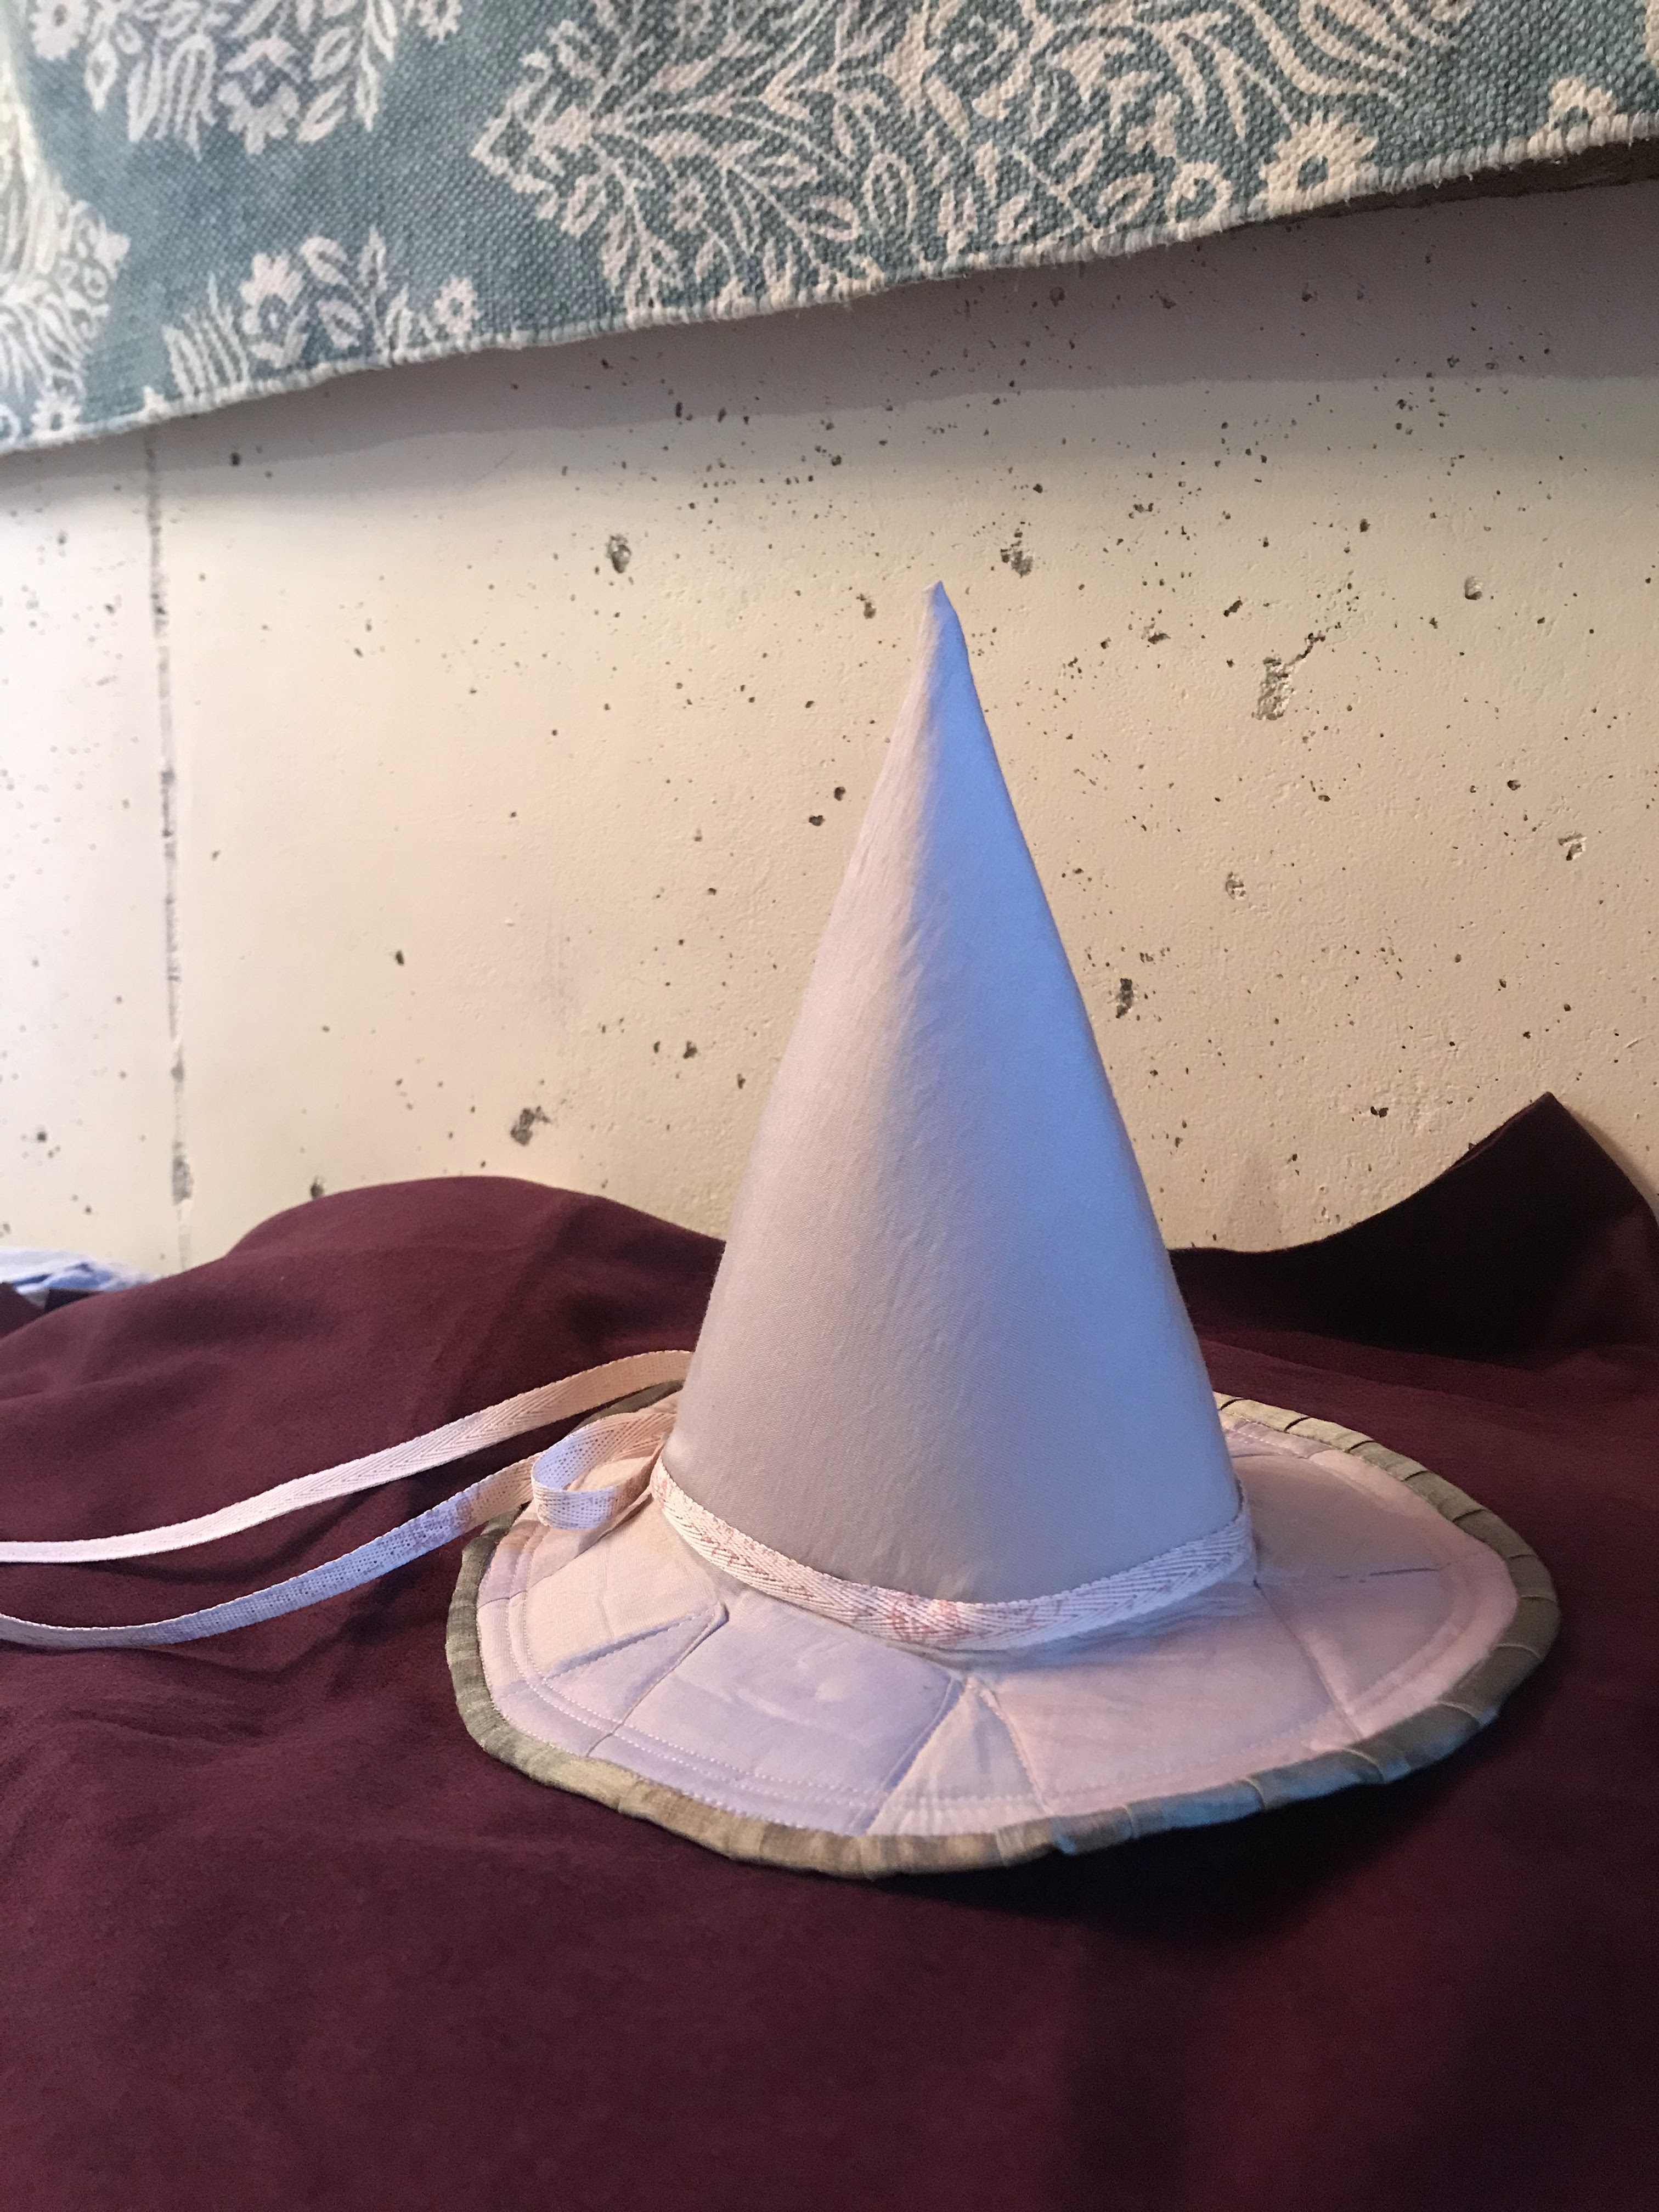
I pulled out some fabric scraps from the open robe and some foam I had left over from the McGonagall hat I made a few years ago.  I cut a partial circle out of each, layered them together and sewed up the back seam to make a cone. I cut out a second partial circle of my fabric and sewed it up as my lining. Next, I needed to figure out a brim.


After messing around with the cone I'd just made, I came up with an idea, rather than making a separate brim and sewing it to the cone, what if I used part of the cone as the brim? After a bit more messing around I made 7 2" cuts into the base of the cone, then set the hat down on a flat surface, letting the cuts spread open until I had a nice flat "brim". I then cut some scrap foam into triangles to fill in the cuts I made. And that was as far as I made it on the hat that night. 


The following day, after a busy morning with the fiancé, I finally got started on the hat again about 2 hours before we needed to leave for the dinner. I could get it done in time! First, I sewed all the foam triangles in place with a wide zig-zag stitch.


Then came the most fiddly part if the project. I cut scraps of fabric to cover the foam triangles, and ironed the edges inward.


I pinned the triangles over the foam and top stitched them into place.


The triangles were all stitched in place about 45 minutes before we needed to leave. Perhaps I should have stopped and gotten dressed for dinner at this point, but I was going to finish this hat!


Next up I needed to finish the edge of the brim somehow. After a quick search through my bias tape collection, nothing caught my eye for the binding. I considered making bias tape from my fabric, but quickly dismissed that idea because I just didn't have time for it. A short look through my box of twill tape revealed something entirely different. Strips of green silk shantung left over from the 1780's caraco. . . 


The silk was cut on the straight of grain, rather than the bias, so it wouldn't curve nicely around the edge of the  brim, but I could get around that by pleating the strip as I sewed it on. And the green would look very nice with the lavender!


I pleated the green silk around the edge of the hat, but it wasn't quite wide enough to turn under nicely on the under side of the brim.


So, I sewed some pale pink bias tape to the edge of the green silk.


Then I folded that to the underside of the brim, pinned, and top stitched it into place.


It was 10 minutes until time to leave, and my hat was technically done, but it really could use some trimming!


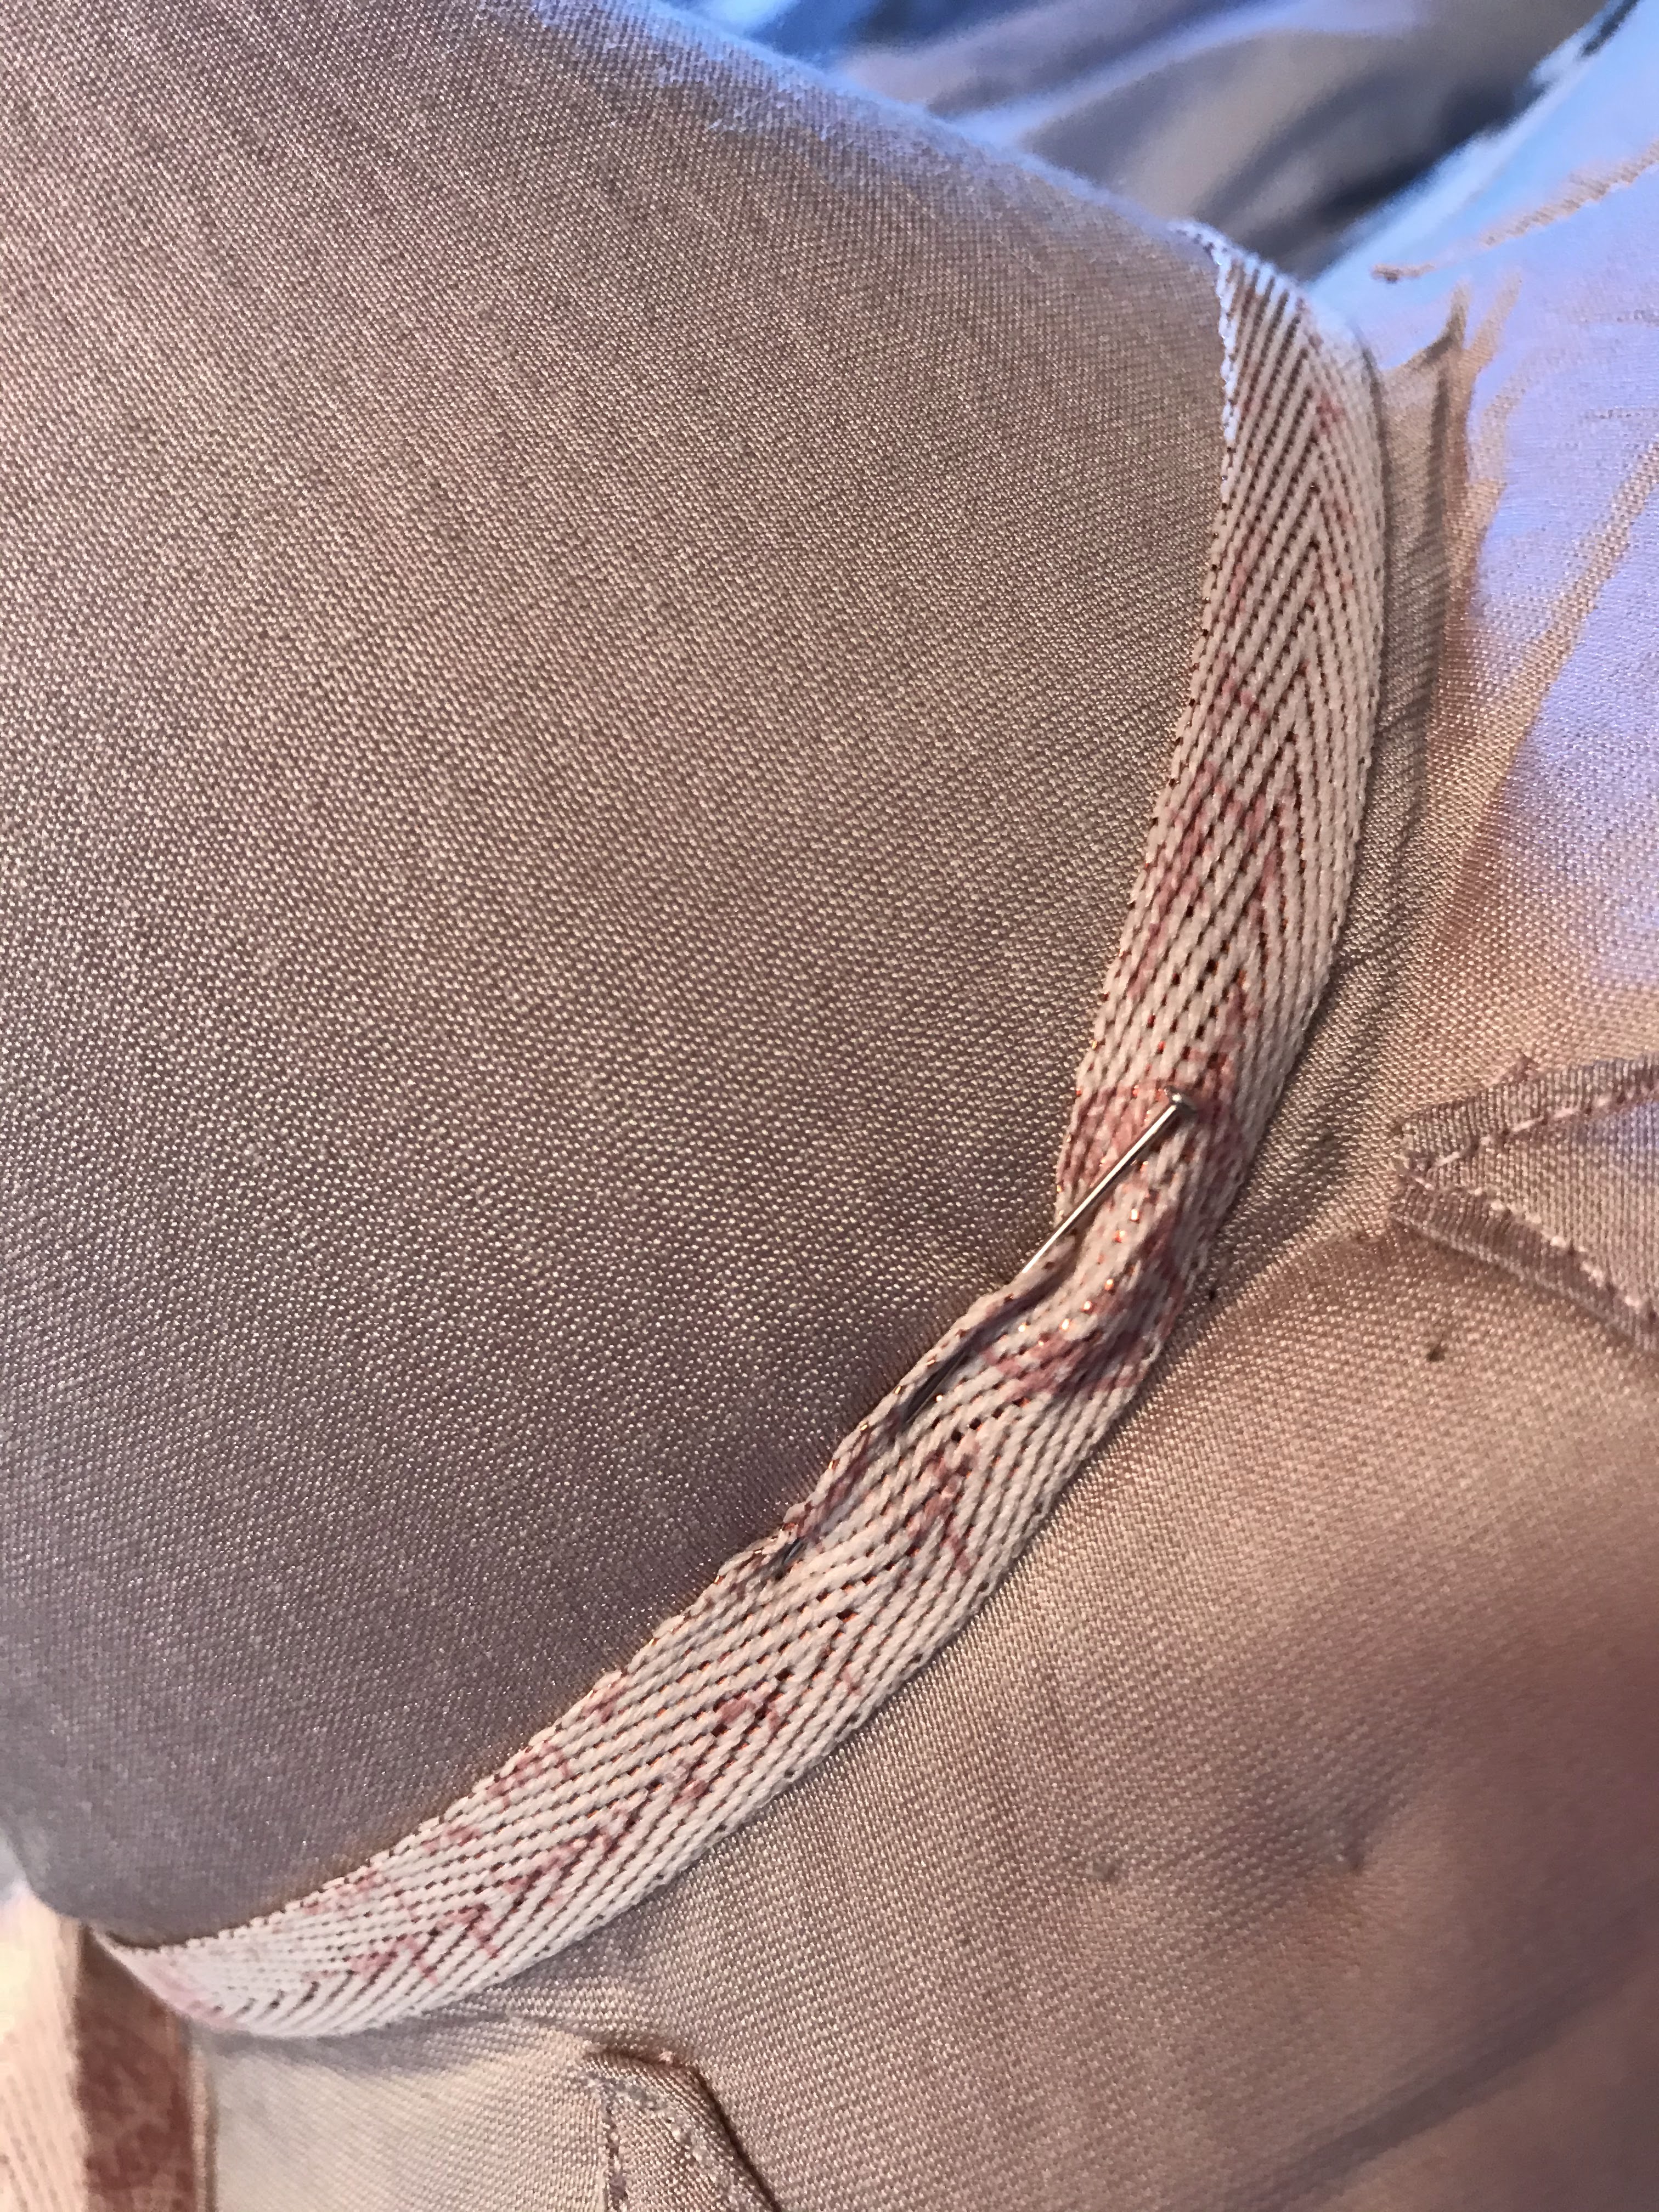
I grabbed a piece of decorative twill tape from  my stash, wrapped it around the base of the hat, tied a bow in the back, and pinned the twill tape in place to keep it from moving around.


Finally, I quickly whip stitched a comb into the back of the hat to hold it on my head, and declared the hat to be ready to wear.


And with that, I threw on my open robe ensemble, brushed out my hair, (which had been braided all day in an attempt to have wavy, poofy, hair for the evening) and put on my new hat!


The comb didn't hold the hat in place quite as well as I would have liked, so I added a couple of hat pins to really keep it secure.


One happened to be an owl, which I felt was quite fitting!


And with that, we were off to dinner!


Only a little late - but that was ok! The rest of the family was running late too.


The hat was fun, lightweight, and comfortable to wear - the perfect accessory!


Something I'm sure I'll find an excuse to wear again.


The following week I took the time to fix a couple little things on the hat so it's all ready to wear again when that time comes. There were a coupe places my top stitching didn't catch the back side of the triangles the way it should have, so I added some handsewing to keep things neat.


And I took the time to actually tack the twill tape trim into place and remove the temporary pins.


So, here it is, my last minute little witch hat! A fun little time-crunch project.


Now I have plans to make a proper 1790's bonnet to go with the open robe when witch hat's aren't required. . .


. . . But that will have to wait until after the wedding. . .
. . .maybe.