This wasn't on my "to sew" list for January. It wasn't even on my "Historical projects I hope to get around to in 2021" list. No, this was on my "to make" list back in 2016. And, when I didn't get around to it then I kind of forgot about, only to be reminded every now and then whenever I'd come across the fabric in my stash. Often this fabric tempted me to use it for another project, but I'd always put it back on the shelf saying "No. You're destined to be a 1790's open robe and a 1790's open robe you will be! Someday. Maybe. Yeah, eventually I'll make that happen."

Thus has been the conversations I've had with this fabric (a lightweight polyester shot taffeta I found at Walmart for $1 a yard fall of 2015) for approximately the past 5 years. (I talked all about my plans for this project here, in February 2016) Yet, I never managed to actually start this project. Then, about a month ago, I was suddenly struck by the desire to do it. To just make this thing. To get it done. So, the very next day, I started it. And, less than two weeks later, it was wearable.
As soon as I saw this open robe in Patterns of Fashion 1, I fell in love with it and knew I just had to make it! Scale up the pattern from the book, alter it to fit me, how hard could it be, really? I could do it!
Then, I googled some stuff and read about other's experiences making this particular open robe. It was apparently hard to fit, and was apparently a style that ought to be draped right onto the body, rather than made from a flat pattern, for best results. This scared me. Size up and alter a flat pattern I could do. Drape something on myself? Uhhhhh. . . .
Looking back, and knowing how I work, I probably would have been just fine sizing up the original pattern, and making the open robe from it. However, I let the fear of "not doing it right" keep me from attempting this project at all. I let others' personal experiences with this garment keep me from having my own. Well, you live and you learn. We all work in slightly different ways, and have different strengths. What doesn't work for one person, may work fine for another. With sewing and costuming there are many, many, many different ways to accomplish the same result. And as long as it looks good, or the way you want, in the end? Who the heck cares how you got there!
That said, last month when I decided I was doing this project, I decided to give the draping thing a try, in conjunction with a little bit of flat pattern work and alteration - the type of pattern work I am most familiar with.
I decided to mostly drape the outer pleated section of the robe, but I would drape it over a linen foundation bodice made from an alteration of an existing pattern. Since I already had a nice-fitting regency bodice pattern, I decided to start with that.
This is the pattern I scaled up from Patterns of Fashion 1 to make
my drop-front regency gown in 2016. I got the pattern to fit me quite well, so I also used it as a base to make
my "tunic with points" in 2019. I figured what the heck, it would probably work well as a base for my open robe too!
I glanced at the bodice lining pattern in Patterns of Fashion 1, then traced my regency bodice pattern onto scrap paper and made a few alterations. I added a bit of length to the bottom edge of the pattern, made the back neckline a bit higher, the shoulder straps a bit wider, and the front overlap section a bit narrower.
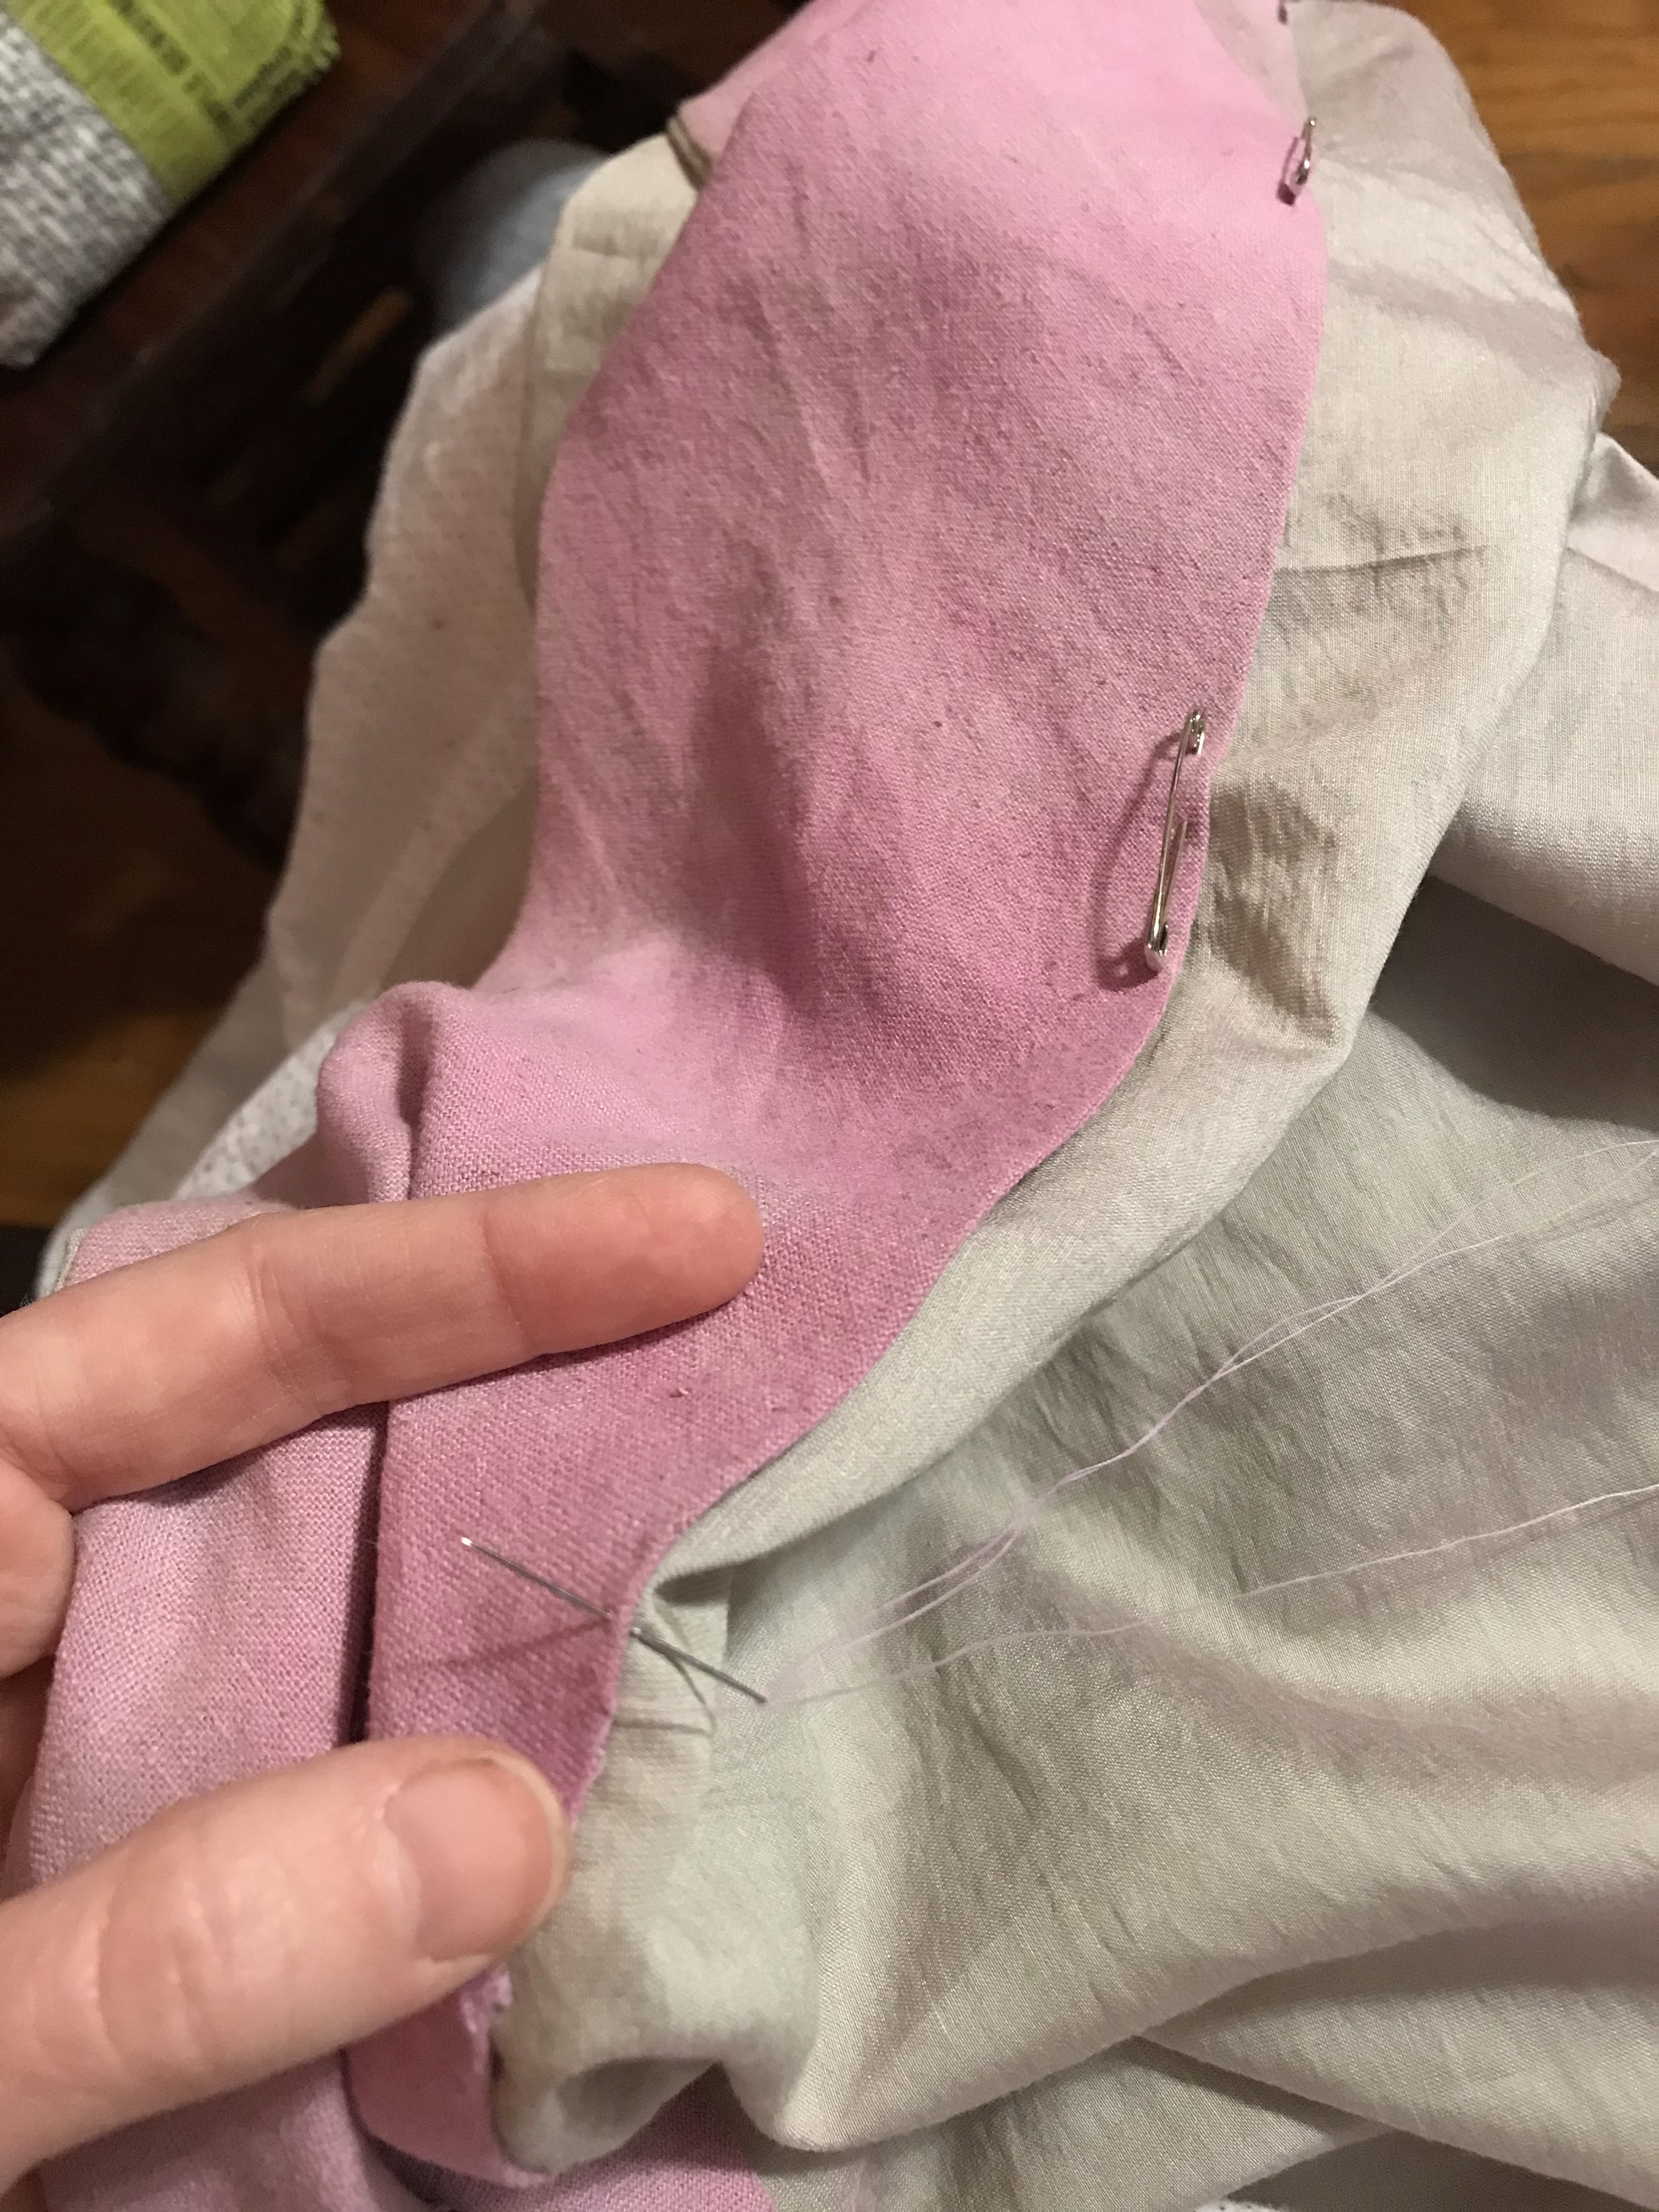
I cut this out of a thrifted linen curtain, I'd dyed pink several years ago for a project I decided against completing.
The RIT dye job on this curtain was far from pretty, one end being half-way decently dyed hot pink and the other end being barely dyed at all, but hey, it would work fine for a lining!
I sewed up this pink linen lining, tried it on, and discovered it was certainly not going to work as-is for my open robe bodice lining. More pattern alterations were necessary. The back gaped weirdly and the seamlines were just not in the right places. I probably should have taken the time to scale-up and properly fit the actual open robe lining pieces, rather than trying to take a short cut with a different pattern, but oh well. I'd decided to use my existing regency pattern as my base, and I was going to do just that.
I took off the lining, (without bothering to take any pictures documenting how it didn't fit right) and proceeded to chop it up. I looked at the pattern diagrams for this particular robe in both Patterns of Fashion 1 and The Cut of Woman's Clothes, then cut apart my mock-up along where the seamlines needed to be, rather than where they were.
I traced my chopped-up pieces onto some fresh paper, made a few more alterations, and added seam allowance. I cut out a new bodice back lining from my altered pattern, adjusted the bodice front lining piece, and sewed the two together. It fit!
I did a little more altering around the armhole, piecing in a bit more fabric to give it the shape it needed, then I was ready to cut out the outer layer of this robe!
I looked at the pattern diagrams again and noted how the outer layer of this robe was basically just several widths of fabric sewn together with the bodice shapes cut out of the top edge, and the skirt section pleated into those pieces at the waistline.
I measured how long I needed my back panels to be, then cut two widths of fabric to that length, with a little bit added for a slight train.
Next, I laid out these two widths of fabric, right sides together, one on top of the other, on my floor, and grabbed my bodice pattern pieces. Looking at the pattern diagrams again, I figured out approximately where to place my bodice pattern pieces, measured some stuff, marked some stuff, and pinned them down. My fabric is rather thin, and quite lightweight, so I decided to make my skirt twice as full as the original robe's skirt.
Then I cut around the top edge of the bodice pieces and cut straight across the waistline in-between my bodice pieces.
You may notice the bodice front over-lap sections did not get cut out of my outer fabric as part of this huge piece. That's because of the way the front shoulder straps are going to be pleated. Instead, those front overlap pieces are cut out of the outer fabric layer separately.
And, with everything cut out, it is assembly time!
First, I ironed in the top and bottom edges of my bodice lining. Then, I mounted the front overlap pieces cut out of my outer fabric onto the front overlap of the lining.
The original robe was boned at the center back and side back seams, so I did the same with mine. I sewed some hot pink boning channels into my lining, and shoved zip-ties into them. I've read zip ties and artificial whale bone are approximately the same type of plastic, so, since zip-ties are the considerably cheaper option, and available locally (Thanks Harbor Freight!) zip-ties are what I use as a whale bone alternative.
Now, the hot pink boning channel? I think that was actually a drawstring out of a ready-to-wear garment at some point in the past. I found it stashed in my trims, and as it was about the right width and material type, decided it would work great as boning channel. I'm satisfied with my choice here.
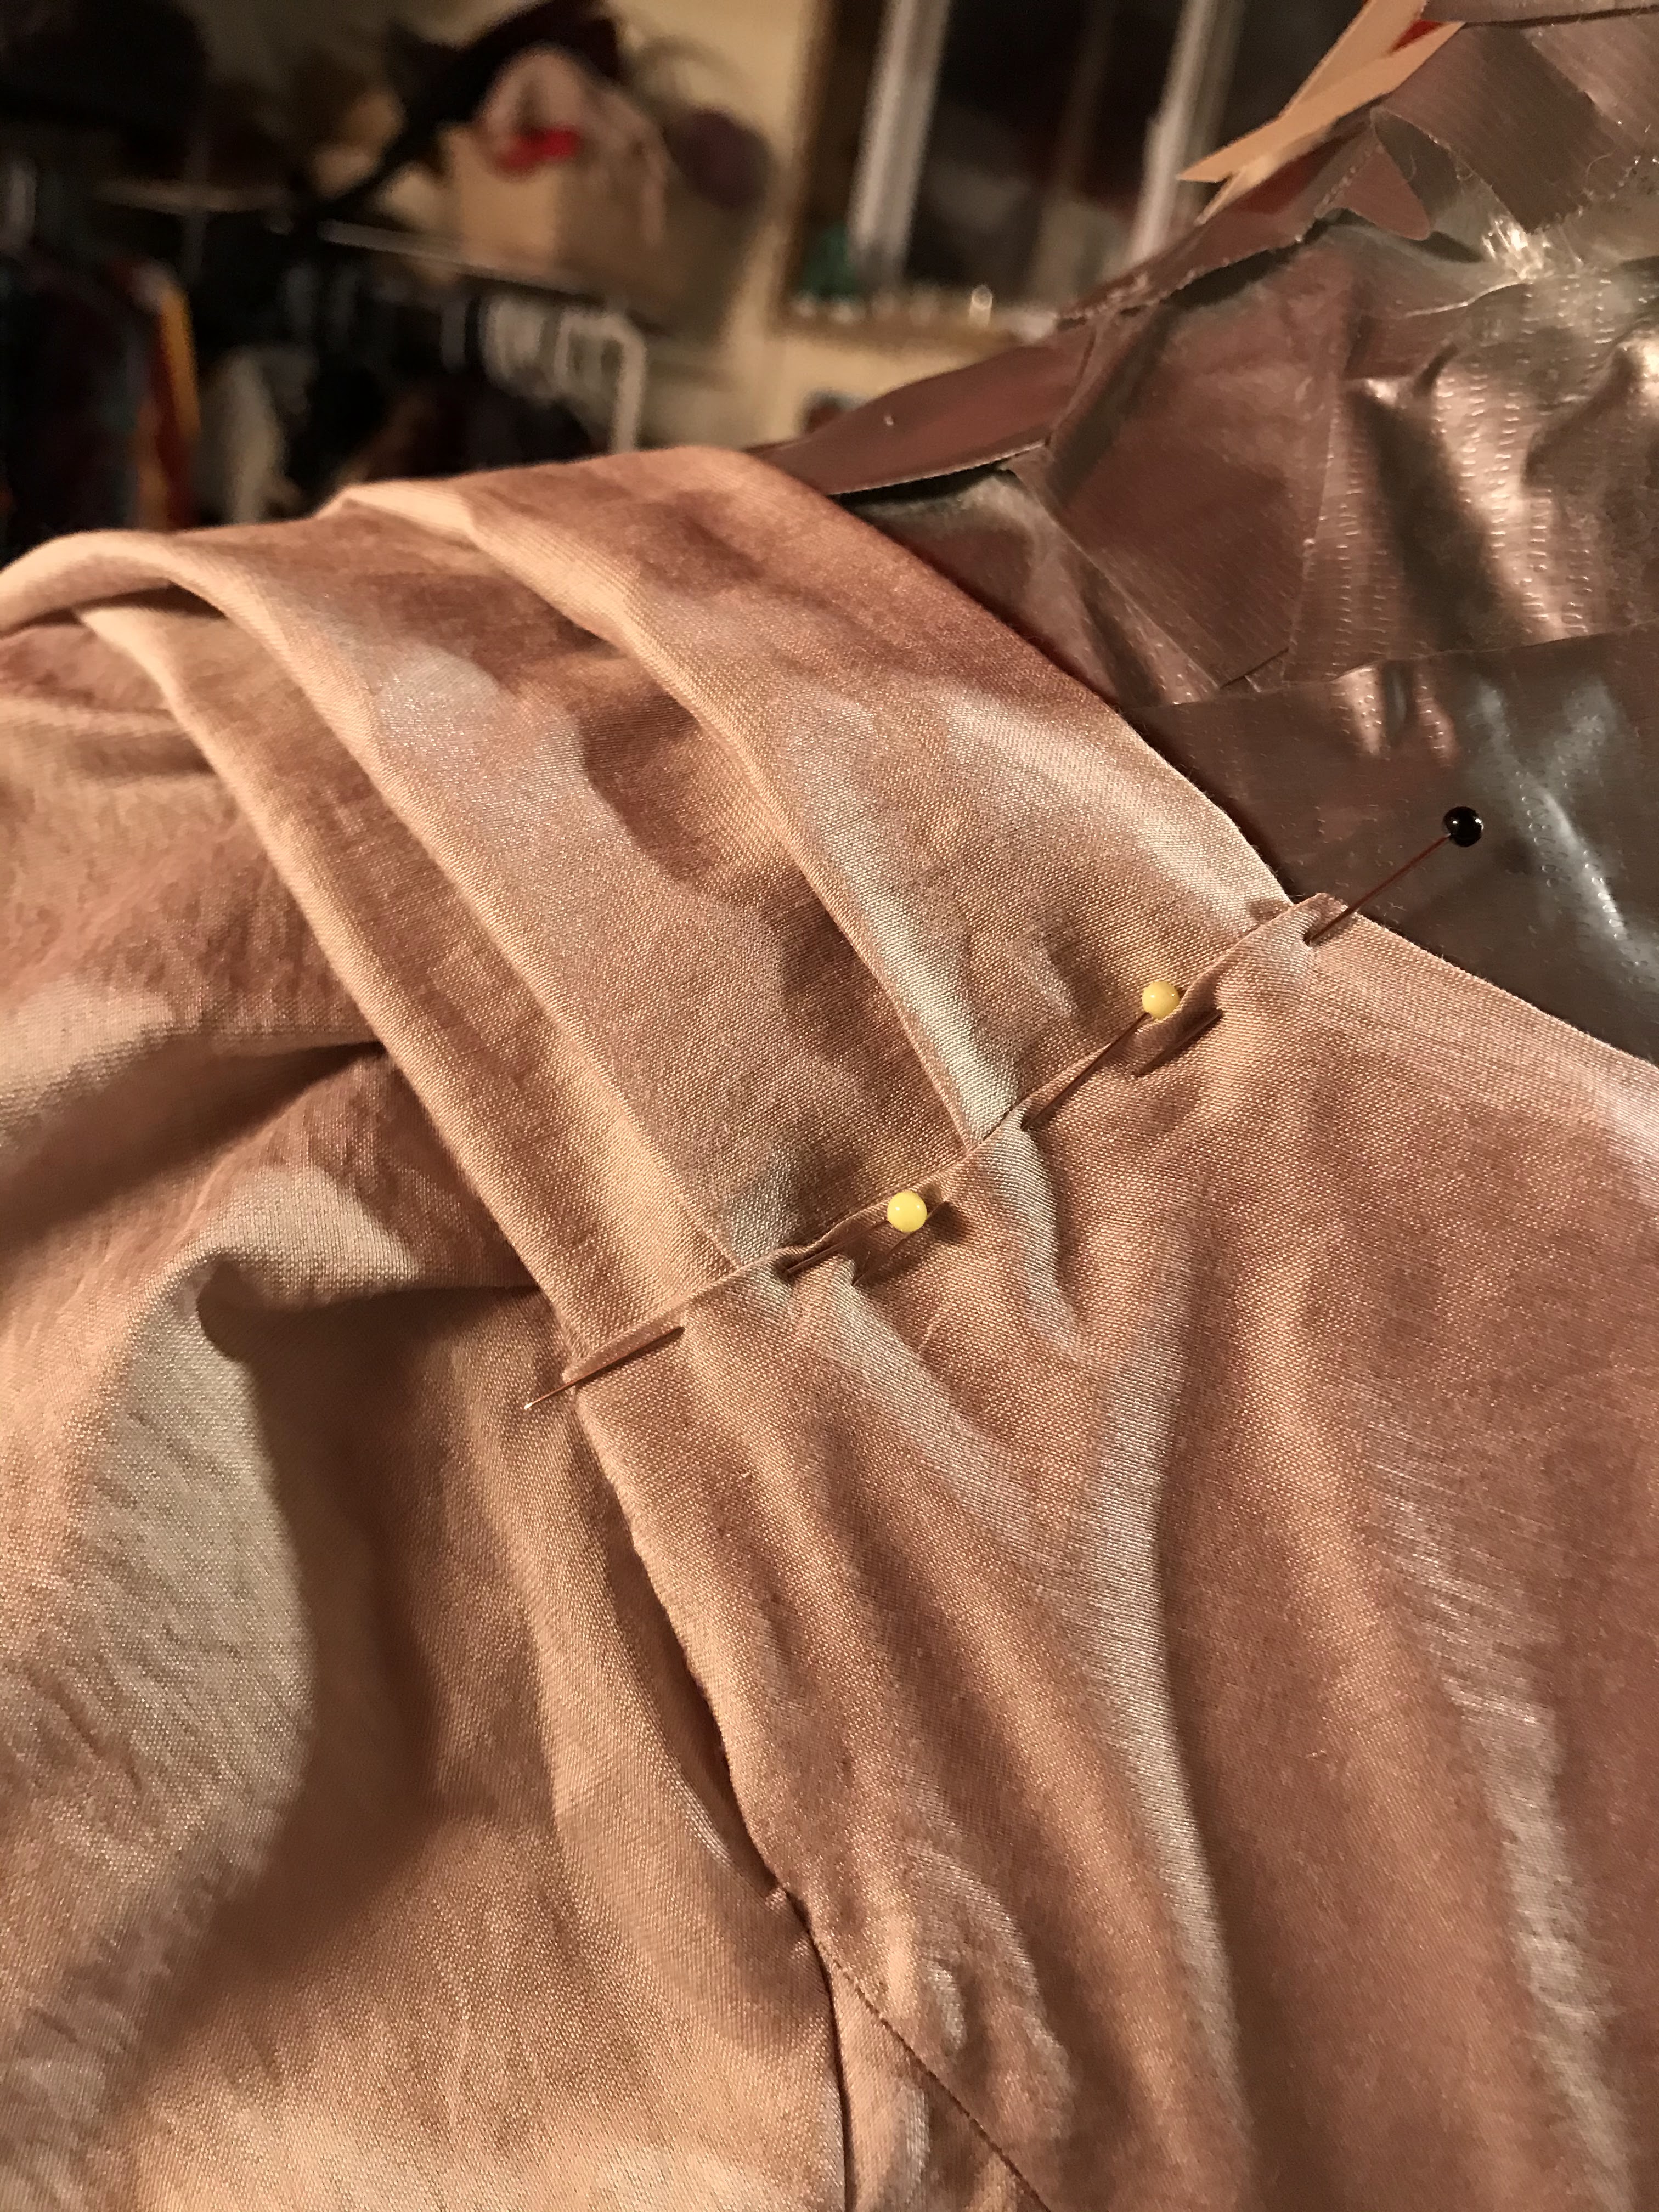
Once the bodice lining was prepared, zip ties, hot pink old drawstring, and all, I put together the outer layer I sewed up the center back seam and the side back seams down to the "waistline". I pressed in the top neckline and shoulder edges.
Then, I box-pleated all the extra skirt fabric between the seams to fit. Because of my decision to make the skirt extra full, there was a lot of fabric here to pleat. I have pleats staked on top of pleats. With a heavier fabric this would have been bulky, but with this thin poly taffeta it's just nicely, maybe extravagantly, full.
I back-stitched all the pleats together, then put in the lining. I lined up the back neckline, the armscye edges, the back seams, and the waistline together and whip-stitched the lining to the outer fabric along the back waistline.
At this point, the front bodice lining and the front outer fabric were still completely detached from each other. I was ready to put the robe onto my dress form and pleat the front shoulder straps of the outer layer to fit the lining - the draping portion of the open robe making endeavor. But first, sleeves.

Rather than the 3/4 length sleeves the original robe featured, I decided to do short sleeves, similar to those I'd seen in some fashion plates I looked at on Pinterest. For these I grabbed the sleeve pattern from the drop-front gown in Patterns of Fashion 1, since I already had that scaled up and handy, and altered it to be a bit fuller and a bit shorter. I then proceeded to cut the sleeves out of my taffeta and set them according to the 18th century method of sewing the under arm seam and leaving the sleeve head free, then trying on the garment and pleating the sleeve head into place over your own shoulder. It's a little tricky to do this on one's self, but somehow I managed for this thing. Don't ask how. Once the sleeve head is pleated and pinned in place over the shoulder strap of the lining, it gets sewn down, then the shoulder strap of the outer fabric placed over that seam and sewn in place, with the sleeve head sandwiched between the lining and outer fabric.
Thus, after setting my sleeves, it was on to pleating the bodice front and shoulder straps. I put the robe on my duct-tape dress form, since that is made to be an exact model of my body and pretty much has the same shoulder shape I do.
I formed three pleats at the back of the shoulder strap, making the outer layer match the width of the lining and the back shoulder seam.
I then carefully arranged the pleats to go over the shoulder and down the front of the bodice to the waistline.
I then tried on the robe with all the pins in it, decided I was pleased with the fit and the pleat arrangement, and proceeded to sew the pleats all in place with a prick stitch.
The shoulder straps likewise got handsewn in place, with the back shoulder seam overlapping the ends of the pleats of the front shoulder seam. Generally, in 18th century dressmaking, the front shoulder seam overlaps the back, but with the pleats on this one, back over front worked better for me.
The outer layer then got sewn to the bottom edge of the bodice lining, again with a prick-stitch.
Finally, with the bodice lining completely attached to the outer layer, I hemmed the front edges and finished the bottom edge with a linen hem facing - more of that poorly dyed curtain.
And with that, the construction part of this project was done! The open robe was wearable!
Not done, it still needed closures and trim, but wearable!
I wore it for a slightly Hogwarts themed dinner with close family. It's fun to dress up! So if my family wants to have dress-up dinners just for the heck of it in these COVID times, I am all for it! Give me all the excuses to wear my costumes!

I love, love, love, the shape of this robe, and am thrilled that I finally made it!
If I'd made this robe 5 years ago, when I first planned to, I think I would have done just fine, and achieved satisfactory results. I might have actually had less head-aches, as back then I would have sized up the correct pattern, rather than hacking the drop-front gown pattern in the round-about way I did here. Seriously, every actual pattern piece in my robe, is from the drop-front gown in Patterns of Fashion 1, rather than the open robe, because I was too lazy to scale up a new pattern.
That said, 5 years ago, I didn't know I thing about how 18th century clothing was constructed, and I would have tried to construct this robe like a Victorian gown. That would have been. . . more complicated than it needed to be. The 18th century dressmaking knowledge I've gained in the past couple years definitely made putting this robe together more intuitive than it would have been 5 years.
So, that is the story of my open robe. I'm currently sewing all the trimmings on it, and can't wait to share the finished result! Once that's done, I'm probably not going to be doing any more historical sewing until all the wedding sewing is done.
Here's a sneak peak of the trimming!
Now, could I have done this project sooner than I did? Yes. Should I have? I don't know. The knowledge and confidence I've gained in the past 5 years definitely made making it now quicker and easier than it would have been then, but I could have gained a lot of knowledge by making it sooner too.
I don't necessarily regret putting this project off as long as I did. I just regret letting other people's experiences scare me off attempting something new.