Showing posts with label Victorian. Show all posts

Saturday, August 1, 2026

A Bustle-y, Ruffle-y, Dragon-y Ball Gown

 We decided to host a dragon themed ball, my friend and I. This of course left me with a burning question, what would a historical dragon ball gown look like??


Now, to be clear, the ball was pure fantasy. I just like to take any excuse to make, or wear, a historical gown so I wanted to add some history to my fantasy and make a fantastical historical dragon ball gown. But where to begin???

Red and Gold. Those seemed like good dragon-y colors. An excellent starting point! 

Especially considering I already had both red and gold silk on hand.


Now why Red and Gold you ask? Because I'm a Gryffindor of course!

About 10 years ago, give or take a couple years, there was a trend going around the historical sewing community of making bustle dresses to correspond with one's Hogwarts house. At that time, I began gathering silk to make my own Gryffindor bustle dress. A silk plaid drapery remnant of 3ish yards featuring some red and gold, a gold crinkled taffeta remnant of 3ish yards from Fabric Mart, and 7ish yards of a red silk from Fabric Guru. 


I gathered these silks slowly, one length every couple years as I came across good deals on the colors I had in mind. I paid less than $10 per yard for each piece. As I gathered my materials, I daydreamed about and a designed my 1870's Gryffindor Gown between other projects. Finally, in 2024, I had all my materials, I'd picked a fashion plate from 1874 I wanted to re-create, and the red and gold gown was at the top of my project list. Of course, by this point Hogwarts themed historical clothing had fallen out of favor online, but I'd spent so long dreaming of this gown I was going to make it!


I figured out my base patterns from the Truly Victorian patterns I'd been given over the years and began cutting strips of red and gold silk to make the magnificently ruffle-y skirt from my inspiration fashion plate. And then. . .


And then, in a single afternoon almost two years ago, my life drastically changed. One morning I went to visit my parents and sister with my rolls of silk for this project hanging out in the back seat, and that afternoon I came home with three children in the backseat instead and the rolls of silk had been unceremoniously booted to the very back. 

Two months after being licensed as foster parents we had our first kiddos to parent, and love, and provide a safe and stable home for, and sewing fancy historical dresses was quite literally taking the back seat. The very back seat. The trunk actually, seeing as my seats were suddenly full of living, breathing, very active human kids.

Ok, yes, this picture has nothing to do with the subject at hand, but my brother took it at the dragon ball, and the colors are perfect! Thus, here it is.

Soooo, fast forward a year and a half, and my red and gold silk is sitting stuffed in a box somewhere. Somehow, we have learned how to be parents, added an additional child to the mix, and I have occasionally found time to sew. Wild.
And I need a dragon ball gown. Preferably historical. After brainstorming a few ideas I thought of my red and gold silk bustle skirt I'd had pretty much cut out before the kids arrived and I shelved the project. Red and gold were good dragon-y colors. What if I pivoted on that project and instead of making a Gryffindor Quidditch robe inspired day bodice to go with that fantastically ruffled skirt, I made a dragon inspired evening bodice?


The gold and red ruffles down the back of the skirt that I'd intended to represent the Gryffindor Lion could just as easily represent a dragon's tail. I just needed to pick the right bodice design to go with it.


The diagonal folds on this 1874 evening bodice made me think of  the texture of a dragon's belly. That was it! I'd finish the skirt I'd started, and make a bodice inspired by this one to go with it. I might be over dressed for a 2026 dragon ball, but it was going to be fun!


I ordered some dragon buttons for the bodice off Etsy, and I got started!


At long last, it was time to actually sew this red and gold silk gown. It was going to be different than I originally planned, but my entire life is different than originally planned, so that seems to be fitting.
  

Wednesday, February 14, 2024

Planning and Daydreaming about the Perfect Valentine's Natural Form Era Gown

 Happy Valentines Day! 

A couple weeks ago, on a cold Sunday afternoon, I was browsing Pinterest instead of doing the multitude of other things I told myself I would get done that afternoon. I happened upon this fashion plate, and fell in love!


That pink and burgundy dress on the right! It was so pretty! I made a spur of the moment decision that I was going to make that gown. I had the perfect fabrics in my stash, so I wouldn't have to buy a thing - what excuse did I have to not make it??


I traipsed down to my basement sewing room - forgetting about any and all other projects I'd intended to work on that day. Out came the roll of dusty rose colored moire my best friend's mom picked up for me at an estate sale years ago. It was perfect! And to trim the gown with? A burgundy cotton velveteen, left over from another project, with a deliciously luxurious pile!


The fabric was the easy part. Next I pulled out all my books that covered the era of the fashion plate.


Down in the right hand corner of the fashion plate it reads "April 1882", and that was incredibly helpful as I began to research how this gown went together, what pattern shapes might be and what the inner structures might look like. As I looked through allllllll my books I began to get an idea of how 1882, the end of the natural form era, was different from 1878, the beginning of the natural form era. One of the most helpful books was American Dress Pattern Catalogs - Four Complete Re-prints, a Dover book edited by Nancy Villa Bryk. I picked it up used for only a couple bucks a few years back, because it looked interesting, and for only $3 why not, but I wasn't sure how useful it would be.


Super useful for this project as it would turn out, as it contains the entire Butterick Summer 1882 catalog, so I was able to see what sort of patterns a home seamstress in 1882 would have been able to buy to make a gown similar to that in my fashion plate. Also, as you may have noticed, the fashion plate only shows the front of the gown, thus part of my research was figuring out what the back might look like - and this catalog features several polonaise style bodices, similar to the fashion plate, with detailed illustrations of both the front and the back of the bodice - jack pot!


With vague ideas of what the pattern should be in my mind, I went to my pattern stash and pulled out Past Patterns 904, Butterick B6572, and McCall's M8191 and M8189.  None of these were perfect for the gown I wanted to make, but all were close enough to make a good starting point. 

I was ready to cut out a mock-up and get going on this project - but then I hit a snag. I've not actually done a natural form era gown for myself before, so I didn't actually have the proper under things for this era in my closet. I would have to start with those before beginning on the pretty bodice. . .

Kitty guarding the pretty fabric while I make the underthings. . .

 By the end of that cold, cold, (but delightful thanks to my new costume plans) Sunday, I had a plan for the gown, a bustle cut out, a skirt mock-up cut out, and a petticoat cut out. My goal was to get right on it and have the complete ensemble done by Valentine's Day, as it is the perfect color.


Well, sadly it's not done yet, but it is in progress - and I'm still very excited about it! Next I'll tell you all about the fantastic new underthings I made to go with it!

That said, this is the first time since the Pink Edwardian Gown that I've begun blogging about a project before it's actually done - and we all know how long it took me to finish that one. . . .
So which do you prefer? Me sharing about a project as I'm working on it, with no guarantee of how fast I'm going to get to the end and you'll get to see the finished garment. Or, me waiting to share anything about the project until it's all finished and photographed and I can tell you all about it within a tighter time frame, even if it's months after I actually finished the project? Comment and let me know if you have a preference!


Saturday, January 20, 2024

The Plaid Wool Fringed Shawl

 In the fall of 2019 I came up with a brilliant idea - I would make a shawl to wear with my new 1840's wool dress! A nice large woolen shawl, it could be worn with all sorts of different dresses from throughout the 19th century - it would be perfect!


I dove into my books to research shawls. If I was going to make this thing I was going to make it right! My family had a re-print of an 1890's Sears catalogue we'd recently picked up and I read all the descriptions of the shawls for sale in the catalogue.


60" by 60", plus fringe, most of the descriptions read. 

I went to my wool stash to see what my fabric options were. After rejecting several fabric cuts because either there wasn't enough yardage, or I had the fabric earmarked for something else, or I didn't like the plaid for this project, or the fabric was too narrow, I finally decided on a gray and red plaid wool I'd picked up from a thrift store for a couple bucks a few years earlier. (I picked it up at the same time I snagged the wool that became this skirt)


The fabric was a full 60" wide, and there was enough of it to cut a full 60" square and still have some fabric left over. So I cut out my square. (And a few months later I used the leftover fabric to make my Hogwarts-inspired bonnet.) Now all I had to do was fringe it!


Now the "proper" way to fringe a shawl is to un-ravel the fabric for a couple inches all around the perimeter. But is that what I did in 2019? Oh no. I was unaware. I made my life much harder than that. Don't get me wrong, I did unravel fabric. . .


A lot of fabric, but. . .


It was not along the edges of my shawl.
I was worried that if I unraveled the edges that would reduce the dimensions too much, I really wanted that 60"x60" + fringe shawl, so I decided at add on fringe instead of unraveling my fabric.


 Along the two edges of my shawl that were not selvedge edges I sewed a very tight zig-zag on my sewing machine to keep the fabric from unraveling. Like I said, there would be absolutely no unraveling the edges of my shawl!


Then, I unraveled my fabric scraps, and cut my unraveled threads to a uniform length.


I sorted the threads by color, then threaded a couple at a time onto a large craft needle.


And I used the needle to thread the threads through the fabric along the edges of my shawl.


Then I knotted the little bunches of fringe in place. 
Making sure, of course, to match the fringe color with the color of the plaid at each location.


This way, when all was said and done, it would look like the fringe had been created by just unraveling the edges of the fabric.


Yep, just by unraveling the fabric, with a few extra steps thrown in.
Honestly, at the beginning it was pretty relaxing and fun, matching up the colors and knotting the fringe onto the shawl.


The completed sections of fringe were just so satisfying to look at!
I started the shawl on a Monday, thinking I'd have it done by that Saturday to wear to a Halloween party. (Thank you date stamps on photos and old blog posts to remind me of the details!)
I did not. In fact, one month later, I only had about 18" of the fringe done. 18" on one of four 60" sides. That's less than one-eighth of the way around the shawl! Barely more that one-sixteenth if my math is correct!


Unravel the fabric.


Cut the threads to the correct length, sort by color.


Knot onto the edge of the shawl and repeat. I definitely lost momentum. This "fringe the shawl" idea became very tedious. I wished I'd just unraveled the edges of my wool like a normal person! But it was too late to do that now. I'd started the shawl this way, I was going to finish it this way! I'm stubborn like that.


For the next 4 winters (2019/2020, 2020/2021, 2021/2022, and 2022/2023) I picked up the shawl between other projects and continued adding fringe. Honestly, knotting the fringe on wasn't too bad. It was the running out of fringe, or running out of one particular color of fringe, and having to unravel more fabric part that got annoying. 


Finally, a couple years in, I figured out a method that worked really well for me. Rather than knotting on the fringe one section at a time - dark gray, white, dark gray, red, dark gray, light gray, dark gray, red, dark gray, white, dark gray, lots of light gray, white, more light gray, and repeat (I bet it was tedious just reading that.) - and having to stop every time I ran out of of one particular color to unravel more, I would just work with one color at a time. I would knot on all of that color I had unraveled.


Then I would pick another color and knot on all of that color that I had unraveled.


Until I has whole sections filled in! (As time went on I also became less obsessive about making all the fringe the exact same length.)


I made some real progress with this method! And finally, last January, over three years after I began this "It should only take me 5 days of knotting on fringe in the evenings while watching TV to finish" project, I actually finished it, by knotting the final bunch of fringe - one strand of each color - onto the final corner of the shawl.


It was done. My big woolen shawl was finally, finally, finished and ready to wear with all the costumes. And what did I do with it?


 I put it away in the closet. After over 3 years I was tired of it. It took too much time!


This winter however? It's finally doing what it was made to do.


It pairs quite wonderfully with my 1890's wrapper (Which I wear around the house "just because" probably atleast once a week!) It's just the thing to throw on over the wrapper on mild winter days to run outside and do quick animal chores.


And on these very, very, cold winter days we've had recently, I've been wearing it even in the house, while sitting by the fire.


Despite the literal years it took me to make, I've very glad to have this thing - though I will never, never, make a shawl like this again!


Every single year I worked on this thing I picked a Historical Sew Monthly theme it would fit if I could get it done in time. After many themes (it would have been perfect for) came and went, I was left with the 2023 options, and I picked challenge #3:

Focus on the Fabric!

Because really, what else is there to this shawl? It's all just one single piece of fabric, with fringe, made from the fabric, knotted on to match the design woven into the fabric. 

What the item is: A fringed Shawl

The Challenge: Focus on the Fabric

Material: Wool Plaid

Pattern: None, just the dimensions of the shawls in an 1890's Sears catalogue as reference

Year: Pretty much the whole Victorian era

Notions: none, all the fringe came from unraveling scraps of fabric, so it's really all just the fabric.

How historically accurate is it? The fabric and dimensions are accurate. My fringing method? Probably not. I believe it would have been more accurate to unravel the edges of the shawl to make the fringe, rather than unraveling fabric scraps to get the thread then knotting those threads onto the edges of the shawl to make the fringe. When I began this project 4 years ago I valued dimensions over method. Thus a project that took way too long to finish.

Hours to complete: Too many. 4 winters of working on this thing between other projects.

First worn: This winter I guess. I don't have a specific date I can recall.

Total cost: The fabric cost me $4 at a thrift store years ago.


Wednesday, September 27, 2023

The Heritage Festival and an 1870's Floofy Summer Straw Hat

 After several years absence thanks to one thing and another, I finally made it to the Heritage Festival in my hometown again this year!


I didn’t volunteer, as my schedule for that weekend was up in the air when the volunteer sign-up found it’s way to my inbox, but just attending again for the first time in years was delightful!


My best friend and a friend of hers joined me, and, between rain showers, we ate from the food trucks, toured the big house, visited the weavers guild, and wandered through the vendors tents.


Despite not volunteering, I still decided the Heritage Festival was worth dressing up for. (After all, 9 years ago it played a roll in my fall down the historical costuming rabbit hole.)

I decided to wear the 1870’s gingham summer dress I made two years ago.


 As the main house on the property was built in 1877 the era was just perfect!

I blogged about the dress itself in detail last summer - you can see part one here and part two here - but never did share about the hat, so I’m going to take this occasion to do that.


Believe it or not, you’ve seen this hat before. And no, I don’t mean its appearances in this dress blog post. I’m talking about its original form, and its second rendition.

It’s the hat I wore for my Sophie costume back in 2016. The hat has been used in several plays since then, and was certainly showing its age.


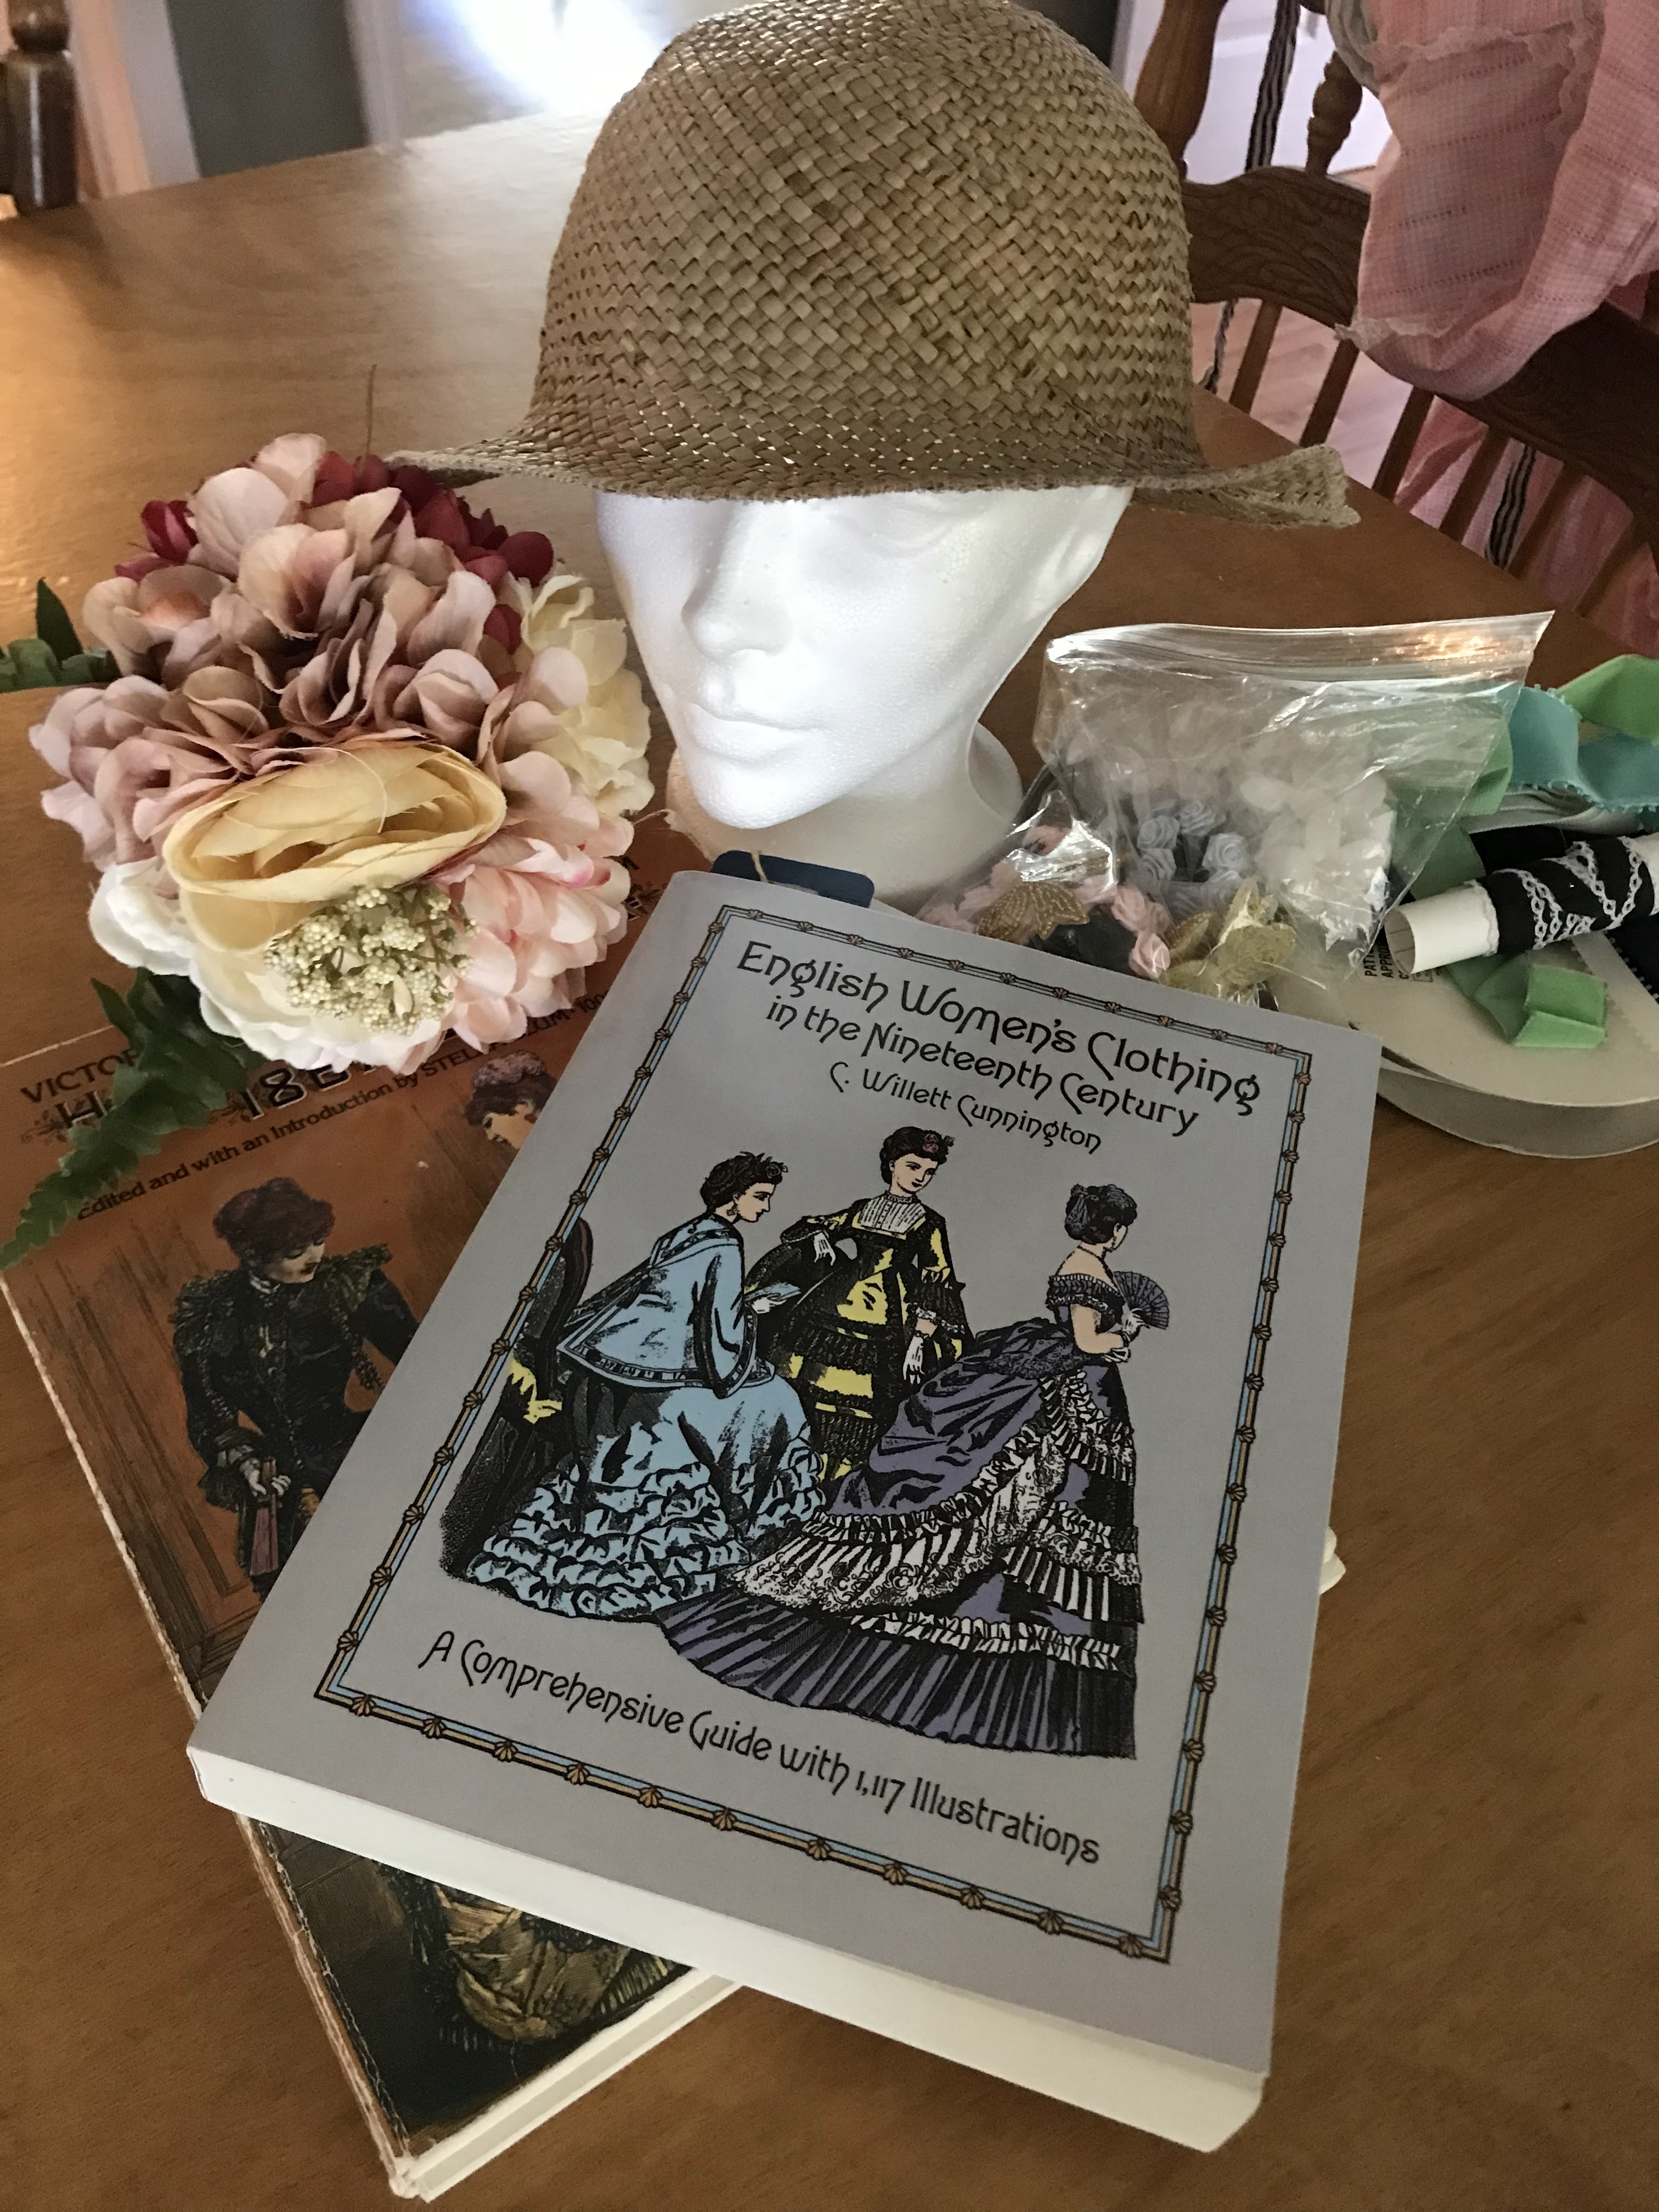
After looking through English Women’s Clothing in the Nineteenth Century, and Victorian Fashions and Costumes from Harpers Bazar 1867-1898, and taking a proper amount of inspiration from Pinterest, I decided that there was enough salvageable straw left in the hat to make a cute little 1870’s headpiece.


So, armed with ribbons, a scrap of silk, and an old bridesmaid bouquet (left over from my brother’s wedding) that’s what I did!

I started by going through my mom’s kitchen to find a hat form.


A cereal bowl seemed about the right size and shape!


I stuck the cereal bowl in the crown of the hat, put the combination in a plastic tub, and boiled a kettle of water. 


Once the water was ready, I poured it over the hat and cereal bowl. 


I used silicone covered tongs to shape the hat around the bowl.


There was quite a bit of extra brim after using the bowl to make a smaller crown.


When I was satisfied with the shape, I trimmed off the excess brim - thankfully most of the damaged straw was in the portion that got trimmed away!


I used a rubber band to help the newly re-formed hat hold its shape, and set it out in the sun to dry.


Once the hat was mostly dry I zigzagged around the edge of the brim to keep it from unraveling, and set about trimming the thing.


I decided the line the brim with a scrap of green silk shantung. (The same green silk I used for this petticoat, to trim this caraco, and to trim this ensemble.)


I sewed the silk to the edge of the brim.


Then sewed several rows of machine gathering stitches.


For gathering it up. . .


To fit neatly inside the crown.


I tied off the gathering stitches, 


And hand sewed the silk in place inside the crown.


All neat and tidy! 


And the stitches are hidden on the outside of the hat.


With the brim lining sorted, I had to decided on a brim binding. Petersham ribbon was my first choice, but finding some the right color in my stash wasn’t easy.


Finally, I found a bit of white petersham, which I tea-dyed to ivory.


And that worked just perfectly! I machine sewed it on.


Next up was all the floofy, pretty, outside trimming.


I tried out several different ribbons around the crown, 


Before finally settling on a navy velvet band, with an ivory velvet bow in the back.


Perfect!


Ribbons settled, I filled the brim with the disassemble bouquet.


And sewed all the flowers in place!


After just a couple hours one Saturday afternoon, I had an adorable little 1870’s straw hat!


Which perches just perfectly on the back of my head like some of my inspiration fashion plates!


Not bad for the third rendition of an almost worn out costume hat!


The perfect finishing touch for a delightfully floofy costume!