
(Ok, so on the mockups I machine stitched the pleats. But on the real thing I hand sewed so the stitching wouldn't show on the right side of the garment.)

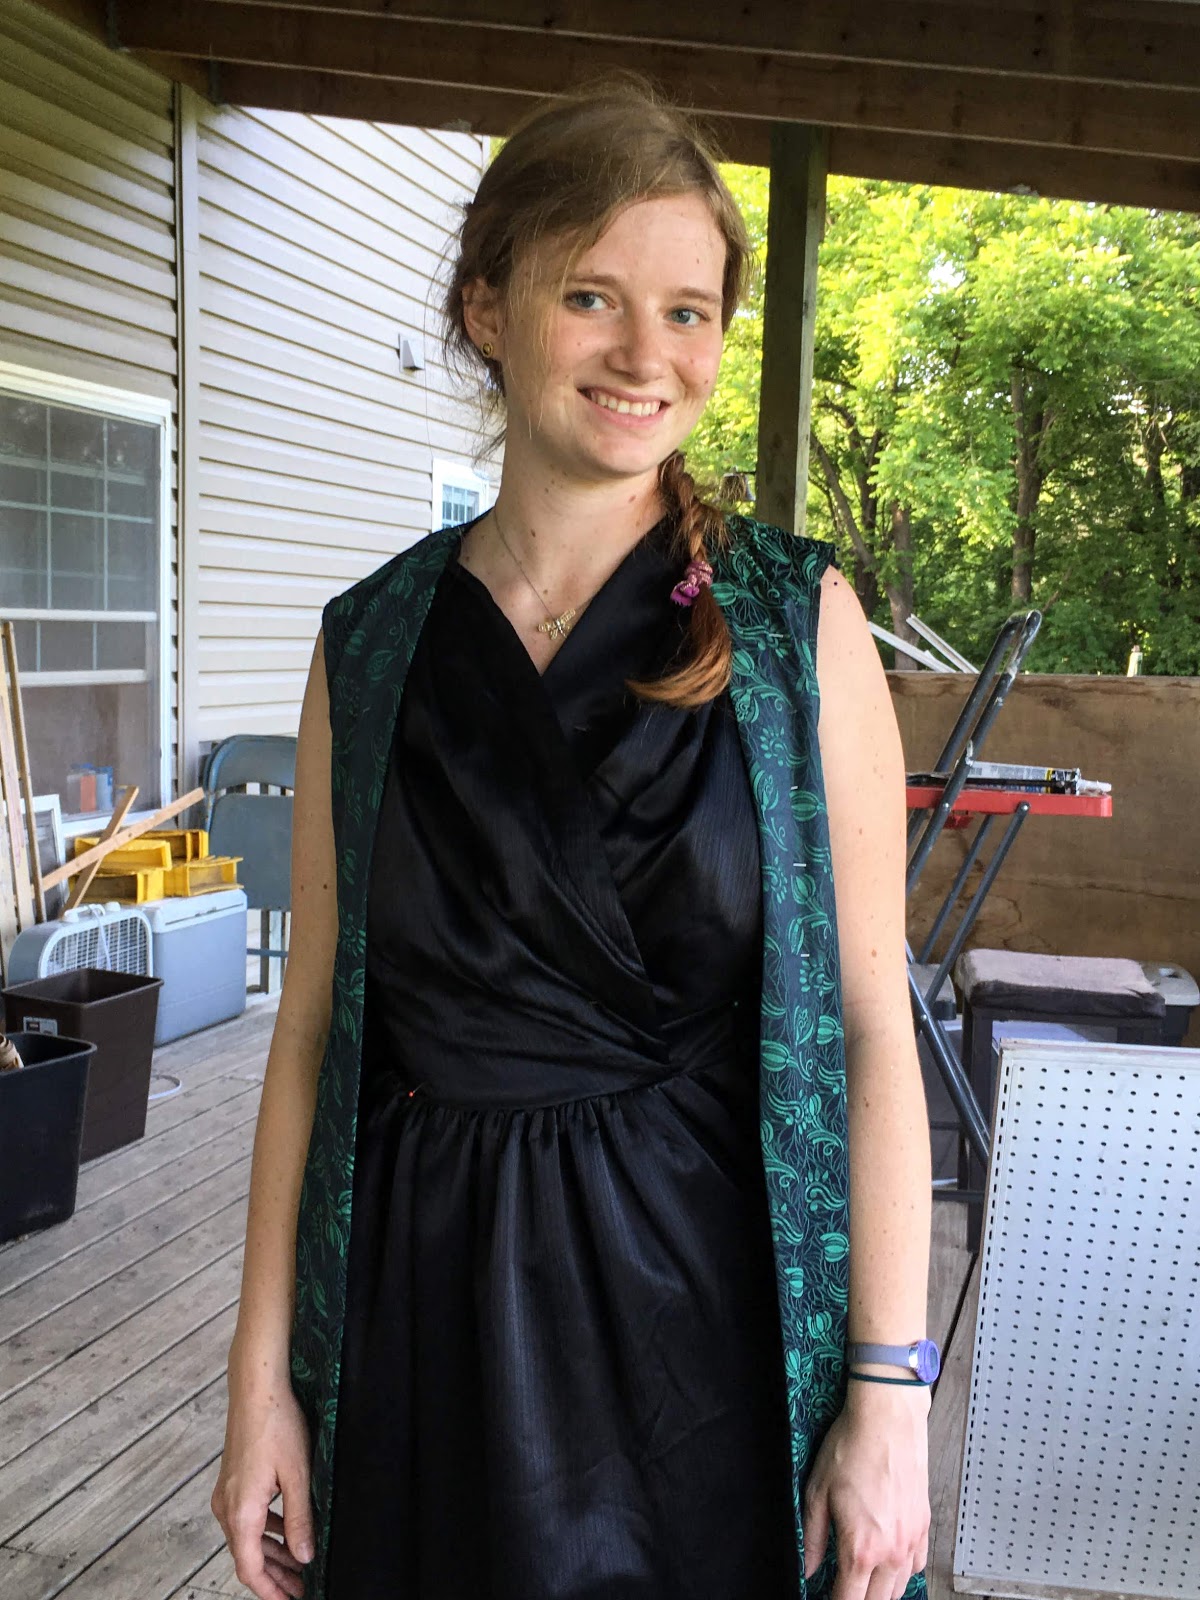
Then, move on to the front of the panels of the tea gown - and this is where things got a little more complicated than they had been on the mockups. All those things you don't have to do on mockups, finishing edges, adding pockets, and actually attaching the entire skirt to the bodice? It was time for all that to be done on the real thing.

I pleated the front under bodice pieces just as I had on my final mockup. Then I finished the edges of the left bodice piece with a 2" wide black silk facing. And the right bodice piece? That I attached to the under skirt.
Now, I had not mocked up the front underskirt of my tea gown at all. Nope, I had a vague idea of what the underskirt needed to look like, and how it ought to attach to the bodice and overskirt, and I just winged it on the final garment. Thankfully, that mostly turned out ok. Only one last minute alteration had to be made - but more on that later.

The front underskirt was one big rectangle of black silk satin backed with black cotton broadcloth. I gathered the top edge to be a few inches longer than the bottom edge of my under bodice, and sewed it in place. I let the skirt extend past the end of what would be a wrap-style under bodice. The under skirt would reach from side seam to side seam of my tea gown. The wrap bodice would only be covering 2/3rds of that distance. I attached a partial waistband to the upper edge of the skirt where whe bodice ended.
Once the top edge of the underskirt was all fixed up, it was time to focus on the sides. These would be sewn into the side seams of the "over gown". The left side of the under skirt got a placket, so I would be able to get the tea gown on and off, and where the placket ended, the left side also got a pocket.

The right side too got a pocket, it's just a little higher up on my hip than the one on the left, as there was no placket to contend with.

These pockets are completely hidden by the "over dress" when the tea gown is worn - and they are very handy for putting things in!

I finished the front edges of my over dress with 2" facings, just like I did on the under bodice edges. And then, once the placket, pockets, and facings were all fixed up, I attached the under dress to the front over dress at the side seams and shoulders then sewed the front of the tea gown to the back. My tea gown was taking shape! It could now be tried on!

It fit!! And it resembled my inspiration gown! I was feeling good about this thing!

Next, thankfully with no difficulties, I constructed the sleeves and attached them to the gown. I decided to add a wide black velvet ruffle to the ends of the sleeves, and I love the effect it gives!

Now all my tea gown needed was the finishing work - the hems, closures, waist stay, boning, and bum pad. Well, I was almost ready for that stuff at least. Remember how I hadn't mocked up my underskirt? That shortcut came back to bite me. At this point it become obvious the under skirt needed a bit more work - it just wasn't as full at the hem as it needed to be. So, I pulled out my leftover fabric and seam ripper and added triangular gores at the side seams.

Thankfully, I had plenty of black satin left over to use for this. What I no longer had was black cotton broadcloth. Thus, the gores are flat-lined with purple quilting cotton instead, because that's what I was able to quickly find in my stash.
Once the gores were in place, it was time to really finish the gown. There was one internal picture of the gown on the LACMA website that allowed me to see how the dress was structured. (You can click on the picture below to go to the LACMA entry for this tea gown)

From this picture I was able to discern that the gown was supported by boning at the center back and side seams, a waist stay, and a small bum pad. So, I added these elements to my tea gown.

Three steel bones, encased in cotton ribbon on the side and back seams, a waist stay made of fun chevron cotton twill tape, and a bum pad made from scraps of black broadcloth and stuffed with torn up cotton quilt batting. The bum pad greatly improves the silhouette of the back of the gown.

I then hemmed the gown with a wide, bias-cut, cotton corduroy hem facing.

And finally, to finish it up, I sewed two small sets of hooks and bars onto the waist stay, and two large sets of hooks and bars onto wrap portions of the underbodice. 4 hooks and 4 bars, that's all it takes to fasten this gown!

When the last hook was sewn on, my Professor McGonagall inspired, 1895 Liberty of London, tea gown reproduction was done! All that's left to do now is to find as many excuses to wear it as possible! Oh, and a photo shoot, I definitely need more pictures of it!

Even though it was finished a few days after the deadline, this tea gown is my entry for May's Historical Sew Monthly challenge; Specific to a Time (of Day or Year).
What the item is: A Tea Gown - Tea gowns became popular in the late Victorian era. They were garments worn at home, primarily in the late afternoon.
Material: Silk Satin, Silk Jacquard, Polyester Velvet (sleeve ruffles) Cotton Broadcloth (underlining), and Cotton Corduroy (hem facing)
Pattern: A combination of several patterns from "59 Authentic Turn of the Century Fashion Patterns" along with a few self drafted pieces.
Year: 1895
Notions: Thread, hooks and bars, twill tape, cotton ribbon, cotton batting, steel boning
How historically accurate is it? The pattern is accurate. The materials are accurate to this type of garment, have the right look, and are mostly accurate in fiber content (poly velvet being the exception here). This is a copy of a Liberty Tea Gown at LACMA, and I referenced the pictures of the original to help construct both the interior and exterior of my gown. The construction is a mixture of machine sewing with hand sewn finishes, which is also accurate for the period - with the exception of my serged seam allowances. This would be recognizable in its time. So I'll say 80% accurate.
Hours to complete: Oh goodness, I don't know!
First worn: June 5th, to assure myself it was really done and it really fit!!!!
Total cost: Around $100 USD

This is really impressive, Alyssa! I love costuming. I want to be a costume designer for plays or movies someday. Thanks for the inspiration!
ReplyDeleteThank you! That would be the coolest job!
DeleteLovely. I can't believe it cost $100 for all that fabric! and I love the Silk Jacquard.
ReplyDeleteThank you! I really scored finding the silk jacquard in Malaysia!
DeleteI'm so impressed. I love how you tell your creative story and look forward to reading more. The gown looks lovely!
ReplyDeleteThank you!
DeleteWow, this is beautiful. As usual you astound me with your talent to draft patterns to make what you want!!! One question. Isn’t the corduroy hem a little heavy for the dress? The profile is great but I just wonder.
ReplyDeleteThank you Gram! I used a pin cord, so it's not all that heavy, but it would have been too heavy to apply to the silk alone. However, since the silk is flatlined with cotton, it's stronger with more structure than it would have been alone, so the corduroy hem facing is the perfect weight.
DeleteWow, this is amazing. You magic it up as if it was easy. But still you take into consideration all the details that make up the look. Brilliant! Very well done.
ReplyDeleteSandy in the UK
Thank you! I really enjoy the process of planning a costume, figuring out how to make the different elements, and then turning the image in my head into reality.
DeleteAbsolutely gorgeous!
ReplyDeleteThank you!
DeleteHave you ever thought of working as a costume designer in theater? 0ther than community theater, I mean.
ReplyDeleteOh that would be a cool job to have!
Delete