We hit our second wedding anniversary this week, and somehow that feels crazy! In celebration of that I decided to go back and see if there were any wedding things I failed to blog in the past two years, and there was indeed! What did the ring bearer wear? And what did he carry?

His attire was the easy part. I made him a little green vest out of the same fabric as the bridesmaids’ dresses.

He actually came with me to pick up the bridesmaids’ fabric from Joann’s, and carried the entire bolt out to the truck for me like a gentleman. So it was only fitting that I make him something out of it!

I used Simplicity 4762, and I’m sure I got it sewn together in one evening, though at this point I can’t recall the specifics of that.

His mom got him black pants and shoes, a white button up shirt, and a matching green bow tie.
He made the most handsome little gentleman ever! (Not that I’m majorly biased or anything.)

As for what he would carry down the aisle, I was rather stumped on that one. All I knew is I didn’t really want a pillow. What’s the use of a fancy little pillow after the ceremony? You see them at thrift stores all the time, they’re pointless!

So I took to Pinterest to find other ideas. And I fell in love with the idea of a hoop of embroidery with the rings tied on. Now to find time to make that happen with the million other things I needed to do before the wedding!
I looked at a bunch of different embroidery designs on Pinterest and began to formulate my plan.
I bought embroidery floss in our wedding colors (green and purple) and found an embroidery hoop.

I cut a square of linen and pulled out my Frixon heat-erasable pens.

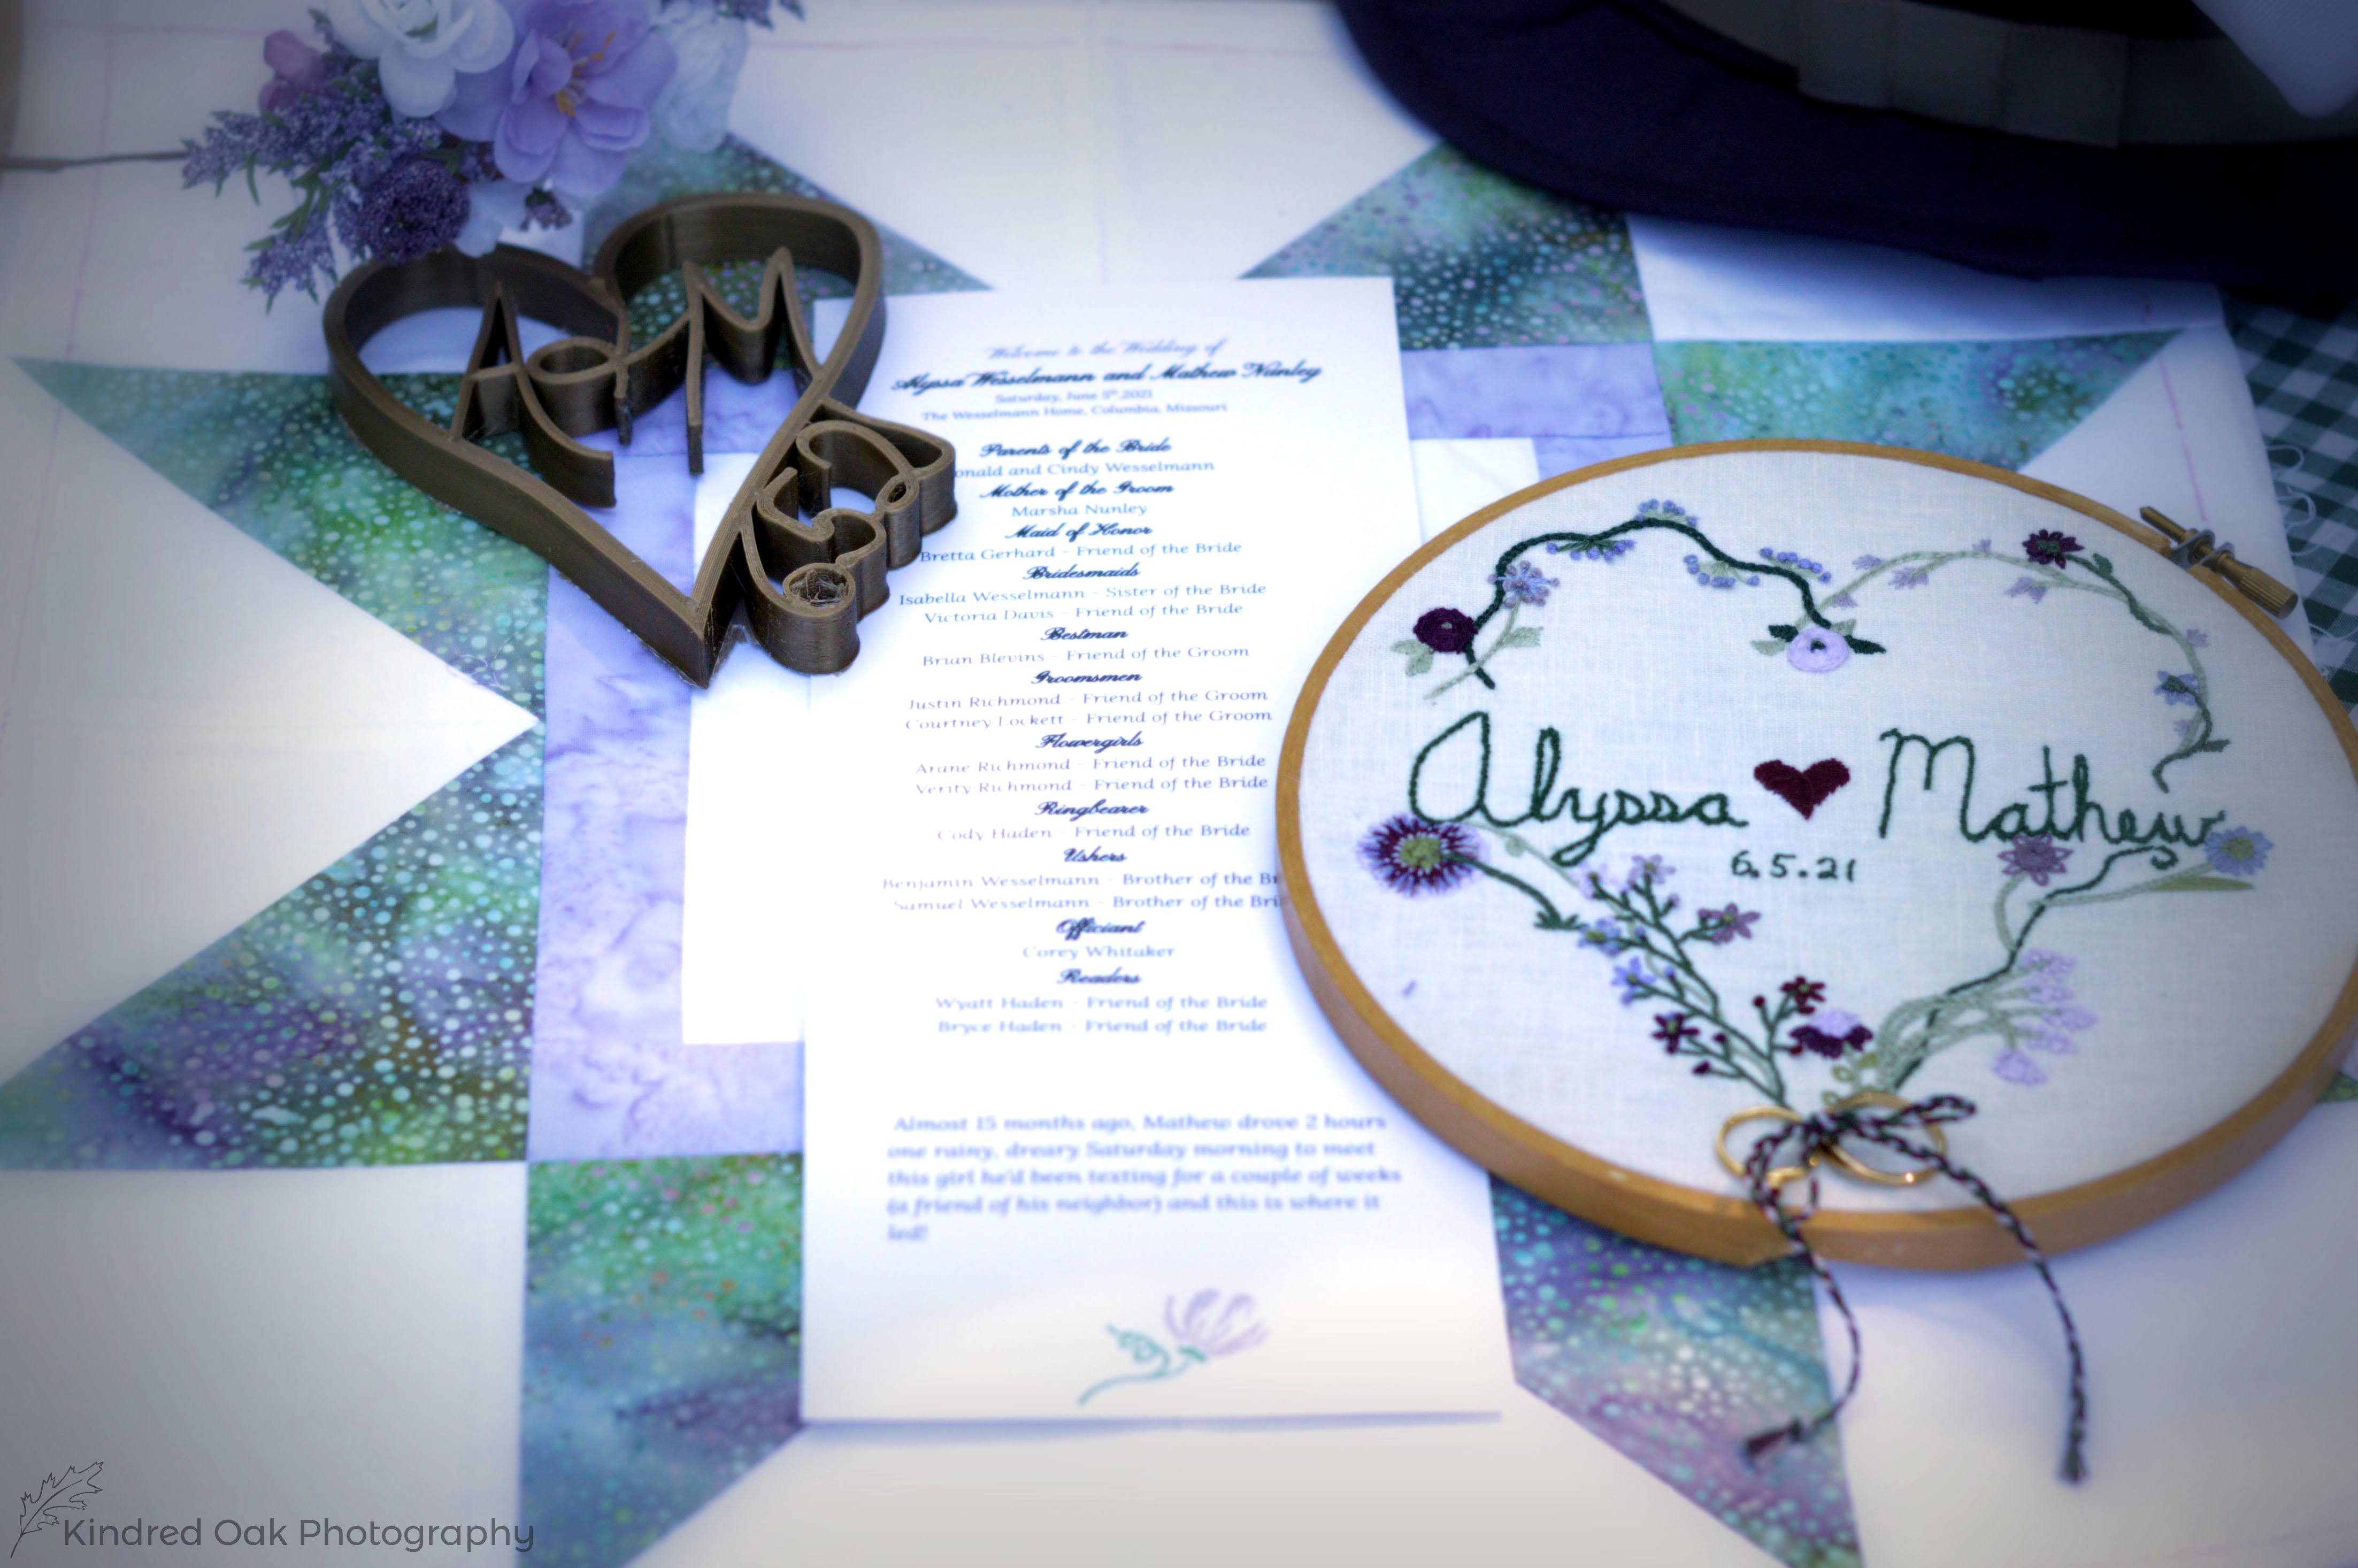
I started by writing our names.

Once those were embroidered on I added our wedding date right underneath.

Then a drew a heart around the names and date.

I free-hand embroidered (for lack of a better term) vines and flowers along the heart I had drawn. I used the book Handsewn by Margaret Rowen to learn how to do the different embroidery stitches. (This is a book I checked out from the library many, many, times before obtaining my own copy. it's excellent!)

I did my best to make the flowers look as random as possible while still being cohesive.

I used as many different shades of purple and green as possible!
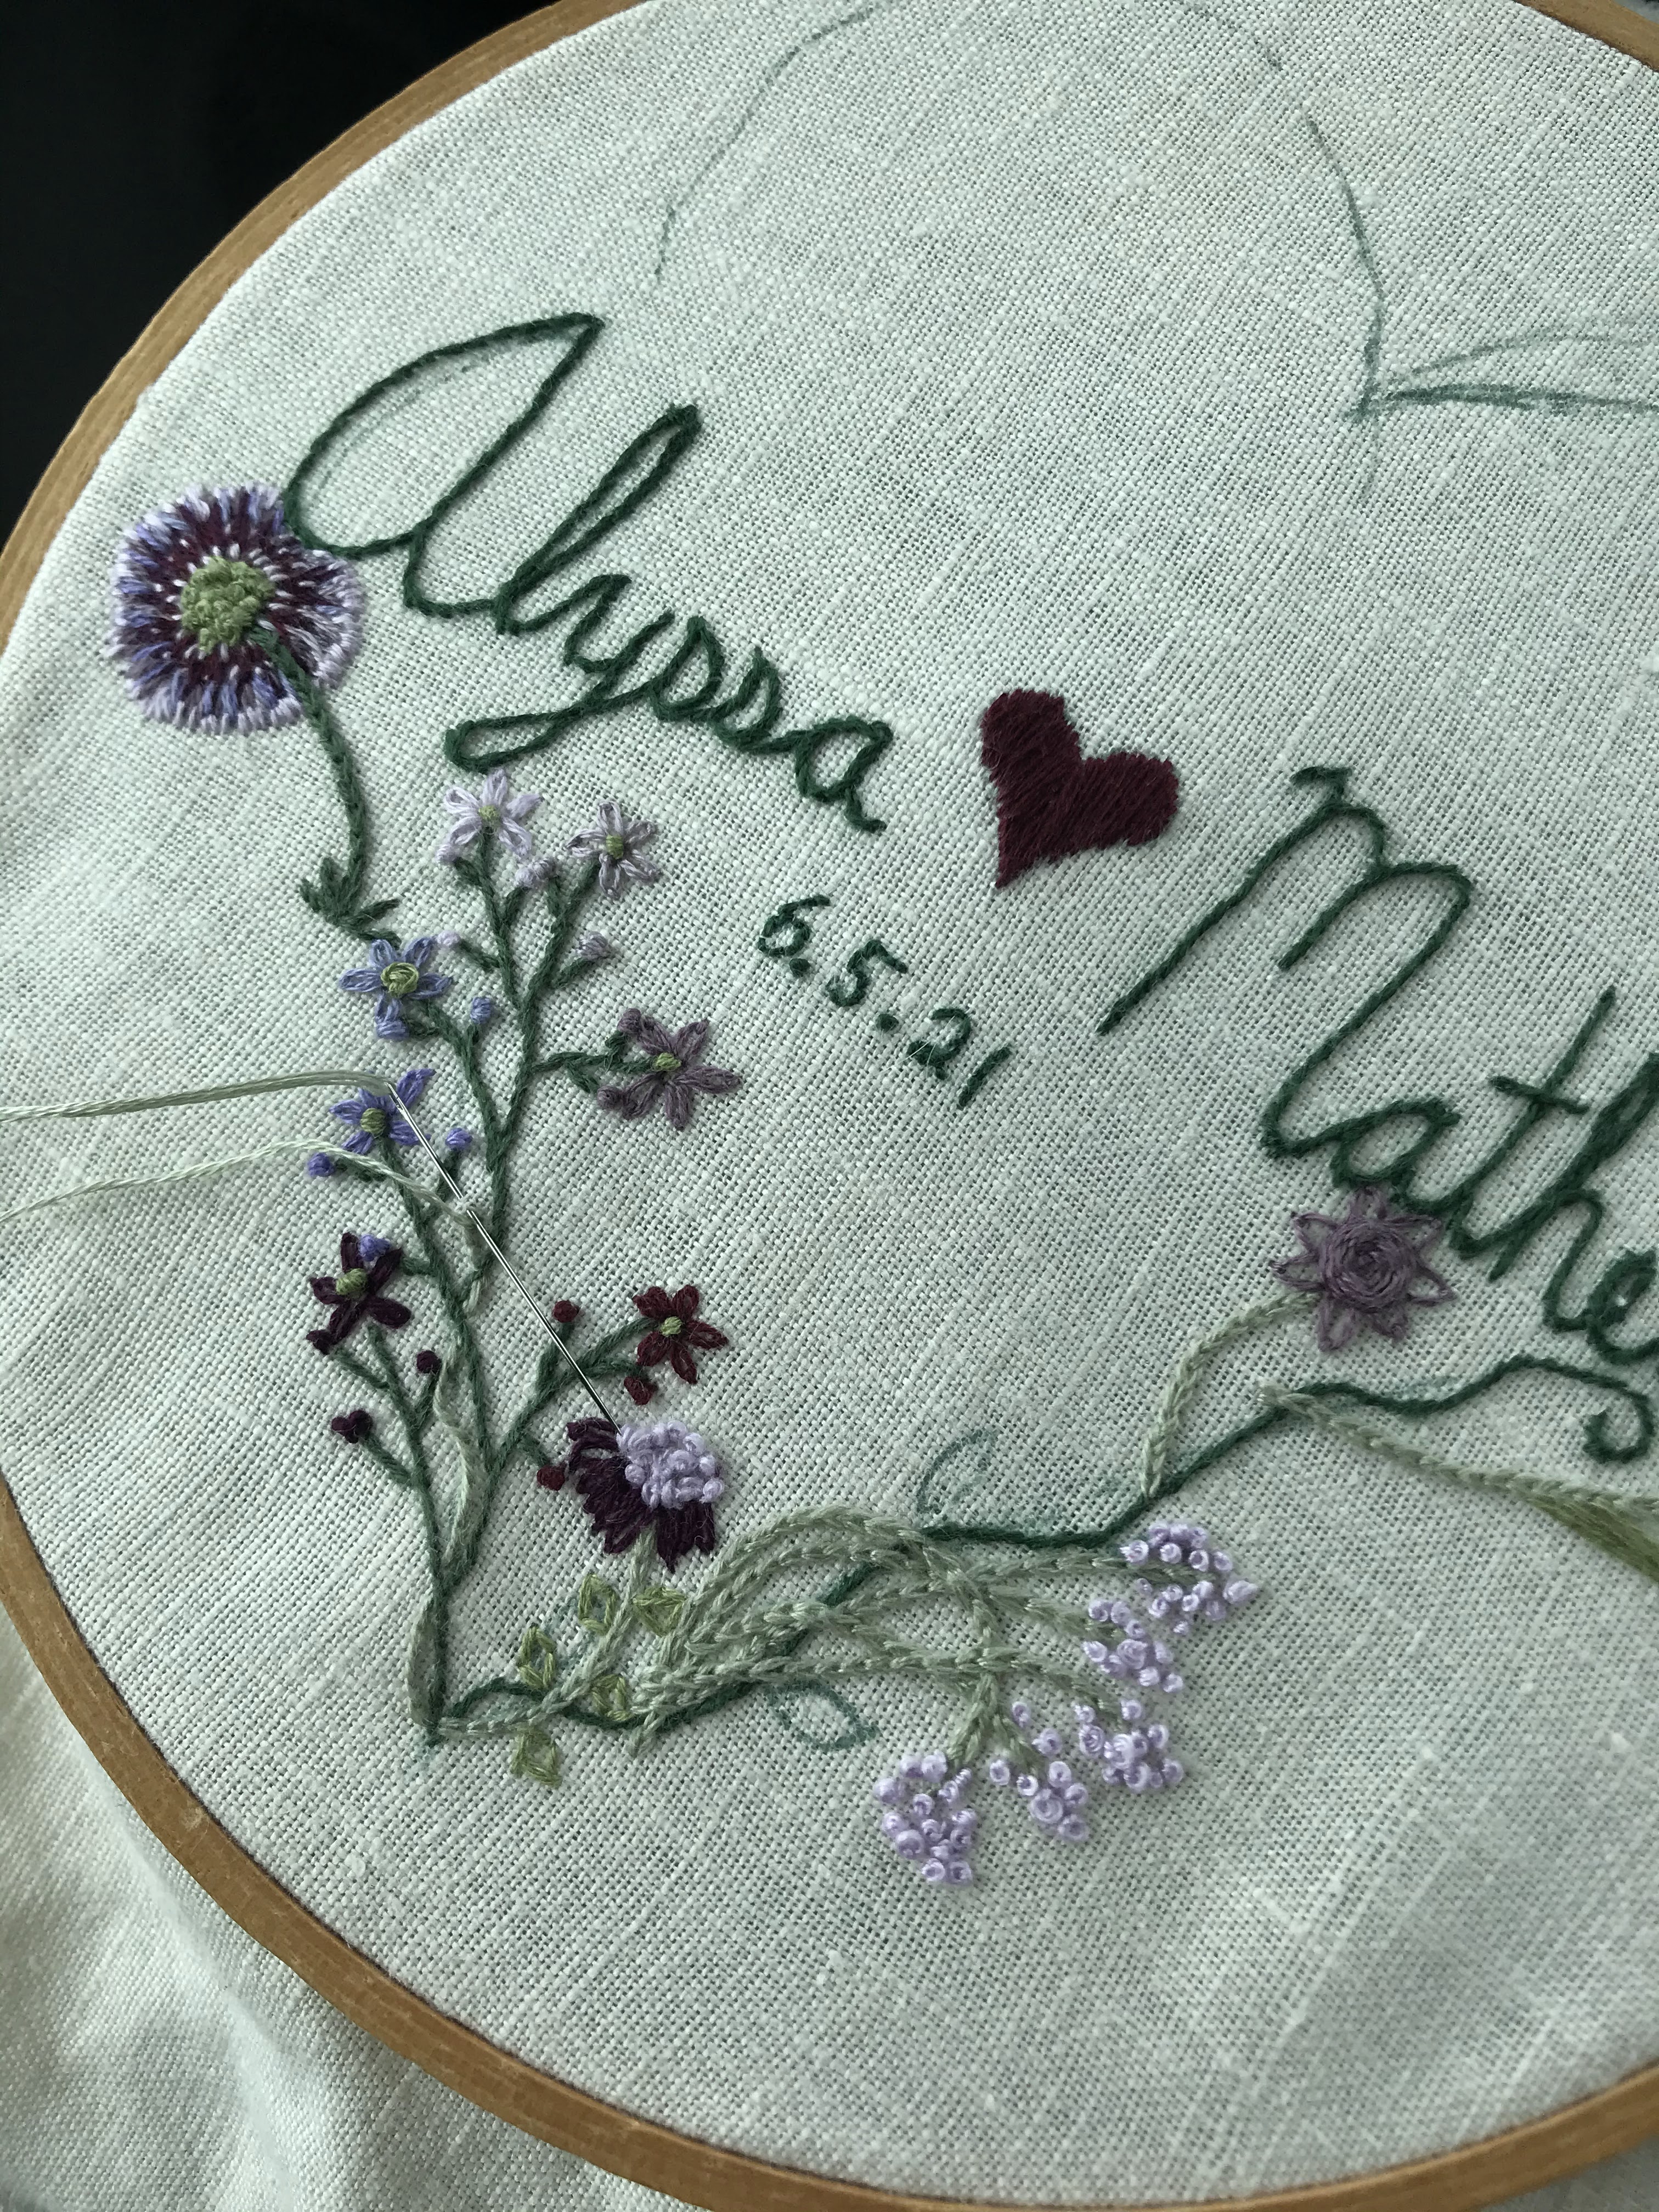
I started on the embroidery about one month before the wedding, after I’d finished my dress. This was my “sit in the school pick-up line and wait for the kids to come out” project for that last month.

The week before the wedding the embroidery was all done and I pulled the linen out of the hoop and ironed it to remove the Frixon marks. Then I put it back in the hoop, being careful to center the design.

I serged around the edges of the linen.

Then gathered the serged edge up and hid it on the back side of the hoop.

Finally, I tied on two gold rings, of unrecalled origin, which my mom gave me from her jewelry box. I was slightly tempted to tie on our actual wedding bands, but decided that would be irresponsible of me.

This piece of embroidery is one of my very favorite things I made for our wedding. It now hangs on our bedroom wall where I get to see it everyday.

Much better than a fancy little pillow!

My ring bearer did an excellent job carrying it down the aisle and participating in the ceremony!

He stuck around for pictures, handed off the embroidery to some responsible adult, and was then ready for the fun of the reception.

By the end of the evening he was running around vest-less and barefoot in the goat pen - so I think it’s safe to say he enjoyed himself.

He sure was fun to have in the wedding!

Congratulations on your second anniversary! Everything looks beautiful in the pictures. I love the effort that you put into even the smallest detail; it makes everything so special.
ReplyDelete-Erin