There was one day, about 2 months ago (maybe longer now) where I cut out 8 knit shirts, all to be sewn up in the following week. Three of these shirts were for a commission. Two were for my mom. One was for my sister. And two were for me. Here are those two shirts.

Yes, they have their differences, but they also have one striking similarity - both have wonderfully puffy bishop sleeves.
Bishop Sleeve: a long full sleeve usually gathered on a wristband and adapted from a bishop's robe. (Merriam-Webster Dictionary)

Now the unseen similarities are these: both shirts were added to my very long to-make list around the same time last fall, both shirts are rather hacked versions of tried-and-true patterns, and both are made from fabrics I've been hoarding saving for quite some time.

The red shirt began with the Brooks Blouse pattern by Brijee Patterns, and the pink shirt began as the Outer Banks Boat Neck by Winter Wear Designs. Both patterns went through some changes to match the ideas I had in my head.

First up, the Outer Banks Boatneck! Now I believe this is the seventh shirt I've made from the pattern. Personally I'm not a fan of bateau necklines on myself, but the fit of this pattern is excellent, and I can change up the neckline to be just about any shape I choose.

This time I opted to cut the neckline square, finish it with a facing, and add decorative top stitching all the way around.

I do like how this neckline shape worked out, and will have to repeat it in the future on another top!

As for the sleeves, these will most certainly be repeated on future garments as well, but I can't take the credit for them. They're not my own personal hack or anything. No, these fabulous, long cuffed, bishop sleeves were much easier than that - no pattern hackery required!

Back in December, Winter Wear Designs released a knit sleeve add-on collection. Three beautiful, fun, sleeve patterns which are compatible with any of the knit tops in the Winter Wear pattern collection. And, even better, there's a coupon code available in the Winter Wear Designs Facebook group which makes this sleeve collection free!

As soon as I saw the sleeve collection, these bishop sleeves had my attention, so I downloaded the pattern the day it came out. Then it only took me a month or two to get around to doing anything with it.

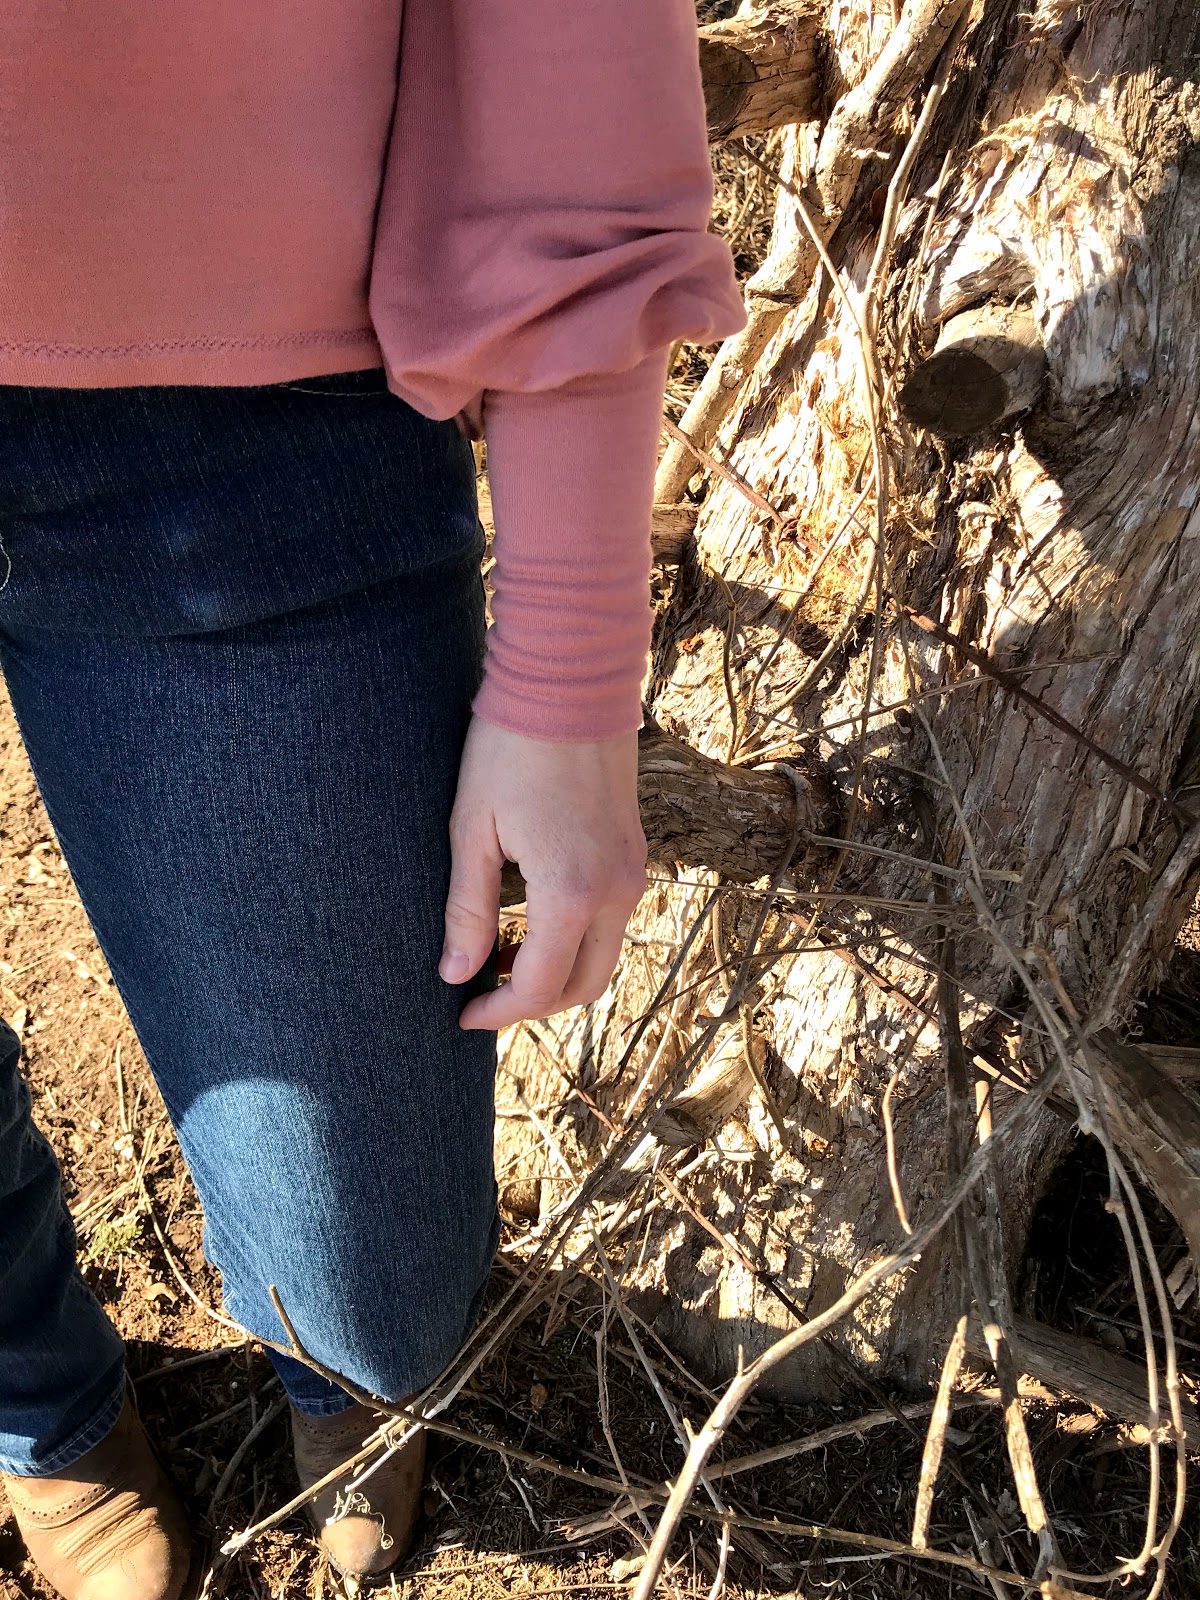
Eventually, this square-necked, bishoped-sleeved shirt got made, from a beautiful rose-pink rayon french terry, I acquired at Walmart last summer. My sister calls the finished top my "Medieval Princess Shirt" due to the sleeves and the neckline.

I do love how this shirt turned out, and I just might feel like a princess while wearing it, so I'll accept the title my sister gave it!
And now, onto the fabulously hacked, full-sleeved, Brooks Blouse!

I acquired the fabric for this shirt over a year ago at a little Amish store - for 50 cents a yard!

It's a textured cotton knit without a whole lot of stretch to it. It would not have been suitable for a tight fitted garment, due to the lack of significant stretch, but this fabric had just the right amount of body to it to be perfect for the Brooks Blouse!

The Brooks blouse was inspired by 1940's designs, with a loose fit through the top, and inverted box pleats at the waist, making this blouse very easy to tuck into skirts and pants. The pattern works well with both drapey wovens and sturdy knits. If made from a woven material, the blouse is made to button up the back and the neckline is finished with a facing. If made from a knit, there is no need for buttons, so the back of the blouse is cut on the fold, and the neckline is finished with a neckband, rather than a facing.

For my red knit Brooks blouse, I decided to combine both the knit and woven options. The back of the shirt is cut on the fold, no buttons or other closure method required, while the neckline is finished with a facing. (Which I top-stitched in place, because I don't like facings that don't stay put, but don't mind visible top stitching.)

As for the neckline shape, I combined two different options for that as well. Last summer, I made two different Brooks blouses, one in knit, one in woven, both with a V-neck. This time I wanted something different, so I combined the V-neck option, with the boat-neck option, to get a notched boat neck style neckline. I quite like the result!

Now the neckline wasn't the only thing I changed on the pattern for my red knit blouse. As mentioned at the very beginning of this post, the sleeves are really the crowning glory of this make.

The pattern features only straight sleeves, but those are easy enough to change up! To make bishop sleeves, I used the slash and spread technique, cutting my pattern piece from the bottom of the sleeve to the shoulder in three different places so the sleeve was comprised of 4 different long strips all attached together at the shoulder.

Once the sleeve pattern was cut, I slid the long strips apart from each other to make the sleeve hem nice and wide. I taped scrap paper behind the strips to make one solid sleeve piece, and my bishop sleeve pattern was ready to go.

I cut out my shirt, and sewed it up. The bottom of the sleeves got gathered into narrow cuffs.

And the bishop sleeves are just as puffy and awesome as I'd hoped they would be!

There's just something about wearing puffed sleeves of any sort that makes one feel fabulous!

Both of these bishop-sleeved shirts have been welcome additions to my wardrobe, and I can almost guarantee I'll be adding similar sleeves to future garments!

They are both lovely, and very unique.
ReplyDeleteThank you!
Delete