Showing posts with label Regency. Show all posts

Saturday, April 29, 2023

The Finally, Finally, Finished Regency Straw Bonnet

 Years ago, when I made my white Regency dress I planned, and began, a Regency bonnet to go with it.
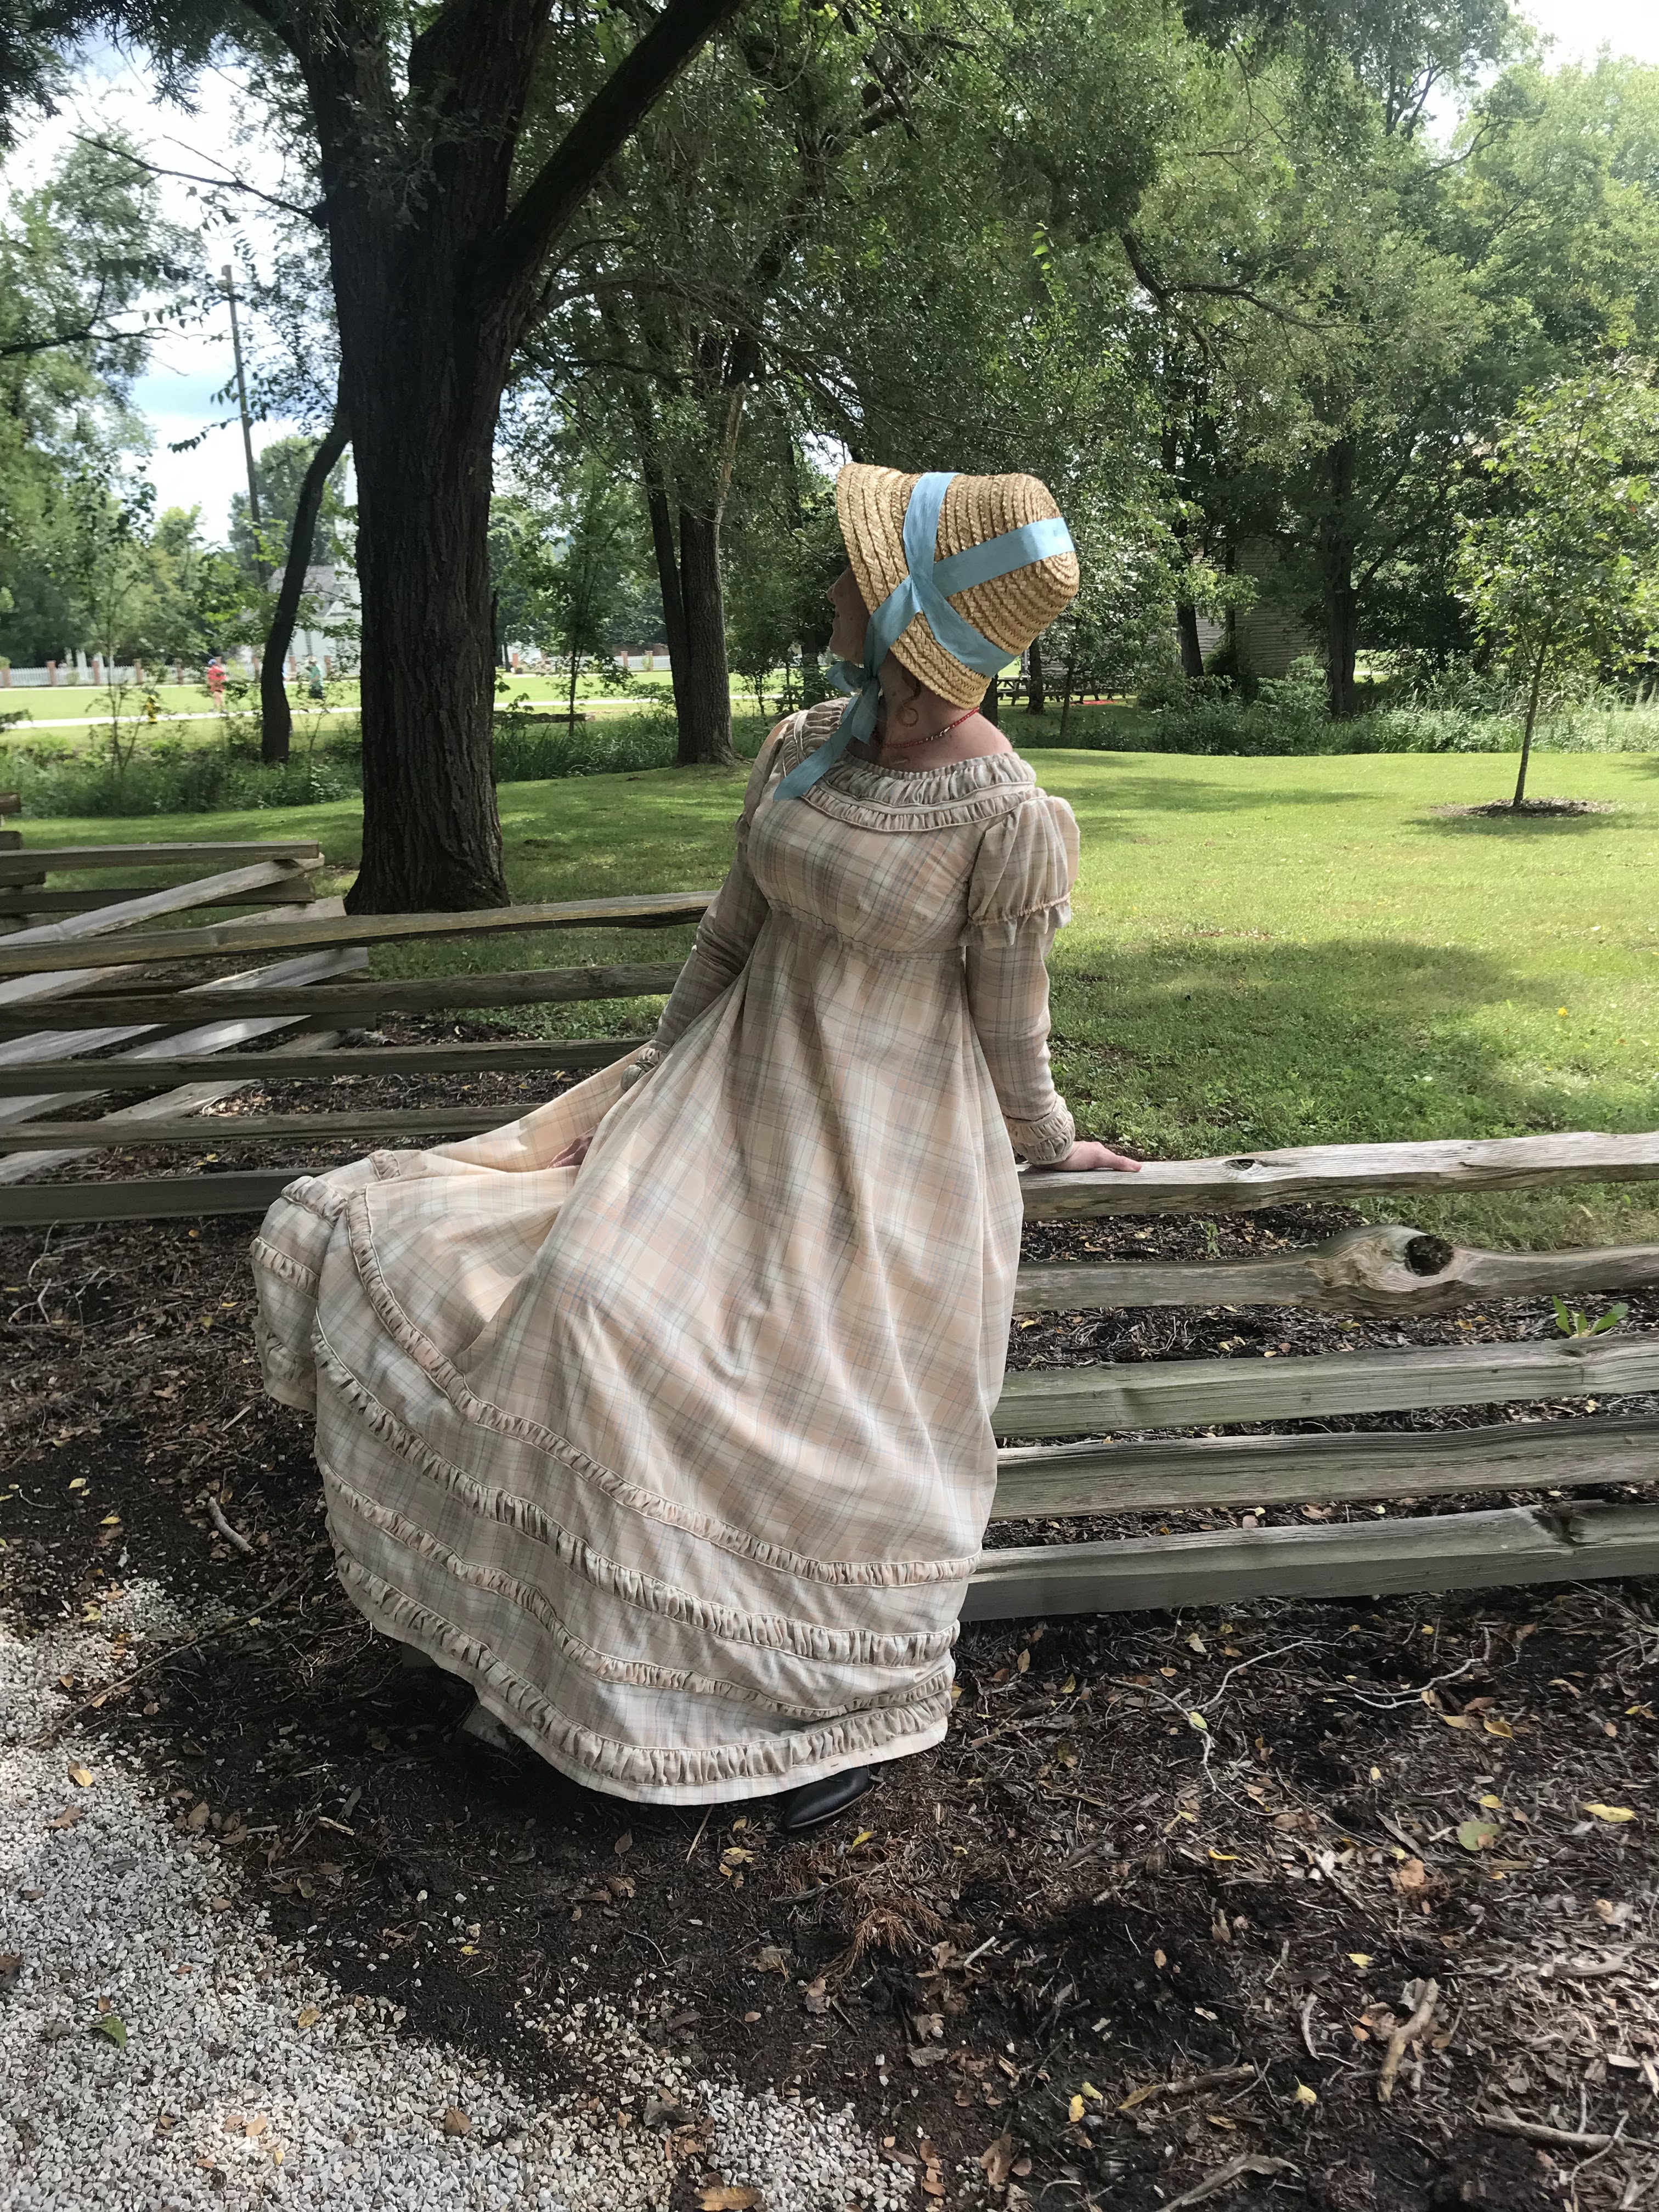


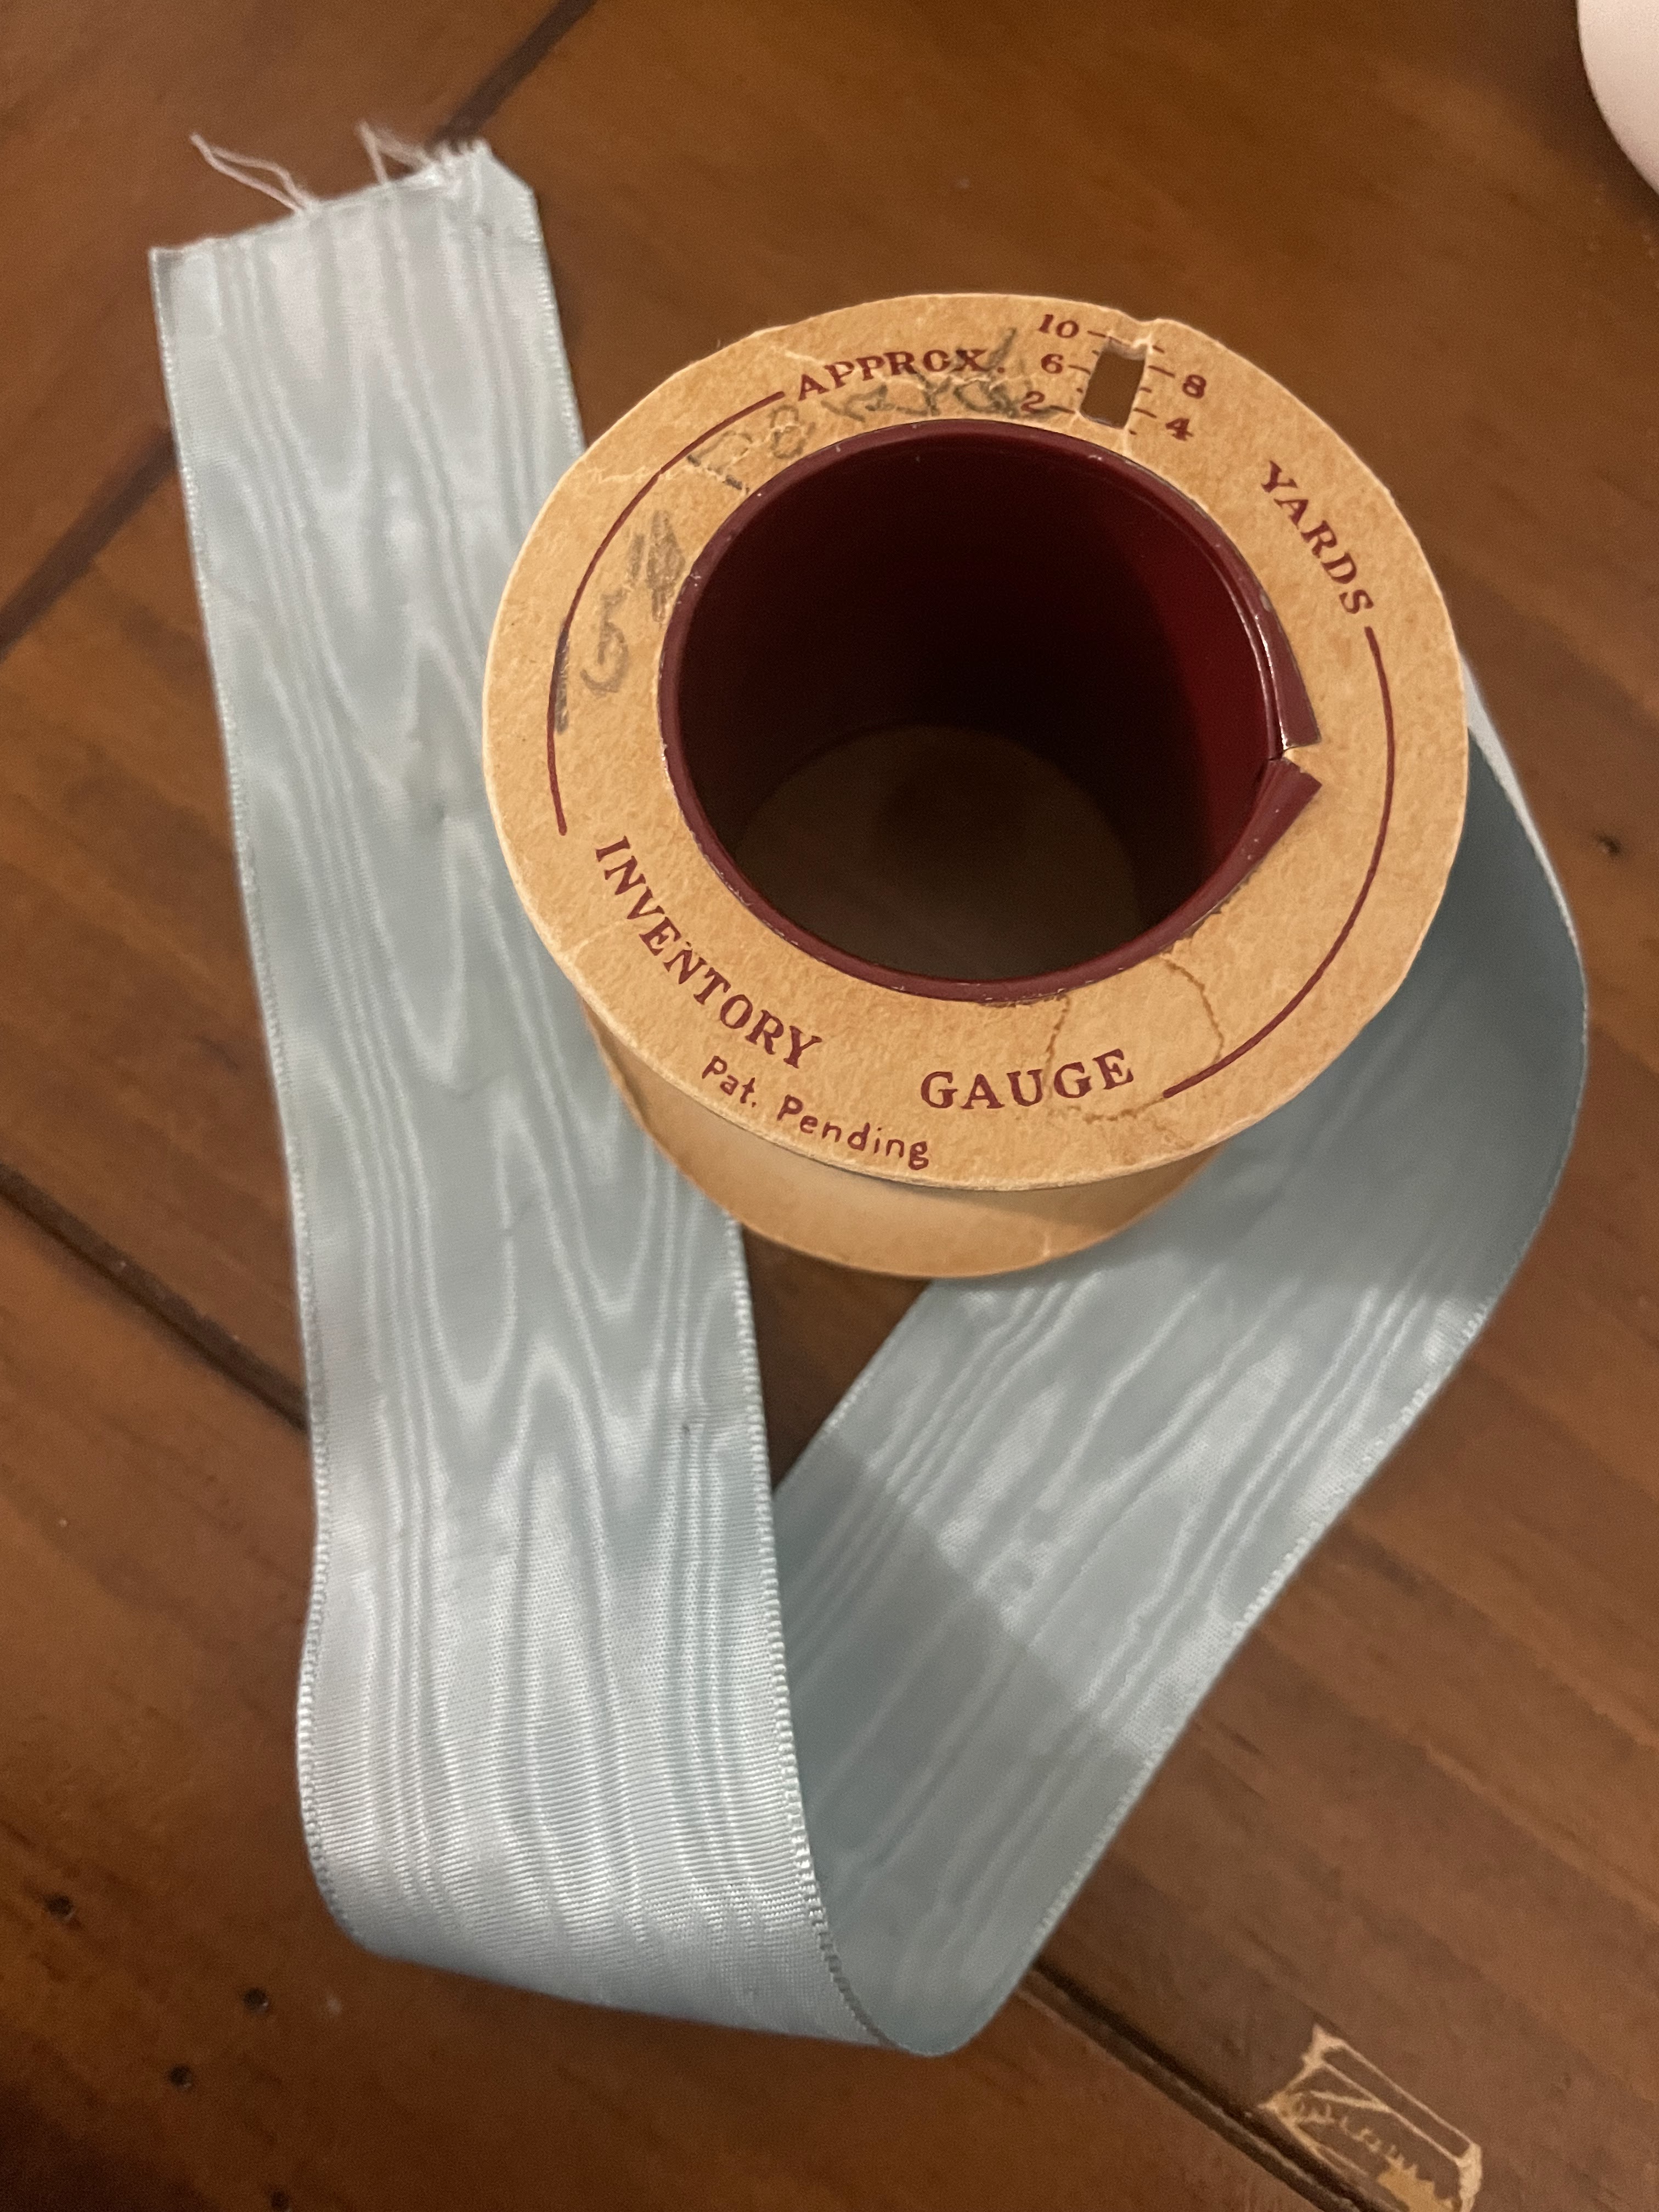
The bonnet would be made from a thrifted braided straw hat, and it would be trimmed with some vintage blue moiré ribbon a lady from church had given me.


I undid all the stitching on the brim of the big straw hat, unwound the braid, soaked it in water, then started re-winding it in the bonnet shape I wanted and hand sewing it in place.


This was very tedious work, and at some point I gave up - abandoning the project for 6 or 7 years. I just completely ignored my need for a Regency bonnet and made do without.

Until I couldn’t. Last summer I had to admit I really did need a bonnet to wear with my new plaid dress for the fashion show

Thus, back at my parents’ for a weekend I unearthed the abandoned in-progress bonnet.
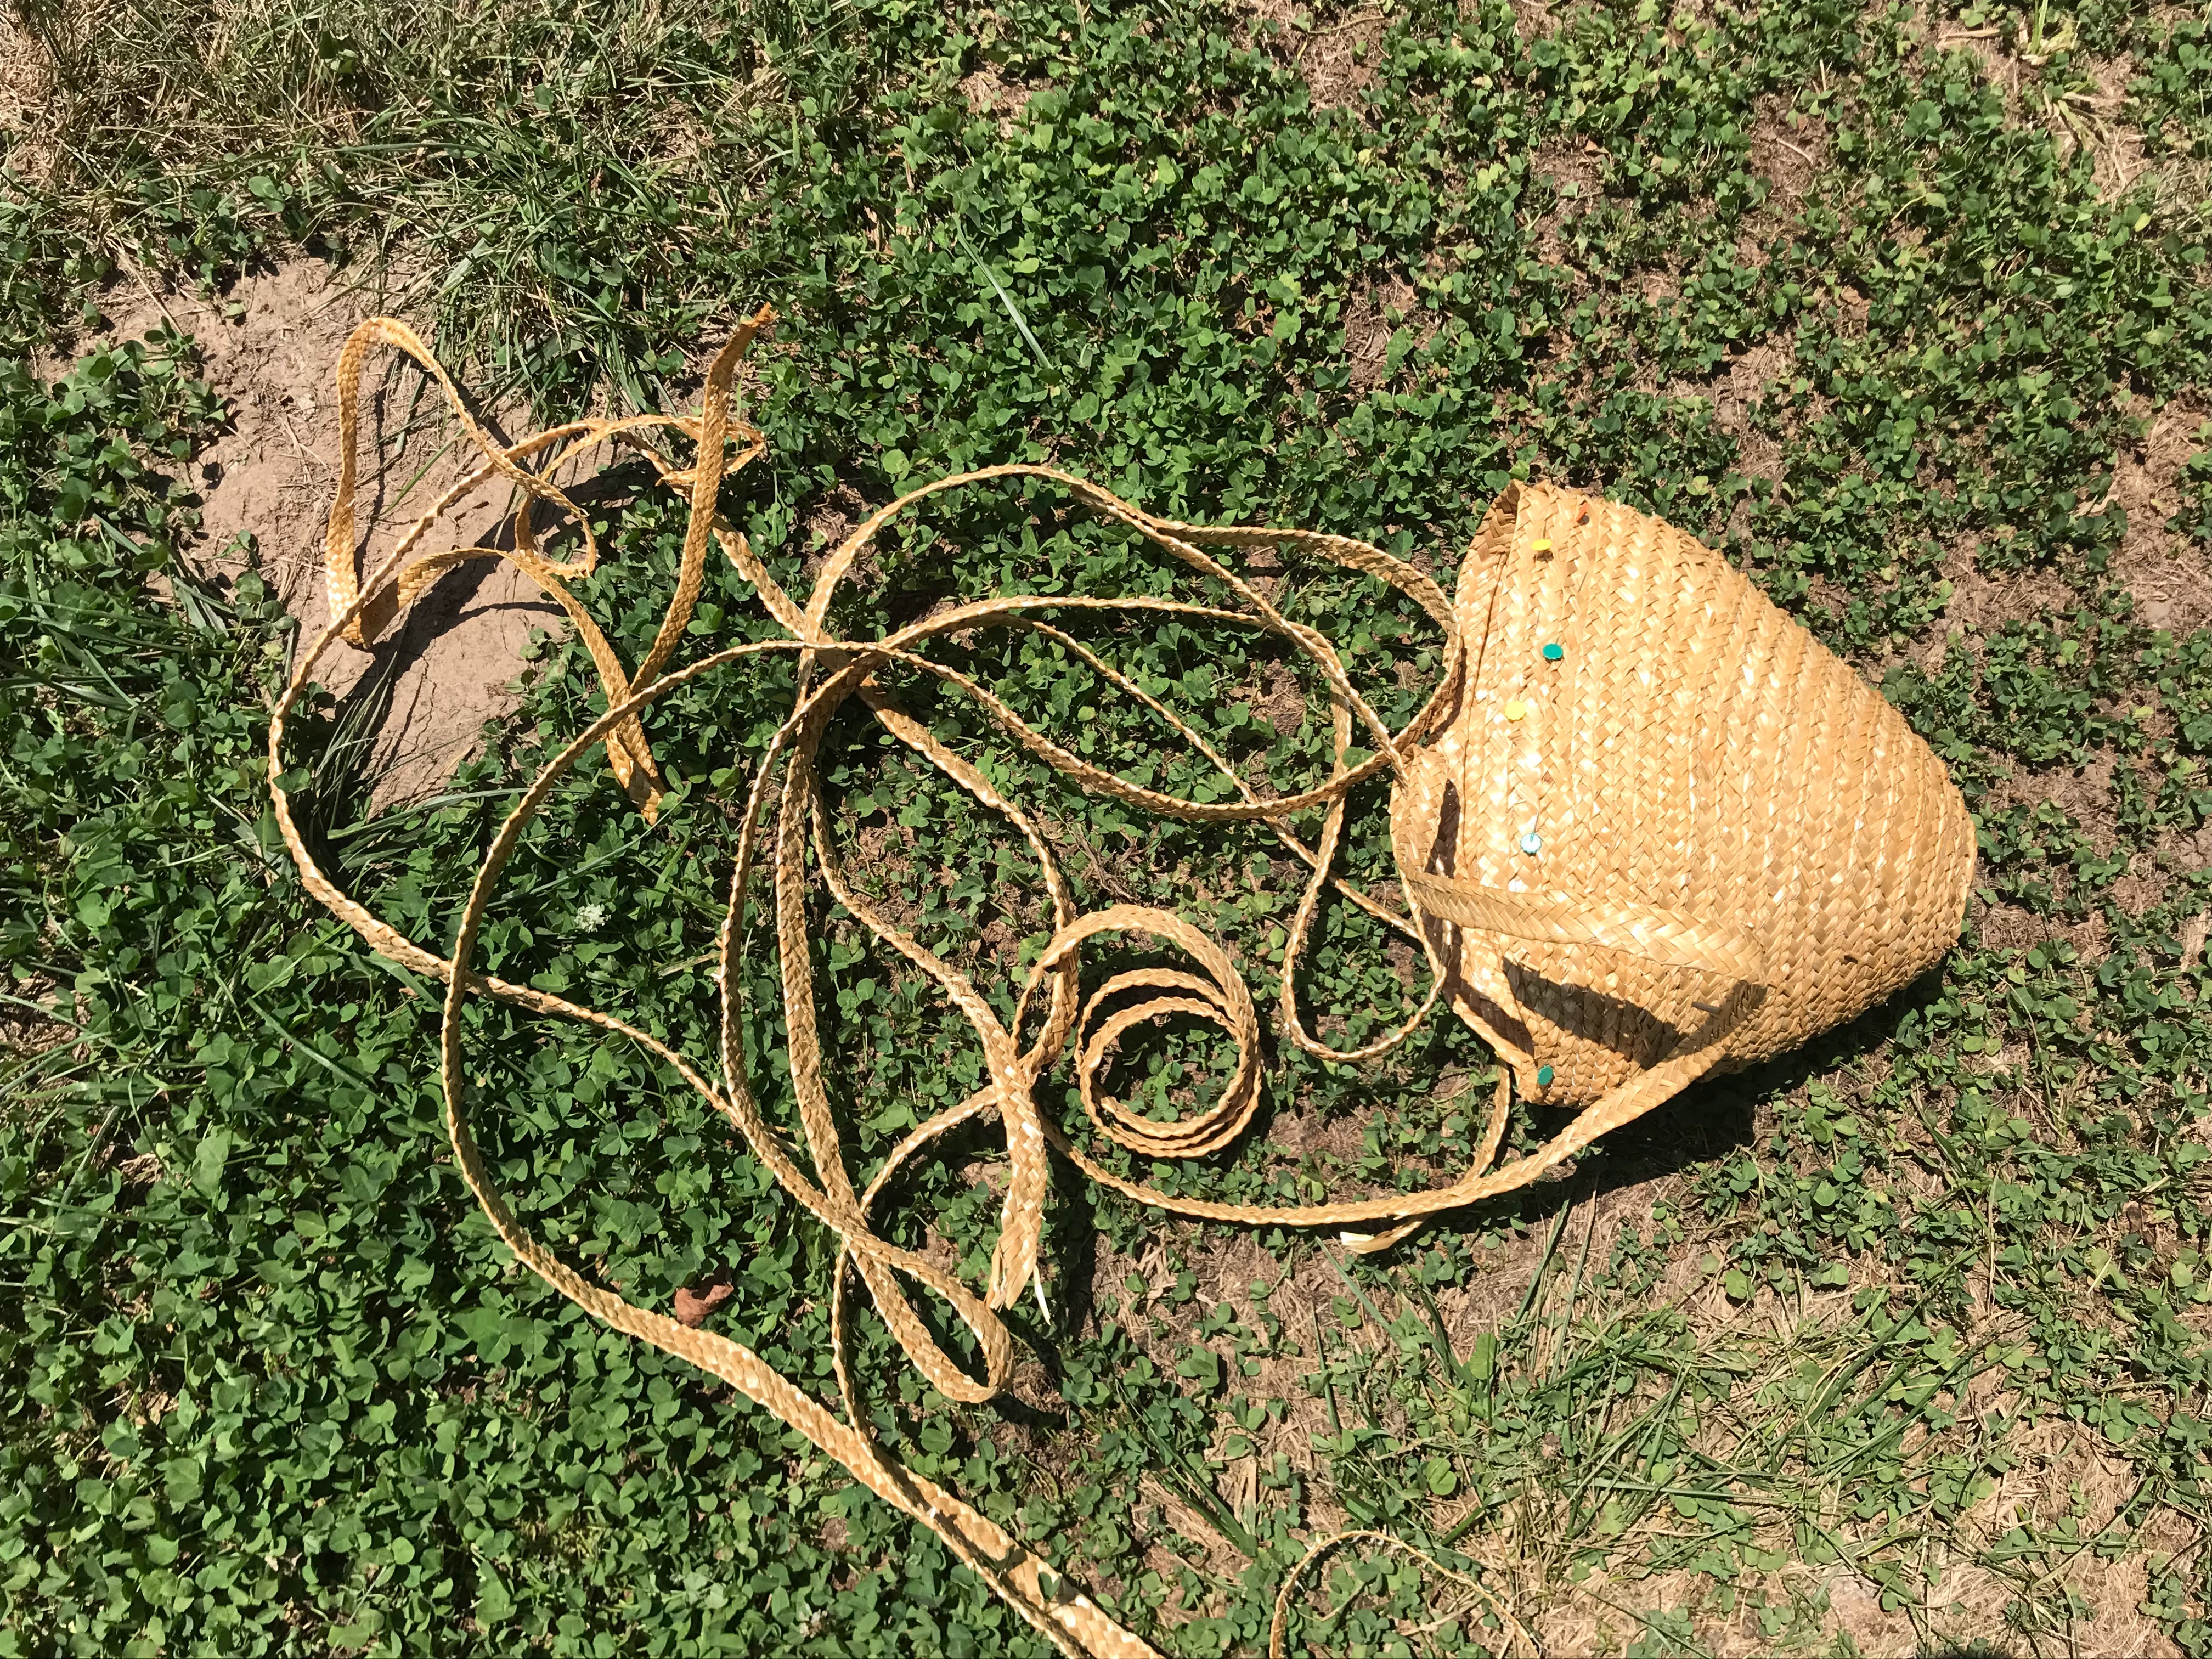


It was  certainly a little worse for the wear. It was rather crushed, some of the braid had broken, and there were still pins in the thing.

When I began this bonnet I’d intended to make it in an approximately 1805 style. Now I needed it to be in more of an 1815 style, so the first thing I did was undo some of my earlier hand sewing.


Then I soaked the thing in hot water and re-shaped it.


The re-shaping was accomplished with  an empty ginormous barbecue sauce jar and a skillet lid that I found in my mom’s kitchen.
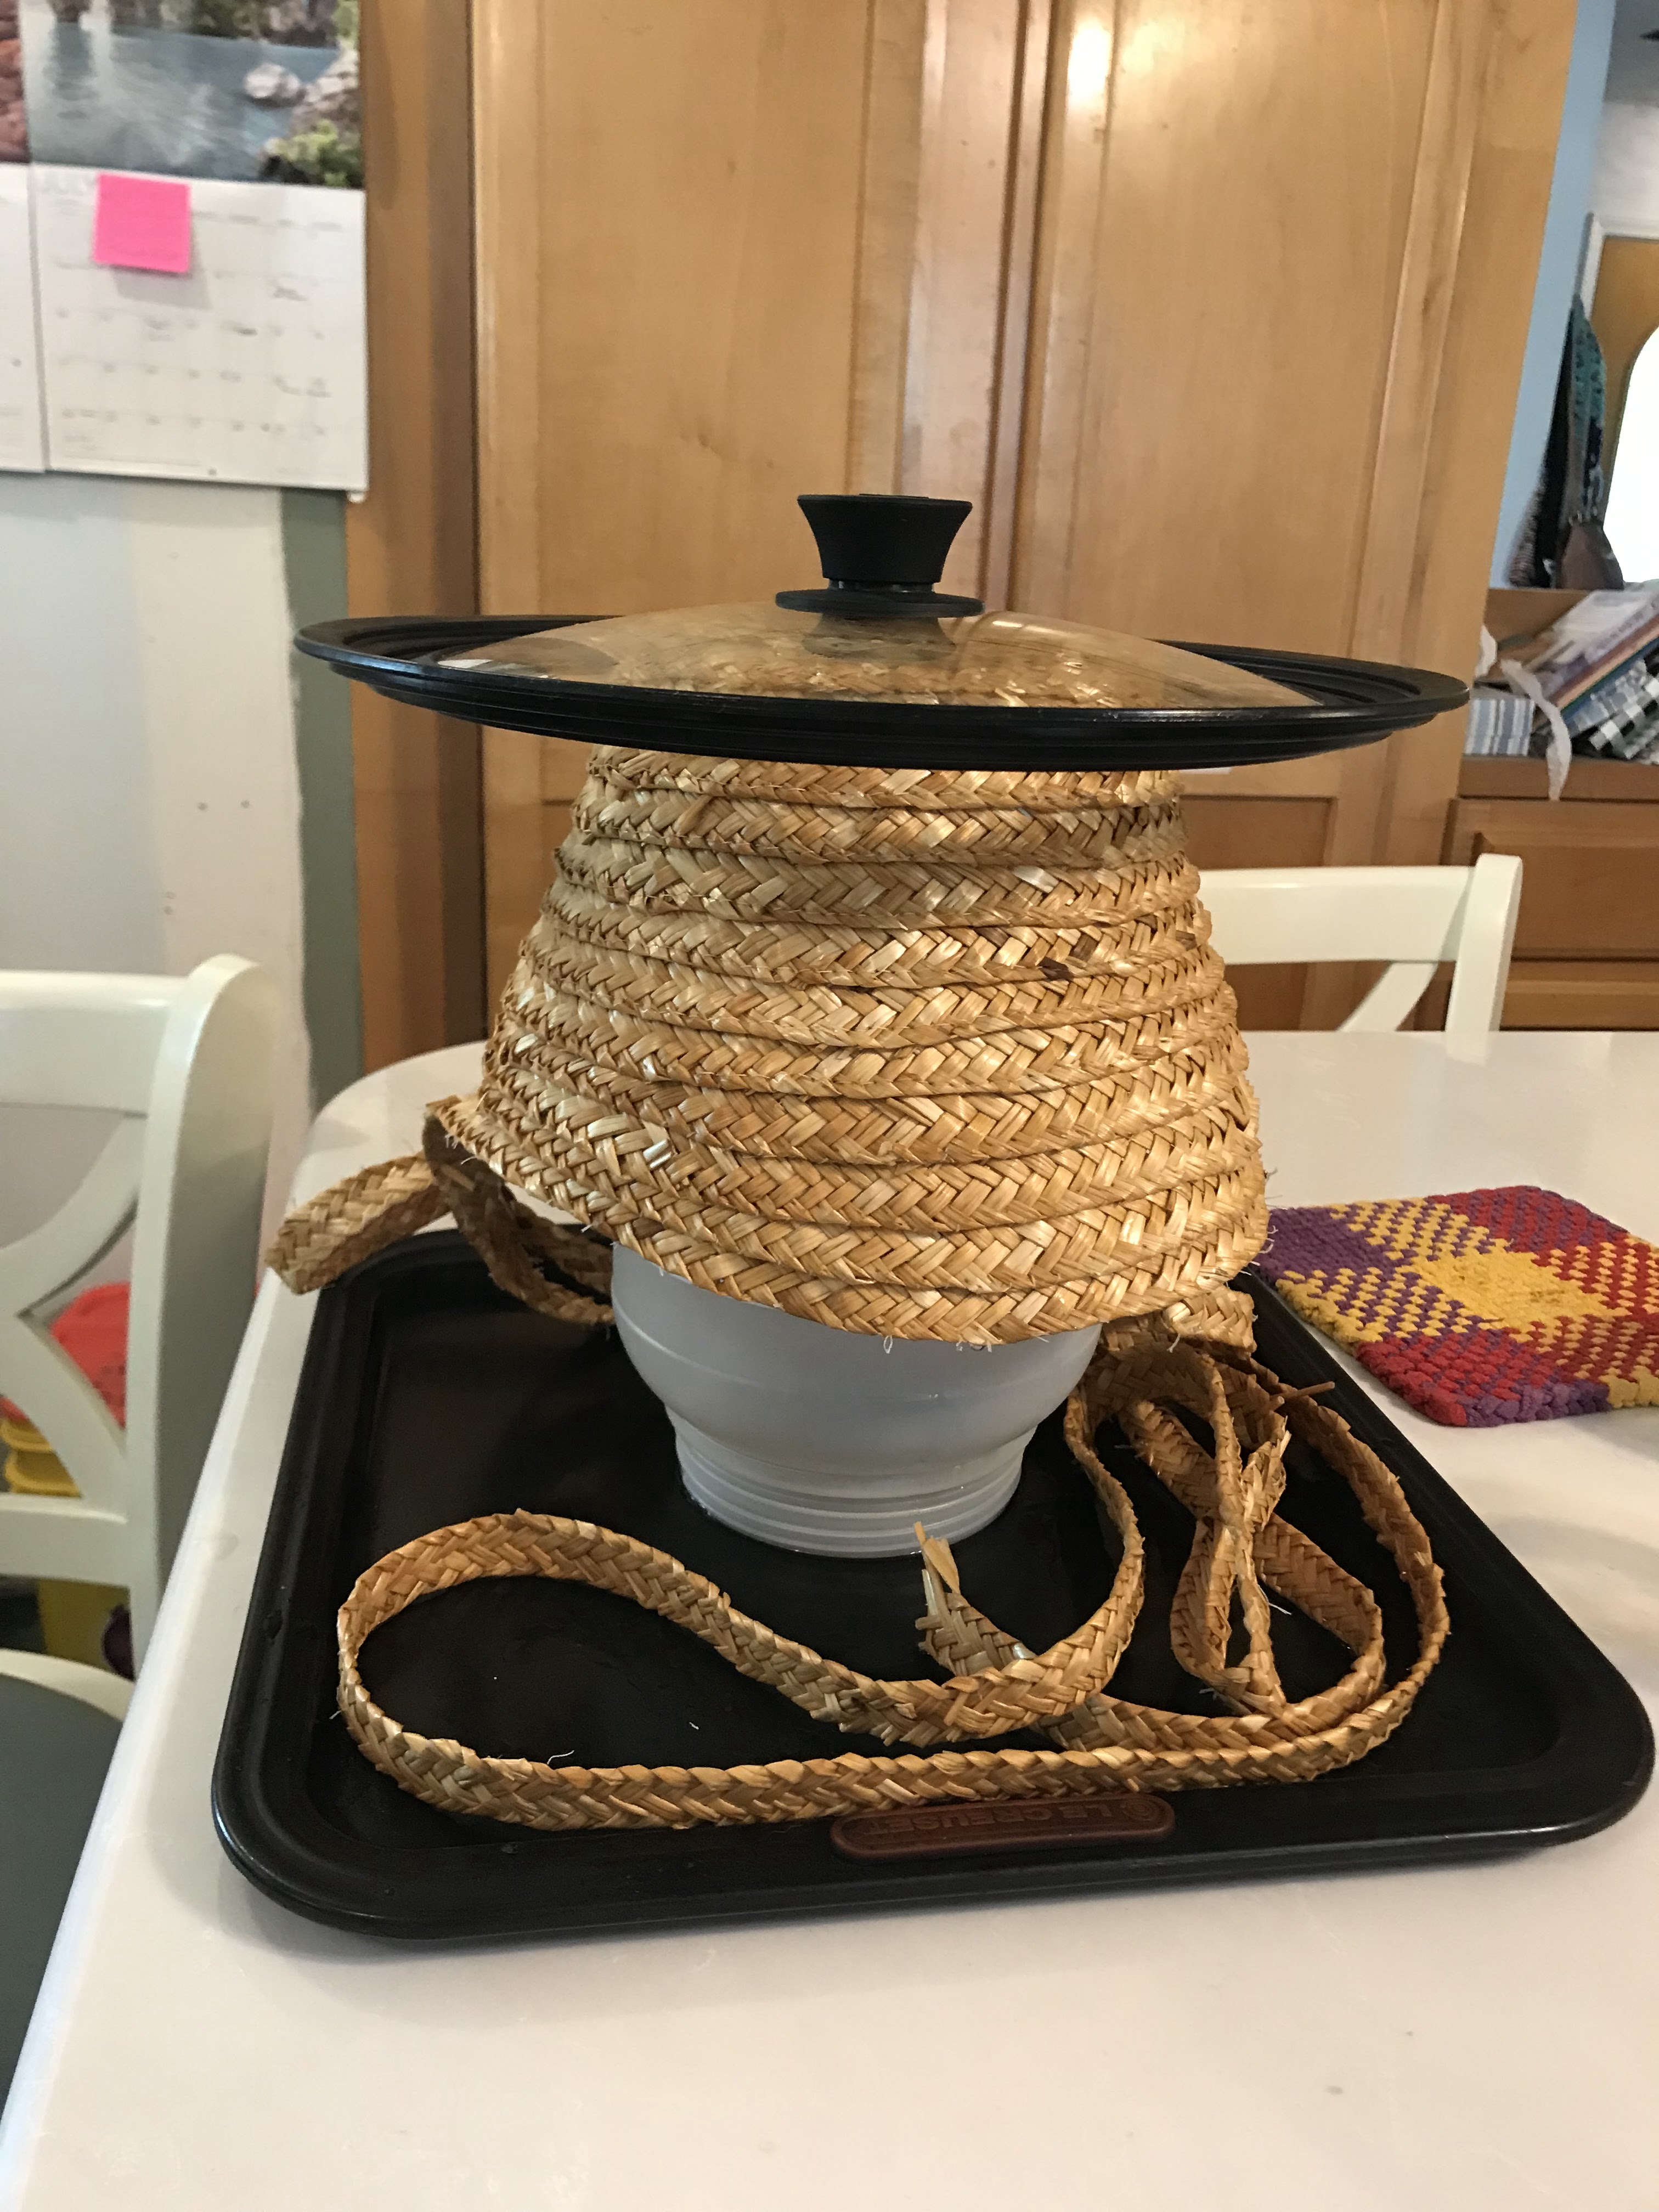


Once I had the crown satisfactorily re-shaped, I started messing with the brim.


I re-soaked the brim,


Then started coiling, holding things in place with little clips, and sewing.


By hand.


I did a little bit of hand sewing on the bonnet that weekend, and then was forced to abandon it, so I could finish my dress, until the night before the fashion show.

According to the time stamps on my pictures, I picked the bonnet up again about midnight that night.


I was clearly out of time to hand-sew, so I resorted to the sewing machine to finish the brim.

Which worked wonderfully.


10 minutes later I was trimming it with my long-hoarded blue moiré ribbon.


The ribbon I did hand-sew in place.


And the bonnet was done before 1 a.m. 


It only took about 6 or 7 years - but I finally had a Regency bonnet!


I love it!


The blue moiré ribbon trims it just as beautifully as I always thought it would!


Don’t look too closely at the damaged braid or the machine sewing.


From a distance it looks great!


I’m just thrilled to have this thing done!! Don’t you love finishing a UFO? It’s so satisfying!


What the item is: Straw Bonnet

The Challenge: Protection - this protects my face from the sun.

Material: Thrifted Straw Hat

Pattern: none

Year: 1810’s

Notions: Thread and Rayon moire ribbon

How historically accurate is it? It has the right shape and it’s made out of the right material, but the straw braid is thicker than it would have been in the era, and it’s mostly machine sewn. The ribbon is rayon, it would have been silk in the era. So let’s say 60%.

Hours to complete: not counting the hours I spent taking the original hat apart and beginning to sew it back together many years ago, when I picked it back up to finally make this thing wearable I spent around 3 hours reshaping, re-sewing, and trimming this bonnet.

First worn: September 3rd, for a 1799-1820 fashion show.

Total cost:$3 for the hat, everything else was given to me.

Saturday, April 22, 2023

Finishing and Wearing the Plaid Sheer Wool Late Regency (1810’s) Dress

 Two days before the fashion show and this was my to-do list for finishing my sheer wool 1810’s gown, now that  all the trim was done:

~ bind the neckline and sleeve cuffs

~ pleat and attach the skirt

~ drawstrings in the neckline and waistline casings

~ closures of some sort

Oh, and a bonnet. That needed to be finished too. But that’s another story.


The neckline and cuffs were bound in strips of fabric cut on the straight of grain. Bias cut strips are much easier to bind curved edges, such as necklines, with, but bias bindings were rarely, if ever, used in the 18th or early 19th centuries. On-grain bindings are a much more economical use of expensive fabric.


So, in the interest of accuracy, straight grain bindings it was! 


Once the neckline binding was on, I threaded a piece of 1/4” cotton twill tape through it as the drawstring.


~ Bind neckline and cuffs ✔️


Onto the skirt! 


I removed all my basting threads from the skirt trim, and then proceeded to pleat the skirt onto the bodice. 


I used knife pleats all along the back of the skirt, and the front of the skirt is left flat.


Once it was pinned on, I hand sewed the skirt to the bodice using a prick stitch.


The seam allowance was then covered in a piece of 1/2” cotton twill tape.


This formed a casing for the waistline drawstring - made from 1/4” twill tape just like the one in the neckline.


~ Pleat and attach the skirt ✔️

~ Drawstrings in the neckline and waistline ✔️


At this point it was the evening before the fashion show and I had a friend over for dinner. I tried on the dress so my friend could help me figure out how much the back could overlap before I sewed on the hooks and eyes.


Turns out I’d gained a bit of weight since fitting the mockup 6 weeks earlier, and there was no overlap to be had. The edges barely met at all. 


Thus, I sewed the hooks and eyes right at the edges of the back opening. The back would gap, displaying my bodiced petticoat, but atleast it would be fastened.


~ Closures of some sort ✔️


The dress was done! I just needed to trim my bonnet then I could go to bed and be well-rested for the fashion show the next day.


After using my one white Regency dress for anything and everything Regency for the past 6 years it was a thrill to have a new early 1800’s dress to wear!


And such a distinctive style rather than just another “plain white regency dress”.


I was definitely a bit disappointed that I had to resort to the sewing machine for the skirt trim - but when the dress is worn it’s really not obvious.


And the 
 overall look is fabulous!


It’s just so nice to finally have this dress done and wearable after years of planning and dreaming!


What the item is: 1810’s sheer wool dress

The Challenge: Perfect 10 - it’s from the 1810’s and there are 10 rows of gathered trim, 2 around the neck, 2 on each sleeve cuff, and 4 on the skirt.

Material: A sheer wool/nylon blend. It’s about 90% wool, so mostly wool and has a wool texture. The lining is cotton. Silk was used for the piping on the trim.

Pattern: I scaled up the 1813-1816 Morning Dress pattern from “Regency Women’s Dress” by Cassidy Percoco

Year: I based my dress on one from 1811 that I found on Pinterest and used an 1813-1816 pattern. So it would be suitable for most of the 1810’s.

Notions: Cotton cording, thread, hooks and eyes

How historically accurate is it? Sheer wool was often used for dresses of the era, but the nylon in mine brings down the accuracy a bit. A cotton lining is alright, though linen would be better. The pattern is accurate. The bodice was constructed by hand using period techniques, but the skirt and sleeves were machine sewn. It would be recognizable in the era I think. So 60-70%

Hours to complete: I’m not sure, I spent about 6 weeks working on this, and usually did atleast an hour of sewing per day.

First worn: September 3, 2022, for a Regency Era fashion show

Total cost: I believe I spent $5 per yard on this fabric several years ago. I think I got about 6 yards, so that’s $30. The notions were all from stash, the cotton and silk I got really cheap 2nd hand. So $35ish.

Saturday, April 15, 2023

Trimming the Plaid Sheer Wool Late Regency (1810’s) Dress

It was the trim that drew me to the 1810’s dress I was using as my inspiration for my plaid Regency dress.


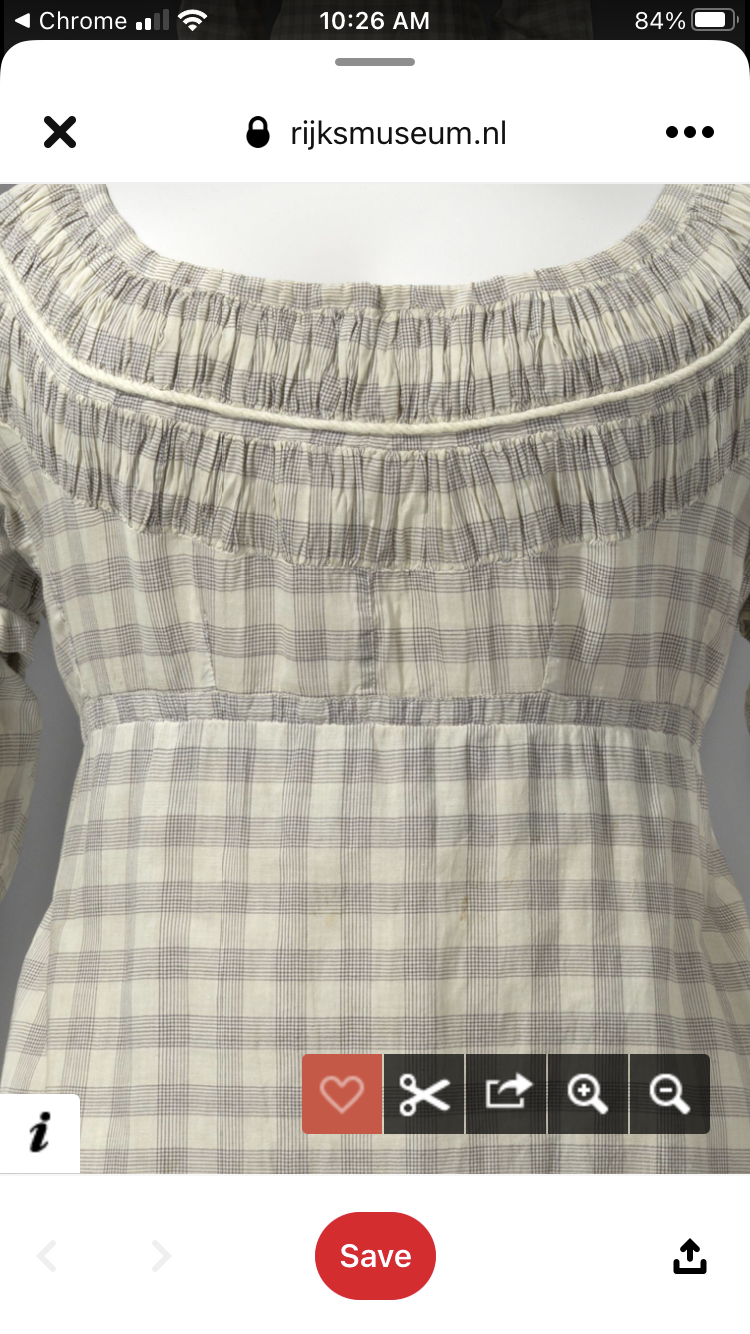
Rows of ruching around the neckline,


And on the sleeves.

Short puffed over sleeves.


And what was that on the skirt? 


Rows of cording?

My goal was to re-create the neckline and the sleeve trim as close as possible, but for the skirt I decided to do more rows of ruching rather than the cording on the original.

With this decided, the next question was how would I edge the rows of ruching. On the original some edges were trimmed with cording and others were left plain. It looked like the ruching might actually be sewn into the bodice, rather than being applied on top of an already finished bodice the way I intended to do it.

After studying the pictures I had, thinking through my order of construction, and the materials I had a available to me already in stash, I decided to edge all the rows of ruching with ivory silk piping. Looking at pictures of other 1810’s dresses on Pinterest, this seemed to be a perfectly historically plausible trim choice.

Now how many rows of ruching would there be? I was making this dress for the Historical Sew Monthly “Ten” challenge since it was a dress from the 1810’s, so I decided to keep with the theme and do 10 rows of trim - 2 around the neckline, 2 on each sleeve, and 4 on the skirt. 2+2+2+4=10


With this all decided I made a ton of ivory silk piping.


And had the help of a kitty cat while doing so.


All the piping and some extra silk bias tape got wound up.


Next I figured out how many strips of wool I would need to make all the ruched bands. I cut those, pieces them together as needed, and in the interest of time, I sewed all my gathering stitches, down both edges of the wool strips, by machine.

The strips were pinned at the quarter points of the appropriate dress pieces, and gathered to fit.


This was easy on the bodice.


And the sleeve cuffs.


But quite a task on the skirt!


So. Much. Gathering.


The cats helped with this as well.


Once all the rows were gathered down to size they were each hand basted onto the dress pieces - right down the middle, so the edges were free and ready to be piped.


On the bodice and the sleeve cuffs the piping was hand basted on.


Then the raw edges were flipped under and everything was hand sewn in place.


After I sewed on the first row of trim to the neckline, I took a break from trimming to finish the sleeves. I hemmed the short over sleeves and hand sewed a channel around a piece of cord to gather down the bottom edge. 


Then the long and short sleeves were layered together and set into the bodice armscyes. I hand sewed the sleeves on, as that gave me the most control and best end result.


Once the sleeves were in I finished the armscye seam allowances and went back to trimming- finishing up the trim on the sleeve cuffs and adding the second row of trim to the bodice.


I intended to hand sew on the skirt trim in the same manor - the end product looked really nice!

But it was the week of the fashion show.


And after hand sewing on part of one row of skirt trim I was forced to admit I wouldn’t have time to hand sew it all if I wanted to have a wearable, trimmed, dress for Saturday - remember the dress was still in pieces at this point. I intended to sew it together once the trim was all on.


I resorted to the sewing machine.


I machine sewed the piping to each row of ruching.


Then flipped the edges under and used my zipper foot to “stitch in the ditch” and sew each row of ruching to the skirt.


The cats continued to help.


Lending lots of moral support.


I sewed on all the trim on Wednesday, giving me Thursday and Friday evenings to assemble and finish the dress - would it be truly done by Saturday or would a be wearing a safety-pinned together gown to the Fashion show?


That was yet to be determined, but atleast the thing was trimmed!


Check back next weekend for the conclusion of the story!