Showing posts with label Tutorial. Show all posts

Thursday, October 8, 2020

Making a Neck-Tie Top with a Lower Neckline

 This is the first time in months that I’ve made a knit top for myself. All summer long I’ve been making myself dresses, and while I love dresses, I’d forgotten how fun, quick, and easy sewing with knits is!


This is also the first time in months there’s been a Winter Wear Designs blog tour! I hadn’t forgotten how fun these are to participate in, and I’m happy to be doing one again!


This week WWD re-released the formerly retired Neck-Tie Top pattern. It's been updated, the size range has been expanded, and it's received a couple of additions, namely, sleeve options!!! 


I do love fun sleeves, and any pattern that has them instantly catches my attention! That said, the sleeve options included with the Neck-Tie Top, might look a little familiar, as they were part of the, now retired, WWD sleeve add-on pack from a few years ago. I was sad to see this pattern go, so I am thrilled that these sleeve options are available again! Do you want slightly puffed, very puffed, or somewhere in between sleeves? This pattern has them all! As for me, no surprise here, I picked the "very puffed" 3/4 length poet sleeve option. Puffed sleeves are the best!


Ok, fabulous sleeves aside, this pattern didn't actually appeal to me that much, so I thought I might just sit this blog tour out. Why? The neckline. It has a fantastic bow, which it's named for, but it is a very high neckline, almost a turtle neck, and I just don't wear necklines that high. They look fantastic and elegant on most people, but I don't like them on me. 


The high neckline is the whole reason I never bothered to make this pattern back before it was retired, despite thinking it would look absolutely amazing with the plaid wool circle skirt I made using the Crop Dress pattern. And, I would have passed up making this pattern again had it not suddenly hit me "You know how to hack patterns Alyssa! You do it all the time!! Just lower the darned neckline!"
Just like that, I was making a neck tie top for myself.


I was worried it might be complicated to lower the neckline and keep the neck tie, but it proved to be incredibly easy! I just cut out the neckline at about the level I thought I would want (I could have cut it lower, the neck tie adds some height to the finished garment neckline.), sewed up my shoulder seams, then measured the circumference of my new lower neckline and marked with a pin where I wanted my neck tie to tie. (I picked 2" from the center front for this, as that's about where the mark was on the original high neckline, but with the lower neckline I wish I'd moved it a bit further over to the side.)
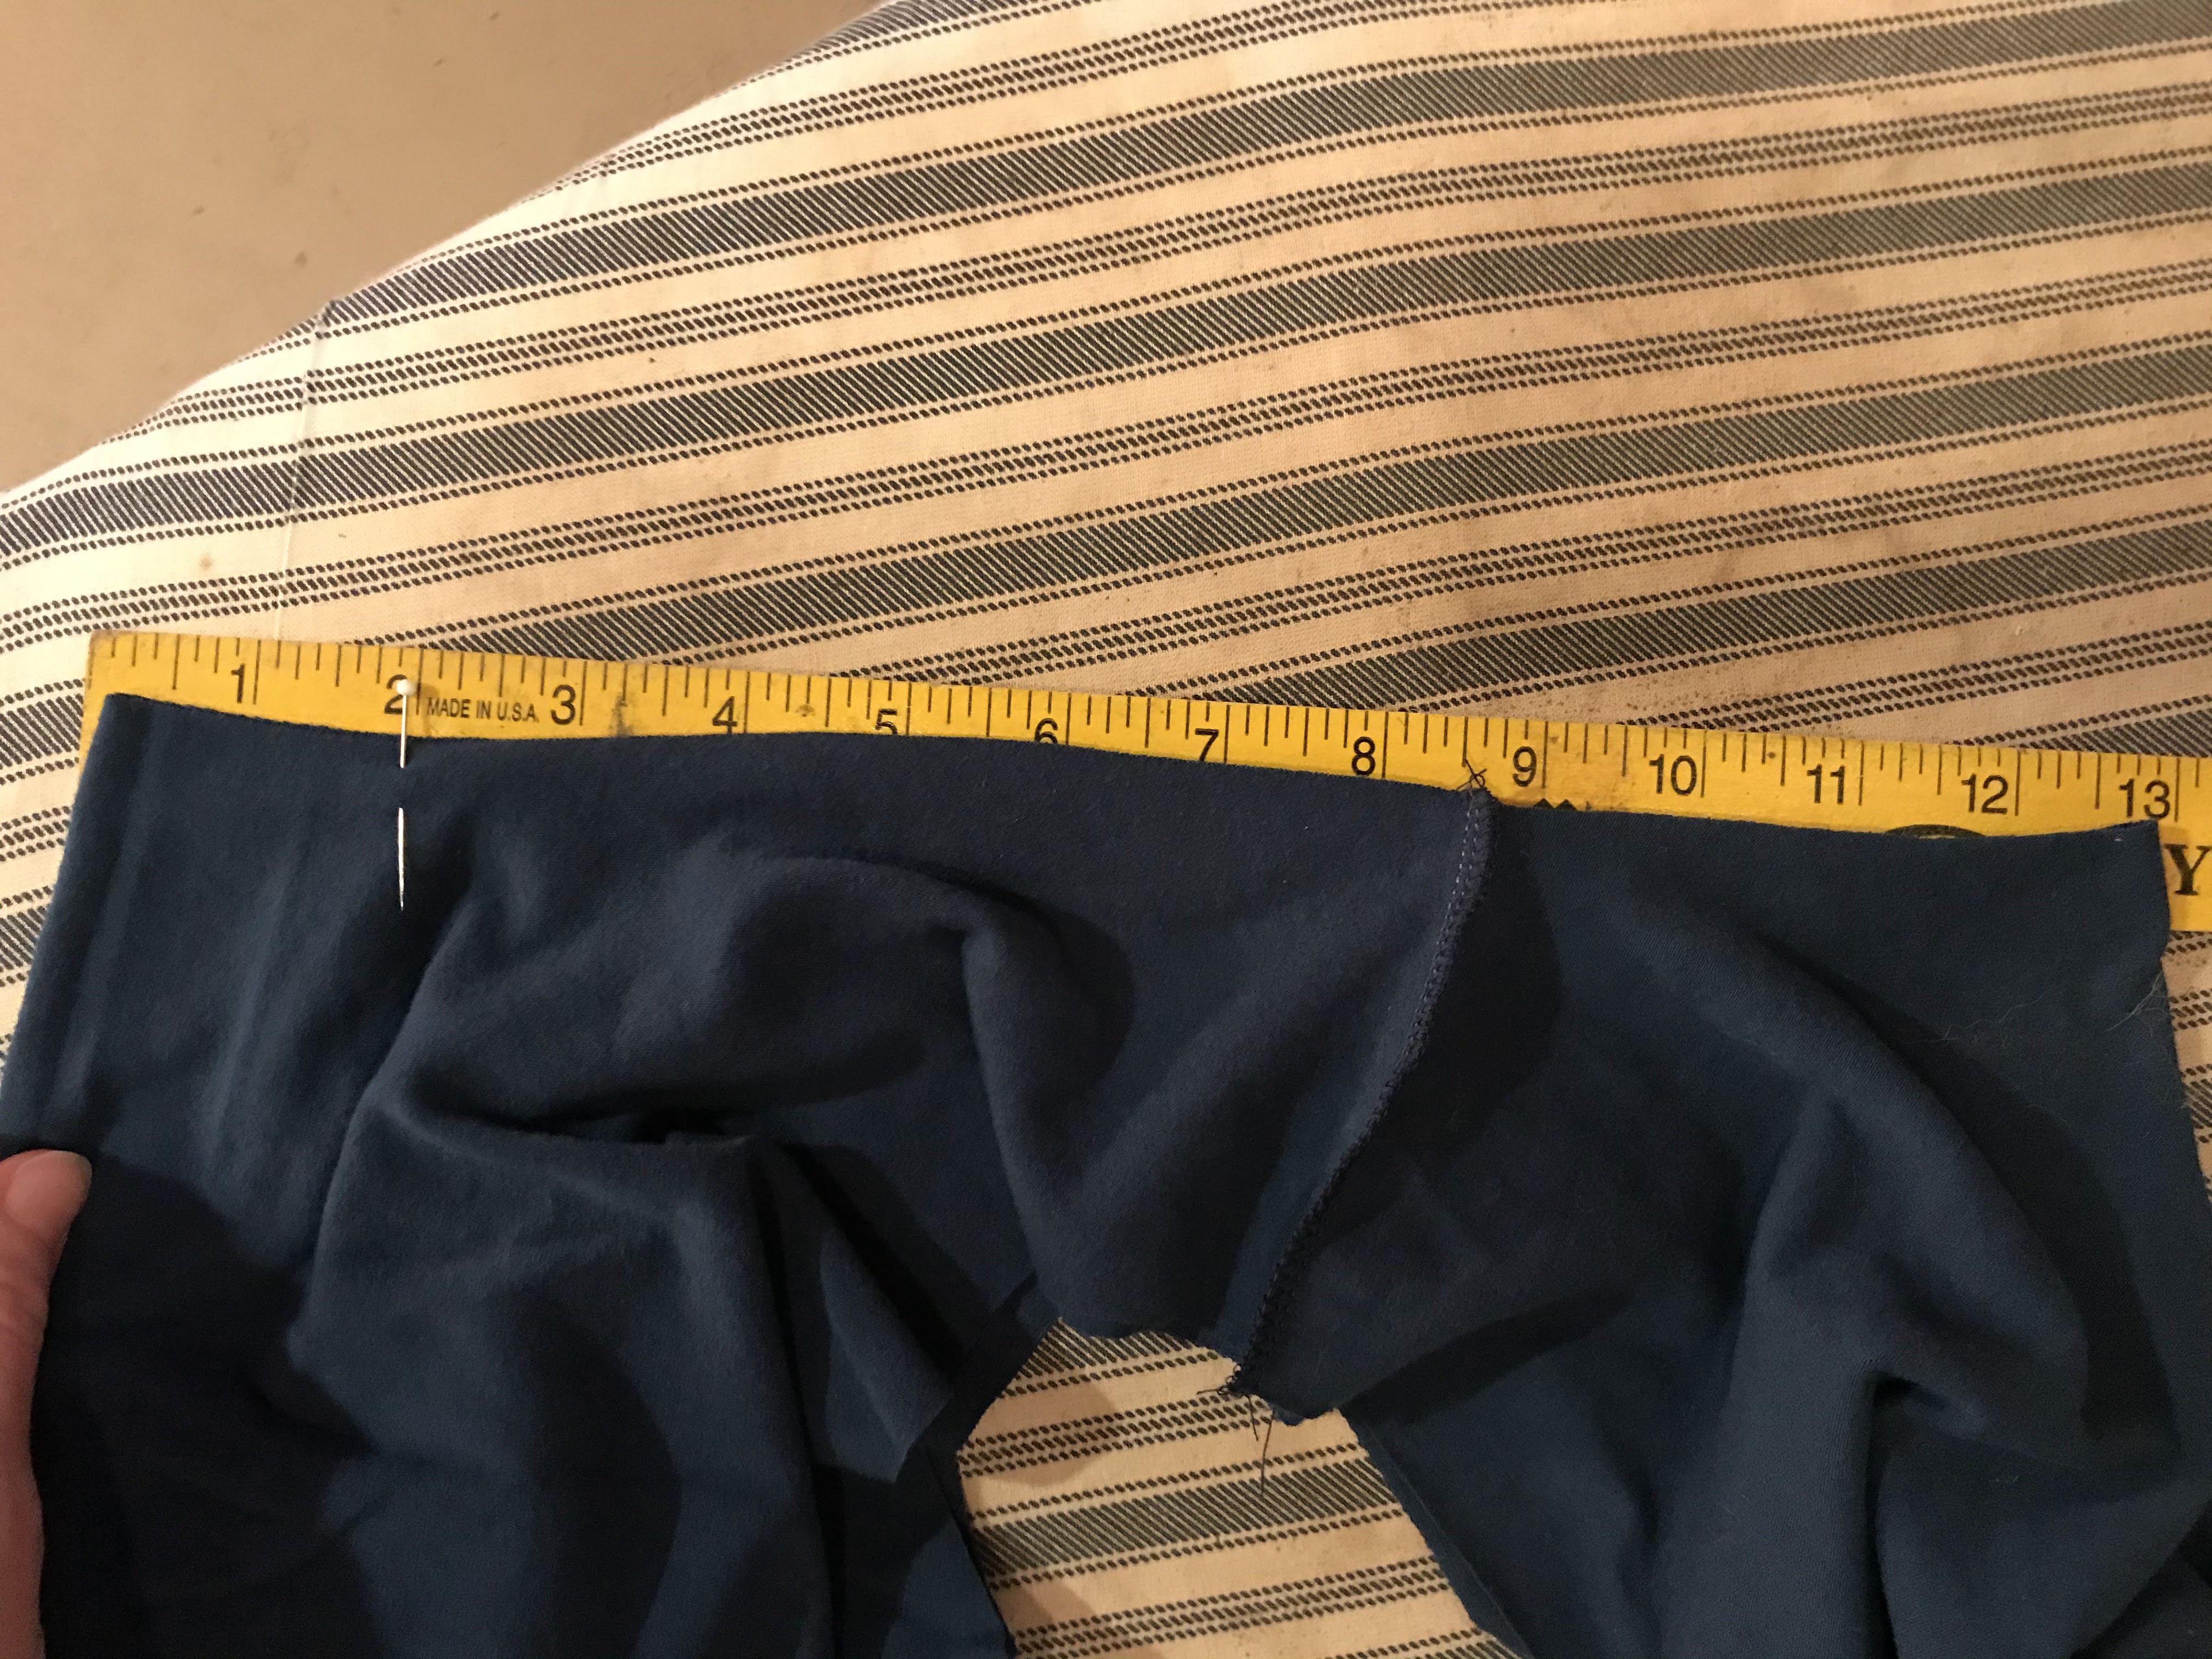

 I calculated what 85% of the neckline measurement was, just like you would for a standard knit neckband, and made the section of the neck tie that attached to the neckline this long. 


It worked beautifully! The tie lays nicely on the new lower neckline, looking just as elegant as it should while being comfortable for me to wear!


I'm now very pleased that I decided to make this top. I wore it the day I finished it, and I've worn it a couple time since as well. It looks just as fantastic with my plaid circle skirt as I thought it would, and I like it with jeans too.


Thank you Suzanne for inviting me to join this blog tour so that I actually gave this pattern a try! It was worth it!


The Neck Tie Top is on sale for it's release this week for only $3! Once the sale is over, as part of the Wardrobe Builders collection it'll be $5 regular price - and it's certainly worth it! The hacking potentials with this pattern are great, and the sleeves can be used on just about any WWD knit top pattern.


For more Neck-Tie top inspiration, check out the rest of this week's blog tour! The sneak peeks I've already seen of these ladies' projects has made me eager to make a few more versions of this pattern!


Wednesday 10/7

Thursday 10/8

Friday 10/9

Monday 10/12
Aurelie of Maglice&So

Tuesday 10/13
Donnisha guest posting at Winter Wear Designs


Tuesday, September 24, 2019

How to Add a Scalloped Neckline to Any Top Pattern

It was in church one Sunday morning, over a year ago, when I noticed the back neckline on the shirt worn by the lady sitting in front of me was scalloped! Yes, it was a fantastically, beautifully, scalloped neckline! Clearly my attention was caught by this neckline, and along side my sermon notes from that Sunday are sketches of several garments I thought I might add a similar neckline to. I do have a fondness for scalloped edges.


It took a couple months, but last fall I finally got around to making myself something with a scalloped neckline. I applied the neckline I had in mind to the Outer Banks Boat neck by Winter Wear Designs, because I really love the fit of that pattern on me. 


The first version of my scalloped necked Outer Banks tee turned out just as fabulously as I'd hoped, so I immediately made myself a second one. I wore the first version to our family Thanksgiving dinner, where my aunts liked the scalloped neckline so much I decided to make a scallop-necked shirt for each of them as a Christmas gift. Then this spring, I decided to make myself another one for my Easter outfit. And while I was making one, I figured I might as well make two. Thus, I also made this one, out of a floral print cotton spandex jersey, with the poet sleeves from the Winter Wear Designs sleeve add-on pack (These sleeve patterns are free with a code found in the "files" section of WWD Facebook group!)


And while I was making this floral, scalloped, Outer Banks Boat Neck, I took pictures of each step so I could share a tutorial on how to make  a scalloped neckline. Thus (several months later than I intended to write it), without further adieu, here is how I added the scalloped neckline to the shirt pattern. This method can be used with almost any top pattern, so pick your favorite and have fun!


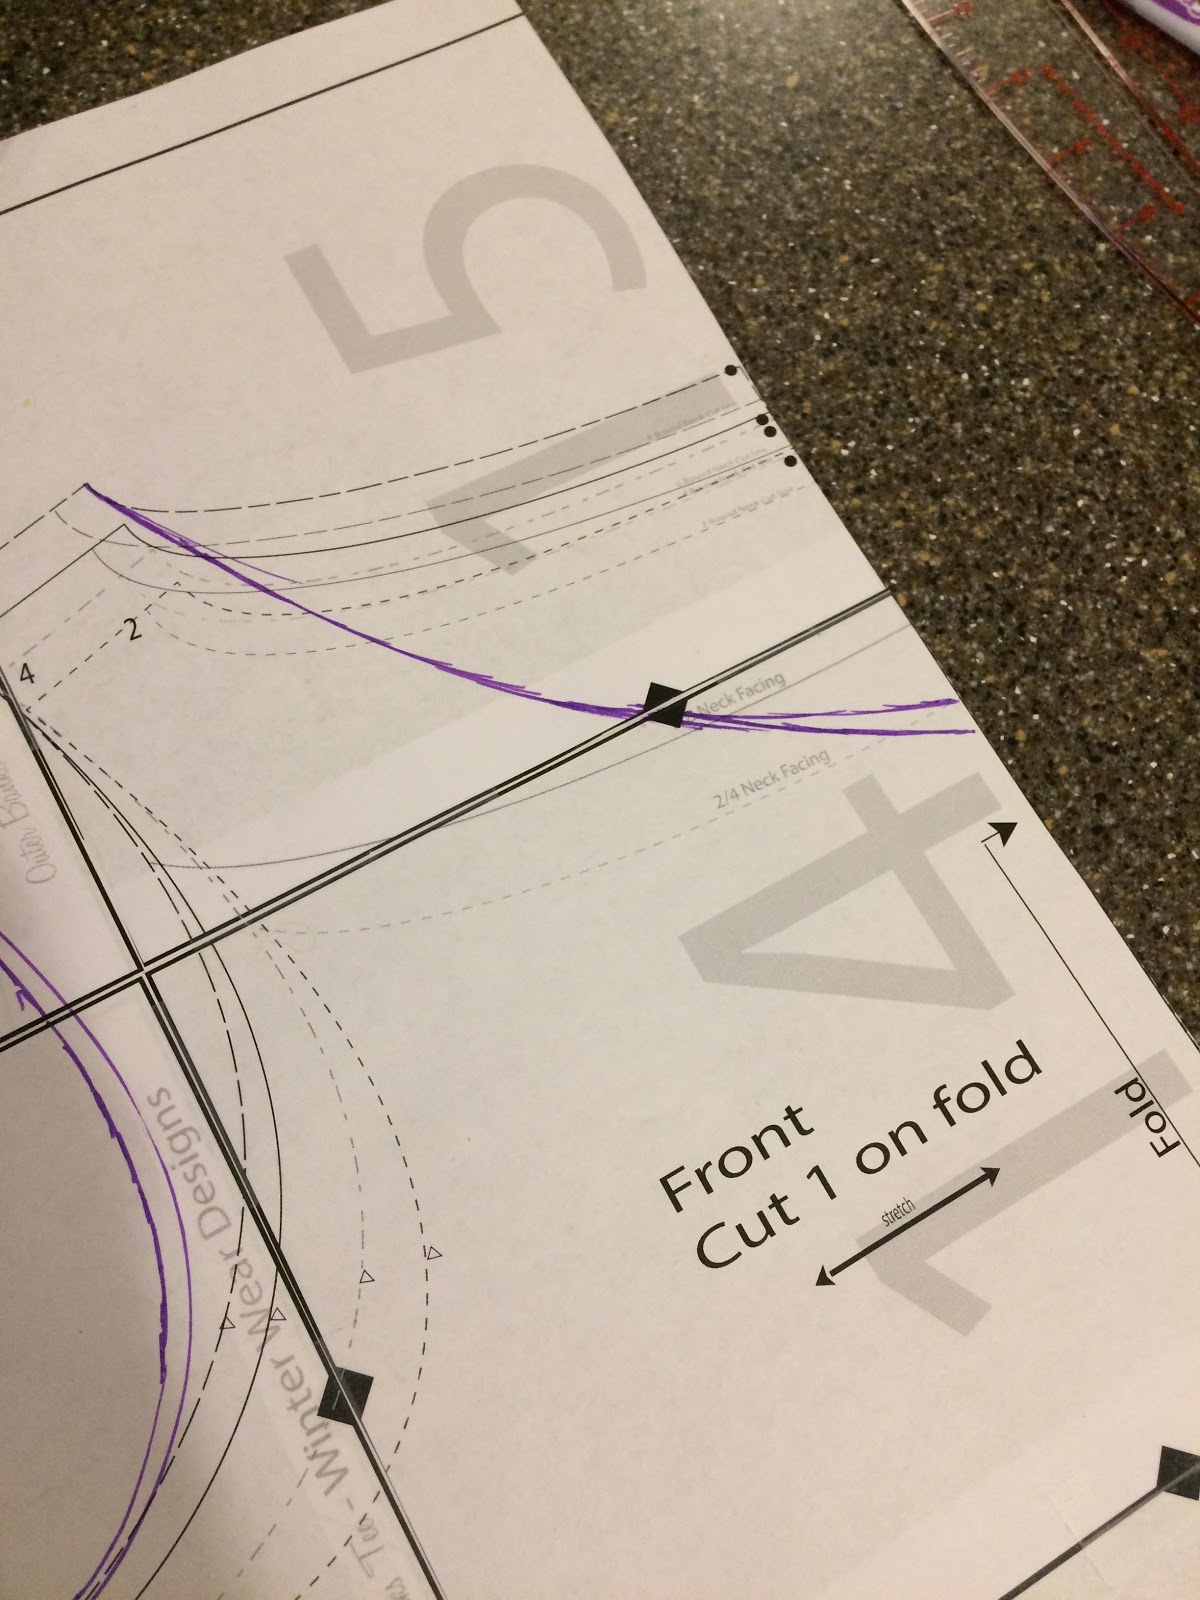
Step 1: Decide what basic shape (pre-scallops) you want your neckline to have. There won't be much stretch in the neckline when all is said and done, so it's best to make the neckline large enough to fit over the head with minimal stretching. A boat neck, scoop neck, v-neck, or square neckline will all work. I chose to do a v-neck, so I drew that onto my pattern.


Step 2: Add Scallops to your new basic neckline shape. Find a round object about the size you want your scallops to be. For me, the rounded end of my tape dispenser turned out to be just right! Starting at the center fold line of your pattern piece, trace around the round object, then move it up the neckline, placing it right next to the scallop you just traced, and trace it again. Repeat this until the whole neckline on the pattern piece is scalloped, then do the same on the neckline of the back pattern piece. Please note: I made sure to have the scallops end where the seam allowance began at the shoulder seams so no scallops would be caught in that seam.


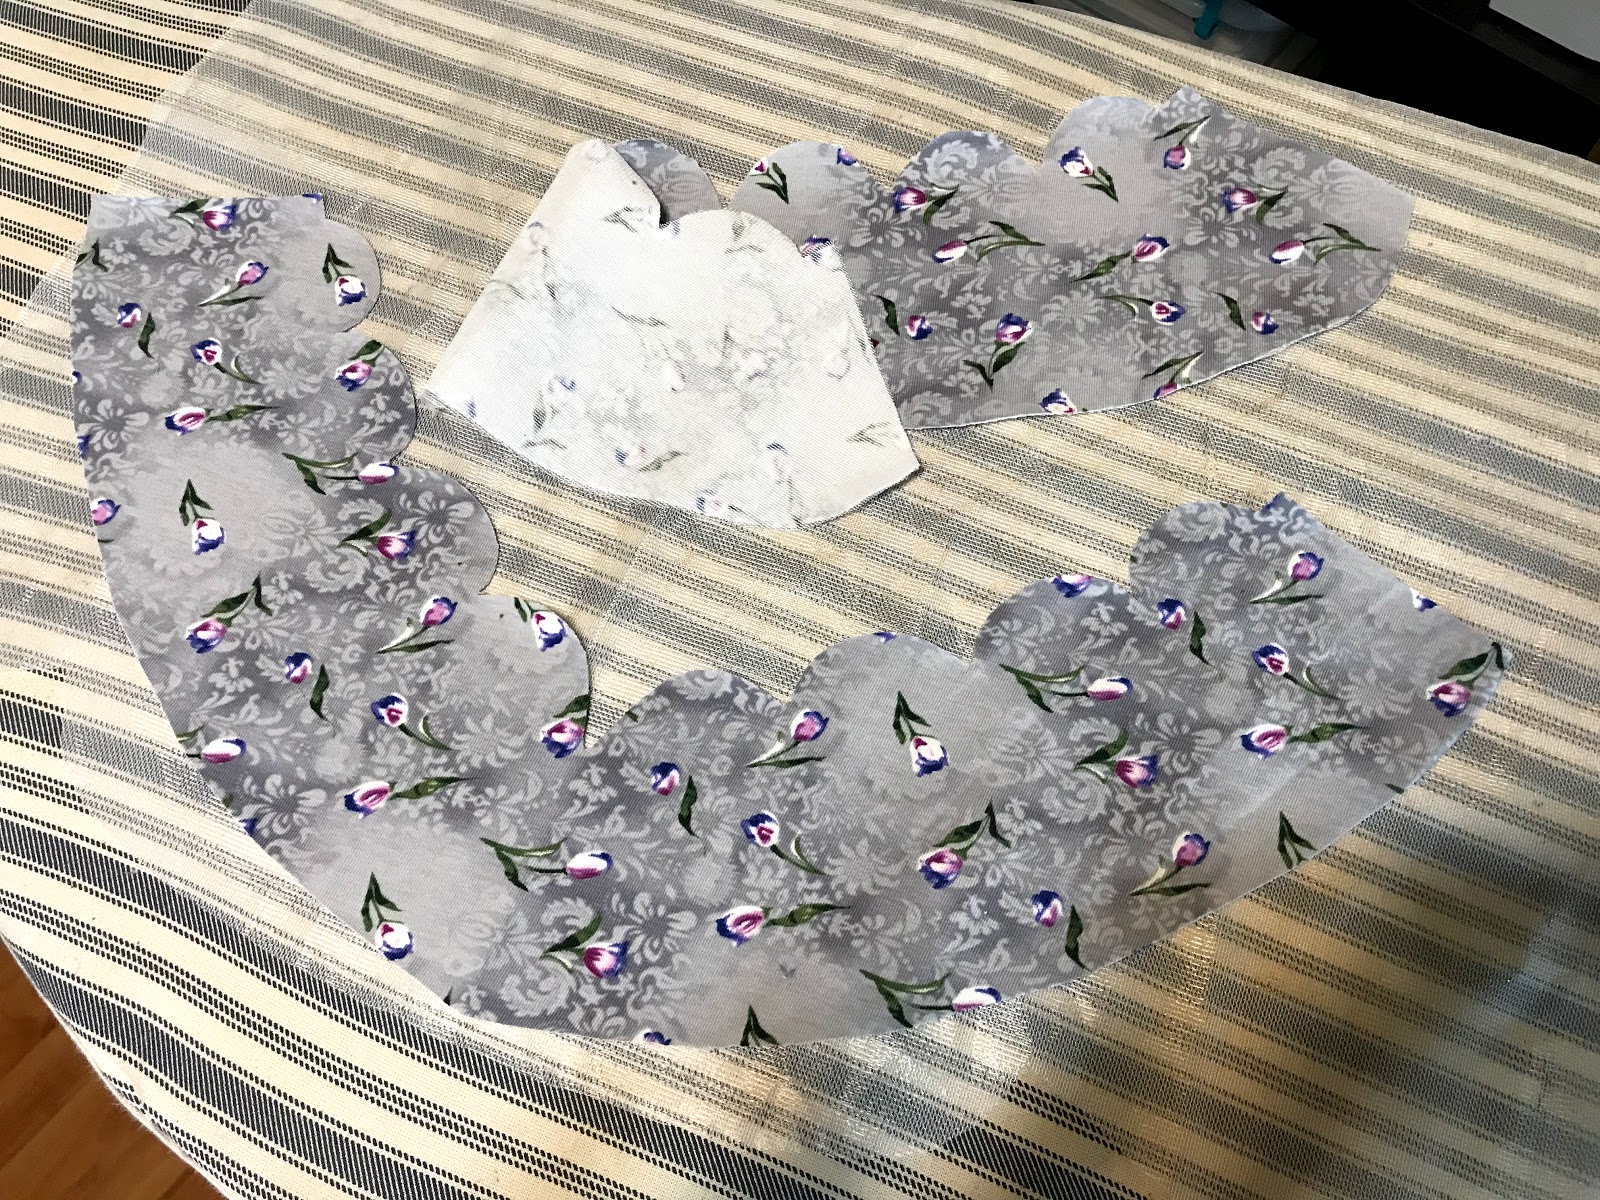
Step 3: Trace the new scalloped neckline and make corresponding front and back facings for the new neckline. A good facing is usually about 2"-3" wide.


Step 4: Cut out all pattern pieces from your chosen fabric and interface your facing pieces. For knit garments, I use whatever knit interfacing I can find at Joann's. If you're applying a scalloped neckline to a woven garment, any light to mid weight interfacing you prefer will do.


Step 5: Sew the shoulder seams of the shirt body pieces and the facing pieces.


Step 6: Right sides together, pin the facing to the skirt neckline, matching up the shoulder seams and all the scallops. Don't be stingy with the pins here - for best results pin each individual scallop.


Step 7: Carefully sew around each scallop stitching the facing to the neckline. At each divot in between the scallops, sink your needle into your fabric and lift your presser foot in order to pivot.


Step 8: Clip between each scallop - making sure to cut right up to the seam line, but not through it - and trim the seam allowance around each scallop down to 1/8". 


Step 9: Turn scallops right side out by flipping the facing to the inside of the garment. Work each individual scallop with your fingers until it is completely turned out, nice and round, not pointed.


Step 10: Press that new scalloped neckline nice and flat.


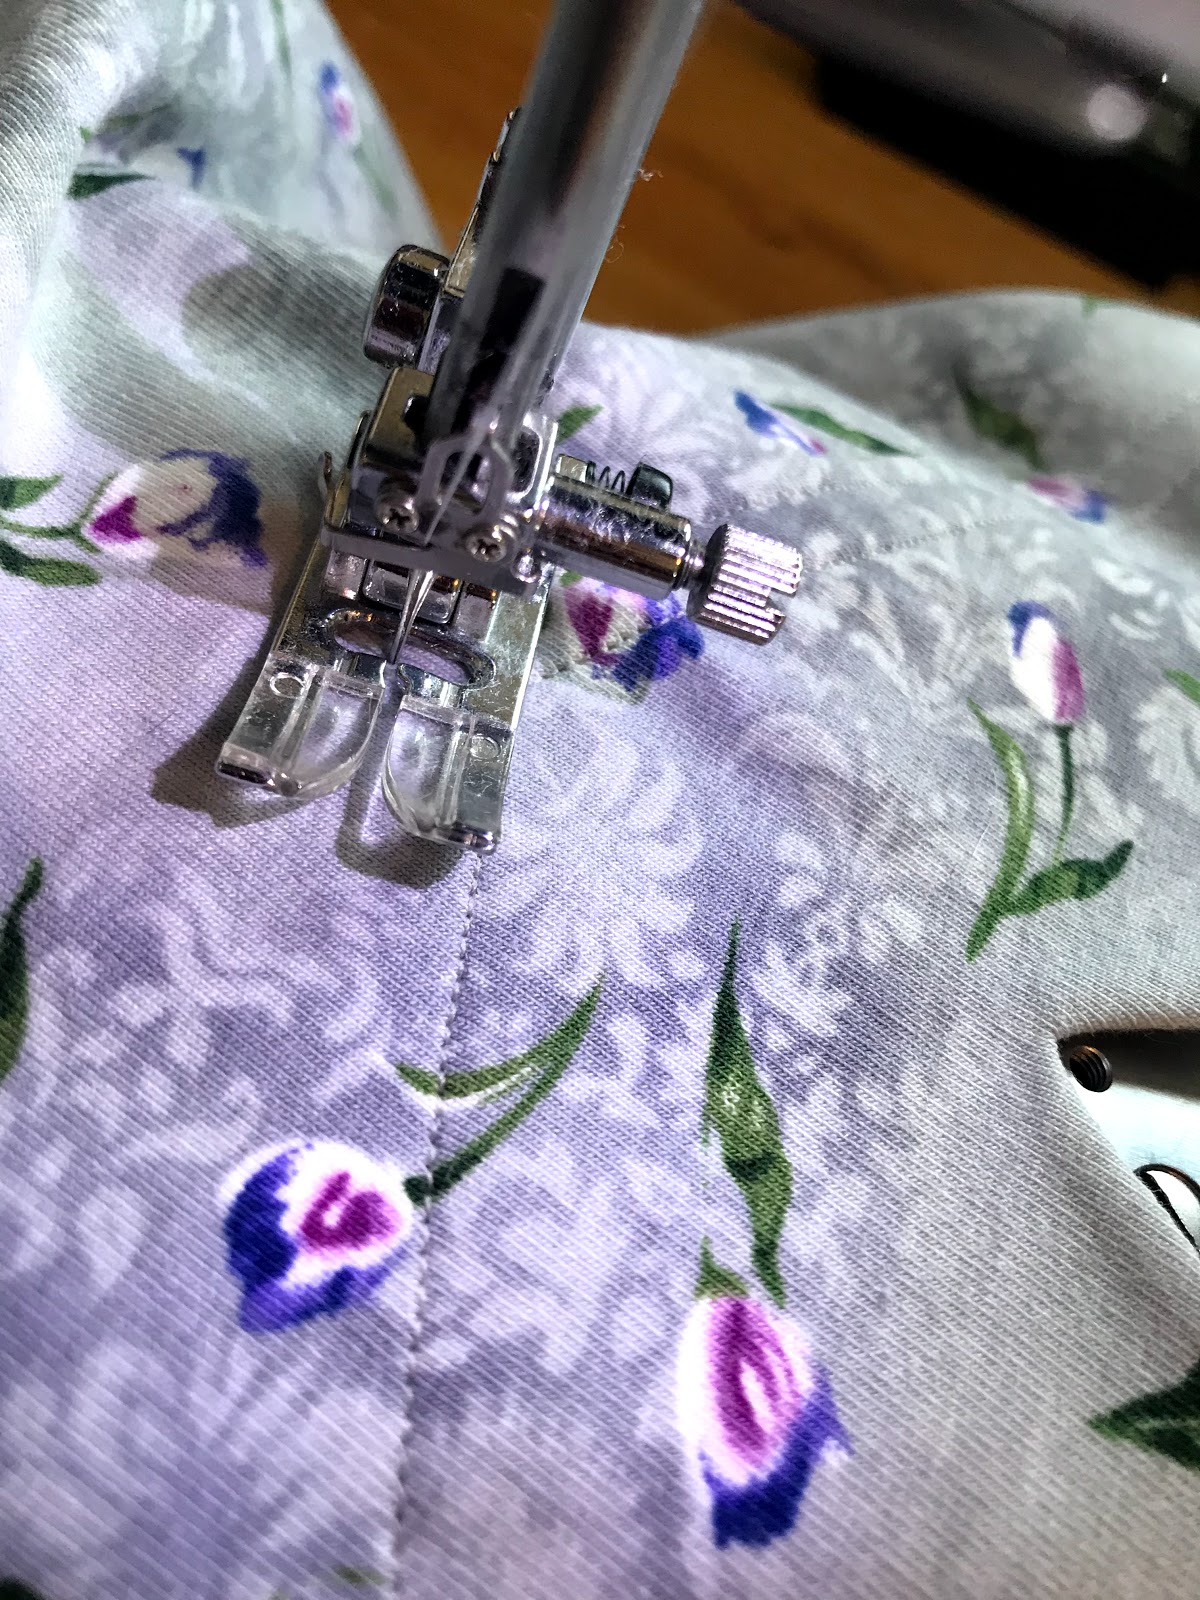
Now you could be done here and proceed to finish your shirt like normal according to the pattern instructions, but personally, I like to add a couple rows of top stitching around the neckline to hold the facing in place inside the shirt.


I find facings that flip out super annoying and don't mind the look of a top stitched down facing usually, but others have different preferences.


After deciding whether or not you want a top stitched down facing, go ahead and finish your top according to the pattern directions, side seams, sleeves, hem, etc..

Close up of my top stitched facing. I did two rows of top stitching as I felt it looked more intentional than just one row did.
And with that, your scalloped neckline shirt is done!!


With this pattern I have successfully made scalloped-necked shirts out of cotton-spandex jersey, rayon-spandex jersey, 100% rayon jersey, double-brushed polyester-spandex jersey, and knit crape (or Liverpool).


I have yet to encounter a knit fabric I have not been able to turn into a scalloped-necked top, provided I properly interface the scallops.


So that's it! Thus far I've made 6 Outer Banks Boatnecks with scalloped necklines, and I'm sure I'll make more in the future!


This simple "hack" really is a great way to dress up an otherwise "basic" top!