When I saw "a rain coat" on the World Race packing list, I knew right away I would be making a rain coat. How hard could it be? I picked up 3 yards of waterproof nylon and started looking at rain coat designs. I was ready to get started!
I decided that since my raincoat needed to be, well, waterproof, I should probably do a bit of research about how to make a good rain coat before I just jumped in. That was a good decision. There's apparently a lot that goes into making a rain coat water proof.

For example, you don't want any pin-holes in your fabric, because those could let water in, so rather than simply pinning my pattern pieces to my fabric and cutting out the rain coat, I used Dr. Seuss. Yep, I was at work when I cut the jacket out, and these books were the closest things I could find to pattern weights. They worked! I used the books to hold the pattern pieces down, then traced around each pattern piece with tailor's chalk, removed the books and pattern piece, and cut the piece out. This process took an entire 3-hour nap time.

Now, the next step in making a rain coat water-proof would probably be to make sure you don't cut it out to small. Sounds simple right? Well, some how I managed to mess up on that step. I used a Simplicity pattern (I can't remember which one, sorry. It's in my sewing room in the states, I'm in Ecuador), with some alterations, that had been in my stash for years. I cut out a size 12, my standard size in Simplicity patterns, and it was too small! Yes, I should have measured myself and checked the size chart first, rather than just assuming I knew what I was doing.

See the pretty piping down that sleeve? It wasn't supposed to be there. I'd originally made the sleeves all one piece (less seams, more water proof), not four. When I tried on the jacket to check for fit prior to adding the hood and inserting the zipper, I discovered the sleeves were too short and too tight! So, I cut the sleeves in half down the top of the arm and added a strip of fabric with piping on either side. That was not fun to do, it took way to long, but it worked! Fixing the length issue was easier. I just added an extra band of fabric to the bottom of each sleeve. Those alterations did the trick! Once done, the sleeves fit perfectly! Next up, the rest of the jacket . . .

The rest of the jacket was too small as well, so that had to be fixed. I added an extra panel down the center front of the jacket and made the zipper off center. I'm calling that a design feature, and honestly, I really like it!

Fit fixed, I added the hood, and discovered I'd made that too shallow! So, I added a brim. Thankfully, that was an easy fix. Now the hood does its job and keeps my head and face dry!

Due to the fit issues, this jacket took nearly all of my last week at home to finish, but it was worth it!

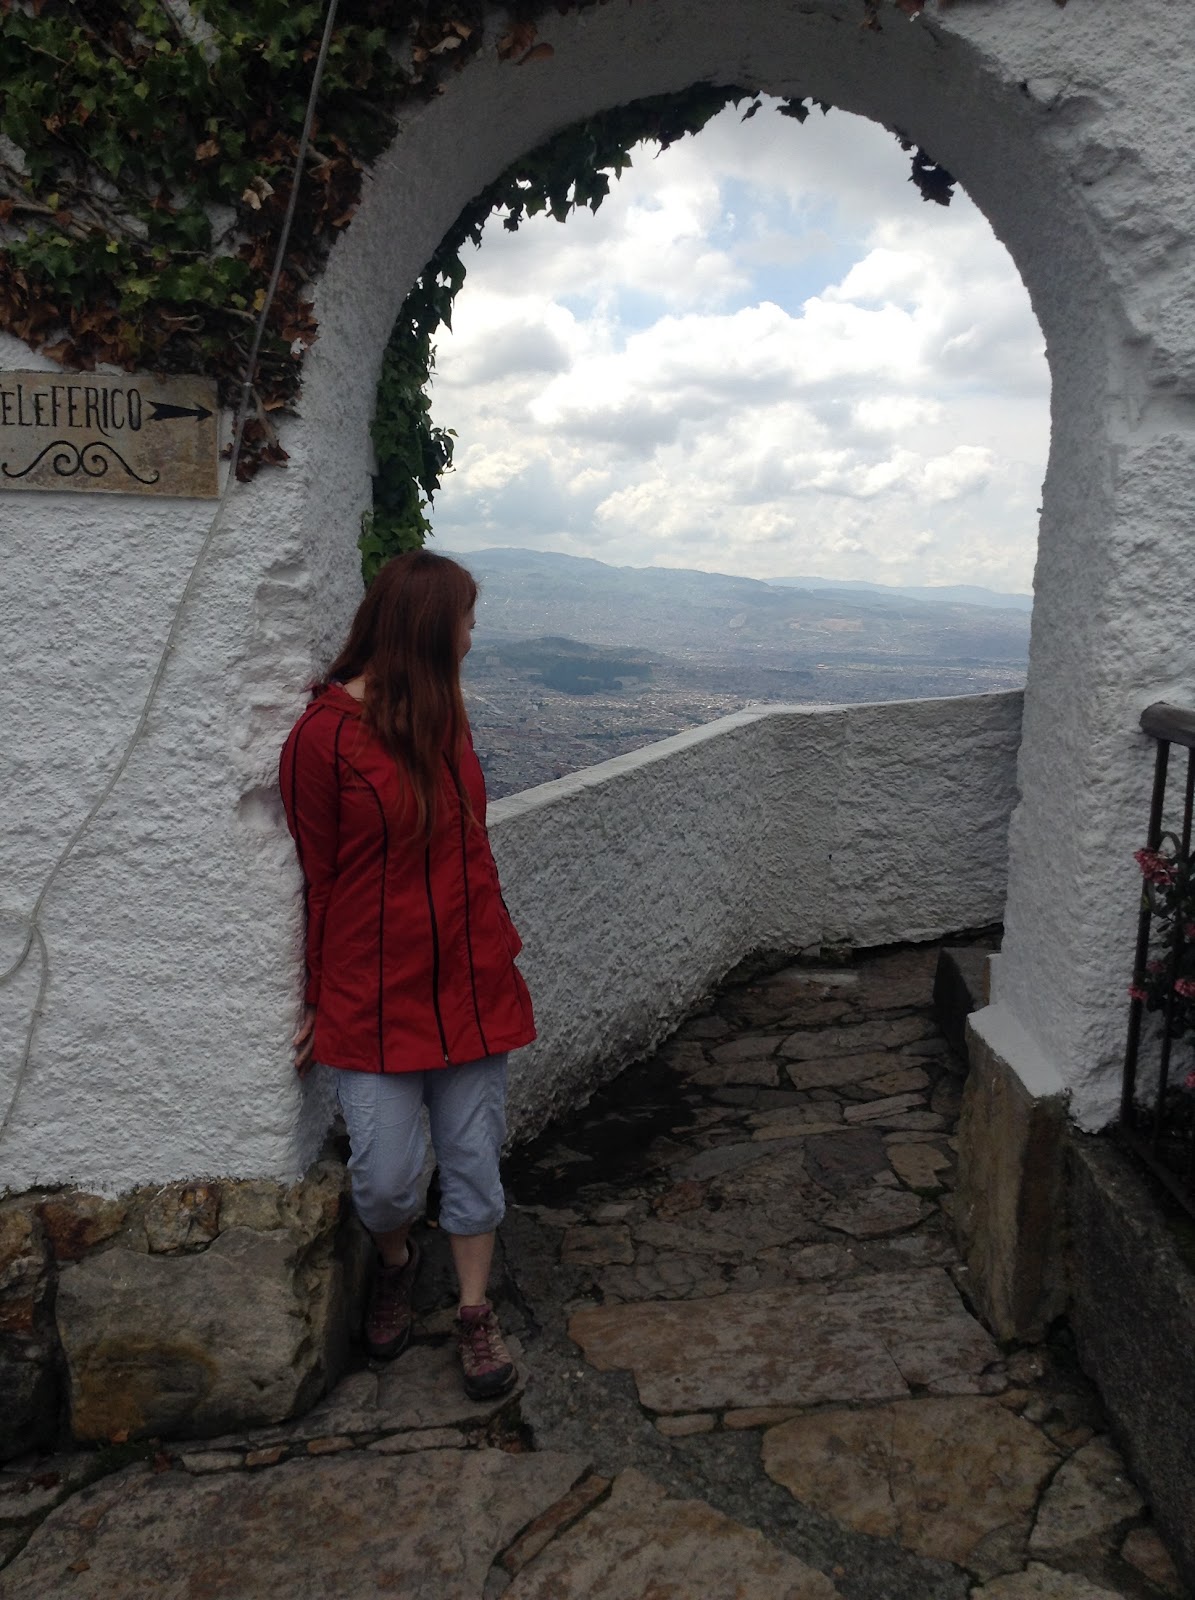
I love my rain coat, it keeps me dry, and I've received all sorts of compliments on it! Also, despite the fit issues, I did a few things right on this rain coat. I piped every seam with another type of water-proof fabric, thus making the seams pretty darned water-proof. As an extra measure on the inside of the jacket every seam is coated in seam-seal. (I picked this up at wal-mart in the camping section)

Although you can't see it when I'm wearing the jacket, the lining is one of my favorite features of my rain coat.
The lining encases all of the interior seams, except for where the hood is attached, so I finished that seam with some homemade bias tape I has on hand. (I used the same bias tape to make the hem facing, which I didn't get pictures of)

I found this light-weight rose-print rayon in the clearance section at Joann's, and fell in love. It's soft, and pretty, and totally unexpected on the inside of a raincoat! (Everyone who has seen the lining has commented on how much they like it!)

So, it's safe to say I learned a bit while making this rain coat, and all the frustration was worth it! I have a fabulous, one of a kind rain coat that will keep me dry all over the world!

*All photos taken by my awesome squad-mates in Bogota, Colombia and Quito, Ecuador
**If you want to know what I've been up to the past 2 months and keep up with my journey over the next 9 months check out my World Race blog and subscribe!
Love the story of the rain coat! I have been waiting to hear about it. Quite an object lesson, too! And now, wow, you have a unique raincoat.
ReplyDeleteSandy in the UK
Thanks! I was so happy to finally have time to write about it!
Delete