
Of course, it wound up not being that simple. Like I said, I had multiple cuts of red wool in my fabric stash, however, not a single one was long enough to make a petticoat from. I need a minimum of 2 yards of 54" or 60" wide fabric to make an 18th century petticoat from, and all my cuts of red wool were between 1 and 1 1/2 yards long. Not quite enough to make a petticoat from. And they were all very different shades of red so combining two different pieces to make a petticoat wasn't an option. Improvisation was going to be required for this project.

At first I was tempted to just order two yards of new red wool fabric and be done with it. Then I decided that would be wasteful. As I did have red wool already in my stash, I needed to find a way to use what I already had.

So I went through my red wool yet again, trying to decide the best way to manage this. I decided my best option was going to be refashioning a pleated red wool skirt (which I picked up at either an estate sale or a thrift store at some point in time).

After some measuring I discovered the skirt had a 120" hem circumference, as it was comprised of two 60" wide panels of fabric, pleated into a waistband, with a side seam zipper. The skirt was about 30" long, so too short for a petticoat, but it did have a decently deep hem, which would help make up some of the missing length.


These strips of fabric would be pieced together and added to the bottom of the front panel of the petticoat.

For lengthening the back of the petticoat, I found a scrap of wool flannel the exact same shade of red as the skirt I was using. It was a slightly lighter weight fabric, with a different sheen than the skirt wool, but as it was the same exact color, I decided I would make it work.

I cut 4" wide strips from the flannel scrap, pieced them together, and sewed them to the top of the back panel.

The intention is to wear this petticoat with a jacket, which will cover the top of the back of the petticoat. Thus, when the full outfit is worn, this slightly different material pieced onto the back of the petticoat probably won't be seen.

The finished petticoat is completely hand sewn. I worked on the piecing during a mini road trip with my friends back in December, and on my trip to Uganda in January.

I sewed up the side seams with a mantua maker's seam and hemmed the petticoat on my family's trip to Florida.

After returning home from all my January travels, I pleated the top edge of the petticoat, bound it in a strip of wool (harvested from the original skirt's waistband, and added twill tape ties.

And with that the petticoat was done.

It could be argued this petticoat is still a bit on the short side, but I think it's long enough to work - and I'm thrilled that I was actually able to use my fabric stash to make it!

This petticoat is my first project for Historical Sew Monthly 2020 - Time Travel: Create a garment that works for more than one historical era.
Yes, I made this petticoat specifically for a 1770's ensemble I have planned, but red wool petticoats were also a common thing in the Victorian era, worn as an under layer for warmth, so this garment can time travel quite easily.

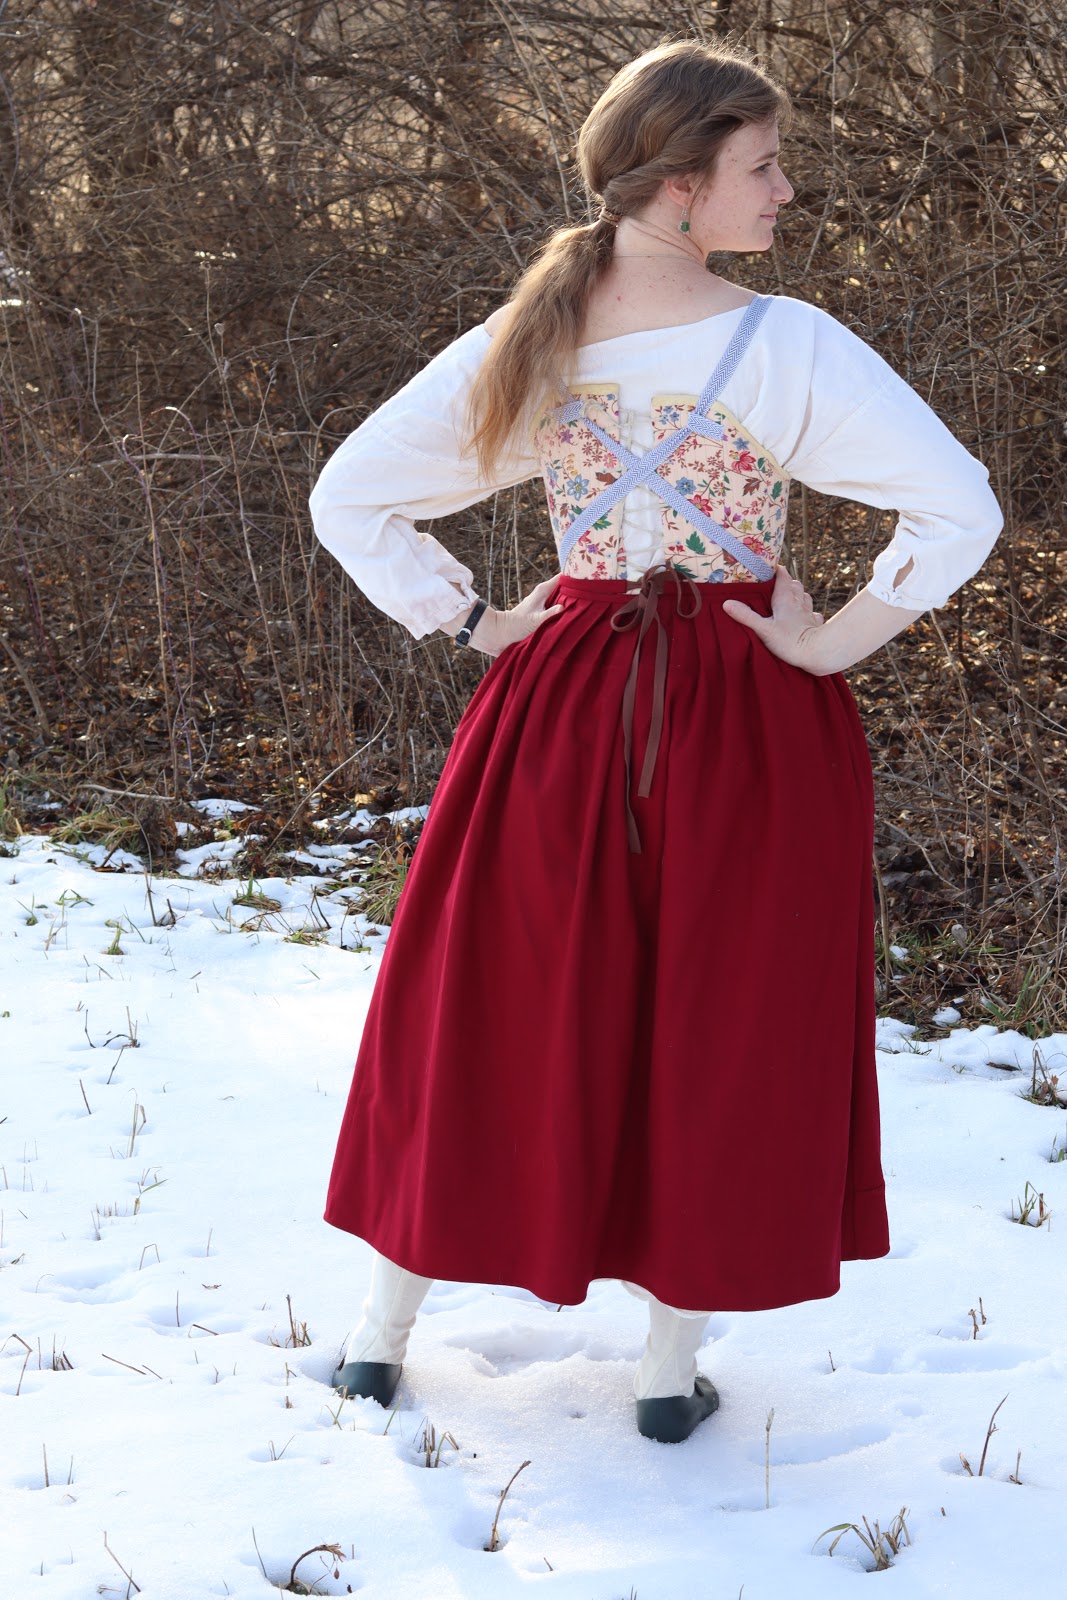
What the item is: Red Wool Petticoat
How it fits the challenge: I made this petticoat for a 1770's outfit, but red flannel petticoats are also mentioned throughout the 19th century so I can wear this for 18th century stuff and as a warmth layer underneath my Victorian things. Plus, as a bonus, this red wool came to me in the form of a 1980's wool skirt, which I disassembled and pieced together to make this petticoat, meaning the skirt "time traveled" from the 1980's to the 1770's.
Material: Red wool flannel, harvest from a thrifted skirt.
Pattern: None, just two rectangles pleated onto tapes.
Year: 1770's officially, but it will work for most of the 18th Century and as an under layer in the 19th century.
Notions: Twill tape and thread.
How historically accurate is it? It's all hand sewn using mostly accurate materials (with the exception of the polyester thread), and piecing is accurate, so probably about 90%
Hours to complete: I did it a little at a time as I had time while traveling, so I'm really not sure, but would guess 10 - 12. The piecing took a while!
First worn: Just for pictures 2/1/2020
Total cost: The skirt I used for fabric was $4 at an estate sale. the twill tape was $1.50, for the spool and I only used half a spool. The thread was stash. So approximately $5 total.

This is a beautiful shade of red. Well done!
ReplyDeleteThank you!
DeleteI love how organized you are with your sewing and travel time. I always try to have something to work on, but most of the time have to scrounge up something.
ReplyDeleteYour petticoat is very cleverly pieced and I am intrigued to see the rest of the outfit when finished!
Thank you! There have been many times I've scrounged something up at the last minute - this time I was surprisingly more organized than usual!
DeleteNice job! It's not too short. If you look at paintings and engravings, you will see very short petticoats on working women. It's much more practical.
ReplyDelete