My hot pink, fur trimmed, Edwardian evening gown. I haven’t forgotten it. It’s still happening. The pandemic to took away my motivation and delayed its completion a bit. But. It. Is. Happening. And now it has sleeves!

Back in June, a spurt of motivation hit me for this project, and I successfully mocked up and fitted my bodice lining. I used the Black Snail 1890’s Evening Bodice pattern for this step. This pattern had approximately the right shape for my bodice lining and gave me a good starting point. Previously I'd thought I'd need to make all my own patterns for this project, and that made me nervous. Finding a pattern which would work for one part of the process took away a bit of my apprehension when it came to making the bodice.

I got the bodice and sleeve lining fitted to my satisfaction. I cut the bodice lining out of cotton twill and the sleeve lining out of silk organza. Then I lost my motivation again and the cut out pieces went into a bag in my sewing room for another couple months.

At the end of July, motivation struck again, and I decided to make the sleeves of my gown. Patterning/draping the front bodice overlay is rather intimidating as it’s different than anything I’ve ever done before and I have nothing resembling an existing pattern to go off here. The sleeves however? I knew exactly how those were supposed to go together, so I decided to just make them and get another portion of this gown completed!

As earlier mentioned, I used a Black Snail pattern for my bodice and sleeve lining pieces. On first fitting, the sleeve was twisting weirdly and not behaving properly! So, I looked at late 19th century and early 20th century sleeve patterns in Norah Waugh’s Cut of Woman’s Clothes and Janet Arnold’s Patterns of Fashion 2 to get an idea of what shape my sleeve pattern should be. I traced out the Black Snail sleeve pattern on some scrap wrapping paper, free hand drew in a new sleeve cap, based on the patterns I looked out in the books, cut it out and sewed up a second mock-up.

The new sleeve pattern had a slightly shallower sleeve head, with the fullness shifted to the back of the sleeve, and a closer fit overall. It fit well enough for me to feel confident proceeding to the next step!

I used my altered pattern to cut a sleeve lining out of plain white silk organza. The poofs, lace, and fur trim of the finished sleeve would be mounted to this layer.

Next, I traced out my sleeve pattern onto more scrap wrapping paper, then cut up this copy and used the slash and spread method to make a sleeve pattern with more fullness and length. This was the pattern for the poofy part of the sleeve, and I cut it out of the white crinkle silk chiffon I had left over from my 1920’s inspired silk dress.

I used my Frixon pens (marks from these disappear with heat) to mark a line about halfway up on both the chiffon outer layer of my sleeves and the organza lining.

Then I picked some lace for the ruffles on the bottom of my sleeves, and I was ready to actually make these things!

First I sewed up the underarm seam of both the chiffon and organza layers of the sleeves. Then I gathered my lace ruffles to fit the bottom of the organza sleeve, and pinned them in place, right sides together.

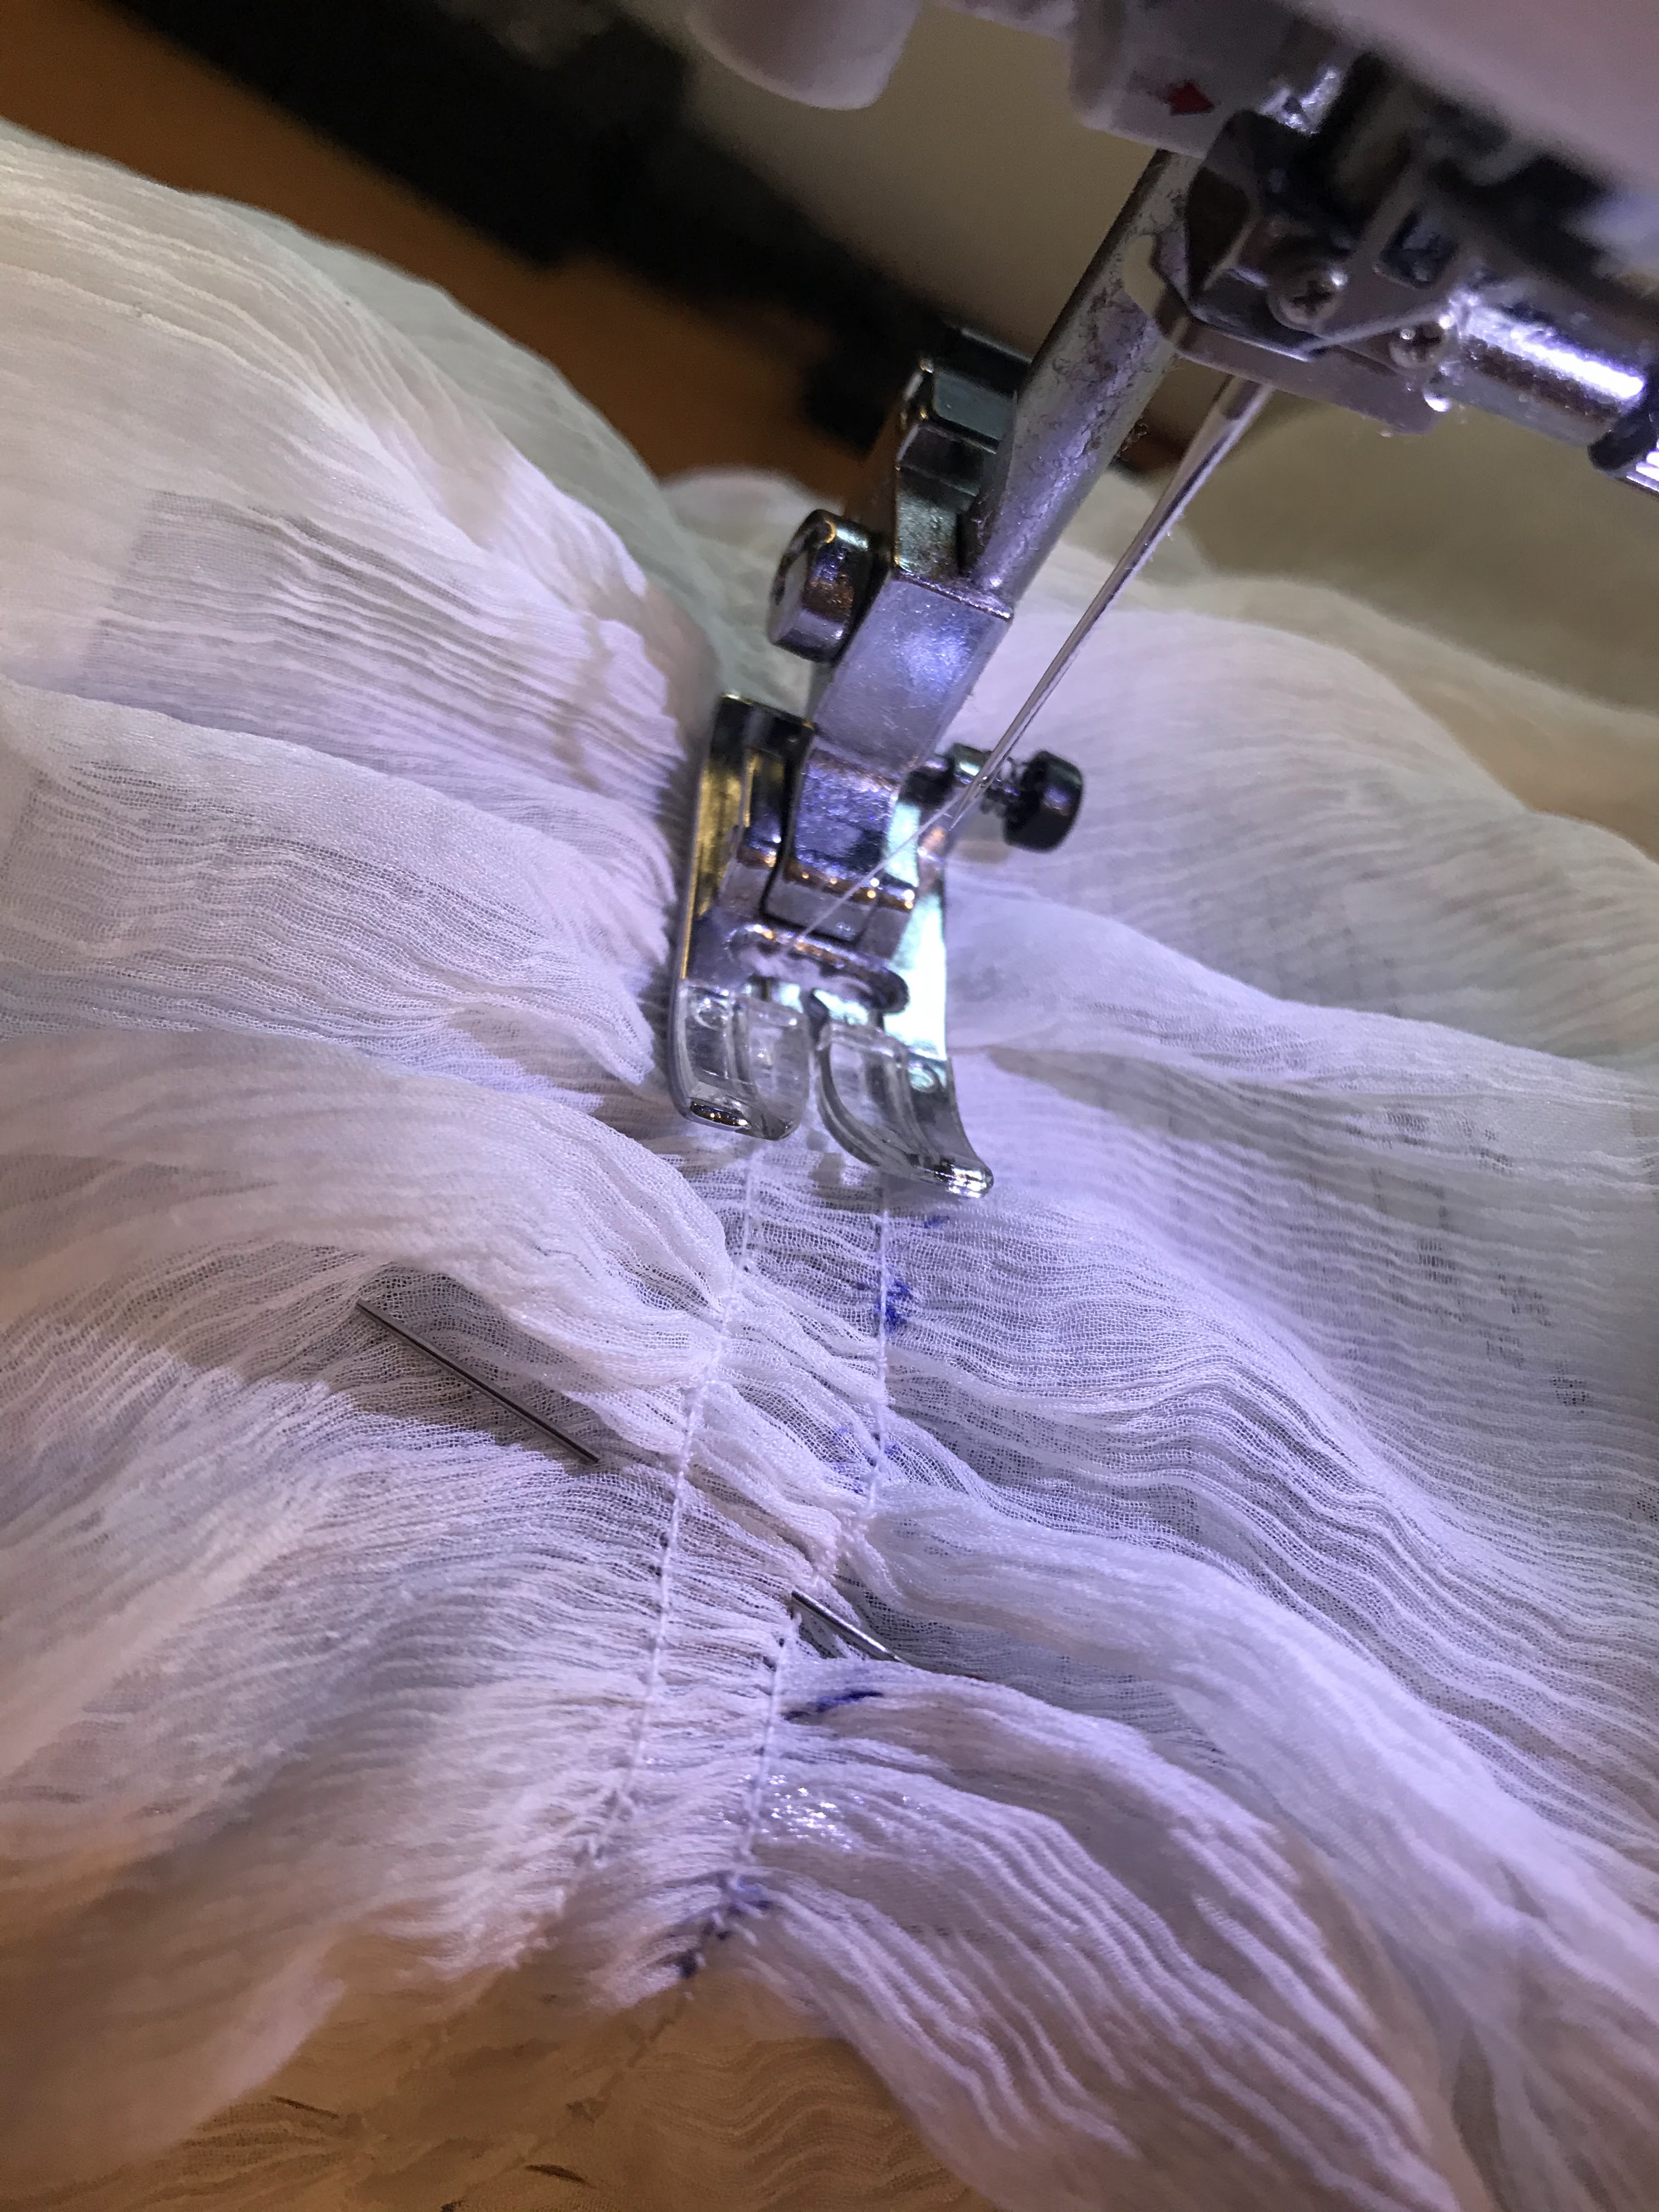
Next, I ran gathering stitches in the chiffon sleeves at the bottom, top, and in the middle where I’d marked.

The bottom got gathered up to match the bottom circumference of the organza sleeves, and the bottoms got pinned together, right sides together with the lace ruffles sandwiched between the chiffon and organza layers.

These three layers got sewn together, and then the sleeve was turned right side out. The middle row of gathering stitches on the chiffon layer was then gathered up to match the circumference of the middle of the organza layer. Matching up my Frixon Pen markings, I pinned together the two layers, then sewed the chiffon to the organza with a zig-zag stitch.
The top of the chiffon sleeve likewise got gathered down, pinned, and sewed to the top of the organza sleeve. This gave me sleeves with two lovely chiffon puffs and a lace ruffle at the bottom.

Now it was onto the fur trim and bands of pink silk!

First, I zig-zagged around the bottom of each sleeve to make the chiffon layer a little less bulky and easier to apply trim to.

Next I cut four 1” wide strips of fur from the collar section of the fur coat I was re-purposing for this project, and whip-stitched together the short ends of the strips to make 4 rings of fur to trim the sleeves with.

The bands of fur then got folded in half longways and whip stitched onto the sleeves.

One at the bottom of each sleeve, and one in the middle of each sleeve where the chiffon was gathered and sewn to the organza.

Then I cut 2” wide strips of my pink silk, and folded in the edges like you would for bias tape to make 1” wide bands of silk. (Yes, I did use my 1" bias tape gadget for this step - it made things easy!)

Using my sleeve lining pattern I cut 4 bands of silk the approximate lengths I needed to go around the bottom and the middle of the sleeve.

The silk bands then got slip-stitched in place at the top of each fur band.

It was hard to hand sew through all the layers of silk and fur! In some places I had to use pliers to yank my needle through all the layers.

Slip-stitching the silk bands in place was probably the single most time consuming part of the entire sleeve making process. The sleeves went everywhere with me in my sewing bag for a week! (Admittedly I haven’t had much hand sewing time in recent weeks.)

Finally, the pink silk bands were on and my sleeves were done!

They turned out beautifully! Almost perfect replicas of the original dress sleeves in my opinion.

Now I just need a bodice to attach them too.

With the way this project has gone thus far, however, it may be a couple months before that actually happens.

Slowly but surely. Those sleeves look smashing!
ReplyDeleteMotivation can be so evasive. 😏 Sometimes I make up rules to keep myself on track. I had a free day last weekend and was gearing up to cut a new blouse but remembered I had to complete a few phd's before starting anything new... So I altered a jacket (and learned some things in the process 😃)