
Her hair was curled and pinned up. Her face was made up. Her nails were sparkle coated. Her shoes featured jewels and heels. And her dress was long - made from satin and lace.
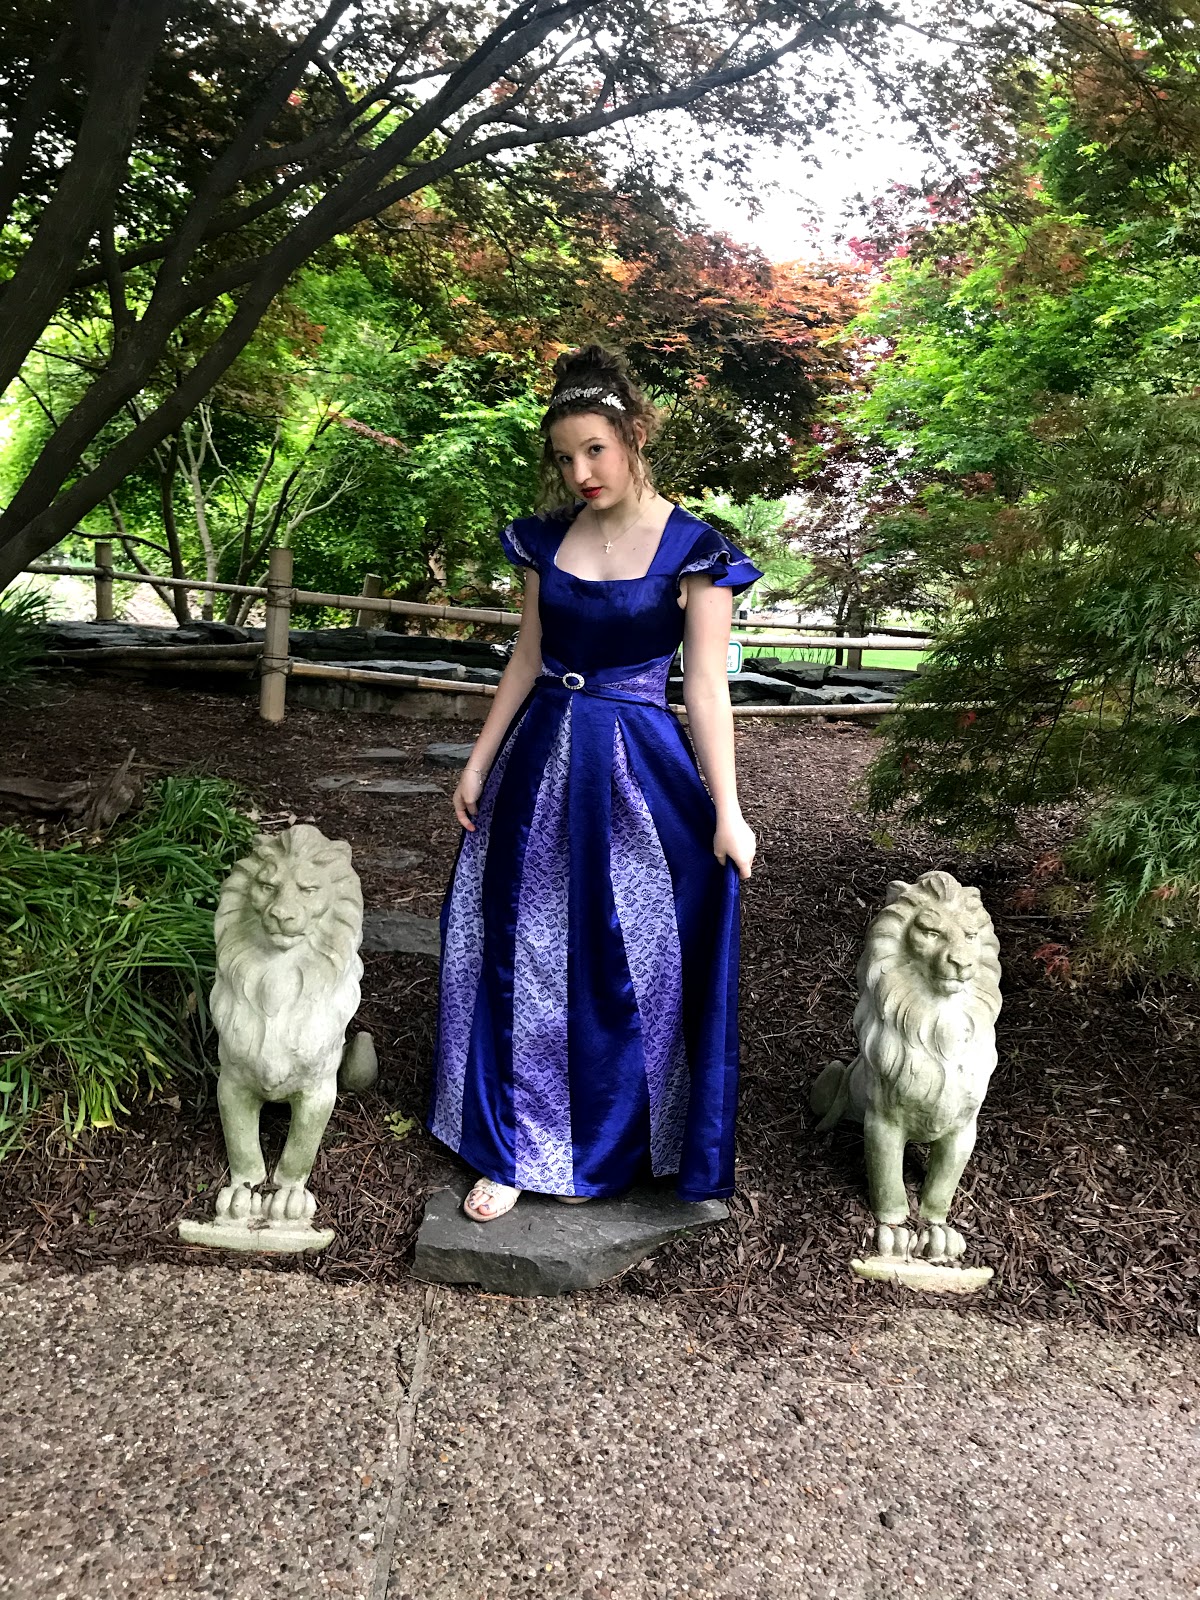
She looked grown up, and absolutely beautiful. ( Not as if she's not beautiful everyday, because of course she is! Yet still, there is something special about getting dressed up for a dance.)

Now, seeing these pictures, you can probably guess exactly how I spent my time this week. That's right, I made the dress.

The plan has always been that once my sister was old enough to go to Elegant Evening (the home school version of prom), I'd make her dress. This was never really discussed, it was just a given. I made my formal dresses both my junior and senior year of highschool, and I've made plenty of dresses, both fancy and casual, for both my sister and I since then. After all, if your sister has made most of your dresses for most of your life, why in the world would you consider going shopping to find a dress close to what you wanted, and have to deal with trying on a ton of dresses in the process, when your sister can just make exactly what you want and have it fit you perfectly? No fitting room frustrations required.

My sister began sketching dress ideas for this event a year ago, once she realized that this year she would be old enough to go to Elegant Evening. Thus, over the past year, many ideas for this dress have come and gone. Finally, about a month ago, it was time to actually buy the fabrics for the dress and cement the design.

My mom, sister, and I went to Joann's one evening with a pretty firm idea of what style my sister wanted, we just needed to find the fabric to execute it. Well, immediately upon stepping foot in the fancy fabrics aisle, we found the perfect fabric. A dark blue, almost purple, hammered satin with gorgeous texture and depth. (The pictures really don't do this material justice) No other fabric came close to it.

There was only one, or two, slight problems. First, the fabric didn't have the right hand for the design we had in mind. It was fluid and drapey, whereas the dress my sister had designed required a fabric with a bit more body to it, like taffeta. Second, there was less than three yards of the hammered satin on the bolt, and the original design would have required closer to 5 yards of material. Thus, a complete redesign of the dress concept was necessary.

We spent the next two hours looking through pattern books, discussing different ideas, and occasionally wandering through the fabric aisles again. My sister really wanted lace on her dress, so on one of her wanders she found a lovely metallic lavender lace which looked stunning layered over the deep blue hammered satin. Thus, clearly, the final dress design had to accommodate this lace.

Finally, after many ideas were discussed, debated, and scrapped, we decided on New Look 6571, view B, lengthened to full length, with lace added in each of the box pleats.

To accomplish this, I began by cutting up the pattern pieces to accommodate the lace panels.

The pattern was drafted to have one solid piece for the front, and one solid piece for the back. Once sewn up, the princess seams on the bodice give way to a gorgeous pleated skirt. To allow for the lace panels, and make the skirt full enough for my sister to walk in it once lengthed to full length, I split the panels from skirt to waistline.

Then I cut these newly separated pattern pieces out of the hammered satin, adding about 18" of length, and a little bit of width, to the bottom to make a full length dress.

Next I cut five (three for the front and two for the back) 6" wide strips of both fabric and lace the length of the skirt.

The lace strips were layered over the satin strips, and I serged around the edges of each strip to secure the two materials together.

Once everything was cut out, I marked the different dress panels, so I wouldn't mix up what was what, and proceeded to construct the dress.
 |
| "SF" = Side Front Panel |
I have used this very same "chalk" to mark many, many, things over the years, and I've never has an issue with it. Sure, I've read to never use wax-based chalk to mark fine fabrics like silk, but as the hammered satin was polyester, not silk, I didn't worry about it. And I should have.
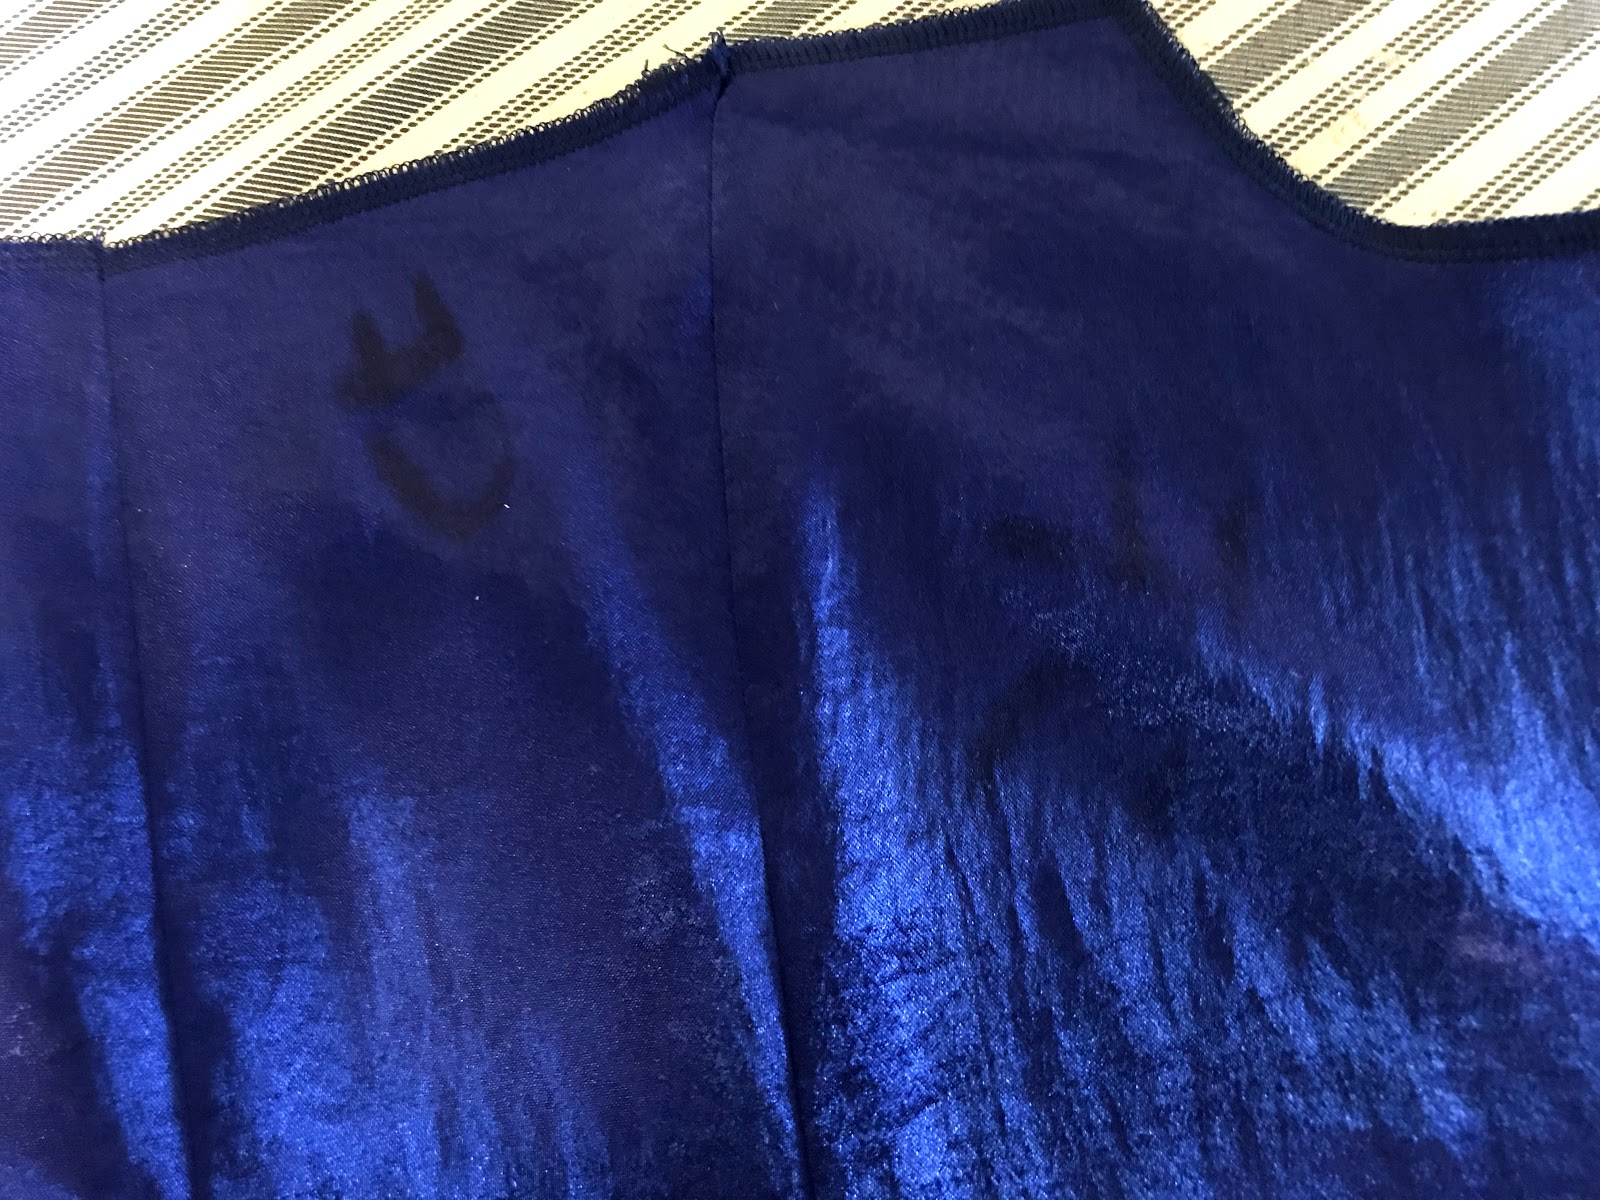
Once the front of the dress was constructed, I ran my hot iron over the marks to remove them. Rather than the marks disappearing, as they were supposed to, the wax just melted into the fabric, permanently staining it. I tried to remove these stains via "wax removal advice" I found on google, and failed. I freaked out and called my mom. I'd ruined my sister's dress and didn't have the time or materials to re-make it! My sister couldn't go to the dance with "CF" "SF" "SB" and "CB" across her chest and back!

My mother came through with a brilliant plan. She suggested I add more wax marks to the bodice of the dress, incorporating the letters into an intentional looking swirl design. So, that's what I did. I drew all over the wrong side of each bodice piece with my wax "chalk", carefully disguising the letters. Then I pressed it.

And there it was, a beautiful, subtle, swirl design - adding just a little bit extra texture and interest to the bodice of the gown.

You can hardly even tell the pattern is there when my sister is wearing the dress - but at least she doesn't have letters marching across her chest! (And I have learned my lesson to be very careful with what I use wax "chalk" on in the future - and to use it a lot more sparingly!)

Once the marking drama was resolved, there was only one more conundrum for me to figure out while constructing the dress - how to secure the box pleats at the waist without any stitches showing through to the outside of the dress.

Now, if I'd been thinking when I cut out the dress, I would have flatlined the bodice to give it a little extra structure and give me something to stitch the pleats to. I would have just hand sewn the tops of the pleats to the flat lining and all would have been good. However, by the time I thought of that solution, it was too late to add a flat lining, so another solution had to be found for securing the pleats in place.

After a bit of brainstorming, I decided to add a waist stay of grosgrain ribbon.

The pleats were all tacked to the ribbon, which was tacked to the side seams, and secured in the center back seam with the zipper. This ribbon is then hidden by the lining on the inside of the dress.

And one has no idea how the pleats are secured by looking at the outside of the dress. In fact, the waist stay helps the silhouette of the dress by giving it a nice, close, secure fit around the waist, preventing the skirt from dragging the bodice down.

Once the pleats were secured, I put the lining in, hemmed the skirt, and the dress was done - just in time. I cut out the dress Monday morning, and hemmed it Friday morning.

Friday afternoon, I did my sister's hair, my mom did her makeup, then I took her to meet friends for pictures at a local garden and eat a picnic supper.

It was a rather dreary, misty, and chilly evening, so the girls wrapped up in shawls and blankets between pictures and we ate our dinner in the old school house, rather than outdoors.

Once the picnic things were cleaned up, I drove my sister to the ballroom where the dance was held.

Despite the dreary outdoors, the ball room was bright and energetic.

Elegant Evening is a night of English Country dancing, like those seen in a Jane Austen movie - and it is great fun!

The ball opens with the grand march, which parents are invited to stay and watch.

Once the march is over, however, it's time for any adults not chaperoning to leave, so home I went. Making two fancy dresses in two weeks had exhausted me, so I went to bed almost immediately and my parents went to fetch my sister home at midnight.

She apparently had an absolutely wonderful time, got many compliments on her dress, and was happy to tell me all about it this morning.


