Monday, October 12, 2020

The Wild, Wildwood, Curtain Wrap Dress

 It's curtain fabric. There's no getting around that.


Over 15 years ago, my mom and grandma got this fabric to make curtains for the kitchen.  There was fabric left over from that project, which got shoved in the back of a closet.


This nearly forgotten curtain fabric was unearthed in the great "cleaning up and moving the sewing room" project a couple months ago. My mom looked at the fabric and declared she didn't need it anymore. Thus, it got added to my barrel of fabric rolls. (Fabric barrel idea was totally stolen from Sewstine, who shared a picture of her fabric roll barrel in her Instagram stories the week I was moving my sewing room.)


The curtain fabric was now staring at me, from amongst my rolls of silk, every time I walked into my sewing room. I needed to turn it into something, but what??


Inspiration struck when I was writing my blog post about the Wildwood Wrap Dress I made last year. As I was waxing lyrical about the amazing pockets this pattern features, I began to think of ways I could incorporate these pockets into a fuller skirt.


By the time I finished writing that blog post, I had a plan. I double checked to make sure my mom definitely didn't want the curtain fabric anymore, printed out the final version of the Wildwood wrap dress, and set to work.


I decided to cut the skirt as a pleated A-line rather than the cocoon shape of the original pattern. To get my desired silhouette, I followed the angle from waist to hip on the pattern pieces straight down to the hem, rather than letting it curve back in below the hip way the cocoon shape does. I did this to both the front and back skirt pattern pieces. On the back piece, I cut out the waist darts, then slashed up from the hem to the end of the darts and swung the paper to close the dart and open up extra fullness at the hem. Finally, when I cut out my skirt, I added several inches of fabric at the center back fold, to be pleated in a manor similar to 1890's skirts. I added a few extra inches to the front skirt pieces as well for some pleats there. I wanted as much fullness as possible in my skirt! 


Once my skirt pattern alterations were done, I cut into that curtain fabric. It's a somewhat thick, loosely-ish woven, cotton. I had under 3 yards of it, so I had to be careful about my pattern layout and couldn't be bothered about things like stripe/plaid mating, or even making sure the print was all right side up.


I cut the view A bodice and skirt length, rather than the view B options I used the first time I used this pattern. The shorter sleeves and skirt decision was partially made because of my fabric shortage, and partially because I figured short sleeves were just a better option with this thick fabric than rolled up 3/4 length sleeves would be.


This fabric really, really, liked to fray, so the entire dress is constructed with French seams - other than the waist seam. With the pleated skirt, that waist seam was just too thick to be sewn as a French seam, so I bound it with seam tape instead.


I lined the pockets and faced the skirt with a yellow gingham from my stash. The skirt is supposed to have a self-facing, but I didn't have enough fabric for that, so a separate facing it was!


I really, really like how the original pattern's fantastically large pockets combined with my addition of pleats worked out!


The finishing touch on this dress is the Obi-inspired belt, which I made out of a linen-cotton blend embroidered fabric, harvested from this skirt I haven't worn in several years. 


I absolutely love how this dress turned out!


It combines all my favorite elements of the Wildwood Wrap pattern. . .


The beautiful bodice style and fit. . .


The obi-inspired wrap belt. . .


And the large pockets. . .


With my personal preference for a full skirt!


This combination is a winner!


Not bad for curtain fabric huh??


Thursday, October 8, 2020

Making a Neck-Tie Top with a Lower Neckline

 This is the first time in months that I’ve made a knit top for myself. All summer long I’ve been making myself dresses, and while I love dresses, I’d forgotten how fun, quick, and easy sewing with knits is!


This is also the first time in months there’s been a Winter Wear Designs blog tour! I hadn’t forgotten how fun these are to participate in, and I’m happy to be doing one again!


This week WWD re-released the formerly retired Neck-Tie Top pattern. It's been updated, the size range has been expanded, and it's received a couple of additions, namely, sleeve options!!! 


I do love fun sleeves, and any pattern that has them instantly catches my attention! That said, the sleeve options included with the Neck-Tie Top, might look a little familiar, as they were part of the, now retired, WWD sleeve add-on pack from a few years ago. I was sad to see this pattern go, so I am thrilled that these sleeve options are available again! Do you want slightly puffed, very puffed, or somewhere in between sleeves? This pattern has them all! As for me, no surprise here, I picked the "very puffed" 3/4 length poet sleeve option. Puffed sleeves are the best!


Ok, fabulous sleeves aside, this pattern didn't actually appeal to me that much, so I thought I might just sit this blog tour out. Why? The neckline. It has a fantastic bow, which it's named for, but it is a very high neckline, almost a turtle neck, and I just don't wear necklines that high. They look fantastic and elegant on most people, but I don't like them on me. 


The high neckline is the whole reason I never bothered to make this pattern back before it was retired, despite thinking it would look absolutely amazing with the plaid wool circle skirt I made using the Crop Dress pattern. And, I would have passed up making this pattern again had it not suddenly hit me "You know how to hack patterns Alyssa! You do it all the time!! Just lower the darned neckline!"
Just like that, I was making a neck tie top for myself.


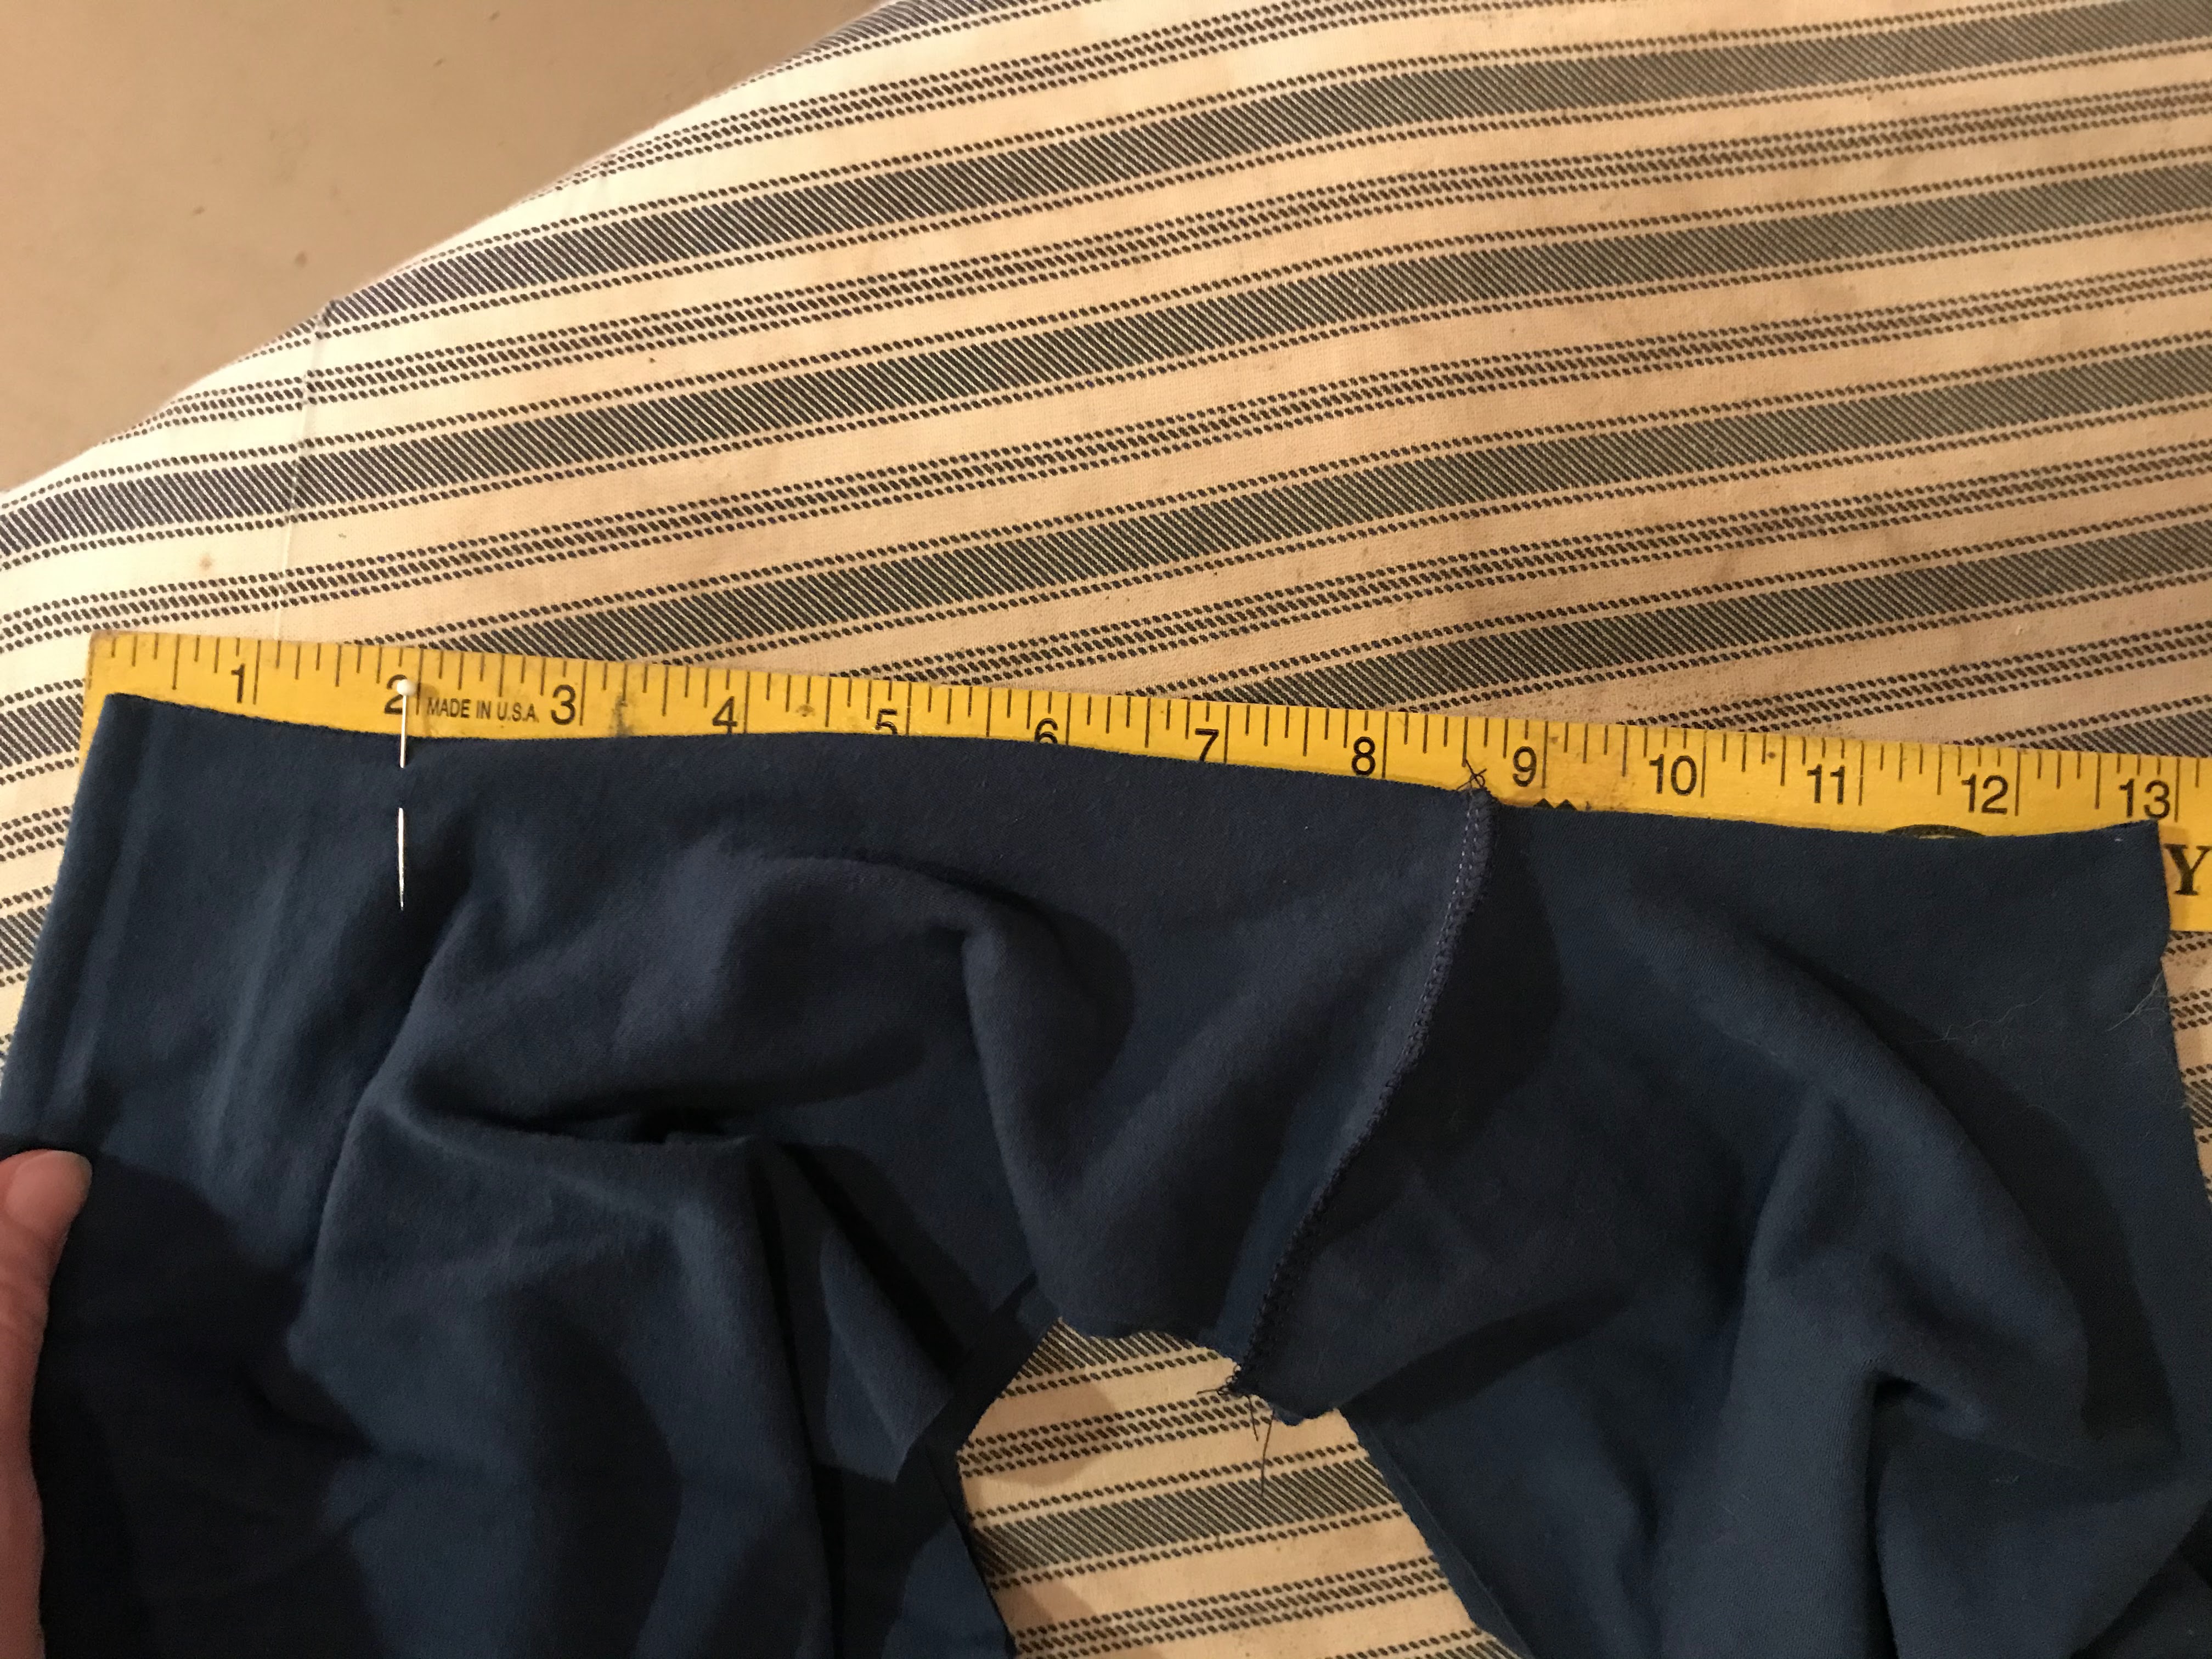
I was worried it might be complicated to lower the neckline and keep the neck tie, but it proved to be incredibly easy! I just cut out the neckline at about the level I thought I would want (I could have cut it lower, the neck tie adds some height to the finished garment neckline.), sewed up my shoulder seams, then measured the circumference of my new lower neckline and marked with a pin where I wanted my neck tie to tie. (I picked 2" from the center front for this, as that's about where the mark was on the original high neckline, but with the lower neckline I wish I'd moved it a bit further over to the side.)


 I calculated what 85% of the neckline measurement was, just like you would for a standard knit neckband, and made the section of the neck tie that attached to the neckline this long. 


It worked beautifully! The tie lays nicely on the new lower neckline, looking just as elegant as it should while being comfortable for me to wear!


I'm now very pleased that I decided to make this top. I wore it the day I finished it, and I've worn it a couple time since as well. It looks just as fantastic with my plaid circle skirt as I thought it would, and I like it with jeans too.


Thank you Suzanne for inviting me to join this blog tour so that I actually gave this pattern a try! It was worth it!


The Neck Tie Top is on sale for it's release this week for only $3! Once the sale is over, as part of the Wardrobe Builders collection it'll be $5 regular price - and it's certainly worth it! The hacking potentials with this pattern are great, and the sleeves can be used on just about any WWD knit top pattern.


For more Neck-Tie top inspiration, check out the rest of this week's blog tour! The sneak peeks I've already seen of these ladies' projects has made me eager to make a few more versions of this pattern!


Wednesday 10/7

Thursday 10/8

Friday 10/9

Monday 10/12
Aurelie of Maglice&So

Tuesday 10/13
Donnisha guest posting at Winter Wear Designs


Tuesday, October 6, 2020

Making a Maternity Bridesmaids Dress in One Day

 I'm going to be an aunt!!!!


This aunt thing is going to be happening very soon as my sister-in-law is about 9 months pregnant right now. This will be my parent's first grandchild, so it's an exciting time in our family! Meanwhile, my sister-in-law's sister recently got married, and my brother and sister-in-law were in the wedding, of course.


Shopping for a bridesmaid's dress - I'm sure we can all come up with other things we'd prefer to be doing. Shopping for a bridesmaid's dress that will fit when you're 9 months pregnant? Now that's rough, really rough. Thus, as my sister-in-law contemplated ways dresses could possibly be altered to fit, I offered to just make her a dress. It just seems simpler to me to just make a dress that fits from the start rather than altering an existing dress. After a couple trips to look at dresses and figure out what styles and materials would work well with her growing baby bump, my sister-in-law agreed to this plan.


Plan formed, she and I headed to Joann's to obtain the materials. We picked a lightweight silky polyester knit for the skirt lining (Knit so it would stretch over the bump since we figured baby would grow more before the big day.), a sturdy ponte de roma for the base layer of the bodice, a rayon spandex for the bodice lining, and  a soft stretchy tulle for the skirt and bodice overlays. The dress needed to be navy blue, but the only nice navy tulle Joann's had was a shade too dark for our purposes, so we bought two different colors of tulle, the dark navy blue and a royal blue. When the dark navy was layered over the royal blue it gave us the exact shade we were going for.


We didn't bother buying a pattern because I figured with my extensive pattern collection there would be something I could hack. Two years ago, I made my sister-in-law a dress for the firemen's ball based on a vintage dress we found on Pinterest.  She loved that dress, so we decided to use the same inspiration picture this time, just making it long and maternity friendly. 


As mentioned earlier, the dress would primarily be made out of knit fabrics so it would stretch over the baby bump. This made things easy for me since a stretchy dress meant no zippers or other closures would be necessary, and minimal fitting work would need to be done. Very good things, since I'd only set aside one day in my schedule to make this dress.


For the bodice, I essentially needed a form-fitting tank top pattern which I could drape tulle over top of. For the skirt, I wanted a full A-line pattern which tulle could be gathered over. I found exactly what I needed in my collection of Winter Wear Designs patterns, acquired over the past few years of doing WWD blog tours. 


For the bodice base, I used the knit under bodice pieces from the Crop Dress pattern. I shortened them to end above the baby bump and changed the scoop neck to a v-neck. 


I cut the bodice out of ponte de roma then basted it together to check the fit on my sister-in-law. Once the fit was established, I took out the basting and pleated the tulle onto the flat bodice pieces.


This was definitely the most time consuming part of the entire dress construction.


The tulle was pleated onto one side of the bodice back and machine basted in place.


Then the tulle was pleated onto the other side of the bodice.


And hand tacked in place.


Looking at the pictures of the finished dress, I really should have done a bit more hand-tacking here to keep the pleats laying nicely.


 In keeping with the style of the front of the dress, I also added a few pleats to the tulle overlay on the bodice back.


Once all the tulle was pleated in place, I assembled the bodice and lined it in rayon spandex using the burrito method. 


For the skirt lining, I opted to use the maxi option of the Boulevard Skirt pattern and just eliminated the center front button placket. I cut a couple sizes larger than my sister-in-law measured so I could add some gentle gathers at the waistline.


I cut two widths of tulle to go over top of the skirt lining and gathered those to match the waistline measurement of the lining. Rather than messing with gathering threads in tulle (no fun!), I adjusted to differential feed of my serger and used that to gather the tulle. It worked beautifully.


The tulle and lining were then basted together and pinned and sewn to the bodice. After less than a day of work, we had a completed bridesmaid's dress.


My sister-in-law tried on the dress for a final fitting. I leveled the hem, took in the bodice a touch at the side seams, found a navy ribbon in my stash to tie at the waist and then she was good to go!


A custom-made maternity bridesmaids dress in one day. Not something I'm going to make a habit of doing, but my sister-in-law looked absolutely beautiful in that wedding, and I was thrilled to be able to help her out! I do enjoy sewing for my family members!


I'm so excited that there will soon be a child in this family to sew for!! Kids are the best!