I’m making myself a new pair of stays. Why? There’s nothing wrong with my current pair of stays made last spring - in fact, they’re my most comfortable corset-like garment ever! They just have a very straight front, perfect for 1760’s (the era I made them for), but a little too flat for later in the century. Thus, I’m making myself a pair of 1780’s, more shapely stays. Yes, I started questioning my sanity in deciding to make another pair of stays the second I started marking boning channels.
So, since I’m now starting a new pair of stays, I figured I’d better finish blogging about my current pair of stays. Last time I mentioned them, they were in need of binding and straps. Well, I actually got those things done!

I bound my stays in chamois leather - a very soft, easy to work with, and easily obtainable material. (Found in the automotive section of Wal-Mart!)


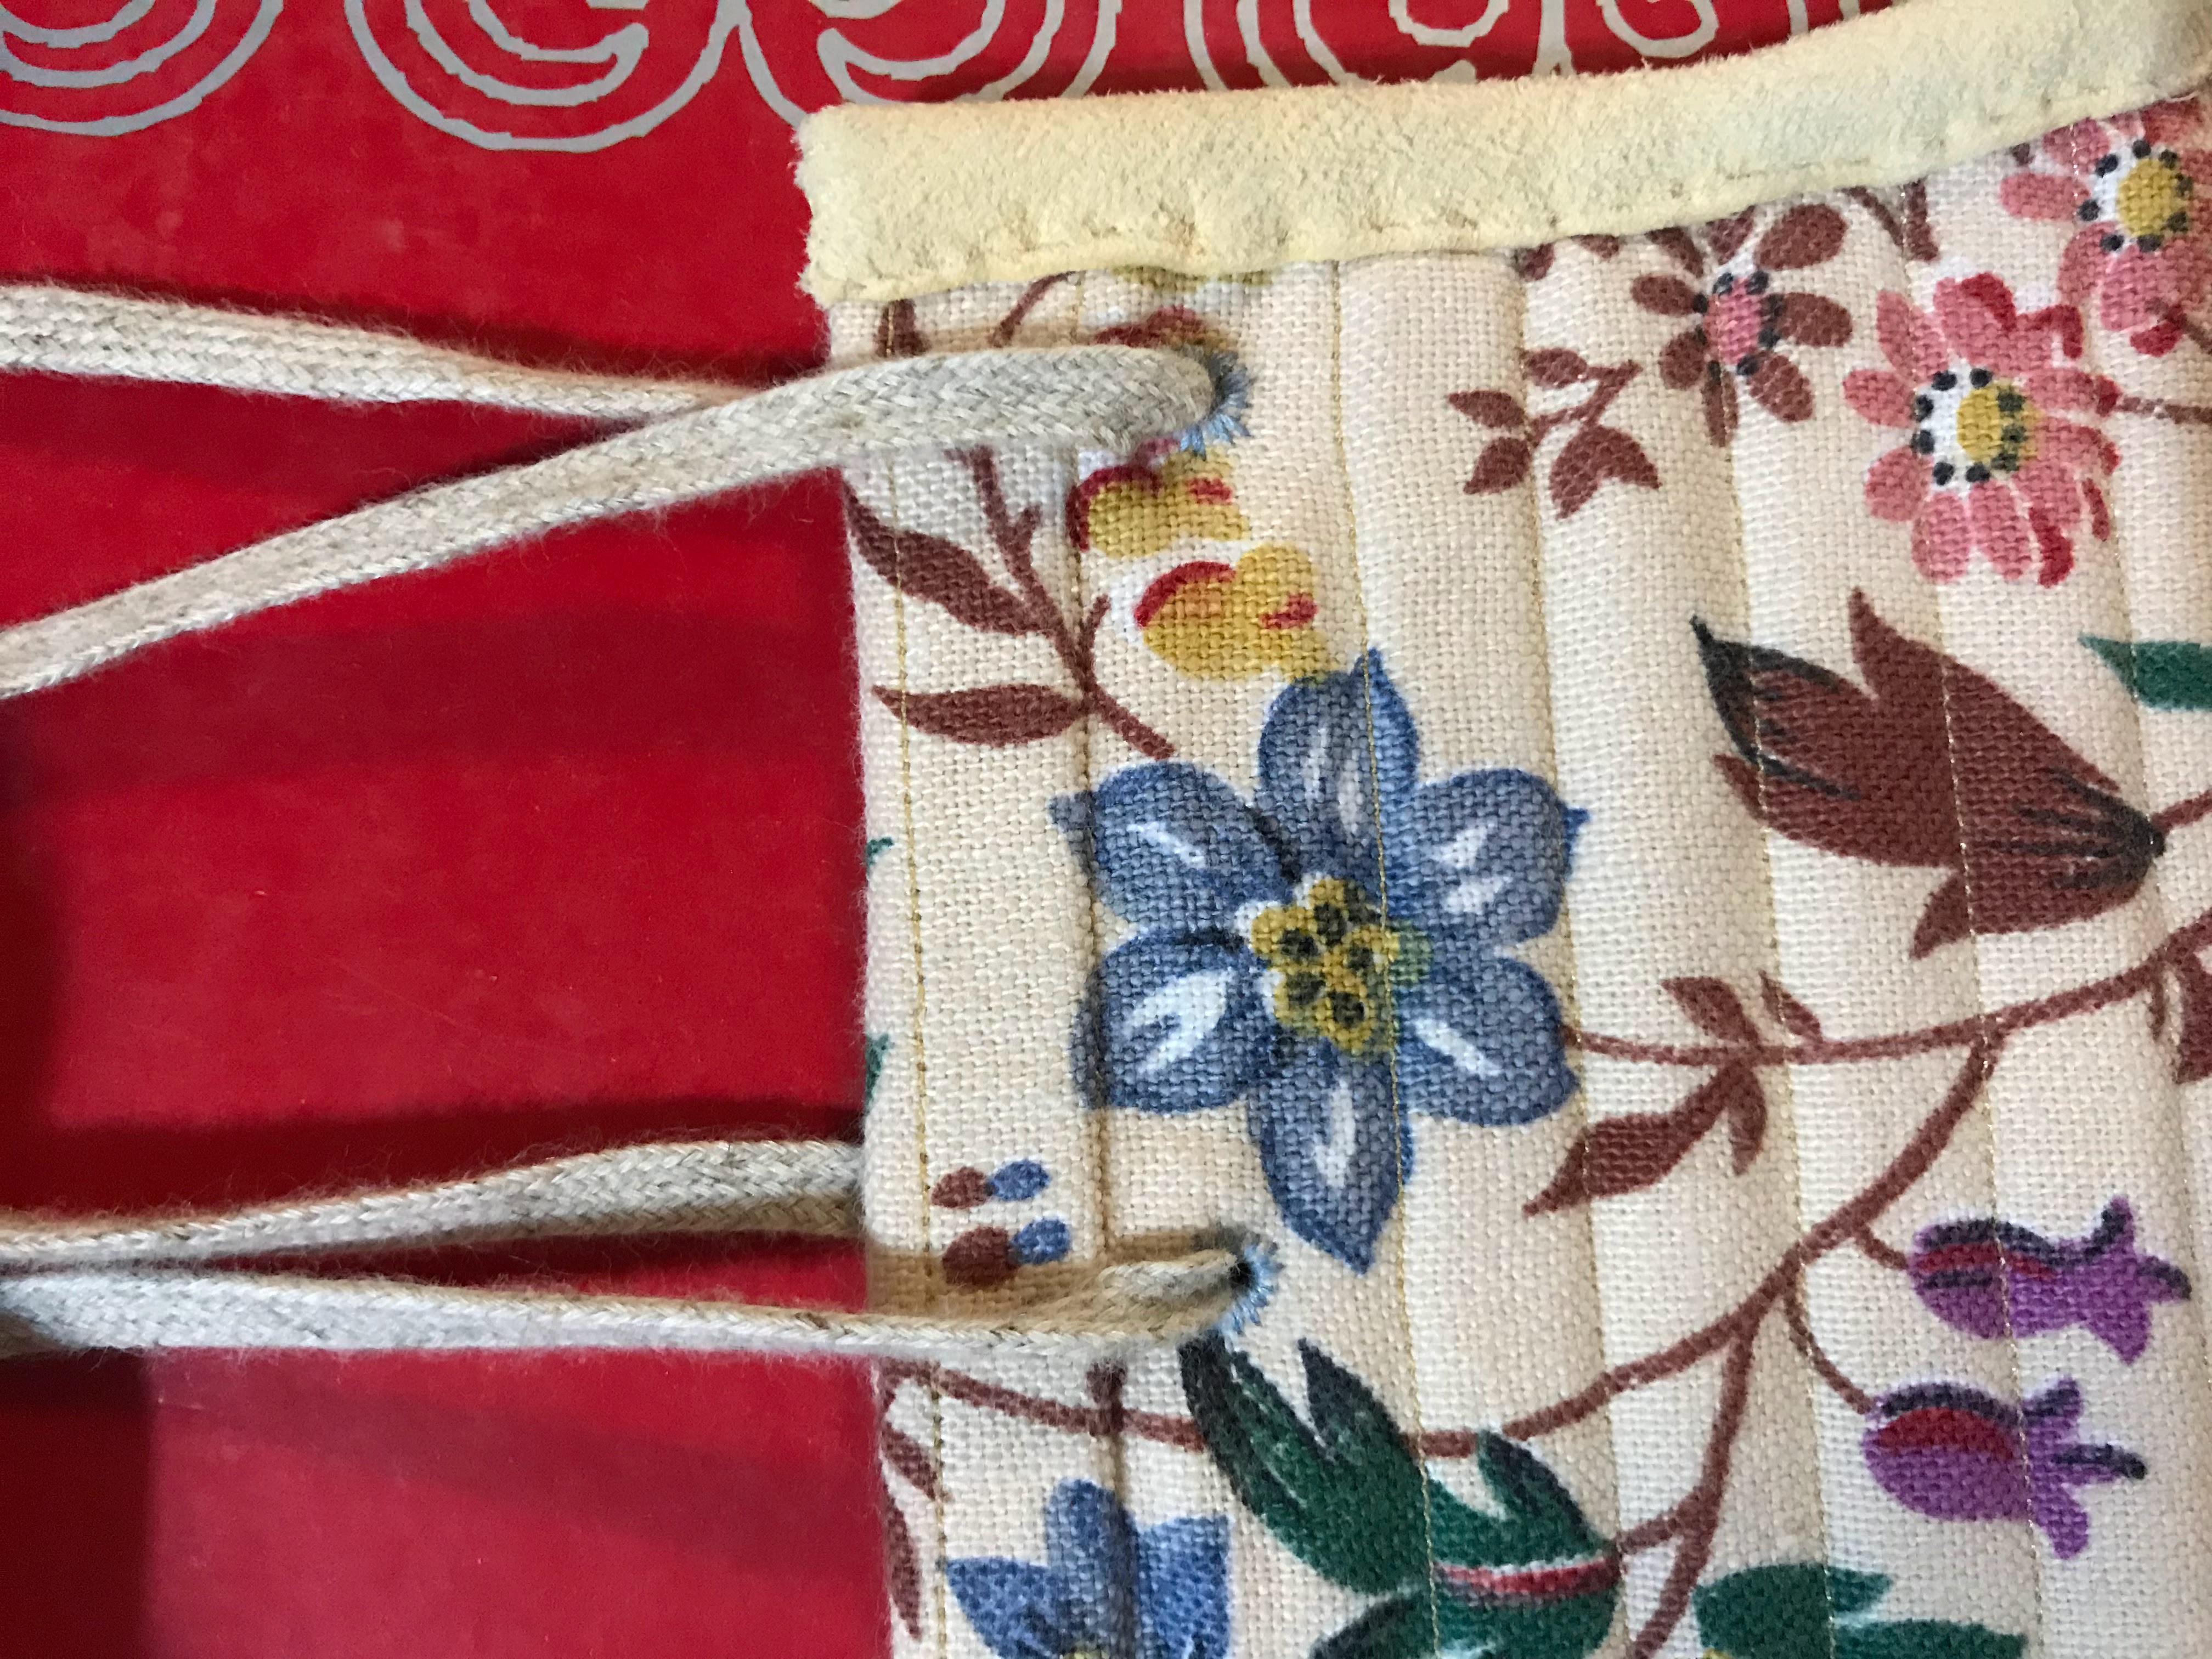
The above described correct method is absolutely stronger than what I did. That said, I couldn't be bothered to un-do all the inferior binding I'd already done, so I finished binding my stays in the same way I started.


Rather than the standard 18th century stay straps, which are sewn onto the back of the stays and tie onto the front, the pattern I was using (Simplicity 8579, by American Duchess) recommended twill tape straps. These are sewn onto the top of the front of the stays, go over the shoulders where they criss-cross across the back, and wrap around to the front again where they are secured in place at the bottom of the stays.

Straps of this style are accurate to the era, help pull the shoulders back for proper 18th century posture. As an added benefit, since they criss-cross over the back, they won’t slip off your shoulders the way the other style of straps might.
At one point in time prior to making my stays, I watched a video by American Duchess about this pattern and why they choose this style of straps. (I'm sorry, I can't find the video to link to now. It may have been a Facebook live.) It was very informative and kept me from being confused as to how these straps worked. The Simplicity pattern instructions recommend tying the straps in the front when the stays are worn, but the ladies at

I used a 1” wide cotton twill tape with a fun chevron pattern for my straps. It was at Joann’s. It was pretty. It was 100% cotton. And it was on clearance. So I bought a full bolt of it! In the era, linen tape most likely would have been used, but cotton works just fine!


Having worn my stays with and without straps, I can definitely say it’s better to have straps! Due to the shape, Victorian Corsets don’t really need straps, but 18th century stays fit better with straps.

So, straps and binding - these stays are done!

Now

After I finally completed hand sewing my shift, I received a suggestion in a Facebook group I’m a part of that my shift would be more historically accurate if I added cuffs to the sleeves. I thanked the commenter for the info, but after hand sewing that whole danged thing, I had no intention of going back and adding cuffs.

Until I was

So I took the sleeve hems out, undid the bottom couple of inches of flat-felled seam on each sleeve, hemmed the new slit, and then added the cuffs.

I cut narrow cuffs from a linen scrap leftover from making my shift. I followed the directions from

My stroked gathers are very far from perfect, but I got the sleeves gathered into the cuffs, sewed the cuffs on, and made a buttonhole at each end of the cuffs.

My cuffs fasten with two linen covered buttons (harvested from a thrifted dress), which I sewed together to make cuff-link-type things. I can’t say these buttons are historically accurate, but they do the job!


I find finishing details so satisfying.
ReplyDelete