It was about 9 o'clock the night before my sister's Regency birthday party. My sister and I were hanging out in the living room at my parents' and discussing everyone's costumes for the following evening. We shortly came to the glaringly obvious fact that our sister-in-law did not have a regency, or even a regency-ish, dress.
Well, I'd had a cup of coffee that evening so I was more awake than I typically am at 9pm, and this extra energy led me to the suggestion:
"Why don't we make her a quick drawstring dress? I'm sure we've got a suitable pattern and fabric around here somewhere."
My sister thought this was a brilliant idea, so we ran down to the basement to start going through my stash.
On our way to the basement I called my sister-in-law to get a couple of quick questions answered;
-Approximant bust measurement
-Favorite colors to wear
With this info we were ready to get started!
Now I do have several regency patterns in my sister-in-law's size, but we did not have time to make one of those. Quick and Easy was the name of the game! Thus, we decided to use Simplicity 8799 - a re-print of a 1950's night gown pattern. With a slightly fuller skirt, some sleeves, and a drawstring under the bust, it would be passible.
My sister cut out the pattern while I went in search of some fabric. My sister-in-law had told us dark colors, blues, greens, purples. . .
I found several yards of dark green cotton in one of my fabric bins - perfect! I ironed it flat, and then we were ready to cut out!
I cut out view A of the pattern, slightly lowering the front neckline, free handed some sleeves, and cut the remaining fabric into triangular gores to insert into the sides seams to make the skirt nice and full.
By this point my evening coffee had worn off, so everything was set aside to be sewn up the next morning.
Morning came and I sat down at my mom's sewing machine to begin. The first step was the sew button holes at the back neckline and waistline for the drawstrings to go through. And here I ran into a problem. My mom's buttonhole foot happened to be with my sewing machine, 2 hours away. Oops. She gave it to me when my buttonhole foot broke a couple years ago because she rarely sews buttonholes. This was fine when we, and our sewing machines, resided in the same house. But now? Yeah, this wasn't working so well. I ought to buy my mother a replacement buttonhole foot. However, that was not an option right at that moment. The local Janome store was closed. So I improvised and just free-handed some button hole shaped things with a zig-zag stitch.

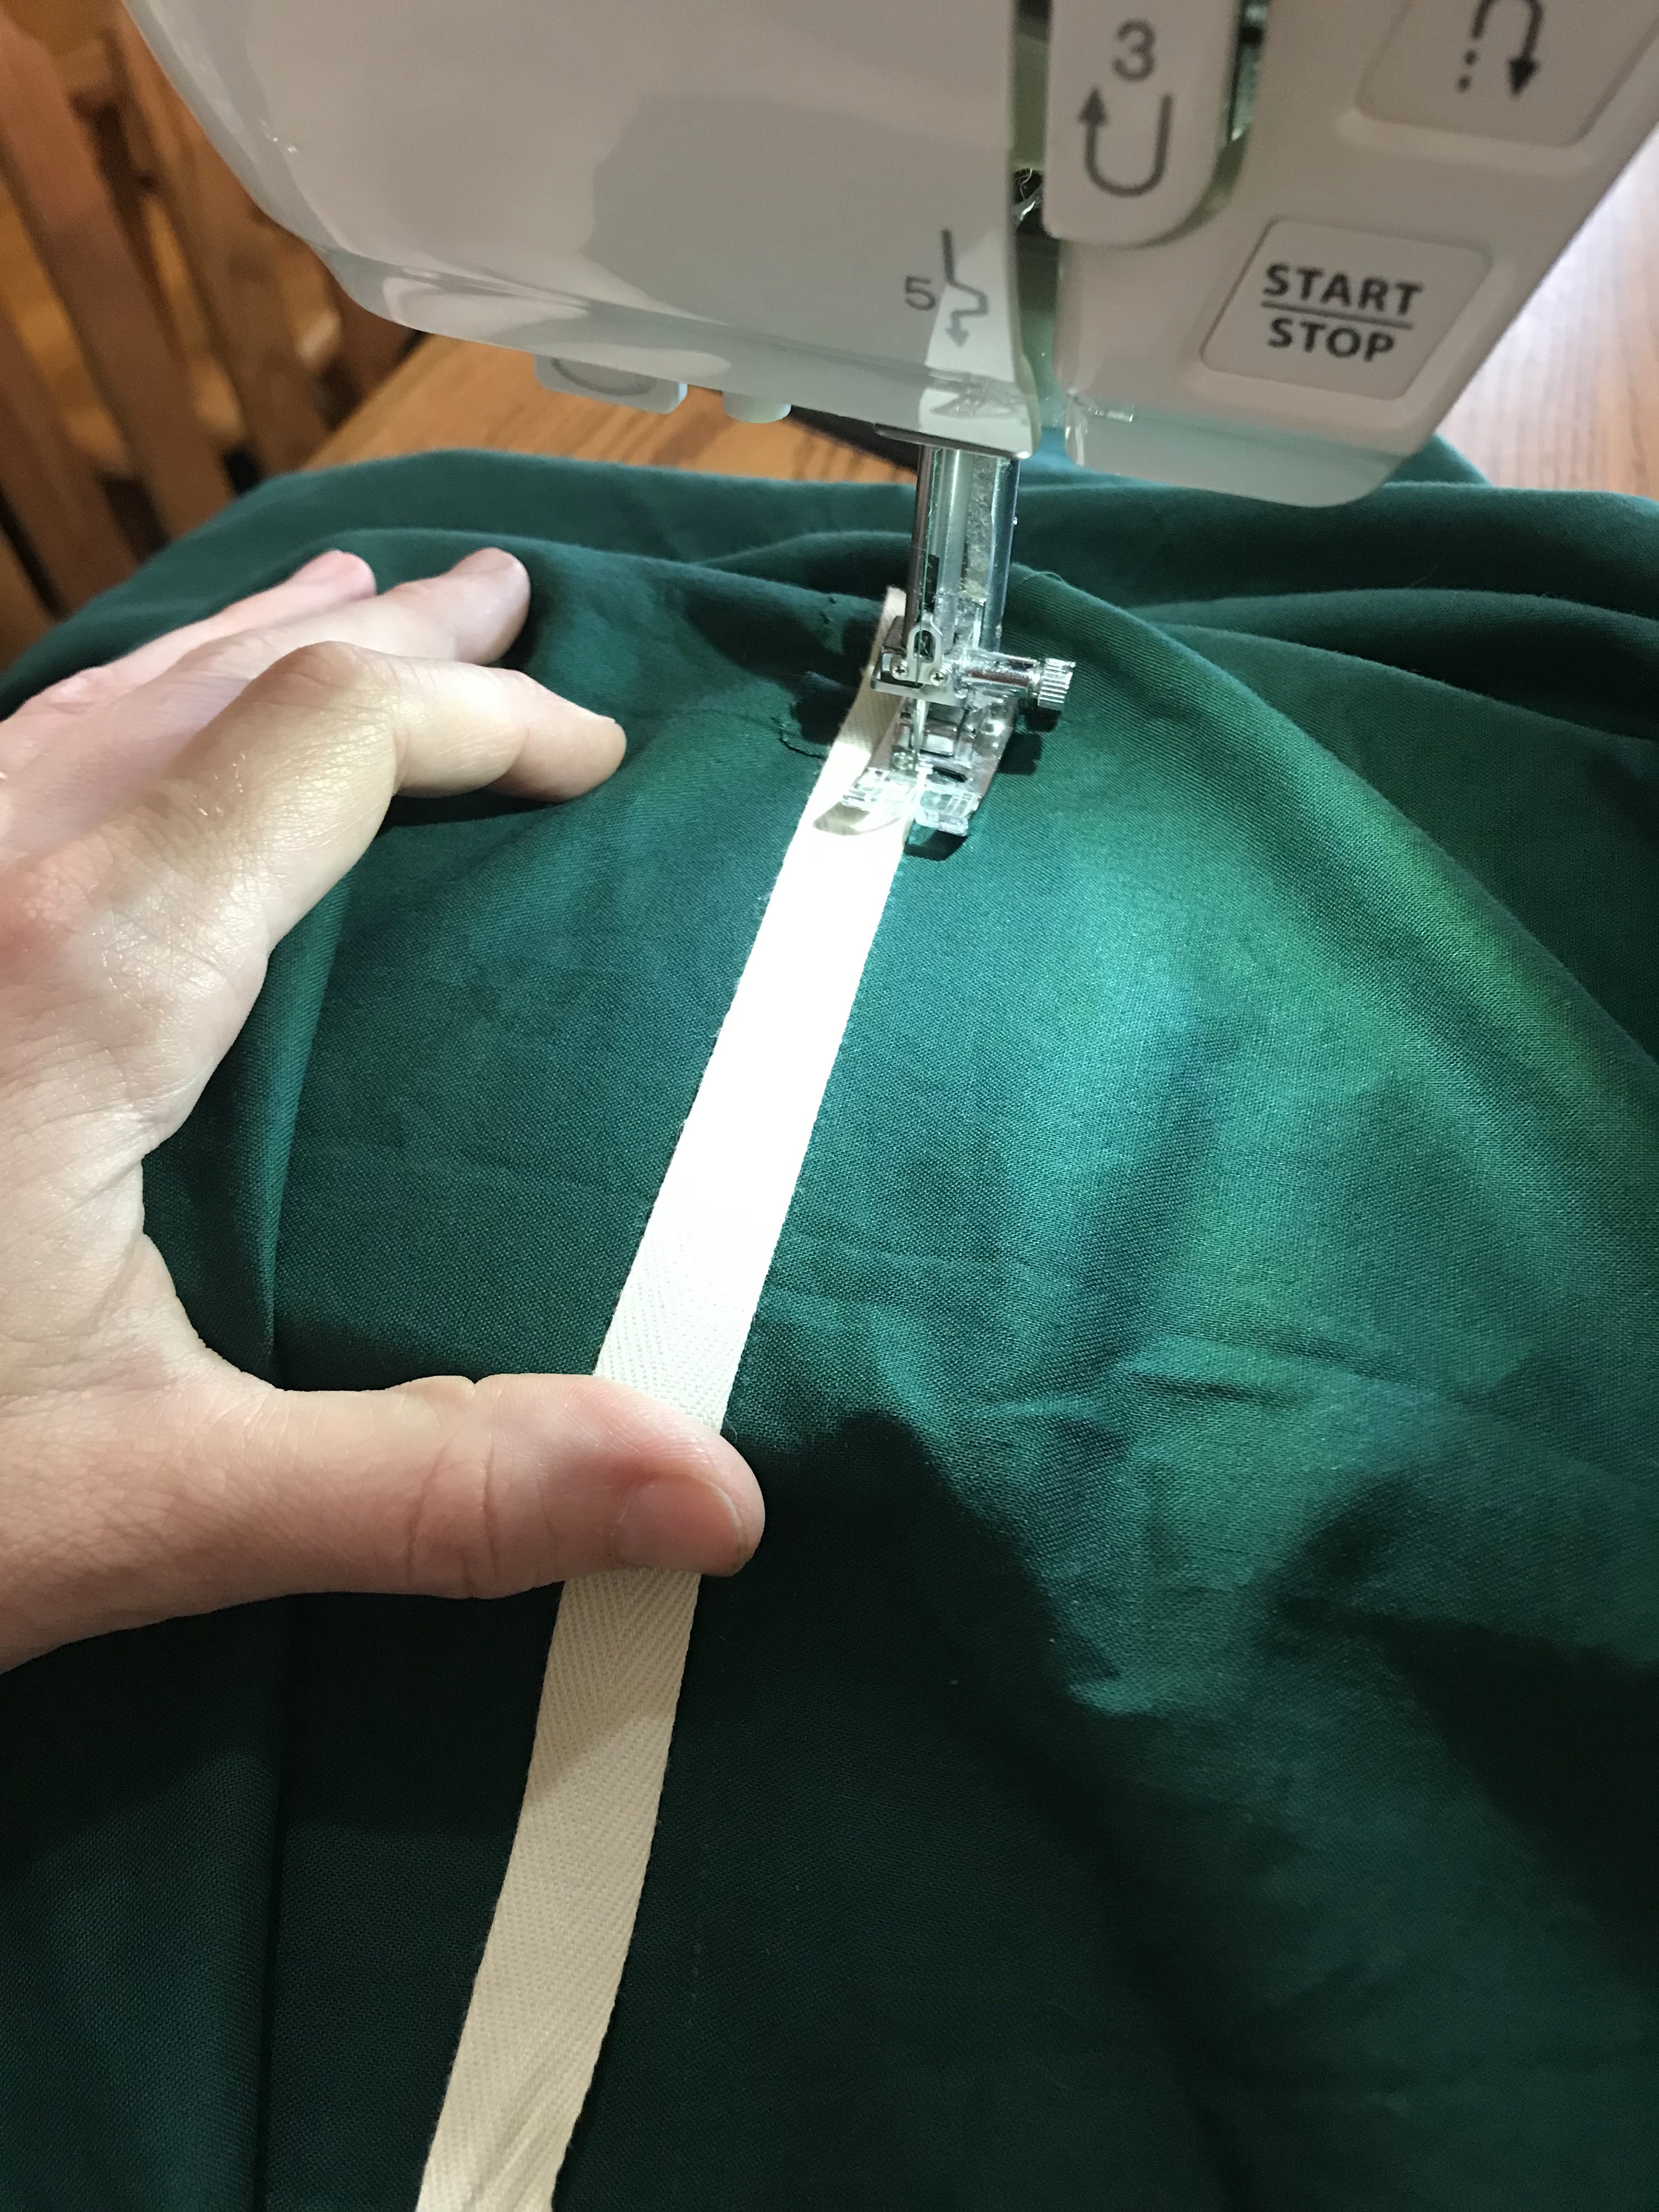
After that hurdle was gotten over, the rest of the sewing went easily. I used twill tape to make the drawstring casing at the waistline and bias tape for the neckline casing. Ribbon drawstrings were inserted in those two locations and elastic was put in the sleeves.
I added ribbon "belt carriers" at the side seams for a ribbon sash.
The ribbon sash was added and the dress was done!
It was finished in under 3 hours - with several hours to spare before the party began!
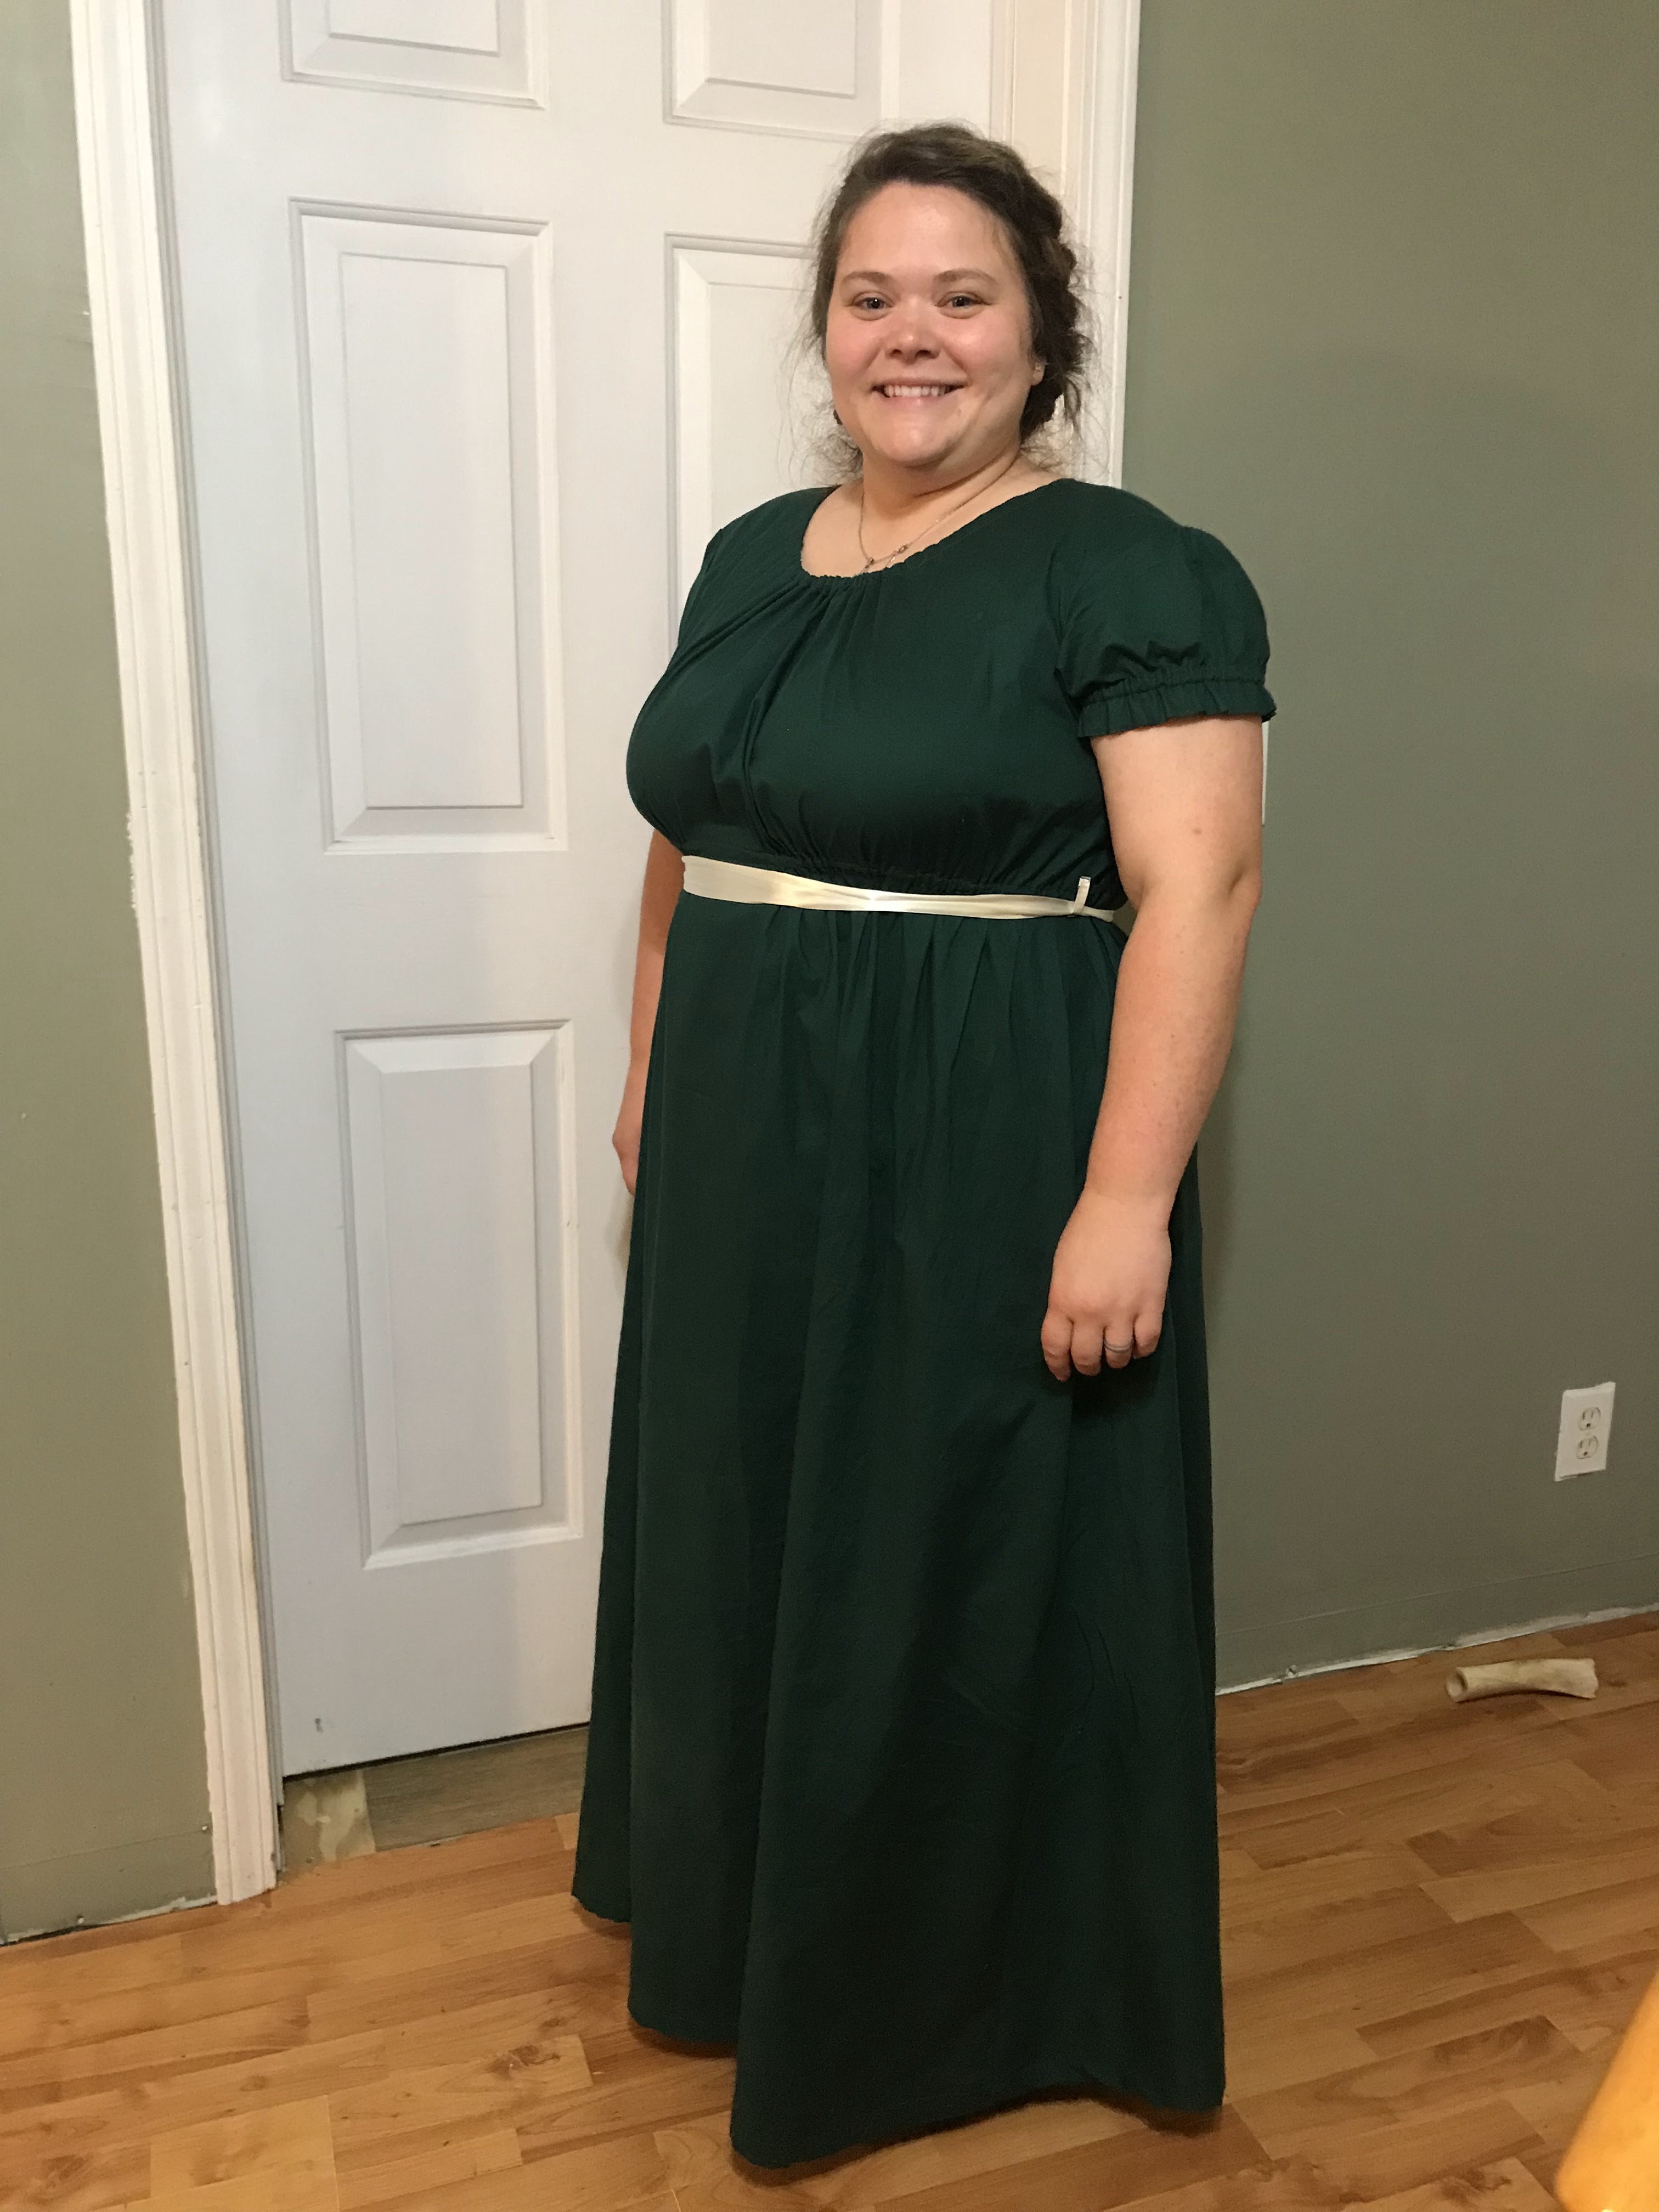
My sister-in-law arrived, put her dress on, and I was relived that it fit pretty darned well!
She looked like a regency lady for the evening, right along with the rest of us!
Not too bad for a last minute thrown together project!
Now, of course I'd like to make her a nicer Regency dress, and some Victorian dresses from the eras my sister and I both have so we can all dress up together. . .
So we'll see how long it takes us to get around to that!


No comments:
Post a Comment