Upon completion of my fuchsia silk, rose-trimmed 1770’s petticoat, it was time for me to stop procrastinating and actually re-fit and finish the pet en l’air to go with it.

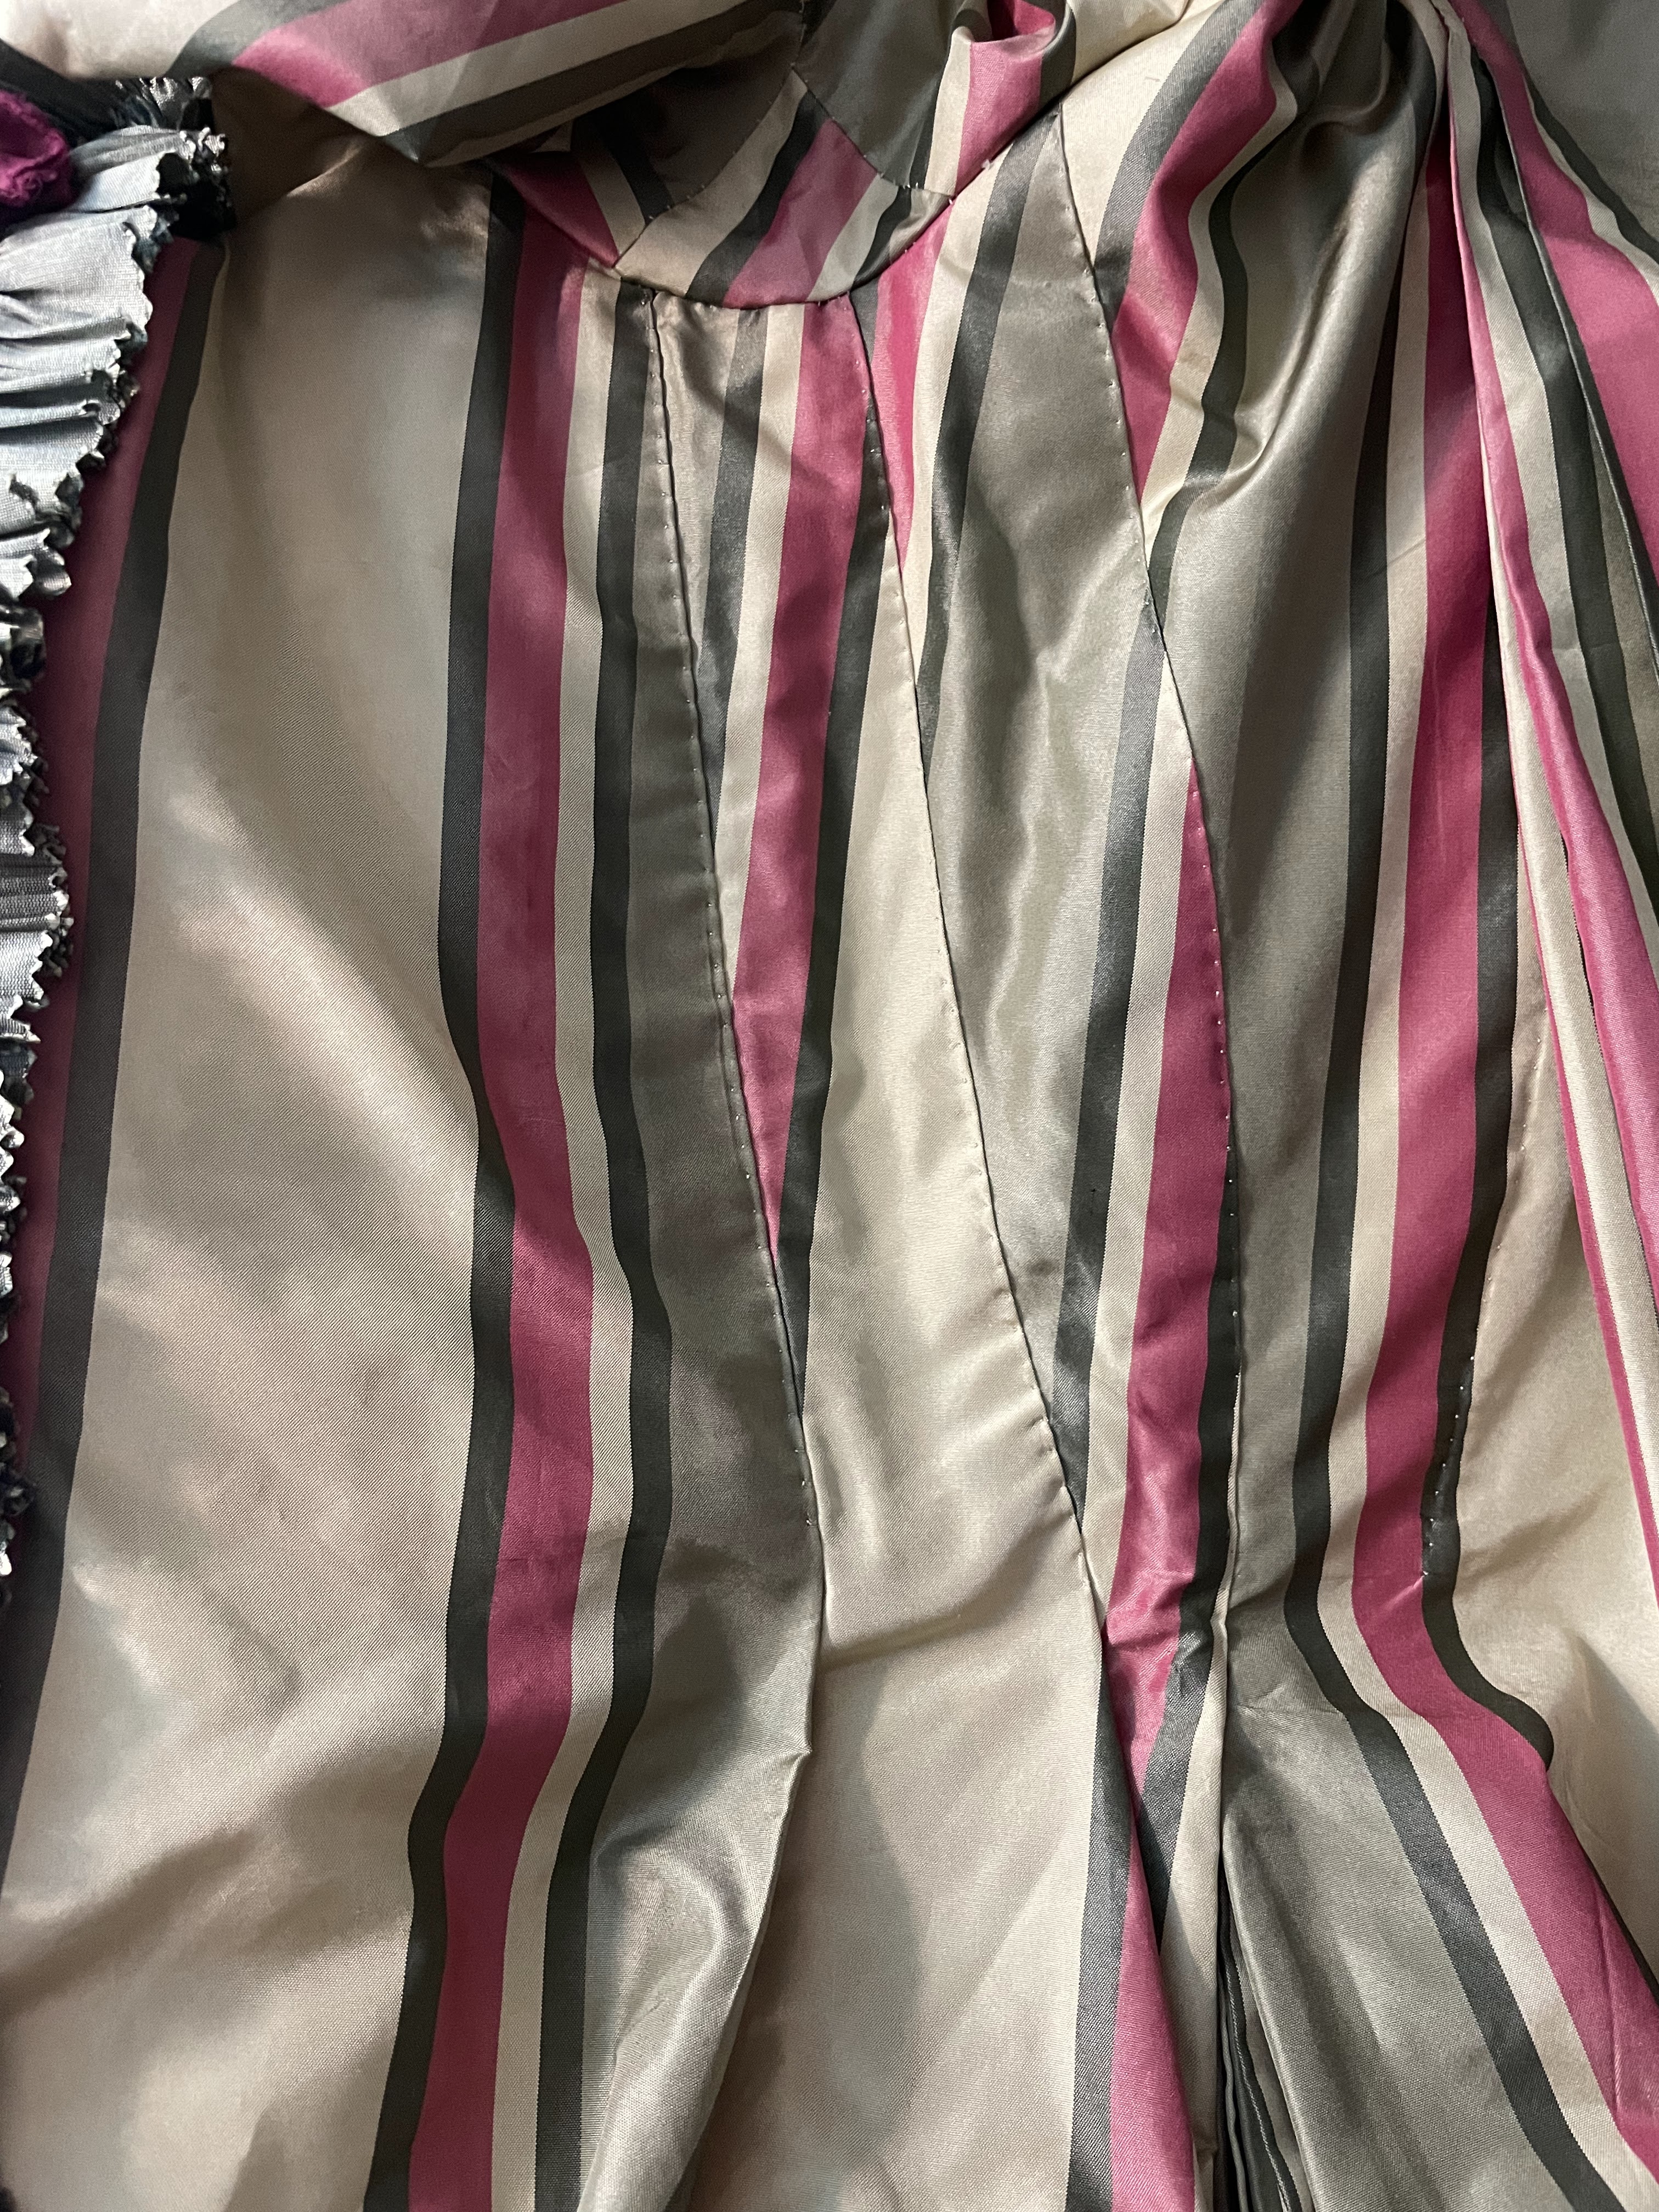
To give you an idea of what I was starting with, the lining of the “pet” was already finished when it was given to me, and the back pleating was done. The front pieces were ready to be sewn on. I just needed to re-size them first.

I started by removing the front lining pieces from the in-progress garment, trimming them down just a little along the back edge, then making a huge tuck under the armscyes of the pieces, essentially giving them a “side seam”. 18th century garments don’t often have true side seams, generally the “side seams” are located nearer the back of the garment, rather than directly under the arm the way they are in modern garments. These tucks made the lining the perfect size! Once that was done I re-sewed the front lining pieces to the back of the garment and proceeded to the silk front pieces.

I sewed the silk fronts to the back along the back side seam, lined up the front edge of the silk with the front edge of the lining, then pleated the silk at the sides to match the size of the lining. These pleats were then secured with a prick stitch.
Once that was done, I hemmed the skirt, hemmed the pocket slits, and pleated the skirt at the side seams - securing the skirt pleats with a strip of twill tape sewn to the bodice lining.

With that the main body of the pet en l’air was pretty much done, all it needed to be wearable was sleeves and shoulder straps.

I used the Larkin and Smith English gown pattern to cut out my sleeves and sleeve ruffles from some of the silk scraps I had, and cut the sleeve linings from some scrap cotton.

I sewed up the sleeves and finished them off with a double row of scalloped and pinked ruffles at the elbow.
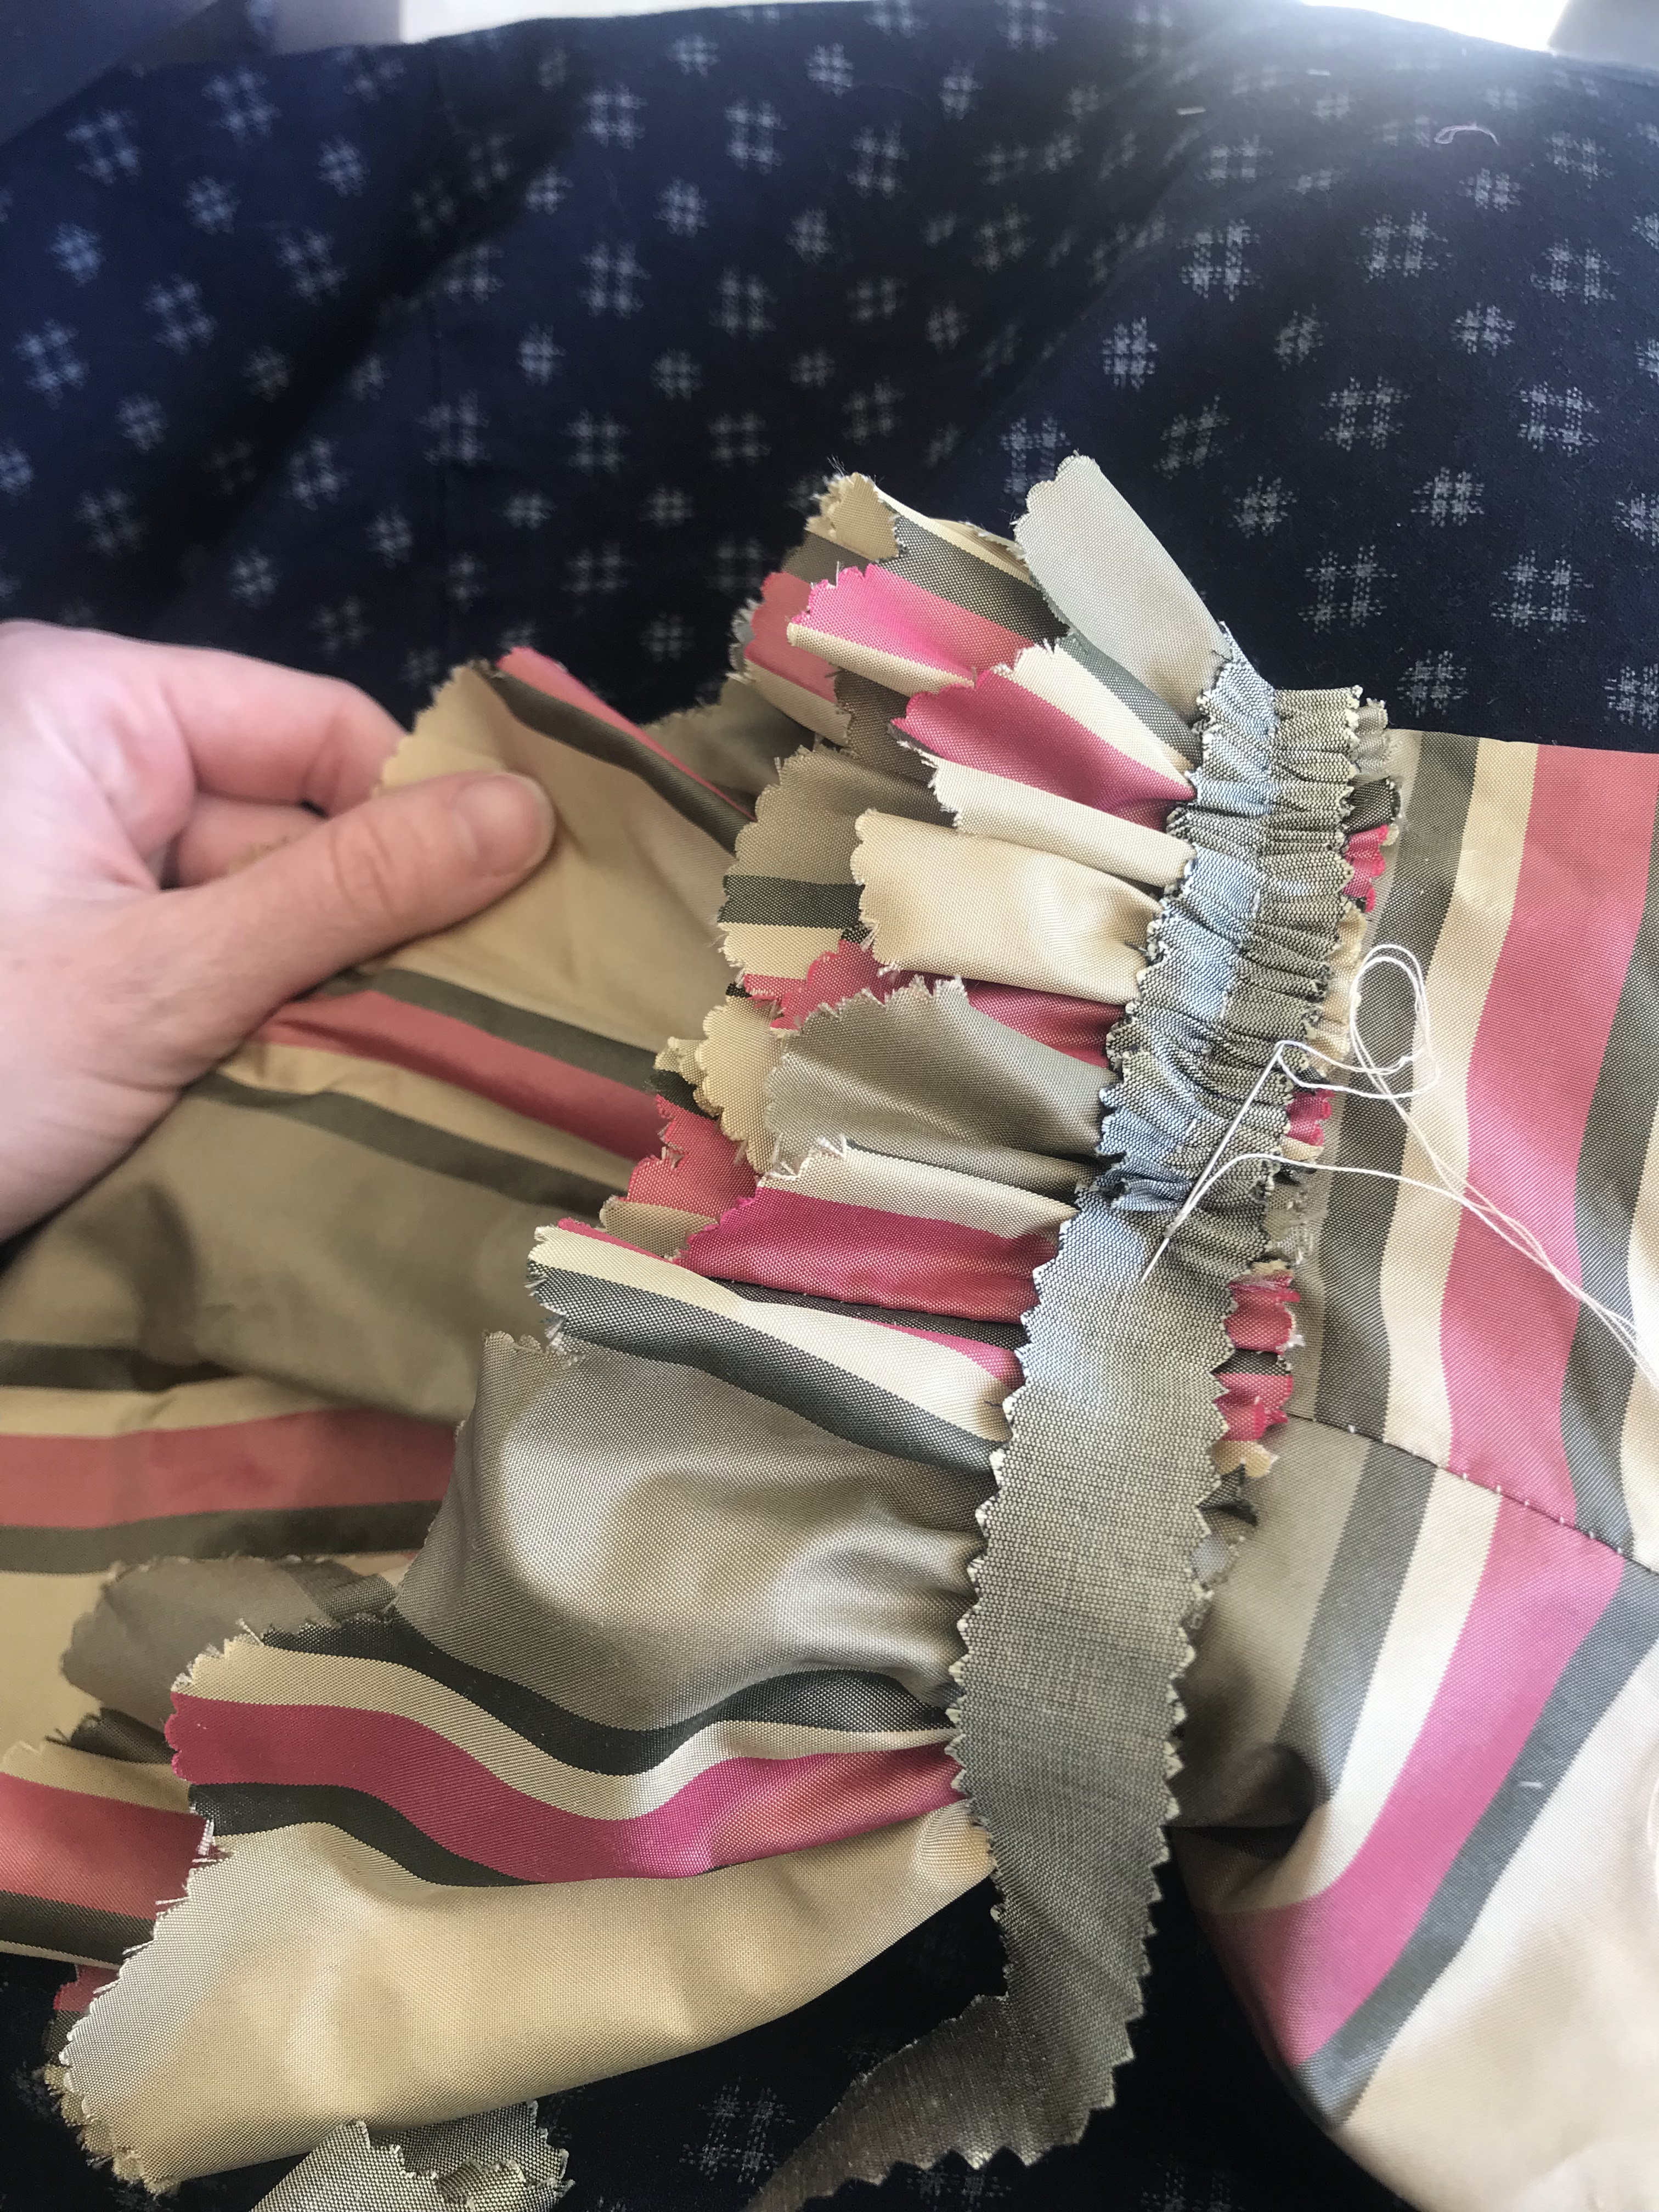
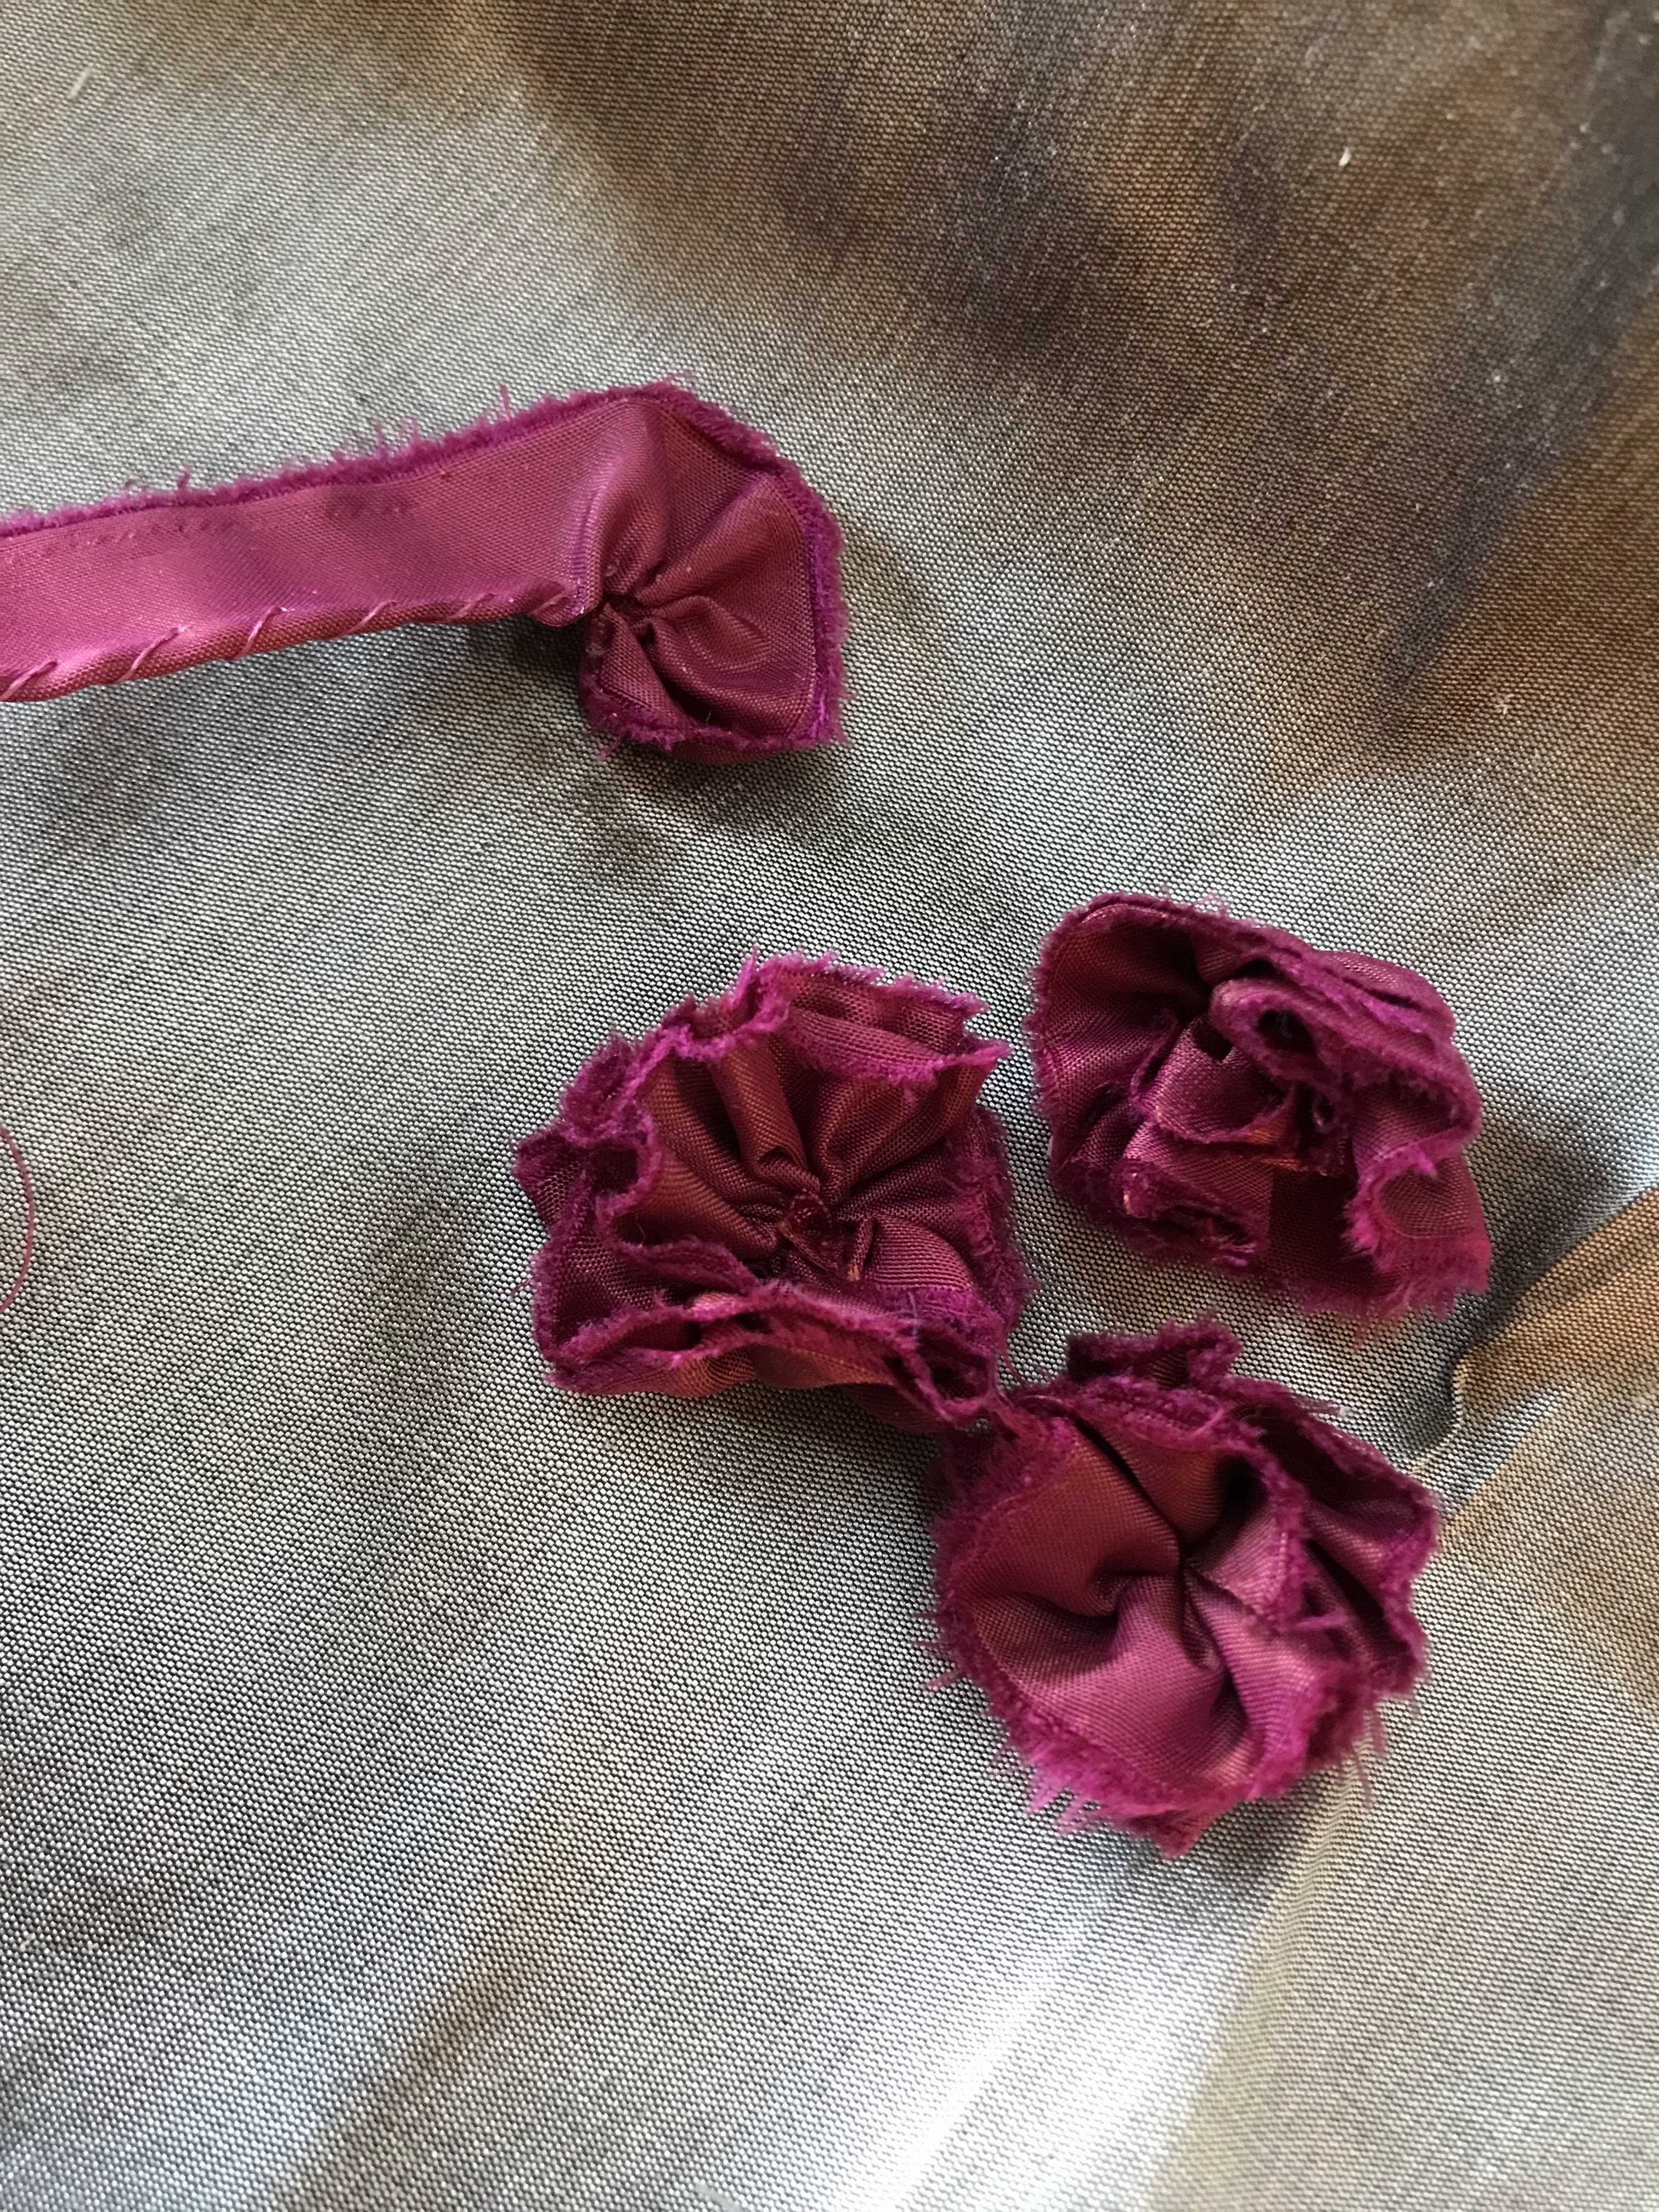
To match the petticoat, I added a narrow strip of green silk trim at the top of the ruffles and made a pair of fuchsia roses from the silk I’d trimmed off the top of the petticoat while leveling it.

These roses were sewn on at the crook of the elbow.

At this point I tried the sleeves on and found them to be too tight. Crap. I fixed this the best I could by undoing the top few inches of the sleeve seam and inserting an underarm gusset.

I’m not sure if this is completely historically accurate, but I’d say it’s atleast plausible.

The gussets loosened up the sleeves enough that I could pull them all the way up my arm. However, they’re still a bit tight and the sleeves of my 18th century shift don’t fit under them very well. So I have to wear my regency shift, with its short, straight, sleeves, under this ensemble.

Once the sleeves were made and fixed, Historic Thimble helped me to set them in the 18th century manner. I sewed the sleeve to the bodice under the arm, leaving the sleeve cap free. I then put the garment on and she pleated and pinned the sleeve cap in place to fit my shoulders.

Afterwards I sewed on the shoulder straps and the pet was ready for trimming!

And a stomacher.
Rather than a solid stomacher that would be pinned in place to fill the front of the jacket, I decided to do what was called a “compare” front, which came into style in the 1770’s. This is when the gown or jacket closes down the center front, rather than along the sides of a stomacher. To make this work with my pet en lair I cut a two piece stomacher, that would be sewn to the pet along the edges and button down the center front.

I made fabric covered buttons using a vintage covered button kit in my stash. I (rather un-historically) glued them together as I’ve had covered buttons fall apart in the past and wanted to avoid that this time.

I sewed hand- sewed button holes on one half of the stomacher with silk button hole thread, and sewed the buttons down the other half. I then trimmed the stomacher with strips of gathered green silk.

Finally, I moved on to trimming the pet itself with - you guessed it - more strips of gathered green silk. I cut so many strips of green silk for this project!

The toddler I nanny attempted to help me by using the silk I was cutting as a play mat. Thanks for the support kid!

Ruffled green silk all along the neckline, down the front, and all around the hem.
 |
| No clue what I'm doing with my hands here - but look at the trim! |
I decided to do a bit of a scalloped pattern on the front skirt to add some interest.

Once all that gathered trim was on, I added the little fuchsia and ivory silk roses I’d made ages before when I’d been working on the petticoat.

I made these roses by folding narrow strips of silk in half length wise, gathering the folded edge with a whip stitch, coiling the gathered edge up, and sewing it in place.
I made all the roses last February. I finally got them all sewn on in December. That’s how long this project took me.

Now I didn’t work on this project straight through, no, I worked on it a little bit at a time in between other projects all year long. So it probably didn’t actually take an insane amount of hours to to sew, it just felt like it did because it was all drawn out.

However, finally, all the roses were on! I tried on this pet, pinned my buttoned up stomacher in place, the sewed it on under the jacket trim where the stitches wouldn’t be seen.

And finally, 13 months after I was given the thing, the striped silk pet en l'air was finished!!

My brother came over and photographed it for me - my first historical ensemble photographed on our land!

We had to take advantage of some of the fun new back drops available to us!

A log over the frozen stream.
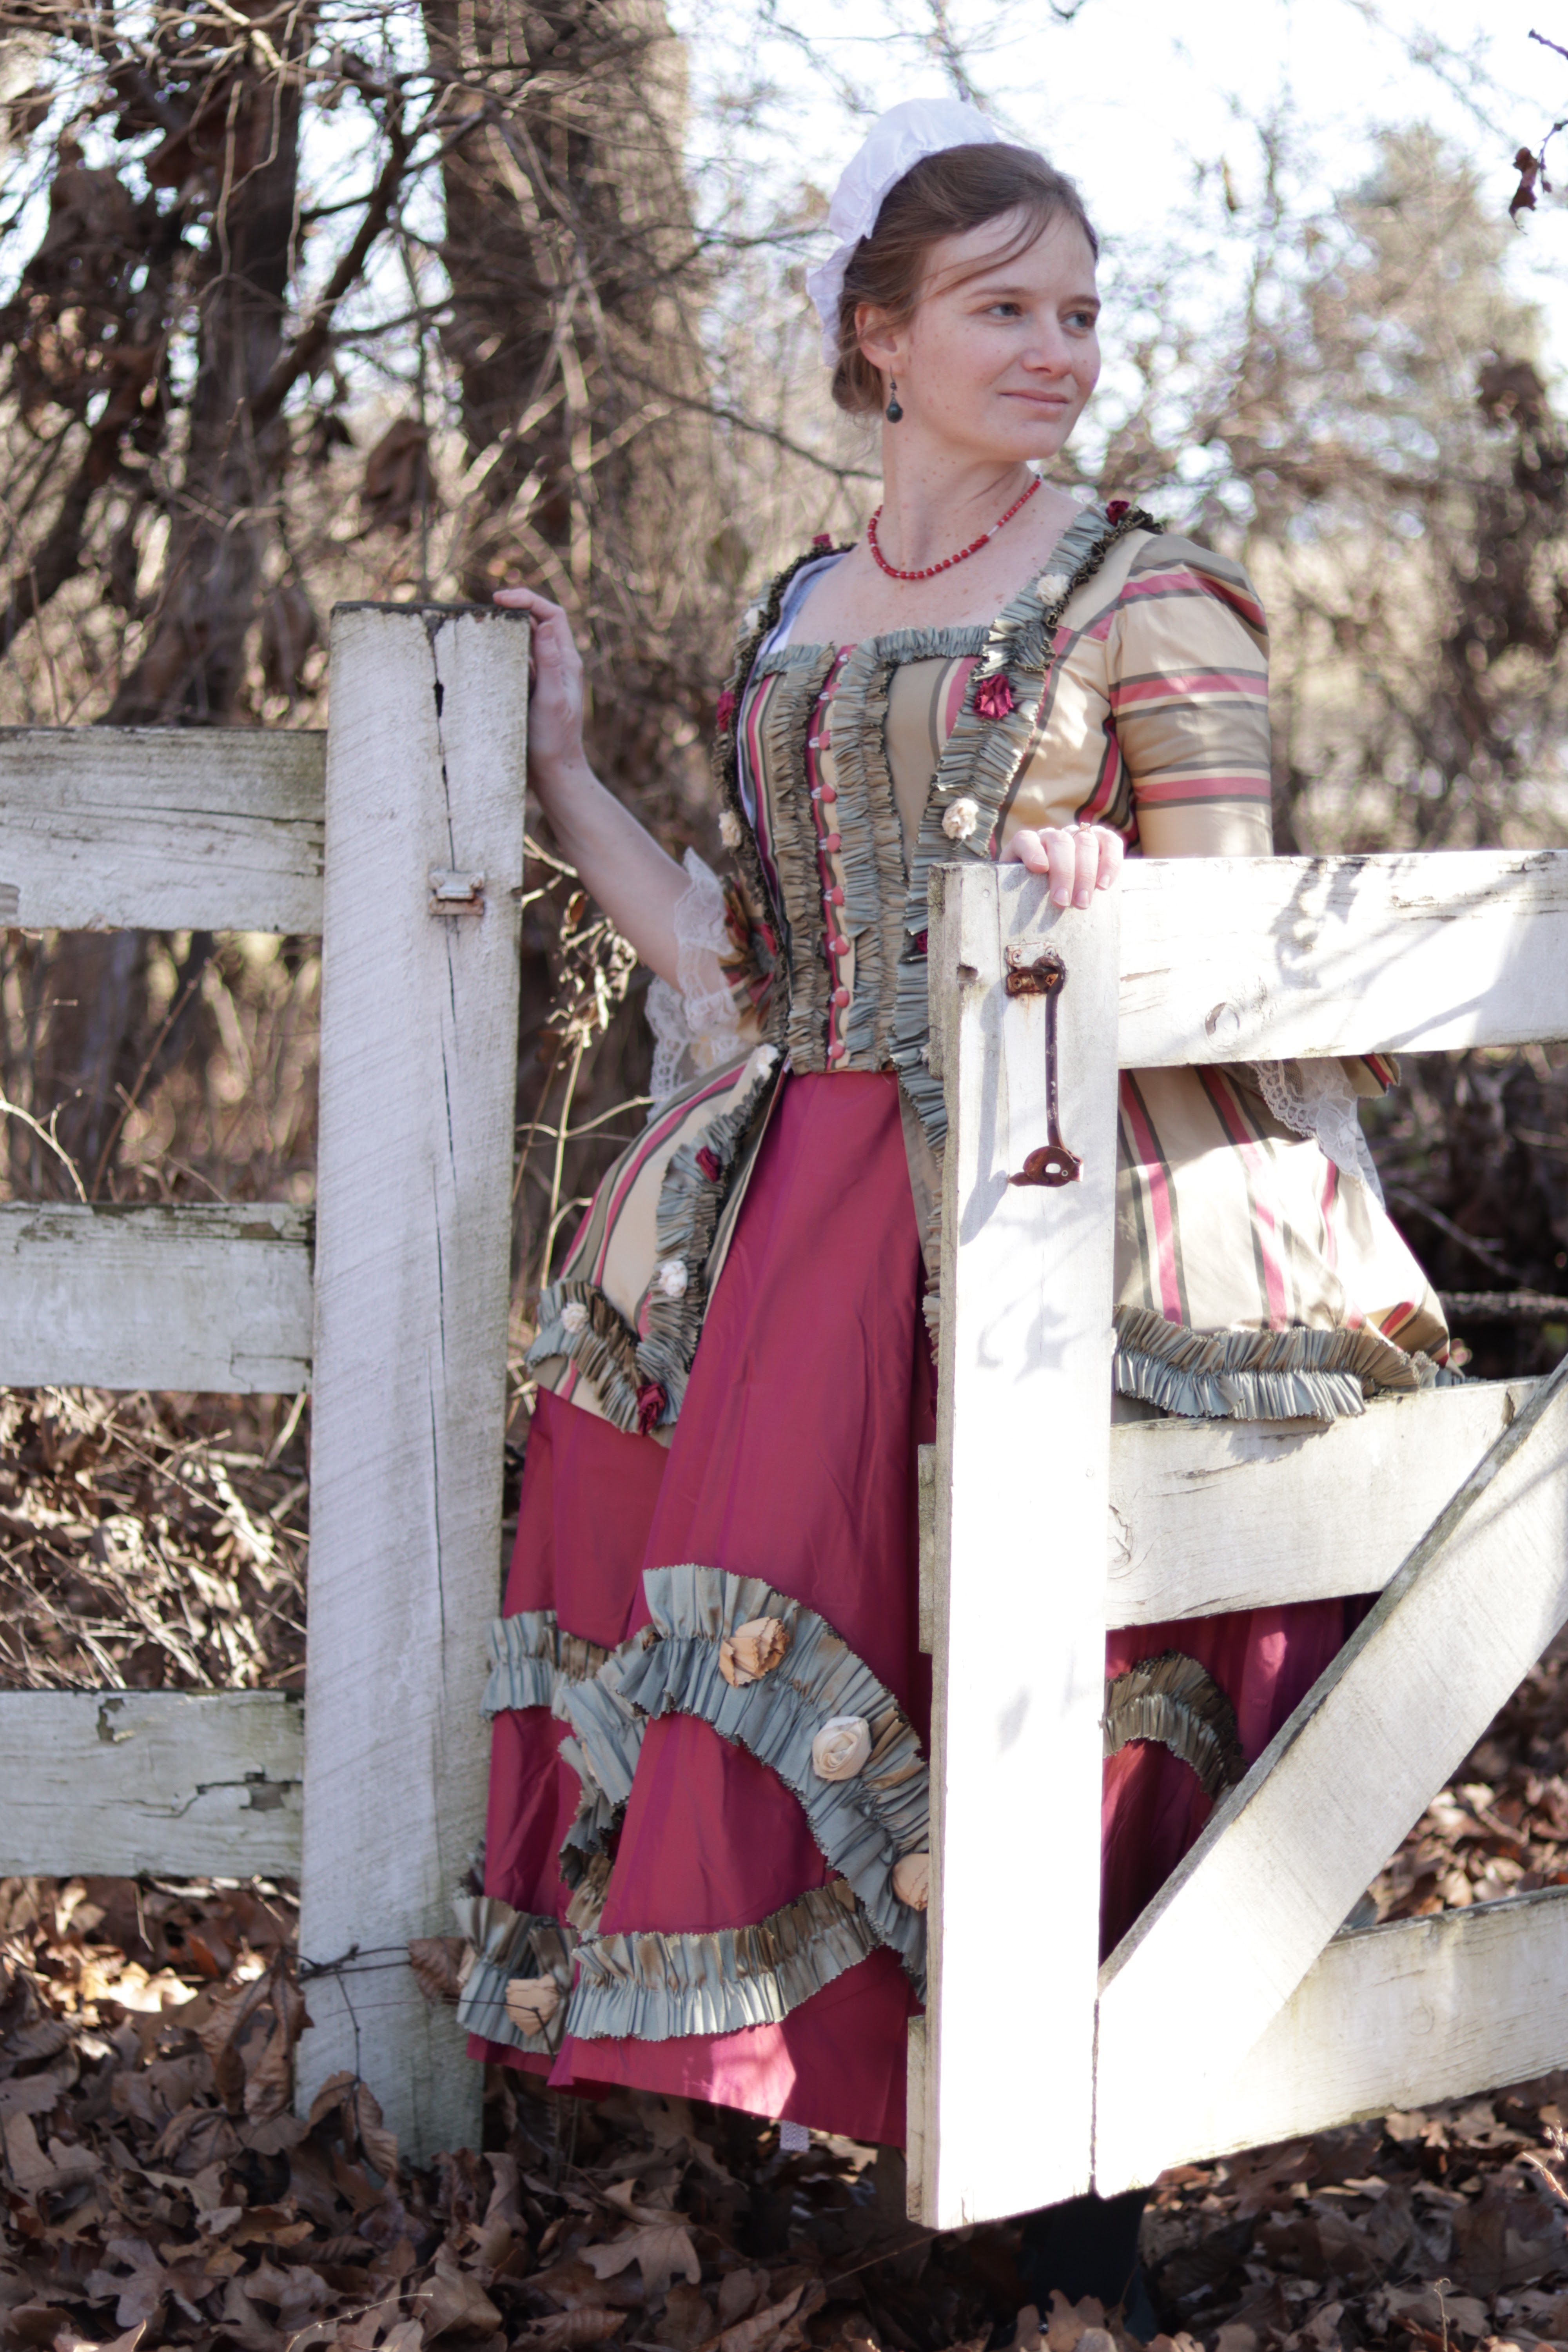
A pretty white gate.

Paths in the woods.


I love it!

Love it, love it, love it!

Both the background and how this ensemble turned out!

I can’t wait to find an excuse to wear my new pet en lair out and about!
Meanwhile, it is (was?) my submission for the 2022 Historical Sew Monthly Challenge Anniversary Choice — “It’s the 10th year of the HSM! Go back 10 years and choose any challenge from the 2013 HSF Challenge list, and make something for it! In 2013 we tried to do this fortnightly, so there are 26 options!”
From the 2013 challenge list this fits several themes!
What the item is: 1770’s Pet en lair
The Challenge: Anniversary Choice - Challenge #2 from 2013: UFO - this was my friend’s abandoned project, so she gave it to me. And then it took me over a year to finish it, so it was ver nearly a UFO for me as well! It also qualifies for #4, Embellish, as I added lots of trim, and #6, Stripes. There’s a couple other 2013 challenges I could make it fit, but we’ll call 3 enough!
Material: Silk taffeta, cotton twill, cotton sheeting.
Pattern: As I inherited this half finished from my friend, I have no idea what pattern was used to start with. Personally I used the Larkin and Smith English Gown sleeve pattern to finish it.
Year: 1770’s, due to the compare front.
Notions: thread, twill tape, button forms.
How historically accurate is it? It’s primarily hand sewn and all silk, so the material and construction are pretty good (other than the glue I used to make sure my buttons wouldn’t fall apart.) Let’s say 80% accurate, because I’m sure there are a few things I did “wrong”.
Hours to complete: I have no clue. Many. This project was abandoned and picked back up several times.
First worn: For pictures 12/28/22
Total cost: $0 for me, since the UFO was gifted to me and I used silk scraps and left over button forms from my stash to trim it.

No comments:
Post a Comment