With a few chops, it was ready to turn into a tunic shirt for my little sister.
I cut a new, very wide neckline, then narrowed the sleeves and upper part of the shirt at the side seams.
First I sewed closed the bottom part of the button placket.
Then I sewed up the new side seams, and turned the excess fabric, where the new side seams ended, into big pleats, one at each side.
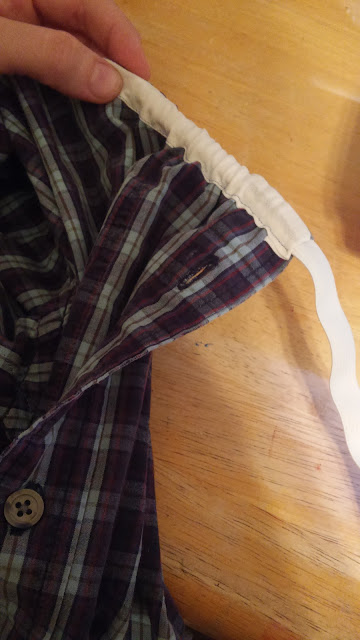
Where the pleats began and the new seams ended I sewed bias tape around the inside of the shirt.
This made a casing, in which I ran elastic through, cut to my sister's waist measurement. Next I used bias tape to finish the neckline and make another casing.
I ran elastic through that. Finally I sewed on a ribbon bow at the waist, where the missing button was, and the tunic was done!
My sister says it's very comfortable, perfect for every day activities.
Such as training her goats, to get them ready to show next year.
(Little Essie sometimes needs some encouragement to walk, but my sister is very patient with her)
This was definetly the easiest of the shirt refashions, it only took about an hour, but I think it might be the one that get's the most wear. My mom really liked it too, and wants me to make her a tunic like it!
Now, I don't think I'll have time to finish that one before the challenge ends on Sunday, but stay tuned, I may surprise myself!


I am enjoying looking at all your refashions. This one for your sister may be my favorite so far. :) *kind of reading backwards in your posts*.
ReplyDeleteI literally have BAGS of pieces of clothing to refashion/upcycle/recon for myself and my daughters. Your projects are great inspiration! I may have to make my little (5 year old) a couple of these tunics. If I add some patchwork animals and/or embroidery on them she will be over the moon. The men's shirt from a tunic is a fabulous idea.
Love the idea of adding animals or embroidery to the tunic! I've also made this tunic for my mom and my best friend, with good results.
ReplyDelete