I had a complete bodice for my wedding gown, it was time to make the skirt and turn this thing into a complete dress!

There would be two parts to the skirt - the basic, floor-length, silk foundation skirt (Which would be constructed like any Early Victorian/Mid 19th Century skirt, something I knew how to do no problem!) and the net lace asymmetrical overskirt. (Which I still hadn't figured out a solid game plan for, so I'd be crossing that bridge when I came to it. Pattern Hacking? Draping? Cutting my fabric and hoping for the best? Anything was possible!)

After I finished the bodice, I tried it on over my corset, hoopskirt, and petticoats and had my mom measure from the bottom edge of the bodice to the floor at the center front, center back, and side seams. I added a few inches to these measurements for seam allowance and extra wiggle room, then cut 3 panels of my 55" wide silk twill to this length.
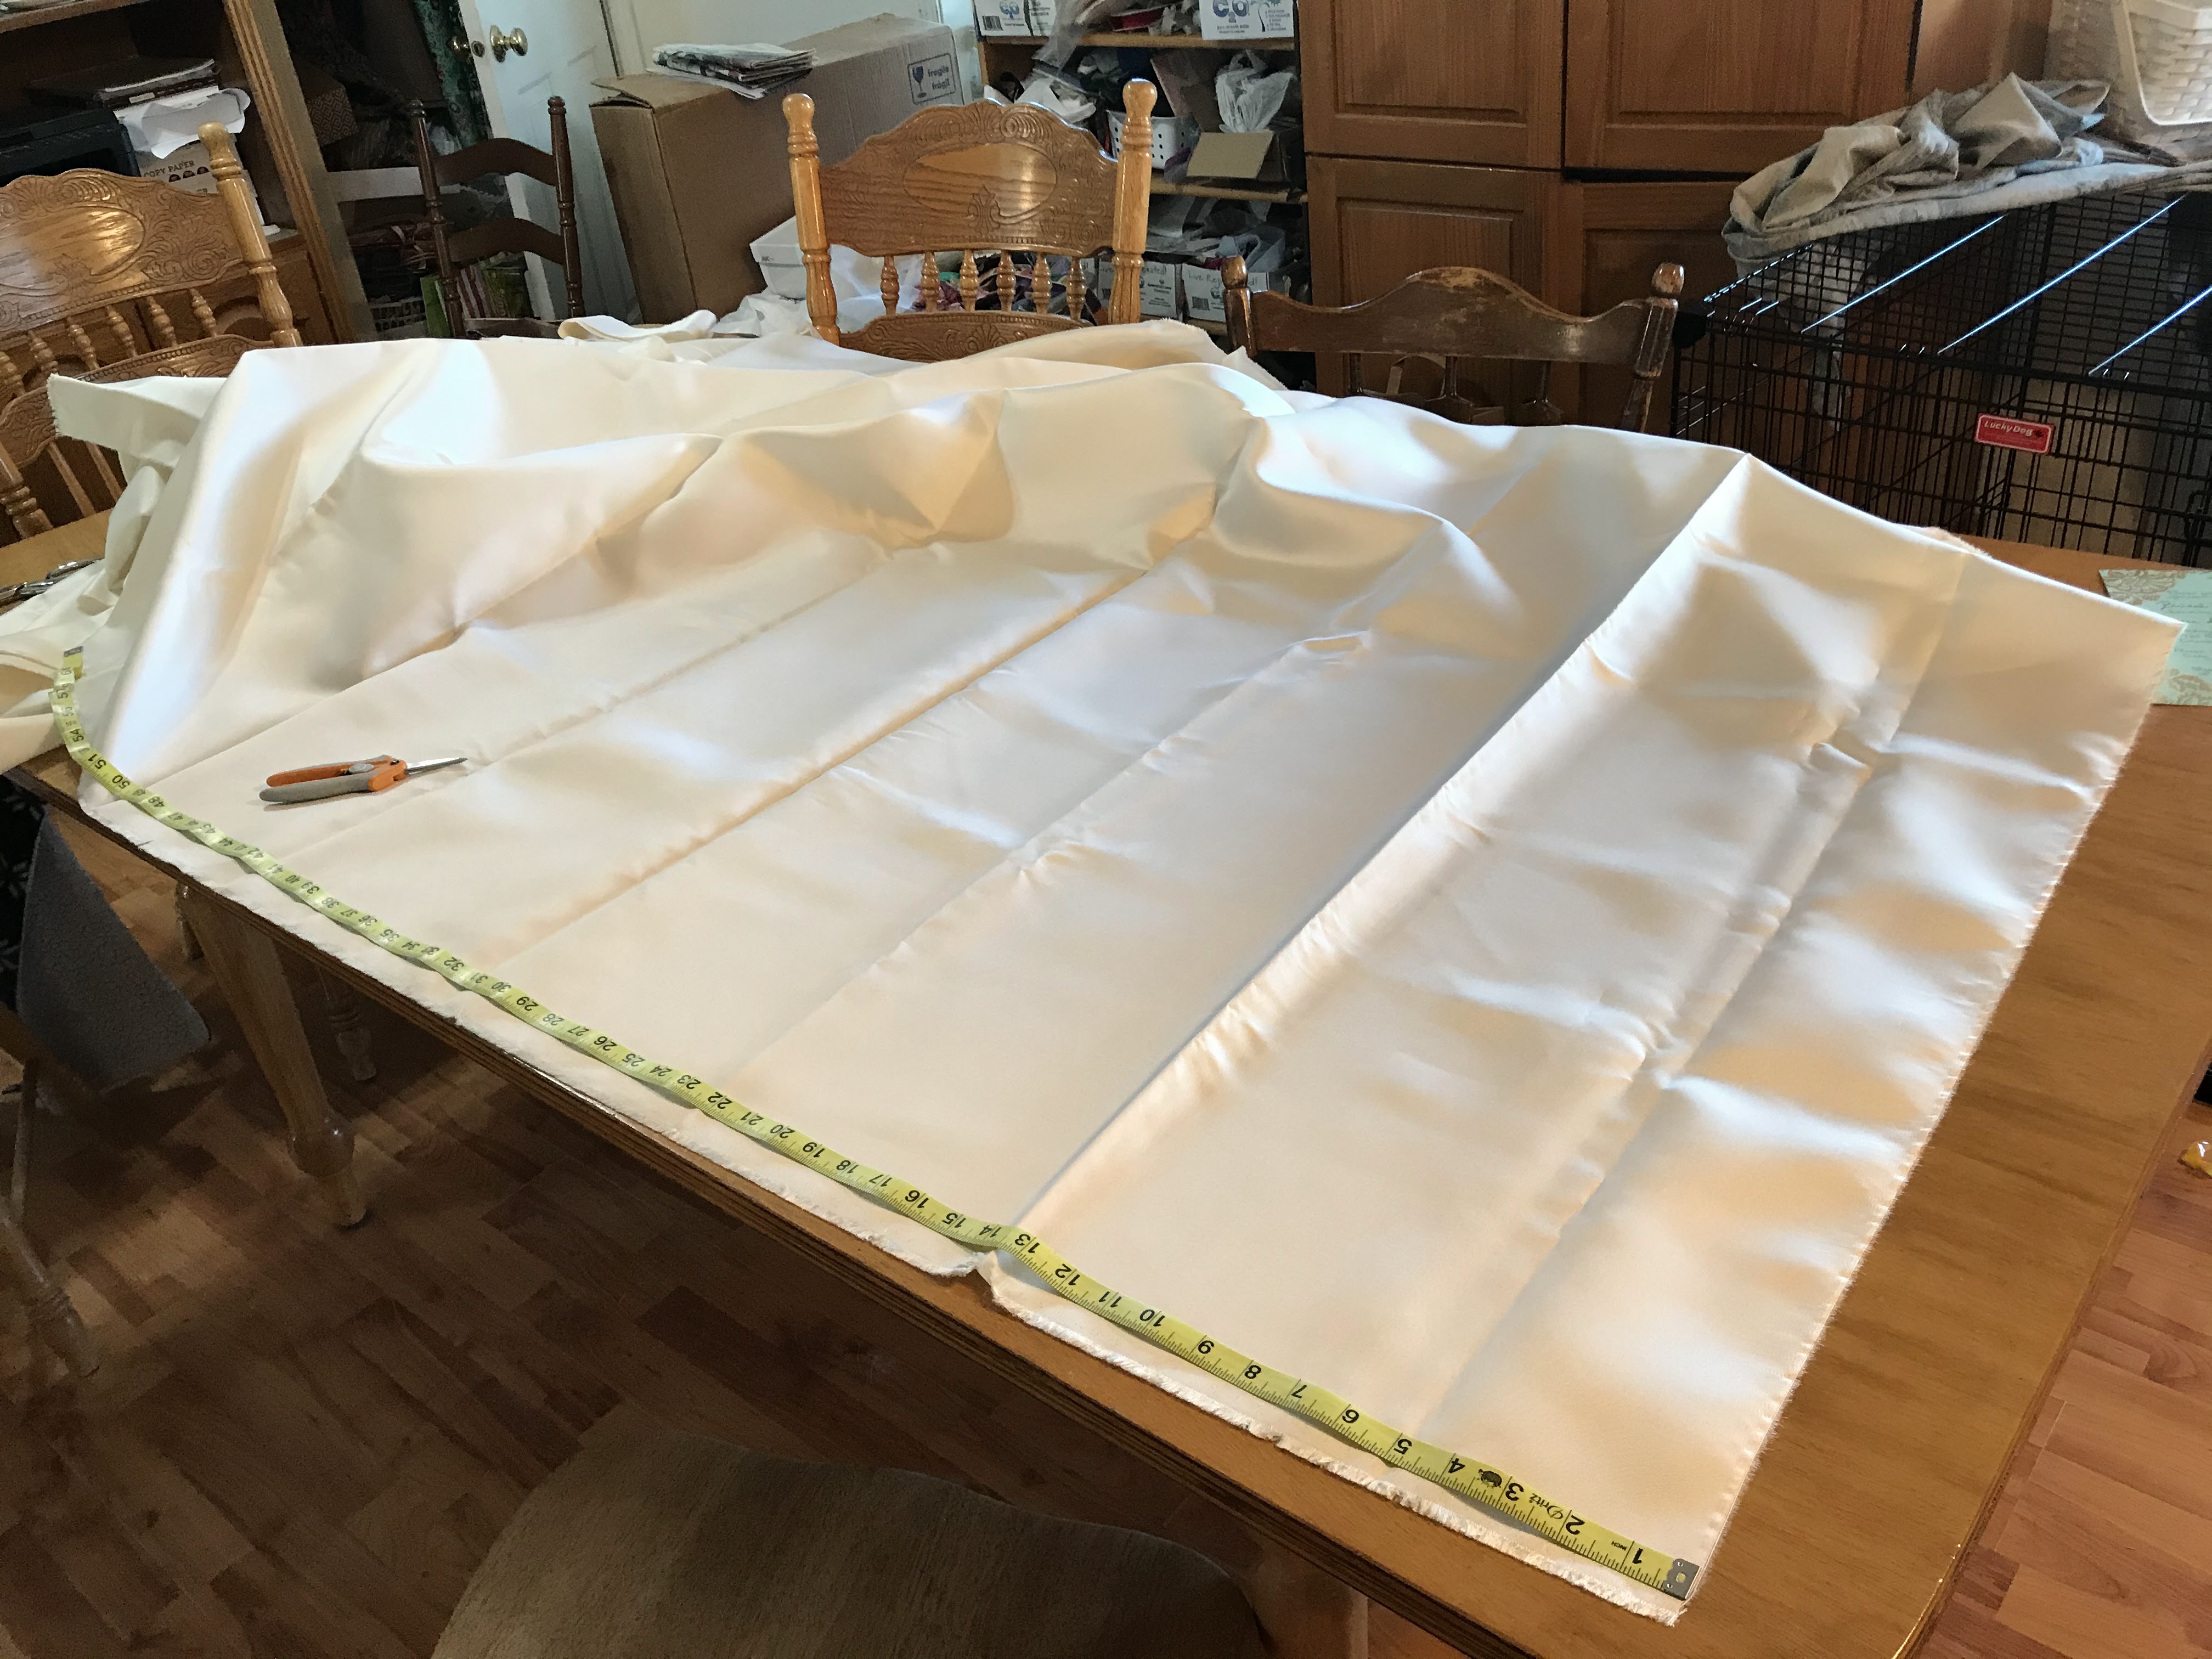
After reading Bridal Couture I came to the conclusion that it really would be best to flat line my skirt, so I ordered some silk organza for that purpose. After I cut my silk twill skirt panels, I ironed them flat, cut silk organza panels to the same dimensions as the silk twill panels, then pinned the two layers together.

Proper procedure would have then been to baste the two layers together on every panel, but I couldn't be bothered. Once the two layers were pinned together, I just went ahead and pinned all my skirt seams in place.

I sewed up all the skirt seams, making sure to leave the top 12" or so open so I could make my button placket once the skirt was attached to the bodice. Then I ironed all the seams open.

You may notice I didn't mention anything about putting pockets in any of the skirt seams. That was intentional. I decided my wedding dress didn't need pockets I know, what a disgrace! But hear me out.
Usually I carry my phone and my pocket knife in my dress pockets, and I didn't think I needed to have either of those things on me for my wedding. Also, the lace over skirt would have made getting to pockets in the skirt seams tricky. So I just didn't feel the need to put pockets in my wedding dress. I did, however, put pockets in all the bridesmaids' dresses, so anything I needed could just be stuck in one of their pockets.


The bottom edge would be finished with a hem facing rather than a turned up hem, so I cut 12" wide strips of my African wax print for this facing and started pinning them in place. Then I ran into an issue.

The purple and gold print totally showed through my "candle light white" silk. Dangit! I still really wanted to use the print for my hem facing, so I had some problem solving to do.

I decided to add a second hem facing, of plain white cotton between the print facing and the silk. I cut the white cotton facing about 15" wide so it would go further up the inside of the skirt than the print facing.

I machine sewed the top edge of the print facing to the white facing, then machine sewed the facing to the bottom edge of the skirt, right sides together.

The facing was then under stitched, pressed to the inside of the skirt, and pinned in place.

Thanks to the white hem facing, the print was no longer noticeably showing through! Excellent!!

The white hem facing was then hand-sewn to the silk organza underlining so no hemming stitches would show through on the outside of the dress.

My skirt was hemmed! Now to deal with the top edge.
I double checked how long my skirt needed to be at the center front, side seams, and center back. Then I measured the length of my skirt. I folded the excess to the inside of the skirt - more at the center front where the bodice came down lower, and less at the sides and back - and pressed it in place. Then I proceeded to cartridge pleat that top edge.

Three rows of evenly spaced running stitches.
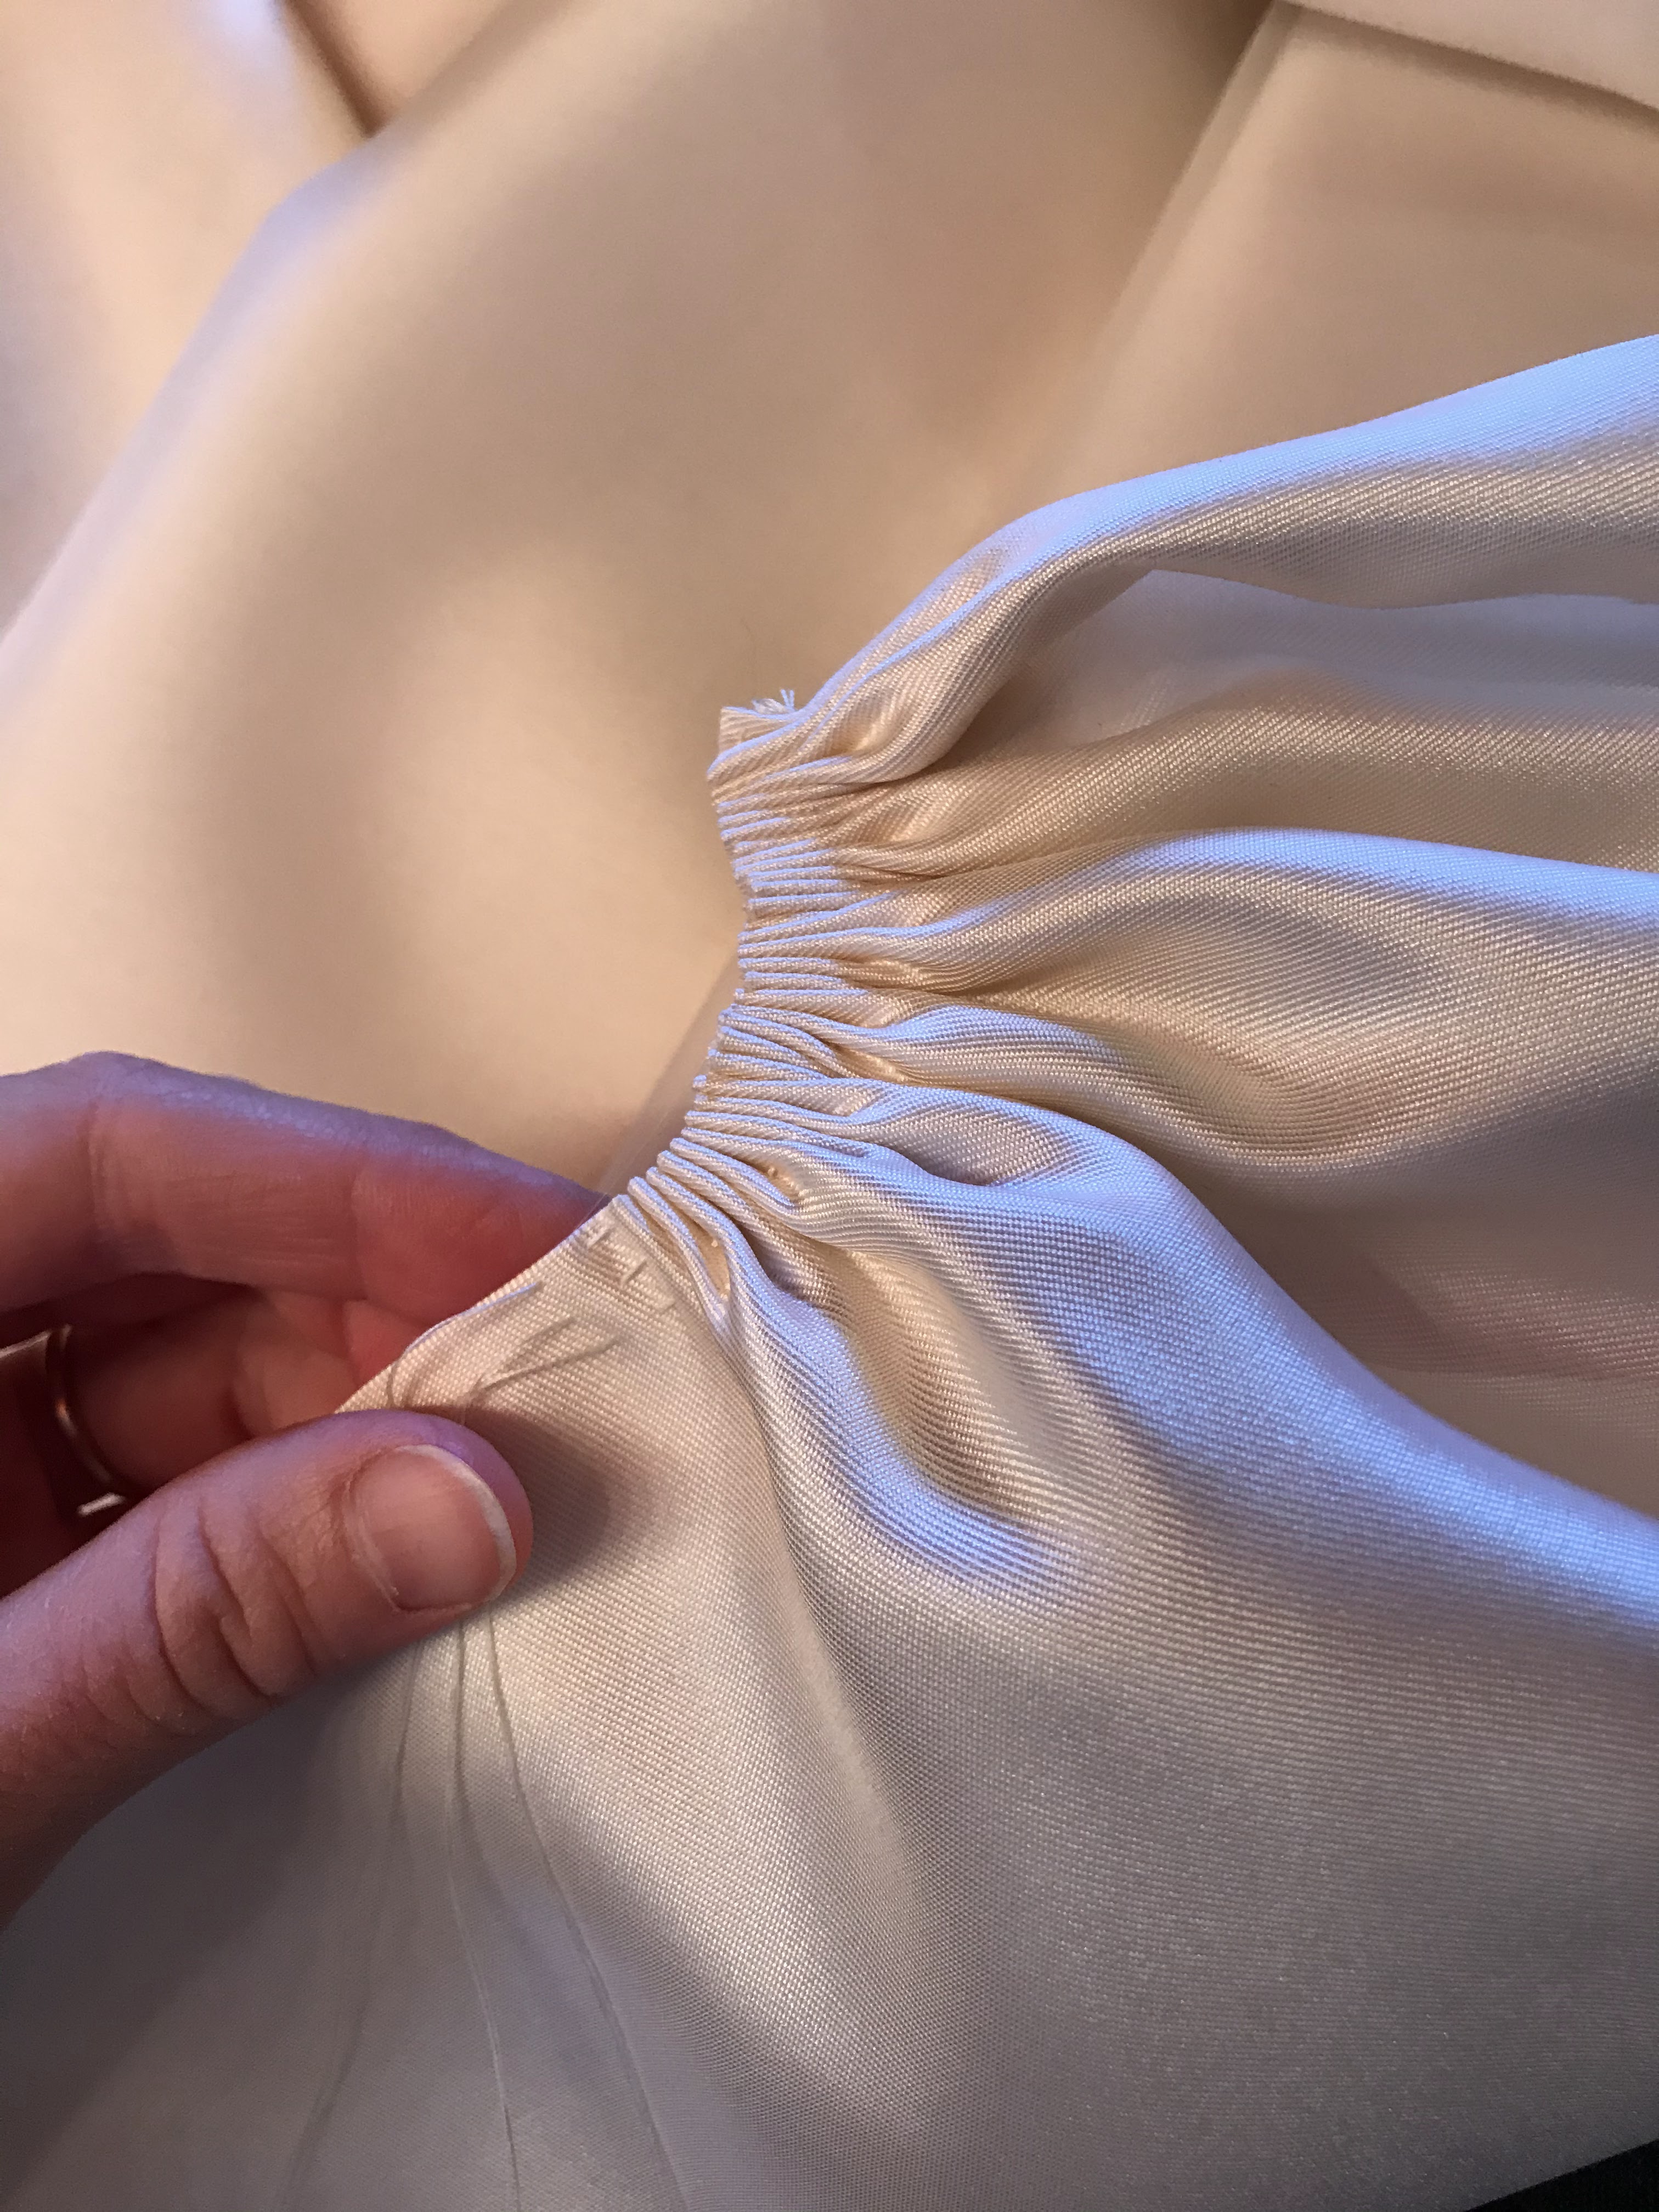
All the fabric pulled up into tight gathers.

The sides and center front of the skirt had been marked prior to gathering, so I was able to quickly baste those point to the bodice once the skirt was gathered up.

After the quarter points were basted into place, each individual gather was then whip stitched to the bottom edge of the bodice, just behind the piping.

After a few hours of hand sewing, my dress had a skirt!

Now it was time for the crowning beauty of the whole gown, the one element of the dress I'd been planning the longest - the lace over skirt. I'd better figure out how to make that happen!


My net lace was over 100" wide and only had a border on one edge. I figured out how long I wanted the longest section of my overskirt, measured that far up from the border's edge and cut the lace to be that wide all the way across. I then sewed up the center back seam (leaving the top 10ish inches open for the button placket) so I had a large loop of lace. My dress was on the dress form already so I put the lace on over the skirt and pinned it in place at the quarter points.

I then worked my way around the dress, pulling up the lace where I wanted it to be shorter, pulling it down a smidgen where I wanted it lower, pinning everything in place as I went along, re-adjusting lengths and pin placement, until I was satisfied with the overall shape.
Once I had tweaked it to my heart's content, I was thrilled with what I saw on the dress form. It now looked like the wedding dress of my dreams!
Mathew was here...love you baby :) This is what happens when you leave me to proof read and you walk away. :D

All the excess lace at the top was tucked to the inside of the overskirt, then off the form the dress came. The lace was whip gathered down to match the waist circumference.

Then it was whip stitched to the bottom edge of the bodice, right on top of the silk skirt.

And with that, the skirt itself, was done.

Only a few things left to do, such as closures and some heirloom lace details, and my wedding dress would be ready to wear!

If you've missed any part of my wedding dress series, you can catch up here:
And the Undergarments:
AAaw that little message is too cute! Congratulations on your marriage!! Your dress turned out beautifully - I've really enjoyed following along your sewing journey on this project :)
ReplyDeleteYour dress turned out amazing!! I’ve been dying to get to the skirt post hehe.
ReplyDeleteNot putting pockets in your dress… brave..
I had to put pockets in mine. The skirt was full enough so you bet my pockets had a hanky lipstick and everything else, but I had the issue you avoided. the lace overlay was tricky and we ended up just leaving it open where the pockets lined up in the lining.
Congratulations!!