Friday, July 22, 2022

Beginning the Ruffly Gingham 1870's Bustle Dress

 Under a year and a half from buying the fabric to finishing the gown. That's a pretty good turn around time!

A solid year from finishing the gown to blogging about it. Yeah, I'm behind on some stuff.

Anyway, let's get to talking about the dress in question!

In the spring of 2020 Sara from Ensembles of the Past posted this fabric for sale.


A lightweight, simi-sheer, cotton gingham. According to the invoice I just looked up, there was about 13 yards of the stuff. And I bought it all. It would make a fantastic summer bustle dress!


Upon receiving my fabric in the mail, I began planning, and dreaming, and researching for this dress. I pretty quickly decided I wanted my dress to be 1870's - the first bustle era. Full of floof and rufflyness! With 13 yards of fabric, I should have plenty of yardage for all the ruffles!!

I made a Pinterest board of extant 1870's cotton summer dresses for inspiration and bought the Black Snail Patterns "Seaside Costume" pattern to use as my starting point. 


To trim the dress with I bought a roll of wine colored vintage petersham ribbon off Etsy.


And a matching wine colored belting ribbon along with a black "bee" slide buckle from Ensembles of the past.


All of this was procured during the summer of 2020. Upon arriving in the mail, everything went into my stash, where it lingered until summer of 2021. 
Of course I kept thinking I would start the dress, but without an event to wear an 1870's summer dress to, I had little motivation to actually begin. 
Finally, The Saint Louis Historical Sewing Society announced it would be having a tea at the end of July 2021.
What a perfect excuse to finally make my summer bustle dress!!
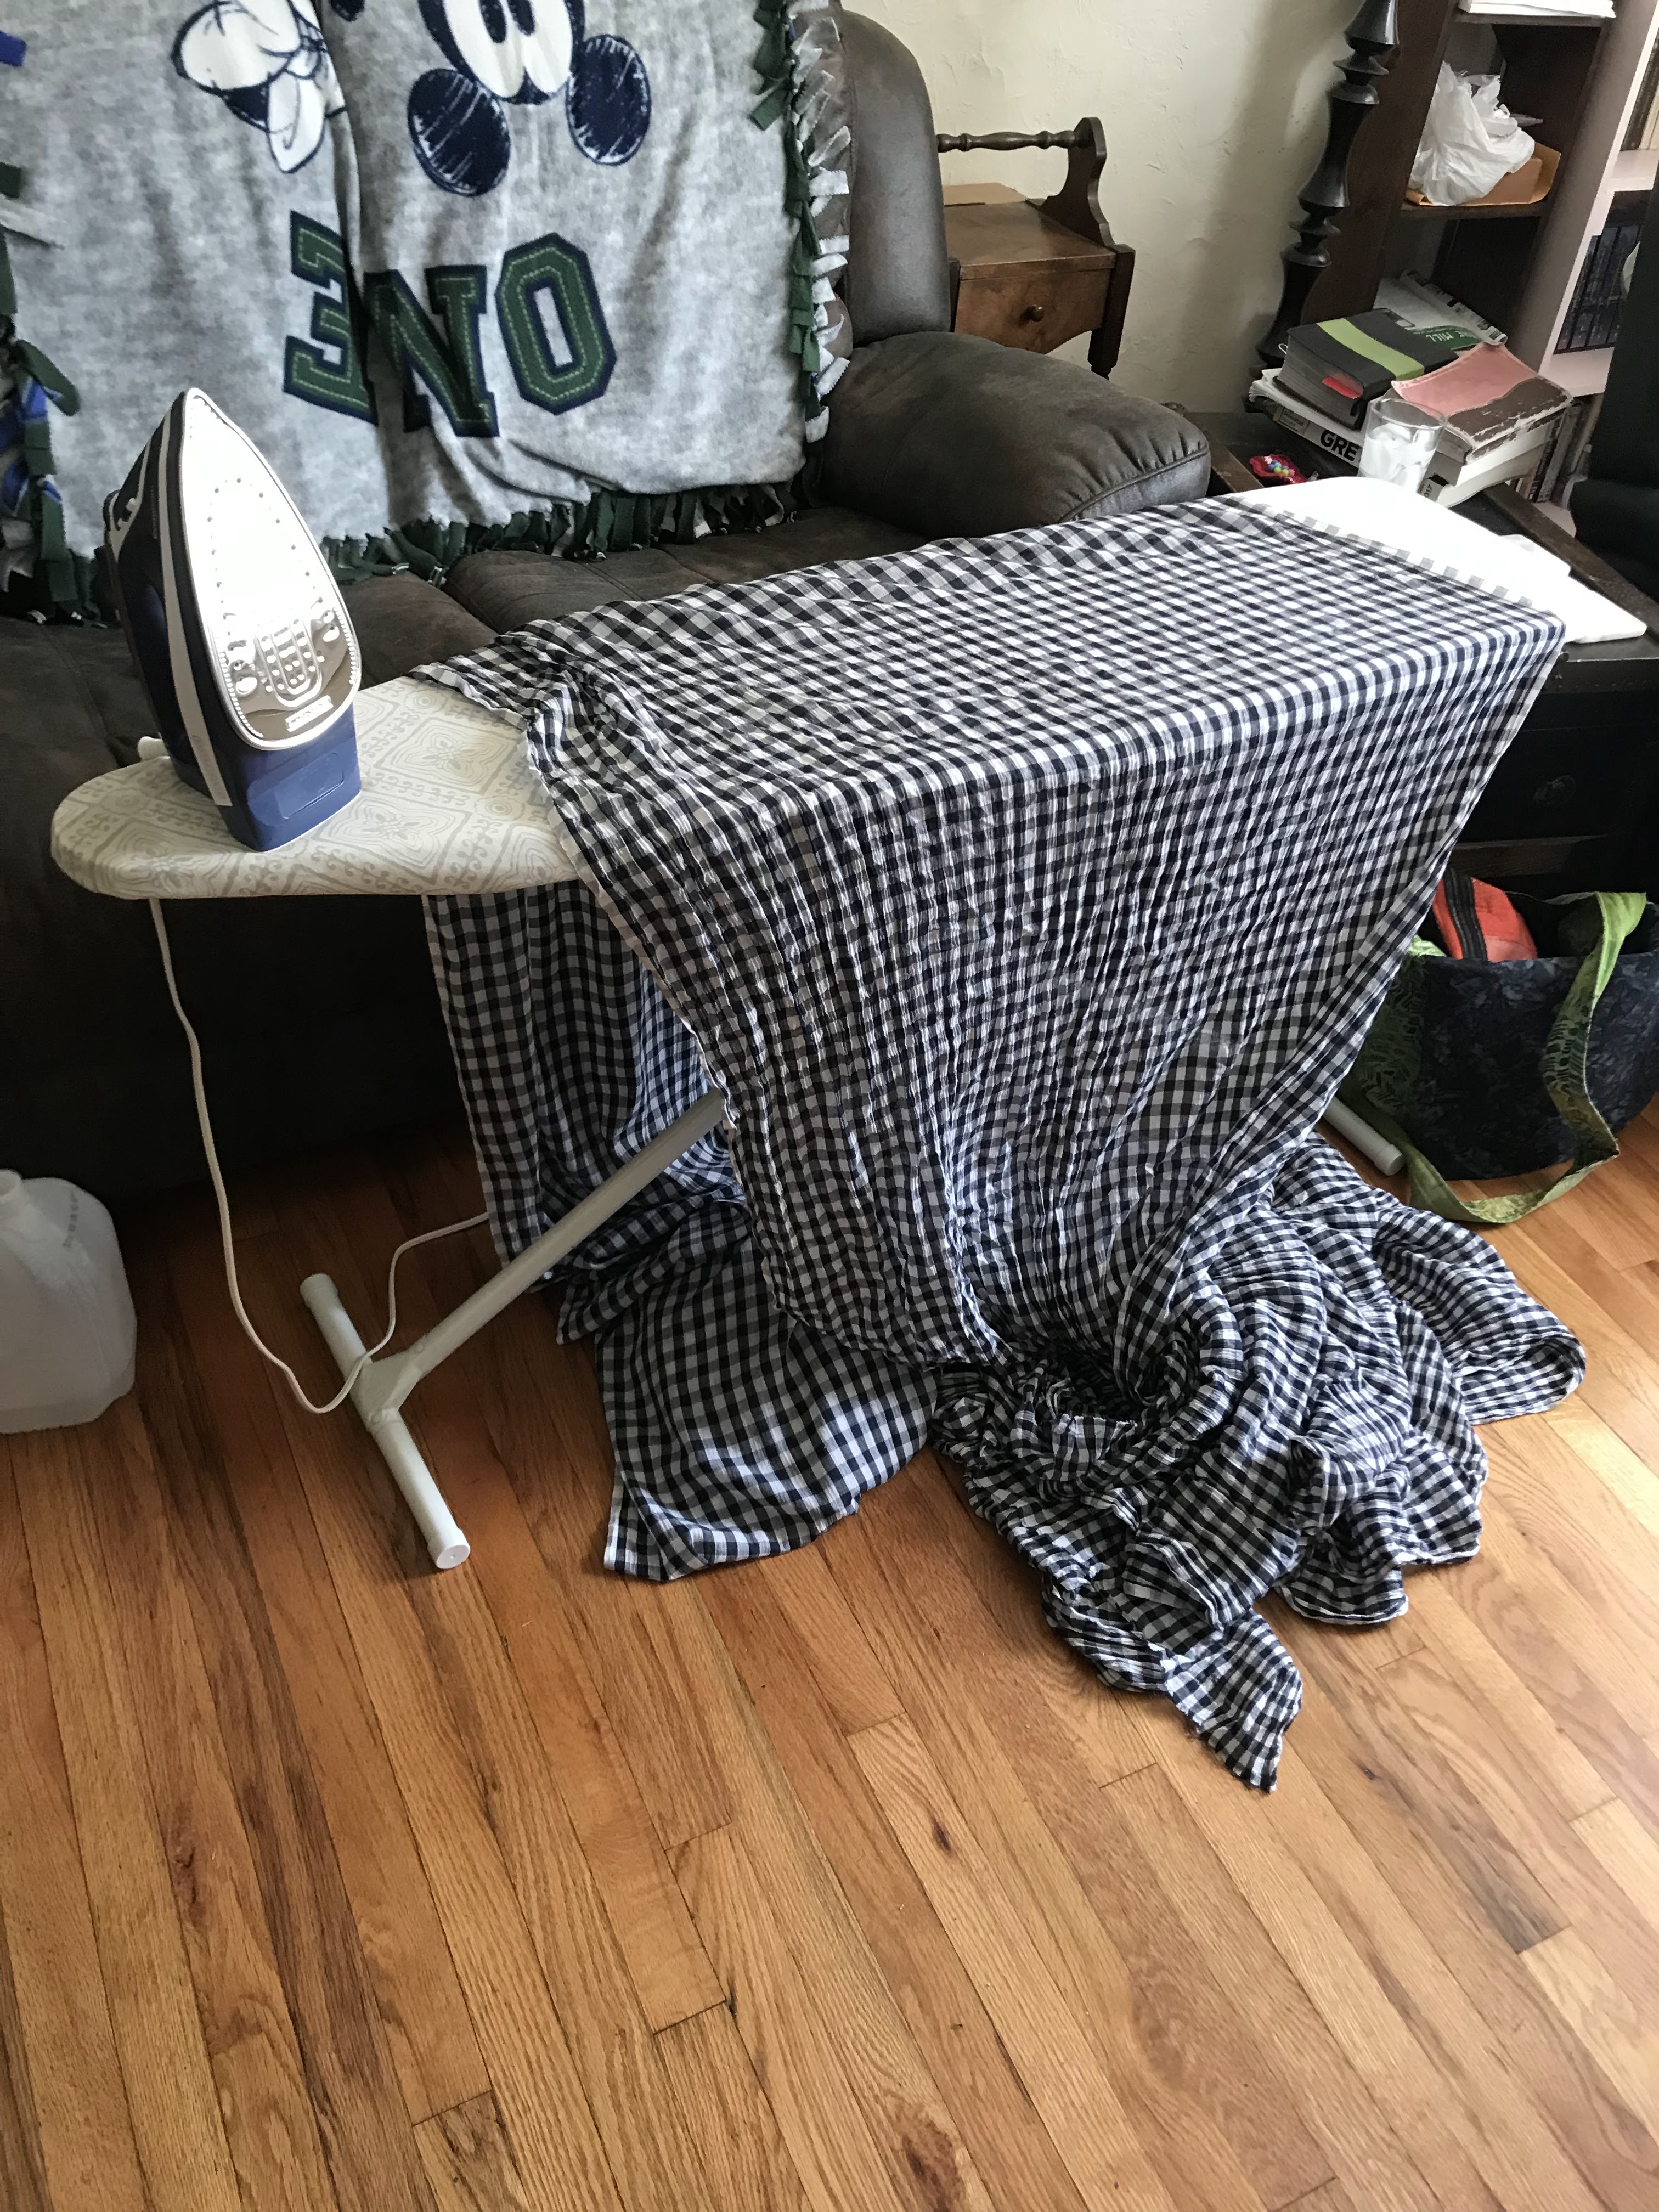

I unearthed the gingham from my fabric stash, prewashed, and ironed it.


I located a vintage cotton percale flat sheet in my stash to use for the lining. This sheet was still in it's original package, tightly woven, and sturdy as can be, perfect for a flatlining!


I printed out the "1870's Seaside Costume" pattern and mocked it up. I quickly realized I needed a full bust adjustment and texted @gracies.fancy  in a panic asking how to do a fba on a double darted historical bodice because this was definitly different than the fbas I'd done before on modern clothes.
She walked me through it. Turns out it wasn't as terrifying or different as I thought it would be. It only required one extra step.

I mocked up the bodice a second time and was relived to discover that this time the mock-up could actually be pinned closed over my bust. What an improvement from mock-up #1!


I made a couple more minor fitting alterations and then began the design changes. I cut the neck-line into a "v" shape, shortened the sleeves to elbow length, and decided to leave the the bodice open from waist to hem rather than sewing it closed like the pattern recommended. I also decided to add a bit more fullness to the skirt.
These alterations made to the pattern, I cut into the gingham. I cut out all my pattern pieces and a bunch of bias-cut ruffles. Once I finished cutting out  All. Those. Ruffles. I was actually out of fabric. Good thing I had 13 yards to start with!! Ruffles required it!


Probably the most tedious part of making this dress was hemming all the ruffles. Hemming on the bias is no fun! Serging the edges first helped to make doing a double turned hem a bit easier, but darn all that hemming took forever!


I edged all the bodice ruffles with cotton lace from my stash.


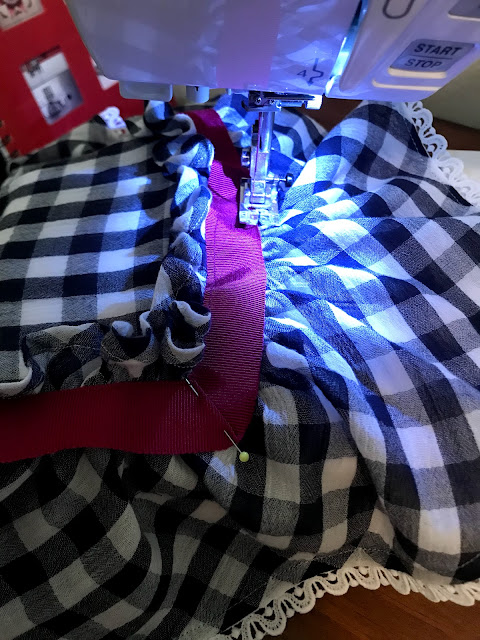
And attatched all the ruffles with a band of petersham ribbon. 
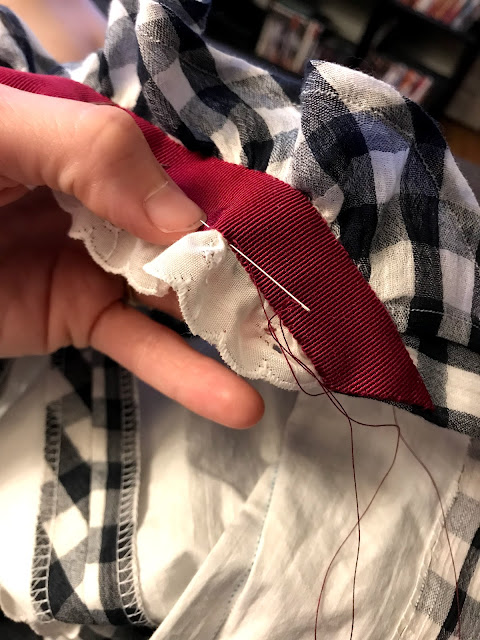


I hand sewed on the ribbon around the neckline, but everything else was machine sewn, because I started this gown less than 3 weeks before the tea. I did not have time for a bunch of hand sewing.

 
Besides, by the 1870's the sewing machine was in heavy use. So there was really no reason for me to worry about visible machine sewing when it came to the trim. 


I tried on the bodice when I set the sleeves - and I was thrilled!! My first bustle dress, and it was coming along beautifully! I couldn't wait to finish this gown and wear it to tea!

I had 4 days left to finish this ruffly, gingham, 1870's summer dress - AND IT WAS GOING TO HAPPEN!


Saturday, July 16, 2022

Simplicity 8085 in Blueberries

 My favorite summer dress pattern and one of my favorite summer fruits? What could be better?


Not much! Simplicity 8085 in a blueberry print? Just perfect!


I've waxed lyrical about Simplicity 8085 a couple of different times. It's both eye-catching and easy to wear. Comfortable, and pretty, and practical. And now that I've made 4 different versions of this pattern I can also say "infinitely customizable".

I go into all the details about the differences between my previous 3 versions of this dress in this blog post about the "fruit bowl dress".  So what did I change up with this version?


Most noticeably, I changed the pattern to have a square neckline.


My favorite shape!


I made this dress to fasten with button tabs at the waist, based off this very similar McCall's pattern - M7354. 


As with my first 2 versions of this pattern, I added patch-type pockets approximately where the side seams would be on the skirt, if it had side seams.


As with my 2nd and 3rd versions of this pattern I lowered the bust darts about an inch to fit me properly.


The skirt is finished with a nice wide turned-up hem, just like on the fruit bowl dress.


The other edges are all finished with bias tape.


And piping!


I do like piping!


Just like my other 3 versions of this pattern this dress gets worn constantly, all summer long.


The toddler I nanny was mesmerized by all the blueberries the first time I wore this dress to work this summer.


She and I have a very similar love of blueberries.


So there ya go! My most recent version of Simplicity 8085, but definitely not my last! 


If I make this pattern just a couple more times I'll have one for every day of the week!


Saturday, June 25, 2022

A Wedding-Worthy Dress for a Baby - Simplicity 8614

 At the time of my wedding my niece was a bit too young to have an official role. However, I decided she still needed a special dress, made just for her, for the festivities.


Something lacy in keeping with the theme of my dress and the flower girls dresses.


At first I thought I might just make her a miniature version of the flower girls' dresses, but then I remembered something I had in my stash.


An embroidered ivory net lace skirt I'd picked up at a thrift store once upon a time. I bought it because the lace was pretty, and I wanted to use it for something, but after several years of hoarding this thing in my stash, the right project never came along. Until now!


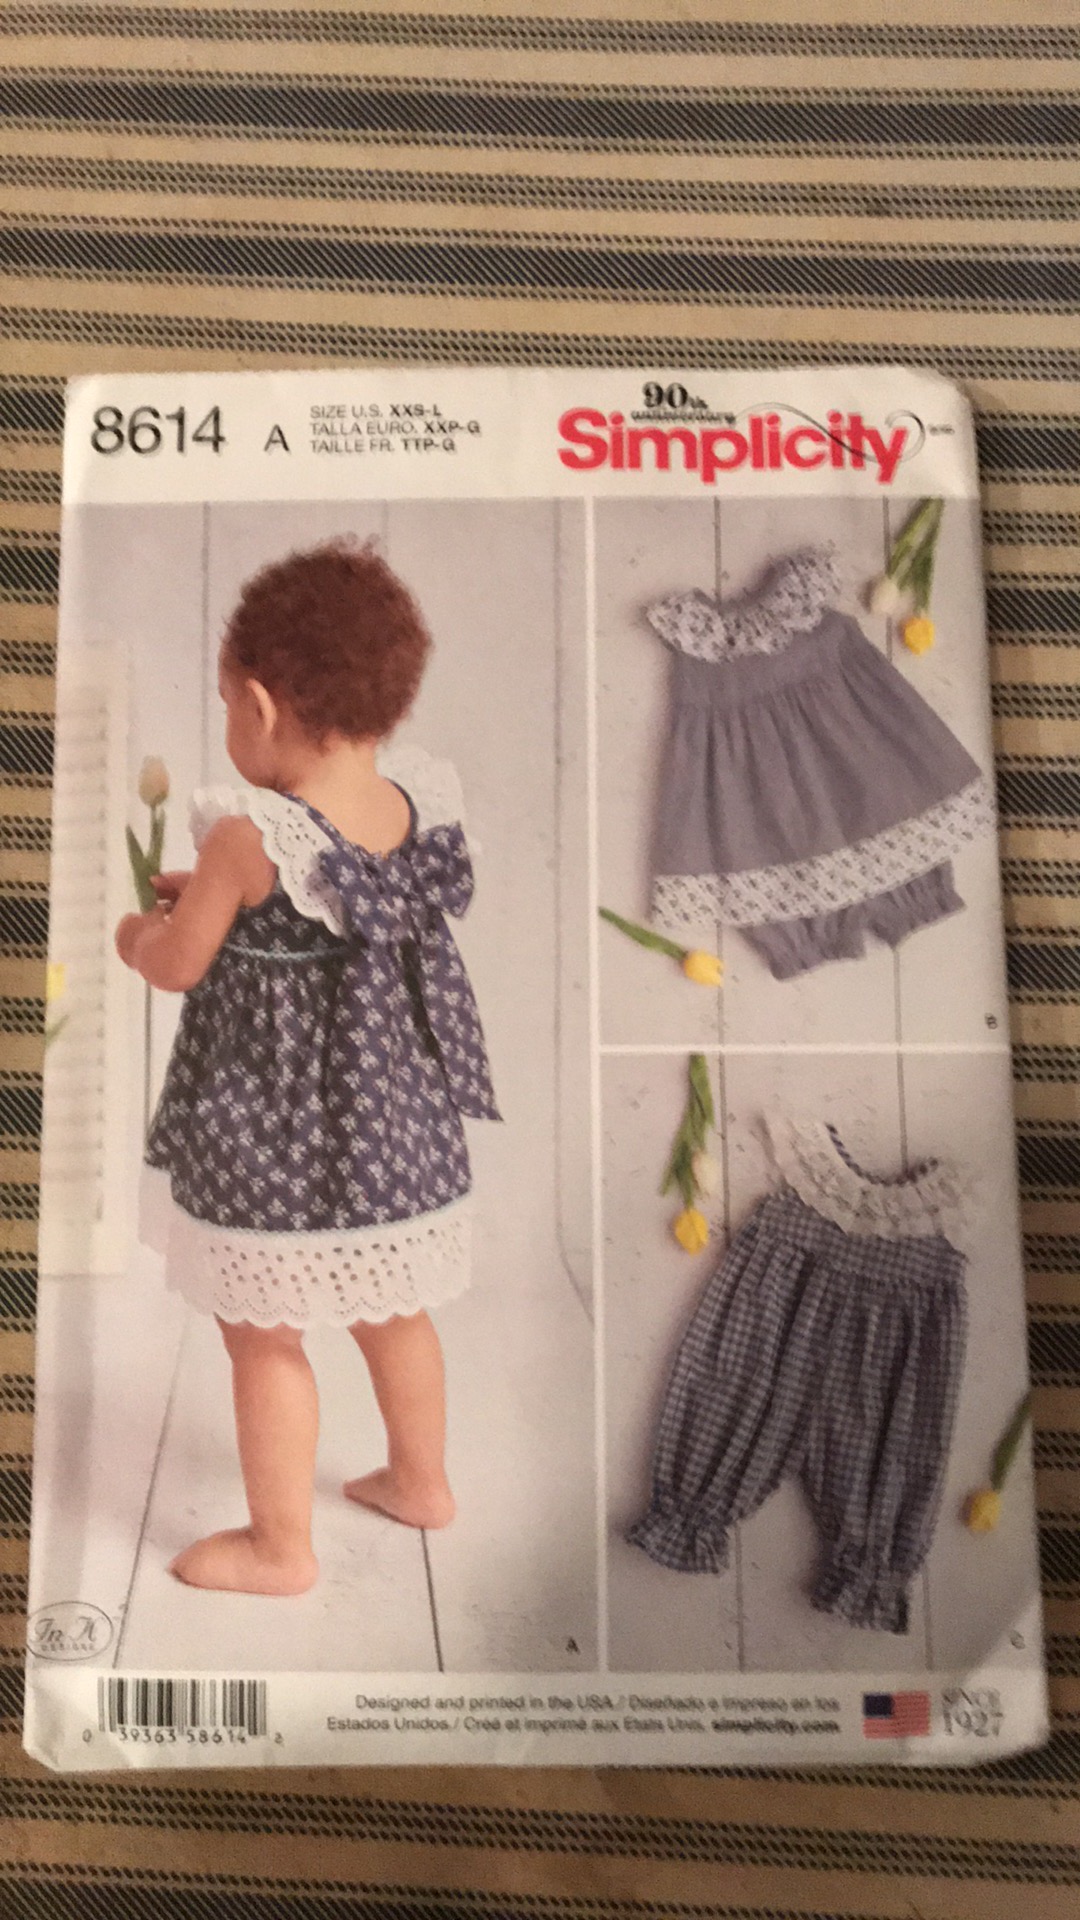
I decided to use Simplicity 8614, because the ruffle around the neckline was just so cute! I measured the dimensions of the lace skirt and the size of the pattern pieces in my niece's size and was thrilled to discover I would have just enough lace to make this plan work!


Now what would go under the lace? In keeping with the purple and green color scheme of the wedding party and decorations I chose a pale green rayon twill off the clearance rack at Joann's. It was wonderfully soft.


For the ruffle around the neckline I used some ivory embroidered net lace I'd found at the 100 yen store in Japan a couple years earlier.


I chose to skip the big bow in the back shown on the pattern and just finished off the dress with a row of buttons down the back instead.


Getting an active baby to hold still long enough to be buttoned up wasn't easy, but one of my neice's other aunts managed it beautifully. 


Finishing off the ensemble was a pair of eyelet bloomers made by me.


And a headband and booties crocheted by my sister.


They were the perfect finishing touch!


Unfortunately the baby didn't want to leave on the headband and booties very long.


But they were cute while they lasted!


My niece spent the afternoon being just as involved in the wedding as a baby could be!


She posed for lots of pictures.


Spent time with Mimi,


Or Daddy,


Between portraits.


I snagged her just as often as I could because holding a baby is the best!


A few short naps happened throughout the day.


Because weddings are exhausting!


And then she spent the reception meeting relatives she hadn't had the chance to meet yet.


And she even got out on the dance floor a bit, where she was, justifiably so, the center of attention!


This little girl had a lot of personality and it was so much fun to have her included in the wedding festivities!