Monday, August 17, 2020

The Floral, Stretch Denim, 1970's Pinafore Dress

The first time I stepped foot in an antique mall again (after over a 6 month break from thrift stores and antique malls due to the pandemic), I immediately saw a basket full of sewing patterns, and made a beeline for it. I then spent a very enjoyable 10 minutes seeing what this basket had to offer, and went home that day with a very nice stack of “new” patterns.
 
 
Some of these patterns were from the 50’s, some from the 60’s, one was from the 70’s, and a couple were more modern historical costuming patterns.
 
 
I took these patterns home, put them away, and then kinda forgot about them as I made my way through my list of already planned sewing projects. That is, until one evening a few weeks later when I was looking for a pattern I needed for one of said planned projects, and the 70's pattern from that antique mall trip caught my eye.

 
It was Simplicity 7580, a pinafore/sundress pattern featuring patch pockets and a long row of buttons down the back. Suddenly, I wanted to make this dress. I figured it would be a very useful item in my wardrobe, wearable in all seasons - as a stand alone dress during hot weather, or worn over a top during cooler temperatures. Other projects on my list got pushed down. This dress was happening now - or as soon as I decided what fabric I wanted to make it out of. 

 
The pattern envelope showed examples of the dress made up in both a denim and a print. I really liked the idea of making my version out of denim, but I didn't think I had any light weight denim in my stash. Maybe a print version would be fun, but did I have any heavy enough prints? As I was contemplating this, I remembered the floral stretch denim I made my mom's Easter jeans out of last year. That would be perfect for this dress! I knew I had some of that fabric left over, but did I have enough?

 
I pulled the fabric off the shelf and unfolded it. 2 yards of 55" wide fabric - just enough! It was happening! 

 
The pattern was one of the early multi-sized printed patterns (As opposed to the earlier single-sized un-printed patterns.), and it came in two sizes. My copy was a size 10/12, and the measurement chart matched the modern Simplicity pattern measurement chart. In modern Simplicity patterns I measure a 14, but a size 12 usually fits me perfectly, so I was hopeful that a size 12 would fit me with this pattern. (And I figured the fact I was using a stretch fabric would give me a little bit of wiggle room as well.)


The pattern was uncut and pretty much brand-new, despite being over 40 years old, so I cut out the size I needed and was good to go. I sewed up the bodice and then tried it on to check the strap length before sewing down the neckline facing.
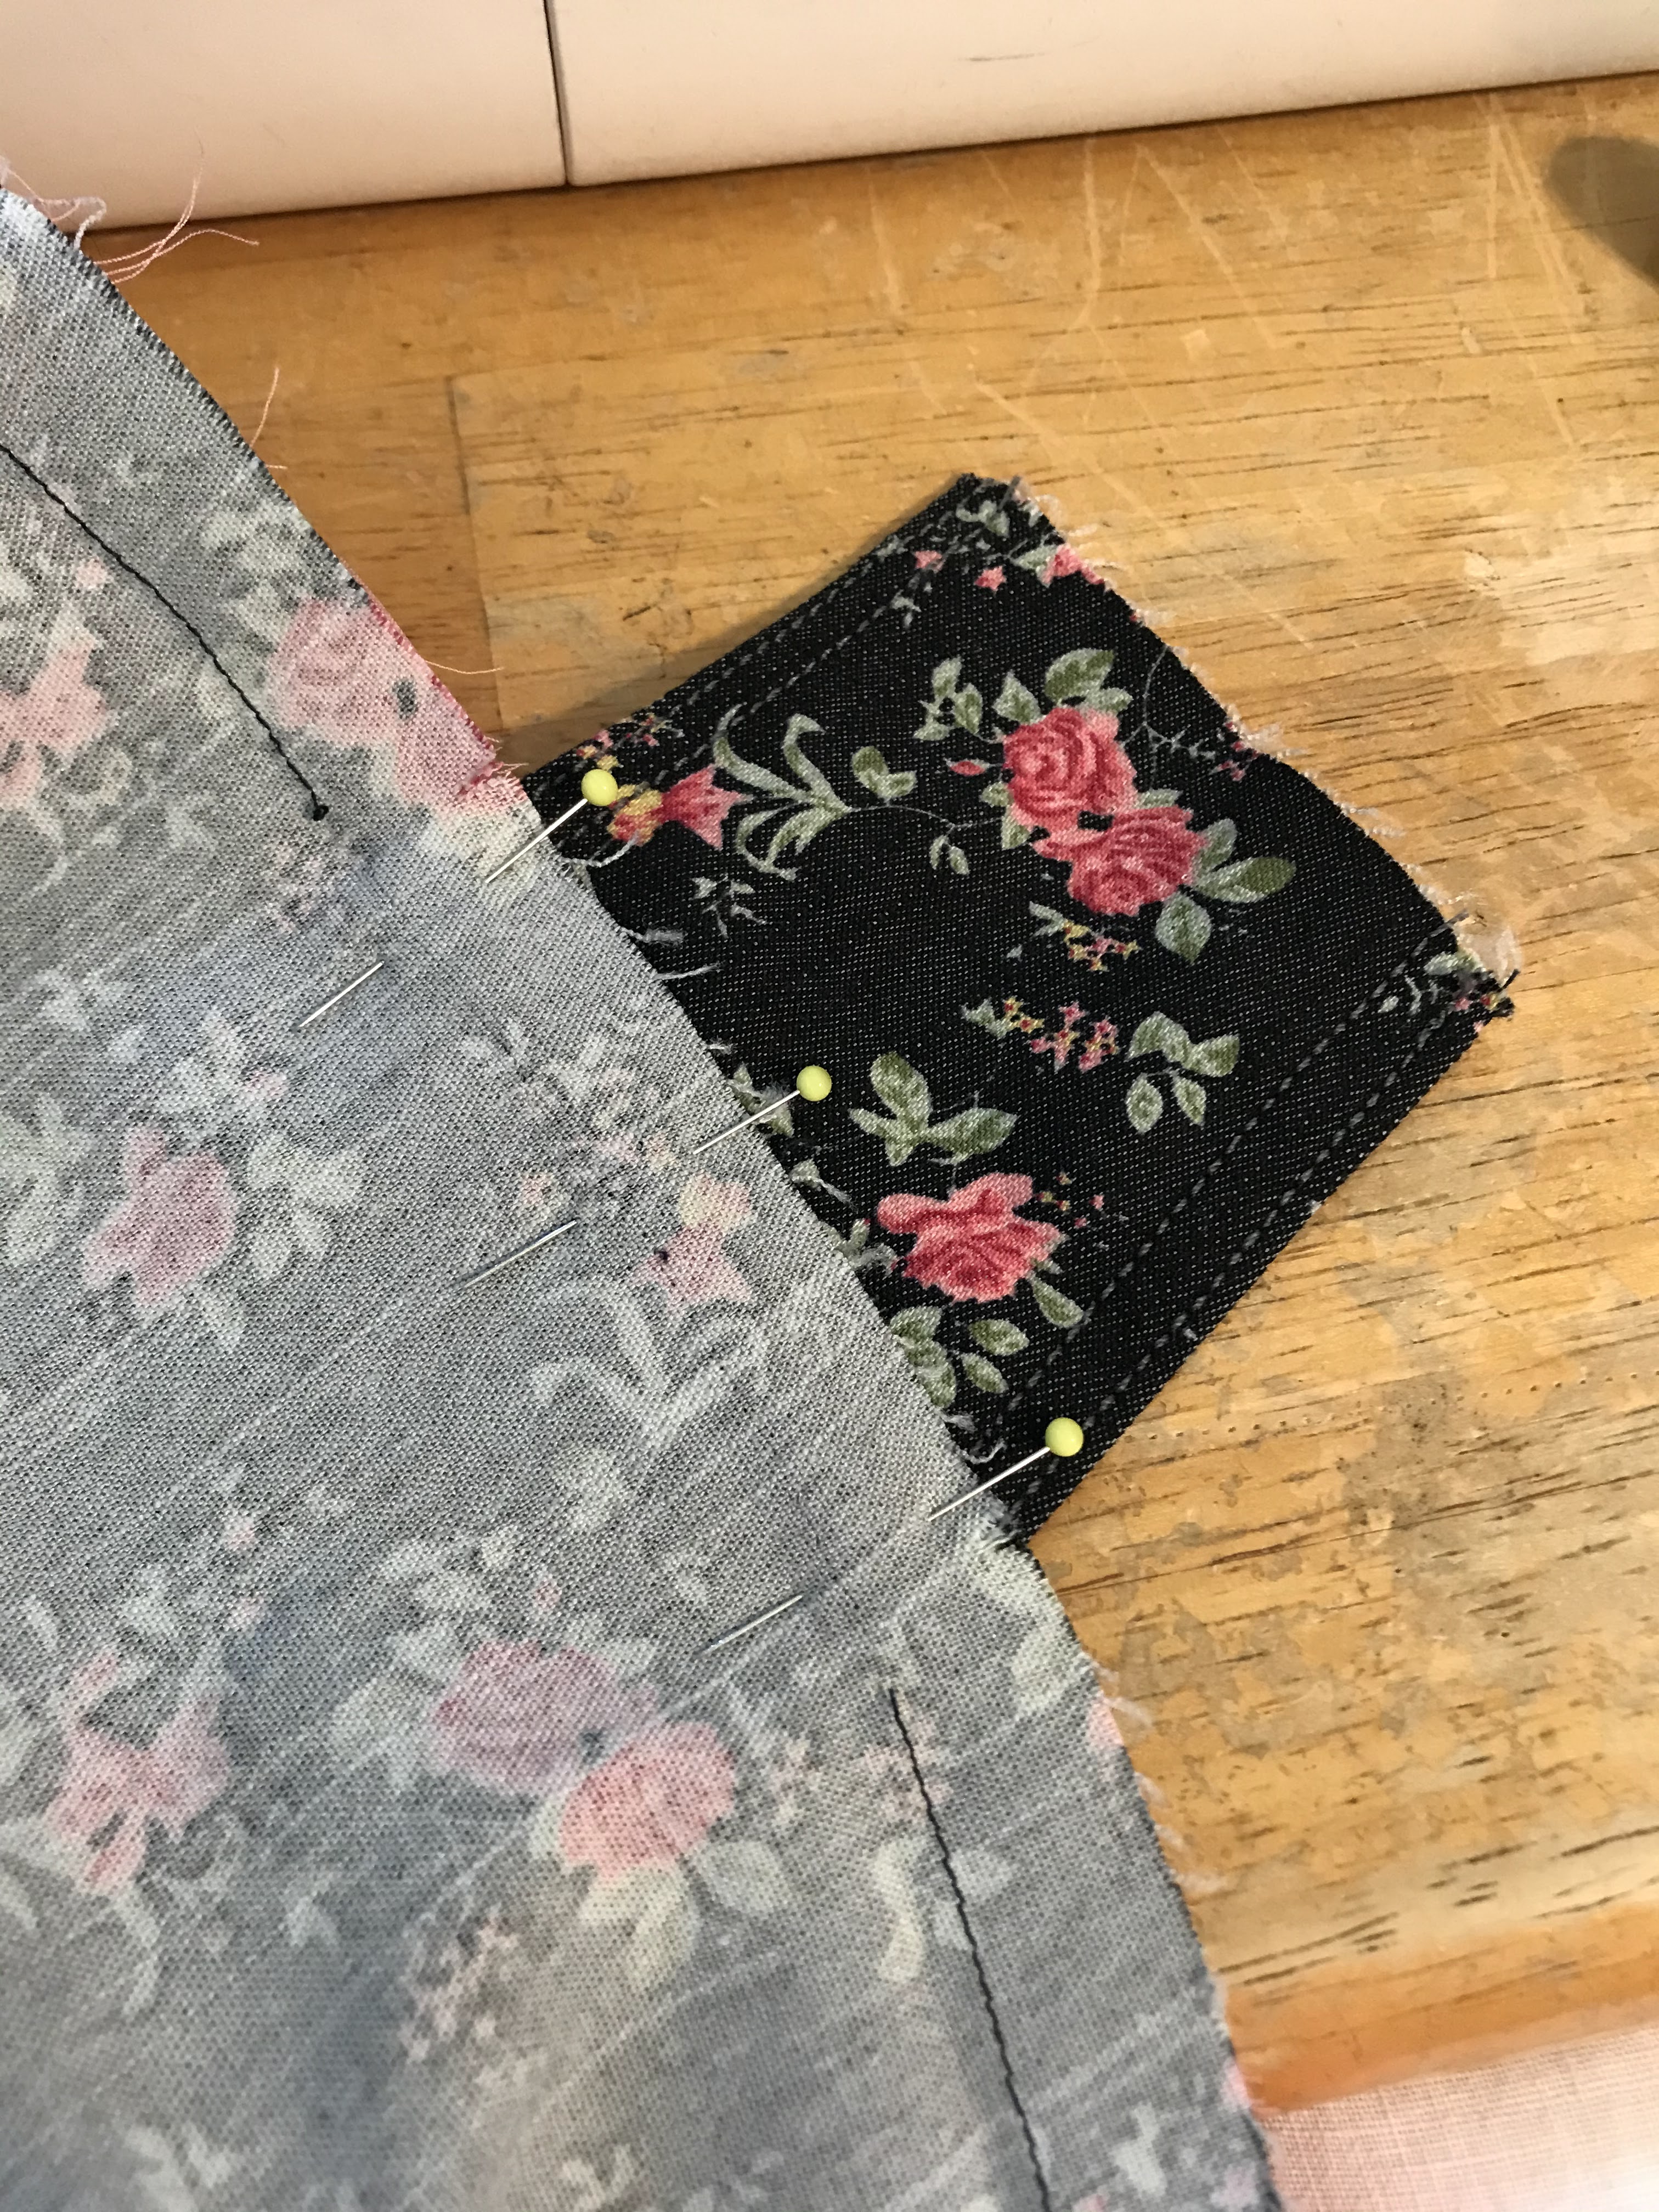

The straps were a couple inches too long so I shortened them accordingly. The bodice was also really loose above the bust so I took that in about an inch on either side.


Once I was sure the fit was just right, I sewed the facing down with gray top stitching thread.


I added top stitching along the edges of the straps as well to tie everything together.


I really liked the patch pockets the pattern came with, I just made mine a few inches deeper than the pattern indicated because small pockets are no fun!


The dress closes with buttons all down the back, and oh boy was it hard to pick which buttons to use! My facings and pocket linings are pink to match the roses on the denim, so originally I wanted pink buttons to match. My button stash was lacking a set of 10 pink buttons however, so something else has to be found. I considered black buttons, white buttons, bright green buttons, and metal buttons before I found a set of sage green buttons with a flower petal-like design on them which perfectly matched the green leaves printed on my fabric.


I'd rejected these buttons for several previous projects because I thought they looked dated, but for this dress they were just the thing!

 
Unlike my normal practice, I actually took the time to transfer the button placement markings from the pattern onto my dress, and sewed the buttonholes where they were *supposed* to be, rather than just winging it.


Was taking the time to mark button placement worth it? I don't know. It didn't take that much extra time, but it was king of annoying and I'm not sure the results are any better than if I'd just sewn the button holes where ever I thought they should go. That said, not having to guess on button placement was strangely comforting. So maybe I'll take the time on future projects to transfer button placement. Maybe.
 
 
The hem might be my favorite little detail of this dress. It was "Sew Something With a Unique Hem" week in the 52 week sewing challenge group, so I choose to use pink lace hem tape on the inside of my hem and I sewed it in place with gray top stitching thread to match the top stitching on the bodice.


The lace tape doesn't add any extra bulk the way a double fold hem would, and it's just plain pretty!


Lace hem tape, top stitching, all the buttons, patch pockets, and floral stretch denim.


It's different than my usual dresses, but I really like it!


I may not be sure if it was worth taking the time to transfer buttonhole markings, however I do know it was worth making this dress!


It's cute, comfortable, fun, and fits well. A very welcome multi-season addition to my closet!


Saturday, August 8, 2020

A Black and White Polka Dotted Vintage Dress

 After my first experience using a vintage un-printed pattern to make a dress, I was hooked. The pattern was ridiculously easy to use (The perforated markings on these un-printed patterns make transferring pattern markings super simple, unlike modern printed patterns!), and the finished dress was beautiful! Making up another one of these patterns was in order!


Thus, within a week or two of making that first dress, I was cutting out another one.


Last year I altered a black and white polka-dotted dress for a friend, and was struck by the fact I wanted a black and white polka-dotted dress. There's something both fun and classic about this combination, and I wanted it in my wardrobe. After that dress alteration, I was casually keeping my eyes open for the right black and white dotted fabric, but nothing I came across seemed worth buying when I knew I already had a very full fabric stash at home. As much and I wanted a black and white dress, I would have to find a very special fabric to be tempted into buying it.


Before I found this illusive temptress fabric in a store, I was given it. Over the past 8 years or so I have received quite a bit of fabric and lots of sewing notions from my best friend's grandma as she narrowed down her belongings. Early this year I was shown her last two boxes of sewing stuff and told to take whatever I could use. My friend's grandma's health was very much in decline and she hadn't sewn anything in several years.


In one of those boxes, there was a bundle of black and white polka-dotted fabric - just what I'd been looking for! This fabric was in several pieces, but it looked like there would be enough for a dress if I put it all together. My polka-dotted dress was going to happen!


As per my usual, even with the materials acquired, I didn't get to the dress right away. This dress was on the "I will get to it eventually" list. Then, this spring, with everything shut down due to the coronavirus, my best friend's grandma passed away. As I was remembering her, praying for her family, wishing I could give my best friend and her mom a hug, and attend the funeral to support them (impossible things due to social distancing rules), I cut out this dress. Working on a black dress, from fabric given to me by my friend's grandma, seemed a very fitting way to grieve while my heart went out to her family.


I knew I wanted to use a vintage pattern for this dress, so I pulled out my vintage pattern box to pick one.


I picked what appears to be a 1940's mail order pattern.


It was a relatively simple style with some nice details - a v-neck, cut on sleeves, gathers at the shoulders, and tucks at the waist. The pattern was close to my size, but a couple inches too small in the bust.


I fixed that issue not with any "proper" pattern alterations, but by angling the bodice pattern pieces away from the fold at the top to give me a little more room in the bust and shoulders. The finished bodice fits pretty darned well, so, while not necessarily an advisable technique, it worked!


I didn't like how my bodice looked when I tried gathering the shoulders into the yoke, so I chose to use pleats instead.


They're not immediately obvious when you look at the dress, but I love this little subtle detail.


None of my fabric pieces were quite large enough to cut the flared skirt panels from, so I improvised. I used the top of the skirt pattern pieces to cut a 6" wide skirt yoke, then took several narrow rectangles of my fabric and seamed them together to make a gathered skirt to attach to that.


There are, of course, pockets in the side seams.


The only other pattern alteration I made, was a mistake.


You see, I cut this dress out in the spring, but it was June before I actually got it sewn together. And by then I may have forgotten a thing or two.


I cut out two belt pieces, as the pattern required. These were meant to be sewn end to end and folded over to make one long skinny belt. Well, not thinking when I finally did sew this dress, I sewed the two belt pieces right sides together, all the way around, then turned them right sides out to make a short wide belt. Whoops.


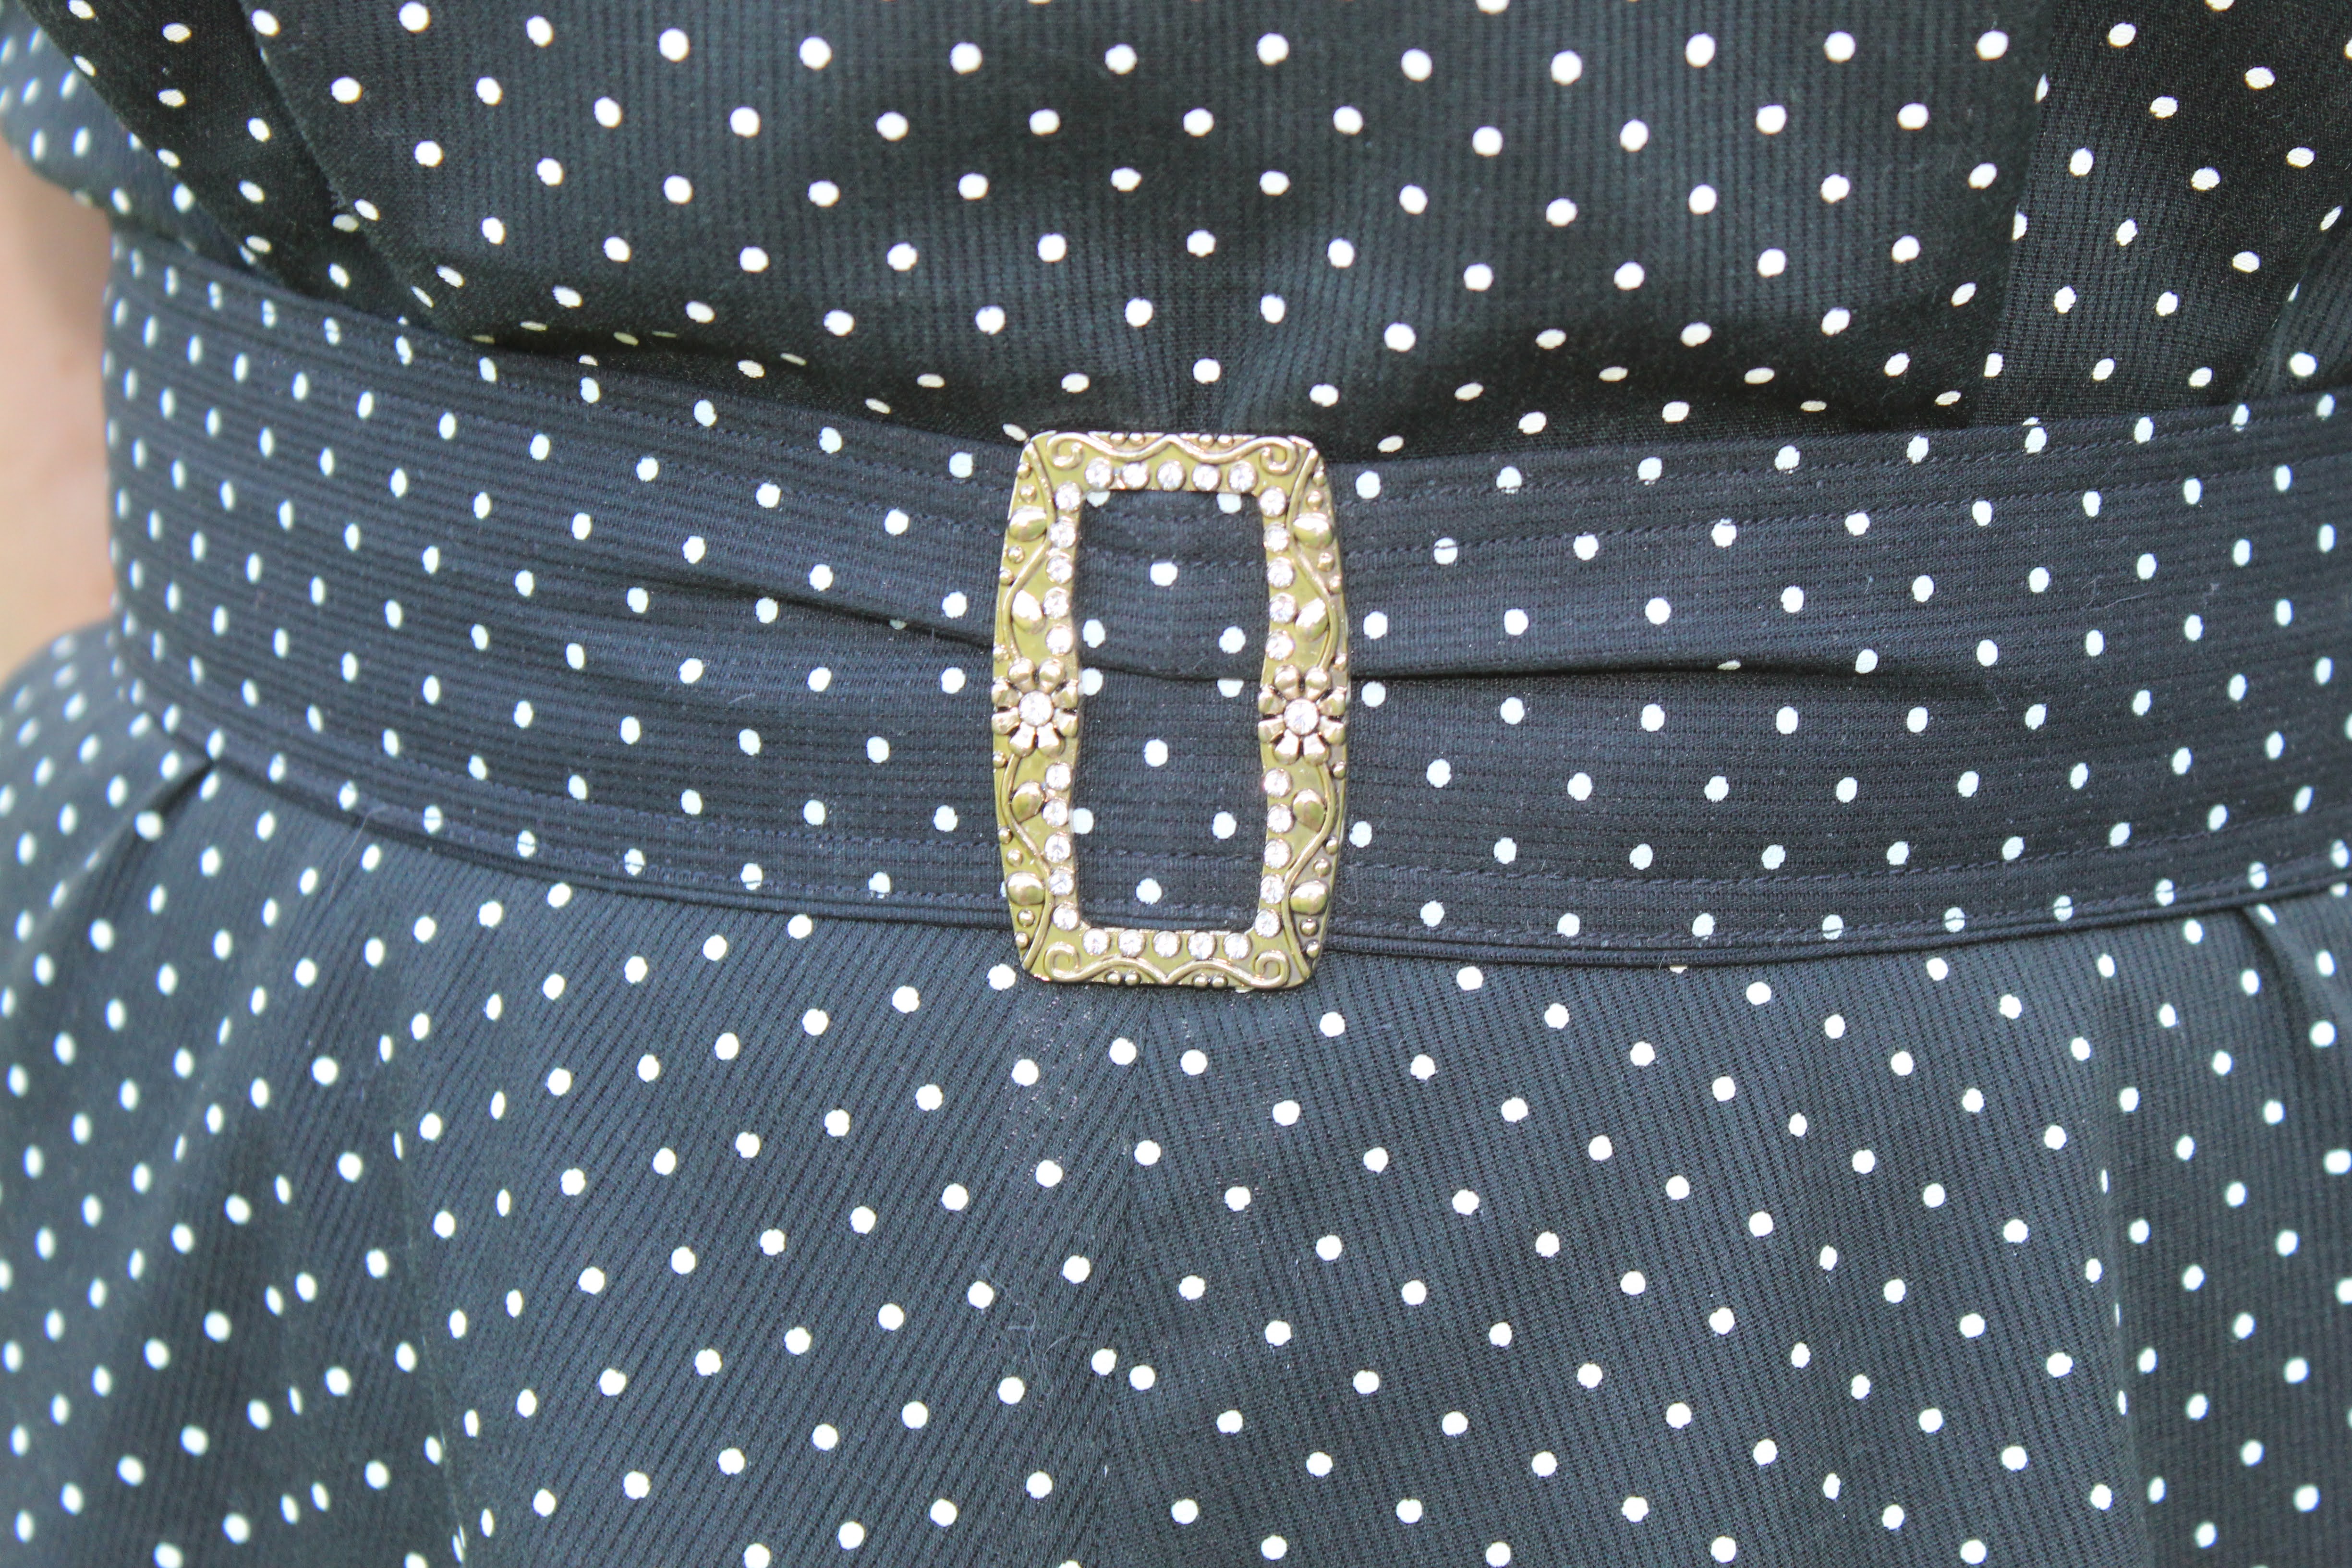
The belt was long enough to wrap around my waist - just barely. It was not long enough to fasten with a buckle however, so I improvised. The belt fastens in the back, with two plain white buttons.


A slide buckle is slid onto the belt and centered in the front for aesthetic purposes. While not what I intended, I do appreciate that I can easily change out the buckle when ever I want to. Rhinestones, metal, wood, mother-of-pearl - I can pair whatever sort of buckle I could want with this dress!


For these pictures I chose an ornate metal buckle, found in the jewelry section at Hobby Lobby.


My polka-dotted dress fabric is a synthetic of some sort in fiber content and ever so slightly sheer.


This slight see-throughness meant I either needed to line my dress or wear another layer beneath it. 


Lining this particular dress didn't appeal to me, so I opted for the "extra layer" option.


I made myself a black bias-cut slip from some rayon crepe I found at Joann's.


I used the slip pattern from Vogue 9168 (the pattern I used for my bridesmaids dress), shortened it to knee length and re-shaped the neckline. Rather than the annoying facing included in the pattern, I opted to finish my neckline with fold-over elastic in the same manner as the slip in the Scroop Wonder-Unders pattern.


My only issue with slip is I should have cut the neckline lower as it likes to peek out from underneath the dress. 


Other than that minor detail, this slip works beautifully! I now have a basic black slip which can be worn under a variety of dresses in the future.


I haven't worn this dress much since I finished it, as due to the sleeves and synthetic fabric it's not really a summer-y dress, but I do really like it and I'm sure I'll wear it plenty once fall comes around!