Never ever did the thought of making a purple top hat, or any sort of top hat, cross my mind. Why would I make such a thing? Well, let me tell ya; This guy. . .

Yes, I made a purple top hat for my boyfriend, (wait, he recently got an upgrade) my fiancé, for Christmas. It might just be my favorite Christmas gift I made this year, It's just so cool, and fun, and fantastic!


Christmas rolled around and I was trying to decide what to make this guy. Our first Christmas together, I wanted it to be something memorable. Suddenly I remembered the purple top hat. Maybe, just perhaps, I would be able to make such a thing.

As it's hard to get someone's measurements without their knowledge, I straight up told him I needed to measure him.
"You're making me something for Christmas huh? I can't wait to see it!"
(I have found a guy that really appreciates and supports my sewing habit, which is just what I needed!)
"Uhh, yes. Don't ask questions. Now hold still."
I got the standard chest, waist, hip, and back length measurements, then playfully wrapped the measuring tape around his head. He thought I was just joking around with that last measurement, little did he know it was the only measurement I actually needed for his Christmas gift.

Head circumference figured out, the following week I cut out the pattern, then traced it onto fusible felt interfacing. I watched Angela Clayton's Edwardian Hat tutorial to see how she constructed her hats, as they always seem to turn out well, and completely ignored the instructions that came with the pattern.

After I traced the pattern pieces onto the fusible felt, I took a measuring tape and removed the seam allowance from all the pieces, I wouldn't need that on my interfacing layer! The outer fabric and lining meanwhile did get cut out straight from the pattern, seam allowance included.


And with that, I had a crown, ready to be covered in fabric. Somewhere around this point of the hat making process, in Angela Clayton's video, she added wire to all of her felt pieces. I do have millenary wire in my stash, but decided for this particular hat it was unnecessary. The Pellon brand felt interfacing (stiffer than plain craft felt) had plenty of body to keep the tall crown upright, and the brim was relatively narrow so I didn't think it needed the support of the wire either.

Like I said, once the crown interfacing was assembled, it was onto covering the different parts of the hat with the pretty fabric! I decided to use a lovely, heavy dark purple cotton sateen for the fashion fabric. It was originally purchased at Joann's from the "bottom weights" section, used for a project, and the scraps have been hanging out in my stash ever since. Honestly, with the exception of the pattern, everything I used for this hat, including the fusible felt, came from my stash, left over from previous projects. For the lining I used a lighter weight gray cotton sateen, also unearthed in my stash, probably also originally purchased at Joann's once upon a time.

I started with the top of the hat, centering the felt in the middle of the purple sateen, and pressing in the seam allowance all the way around.

Next, I ran a row of stitches 5/8" in all the way around the edge of the lining piece, and used this as a guide to press the seam allowance in.

Finally, I laid the lining over the "wrong side" of the top, centered it, and fused the three layers together. You could definitely make this hat with non-fusible felt weight interfacing, but the double sided fusible stuff definitely made this process easier!

I slip-stitched the lining and fashion fabric together all around the edge, then repeated the process with the crown and brim pieces: fold seam allowance of outer fabric around interfacing, iron in edges of lining, lay over interfacing and folded in edge of outer fabric, fuse together, and slip stitch in place. This was a bit tricky with the 3 dimensional crown, but it wasn't too bad, I just sewed up the center back seams in my fabric first.


Once all the pieces were thus prepared, hat assembly could begin. I started by laying the top of the hat on top of the crown.

Despite having removed the seam allowance from the top like I was supposed to, it was considerably too big to fit smoothly onto the crown.

Like, almost an inch too big all the way around, on all sides. What I should have done here is cut down the top to the correct size.

What I did instead was match up the quarter points of the top and the crown, tack them together, then ease the top into the crown as I whipstitched the two together.

This worked, I suppose, but did not give a nice neat finished product. It was really a bad idea.

The top of the hat now either sticks up out of the crown, or gets pushed down into the crown, rather than sitting neatly on top.

If I ever use this pattern again, I'll be making adjustments to the top pattern. With this hat, if I ever get around to it, I could remove the top and replace it with one the right size. We'll see if I make time for that or not. (Maybe once we're married and living in the same house so I have easy access to the hat?!?!?)

Once the top was not-so-satisfactorily in place, it was time to attach the brim. This was also a touch larger than the circumference of the crown, but not as dramatically, so I decided to try the matching quarter points and easing method again.

This time, it yielded acceptable results once the crown was completely whipstitched to the brim.

Brim on, the hat was, for all intents and purposes, done!
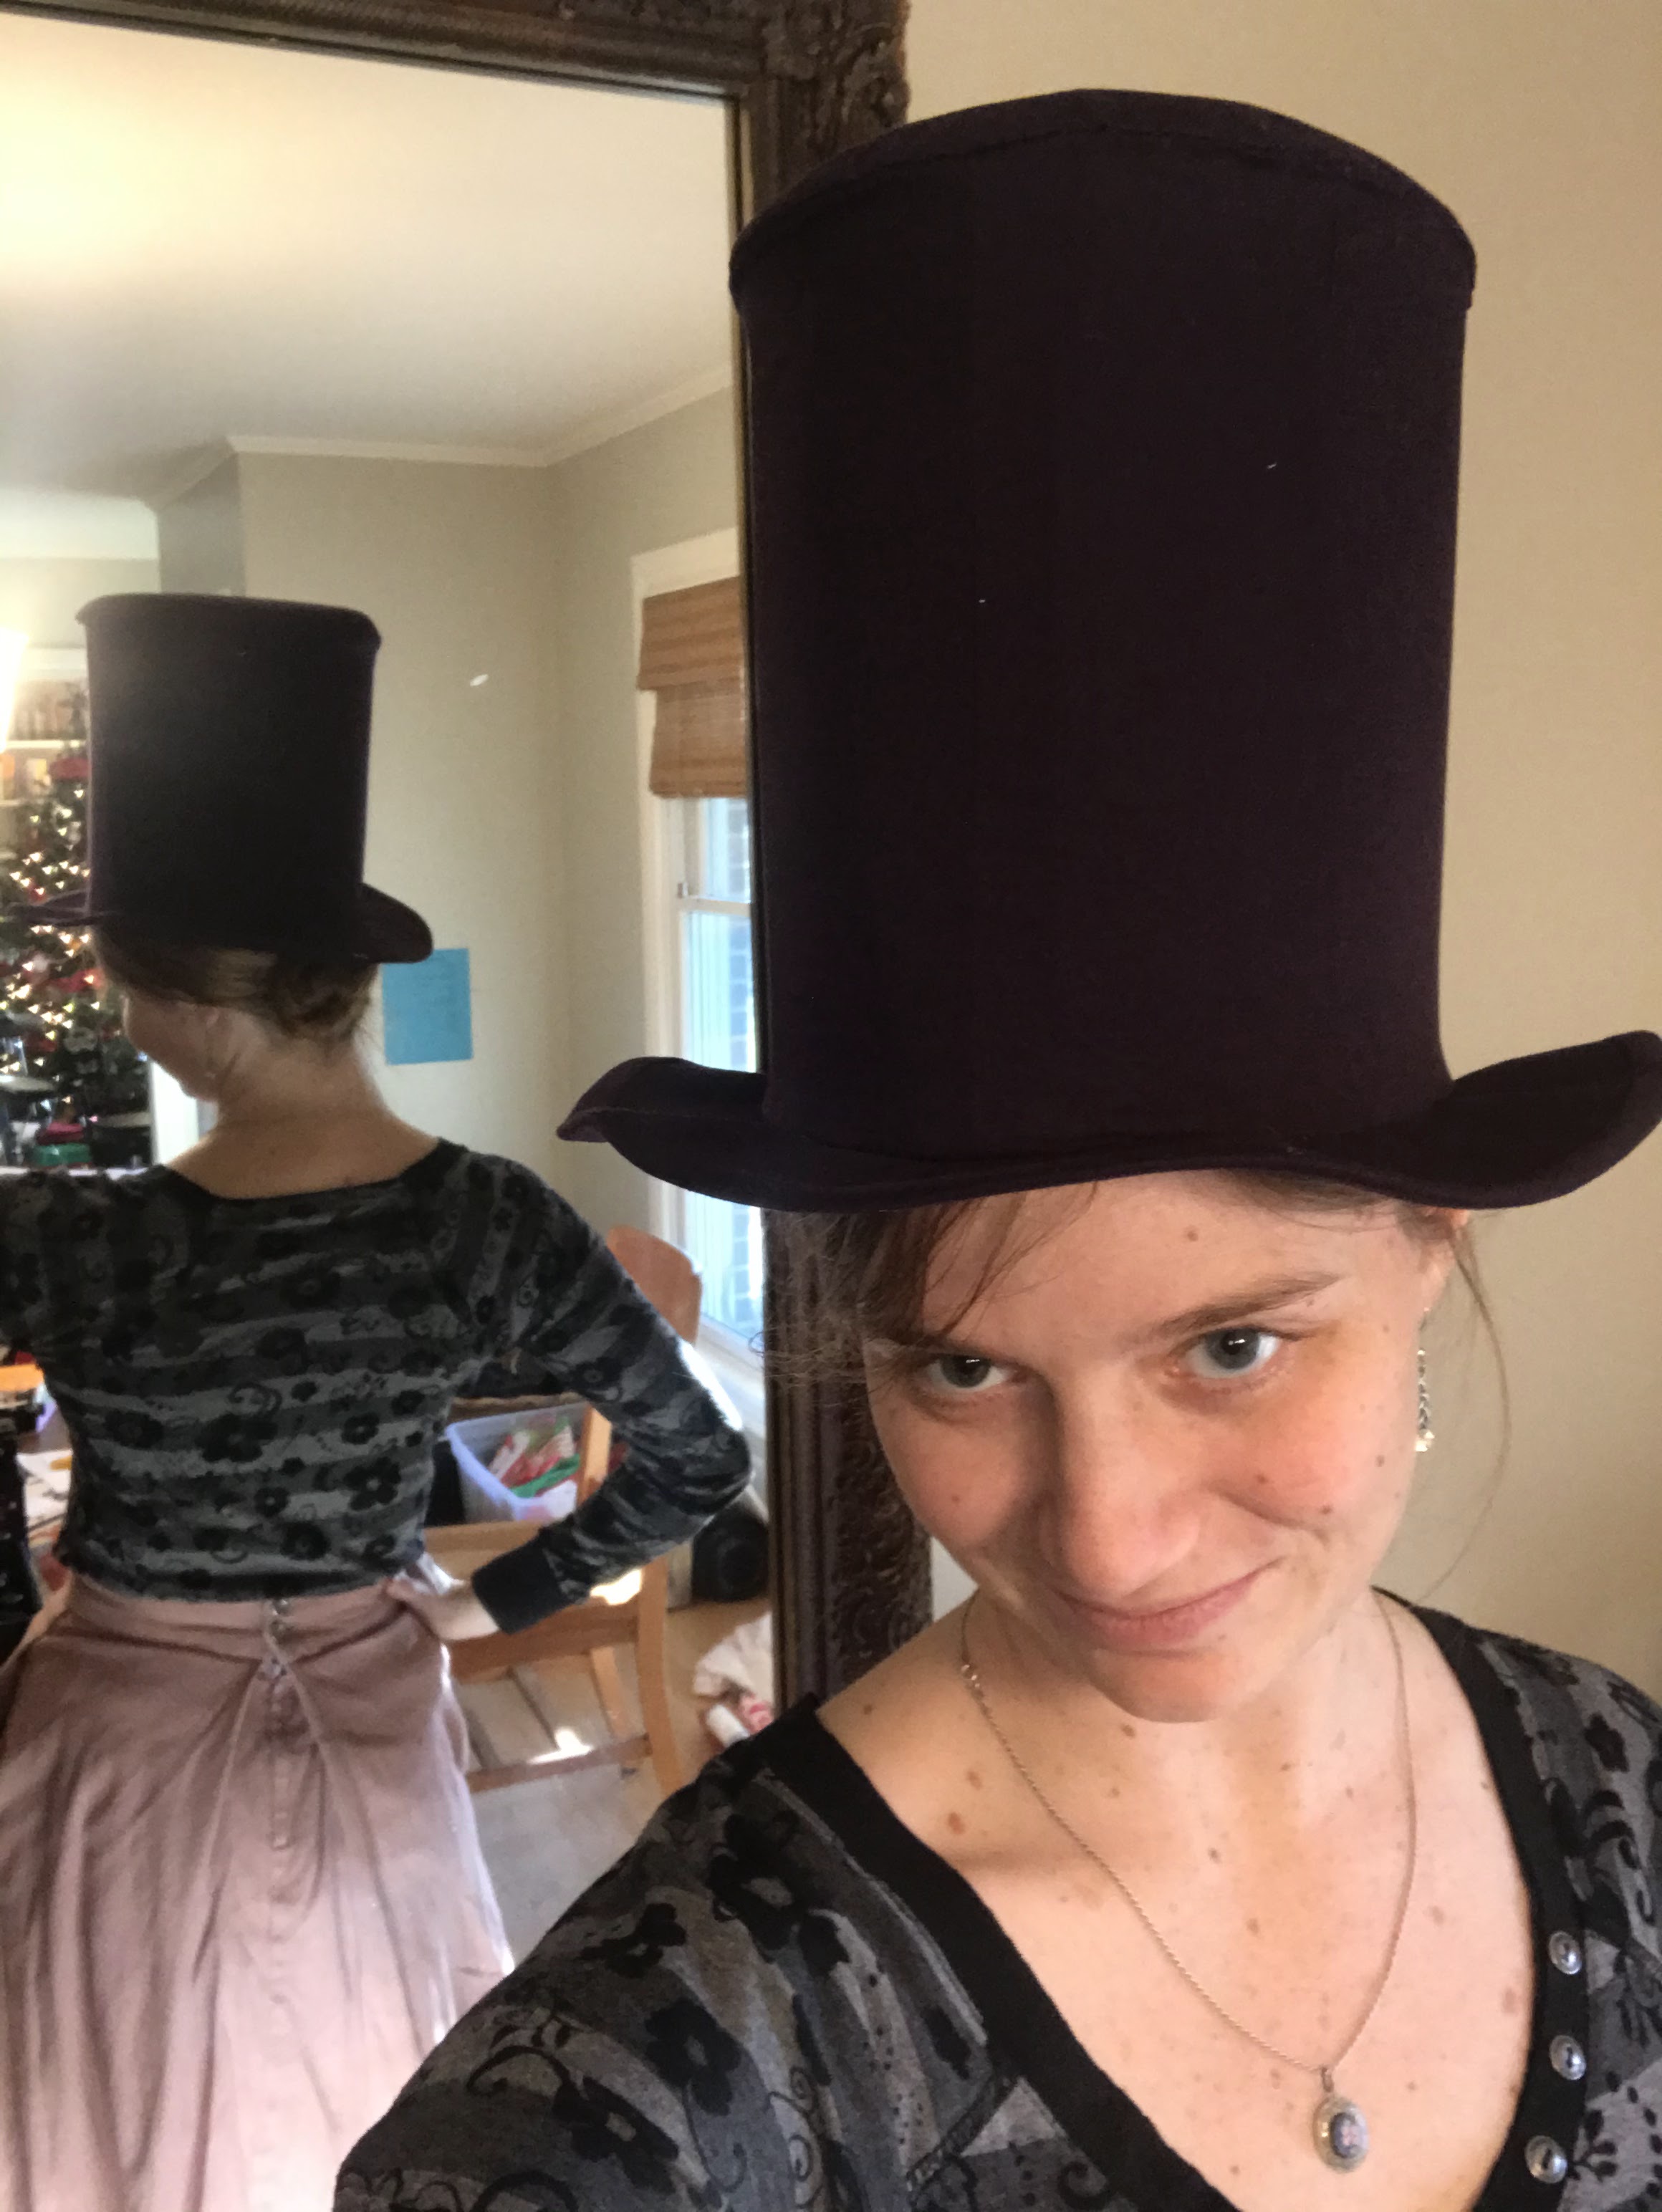
I tried it on and was thrilled! The youngest kid I nanny also tried on the hat, and marched around the house singing that he was Willy Wonka. It was absolutely fantastic.

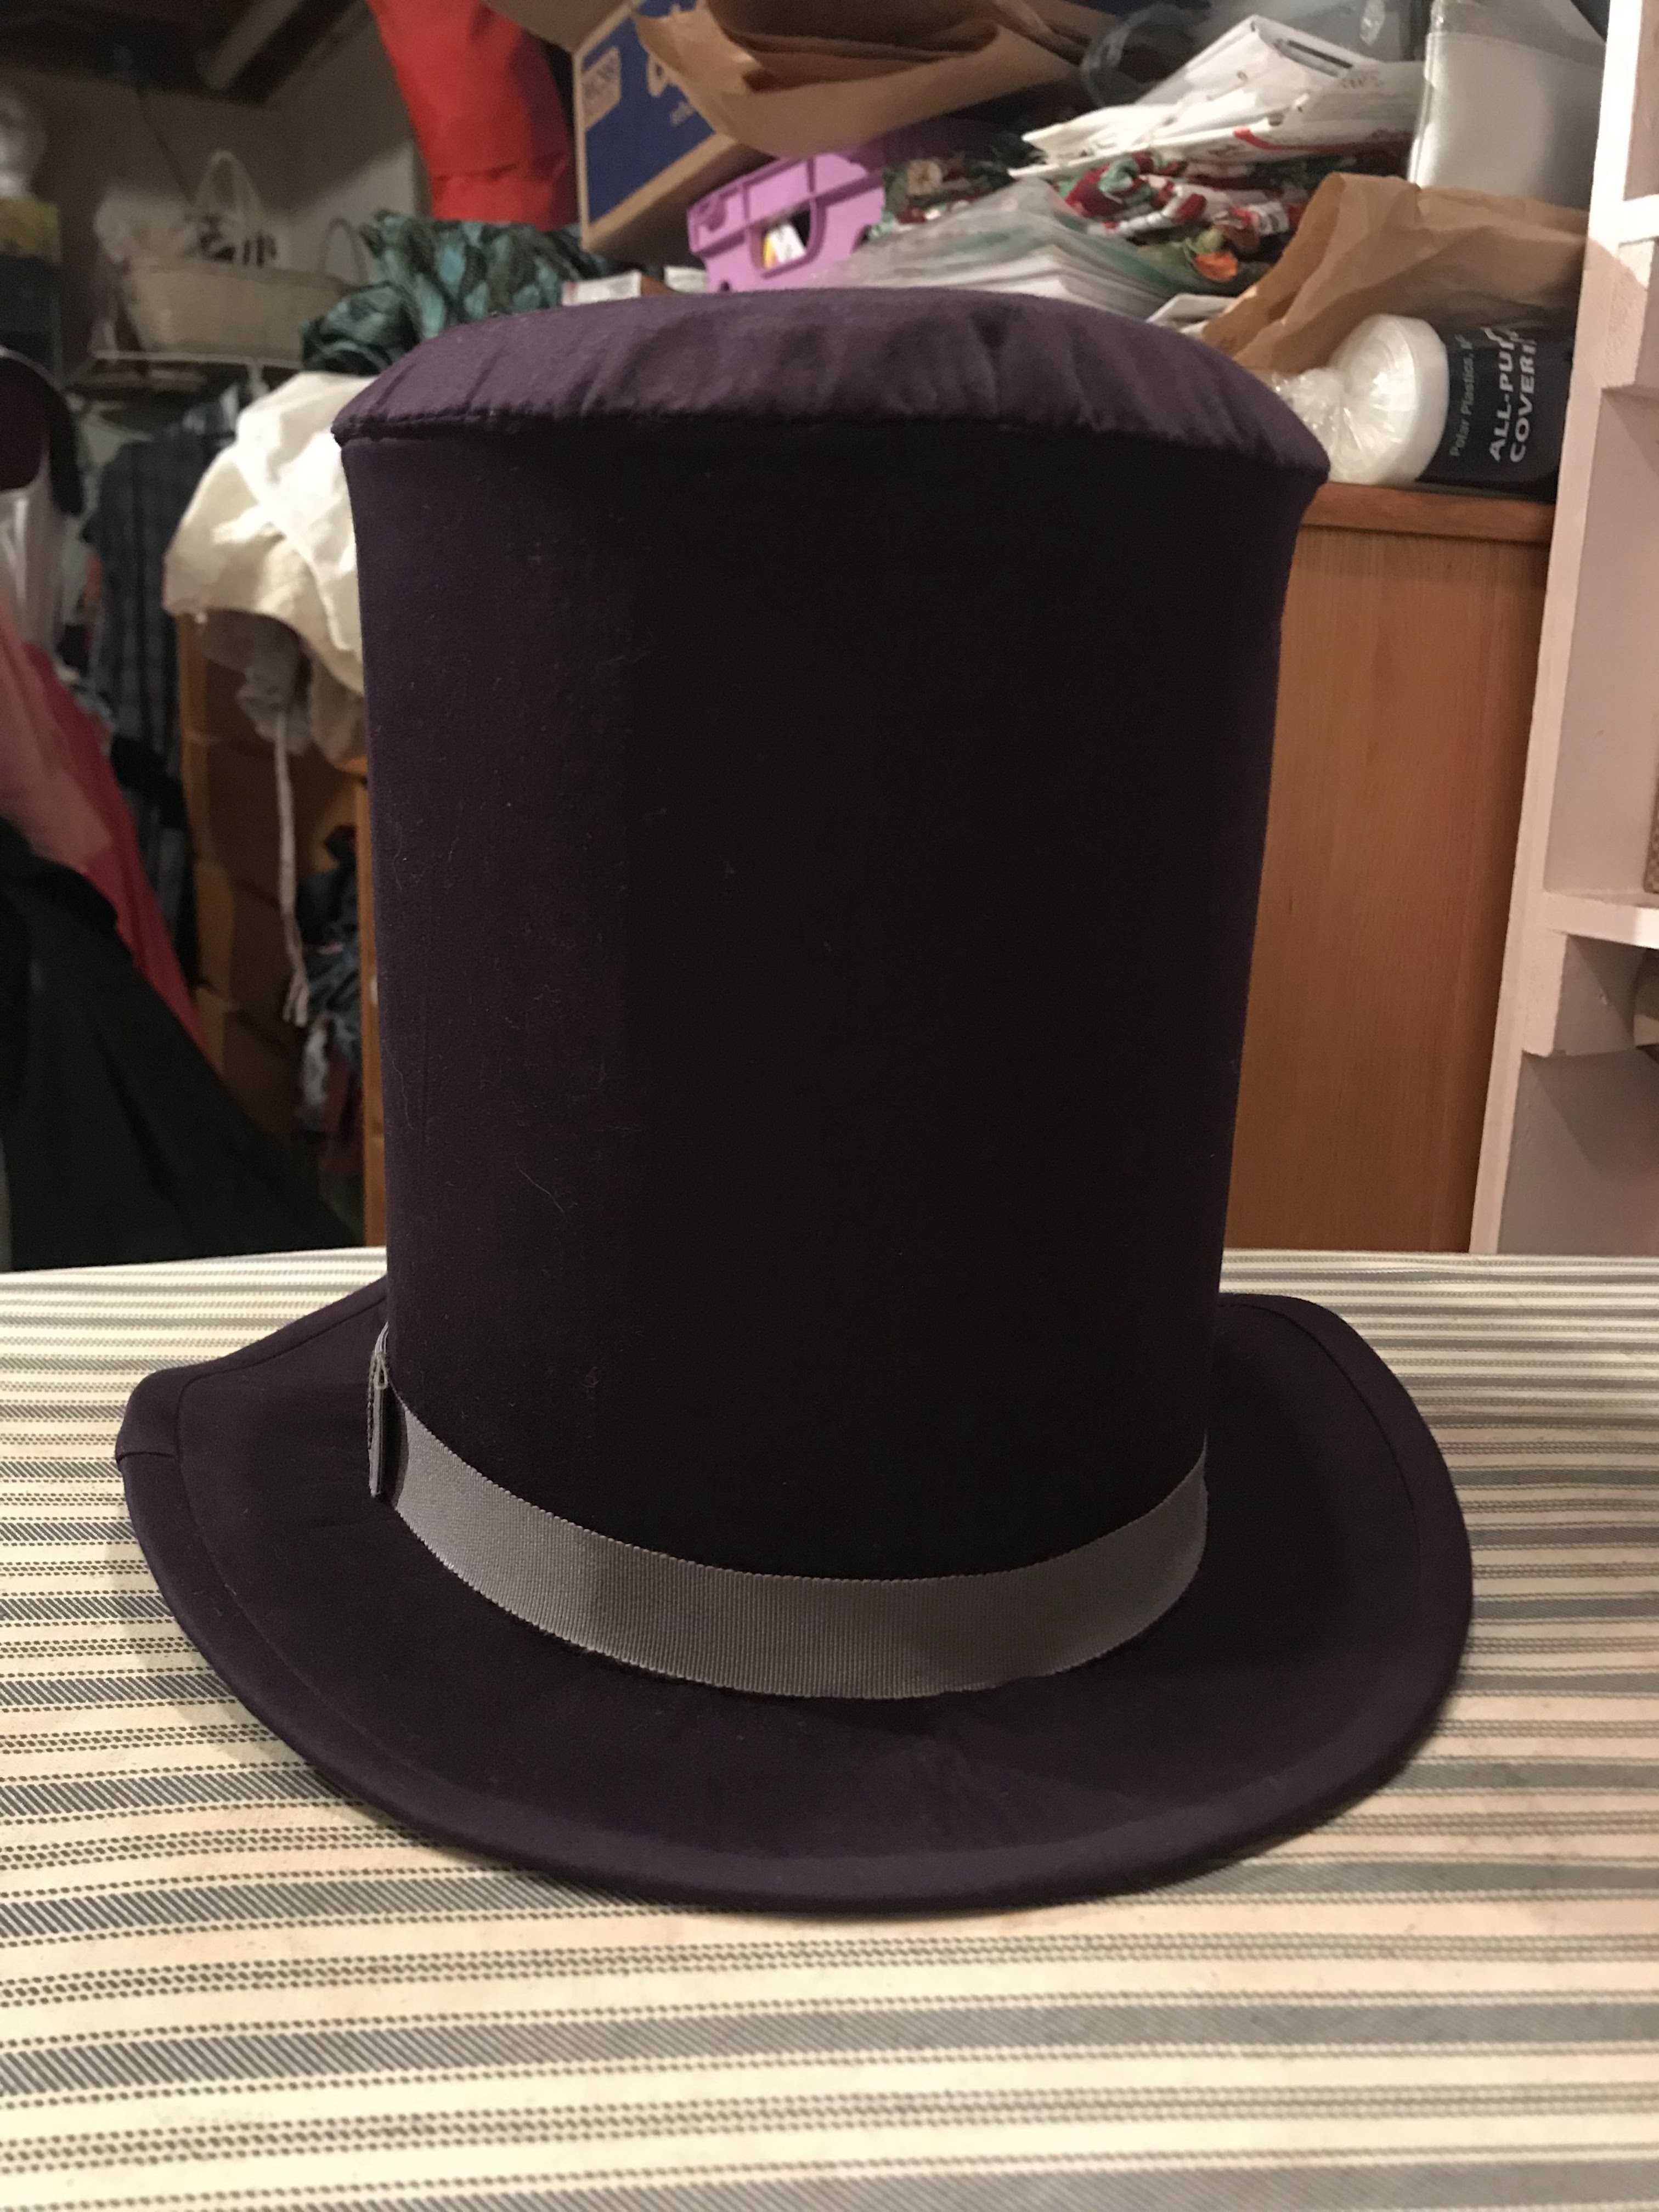
The hat seemed to be missing something however, so I wrapped some petershem ribbon (the same stuff I used to bind my recent stays) around the base of the hat. Yes! A hat band would finish this thing off nicely.

On went the hat band. The brim got a final press, and this thig was ready for Christmas!
The youngest kid I nanny had enjoyed watching this hat come into existence, so I let him help me wrap it up. He enjoyed taping, tying the ribbon, and picking a fun gift tag. I promised him I would show him a picture of my fiancé in the hat after Christmas.

The gift was opened on Christmas and my fiancé was surprised and thrilled!

Even with all the glaring mistakes I see, he loved the thing and couldn't believe I'd made it!

Ever since Christmas, he's been showing it off. His mom, his neighbor, a few of my extended family members, they've all seen it. I'm sure it'll get shown off to more people once the pandemic is over. He's pretty darned pleased and proud of my first attempt at making a top hat.

He's even suggested wearing this hat for our wedding. I'll have to consider that idea. Meanwhile, I'm thinking I need to make him a Victorian suit to wear with it, so we can attend historical costuming events together once those start happening again!


