It should be a well known fact by now that the minority of my historical sewing projects are years in the making, so let’s do the run down on this one:

Fabric - I picked it up at the Mennonite fabric store either right before or right after I did the World Race, so between 2016 and 2018
Pattern - found in a book between 2018 and 2020, scaled up between 2020 and 2021.
Making - Early 2023
20 years, start to finish.
So what project is this?

Felicity Merriman’s School Jacket!
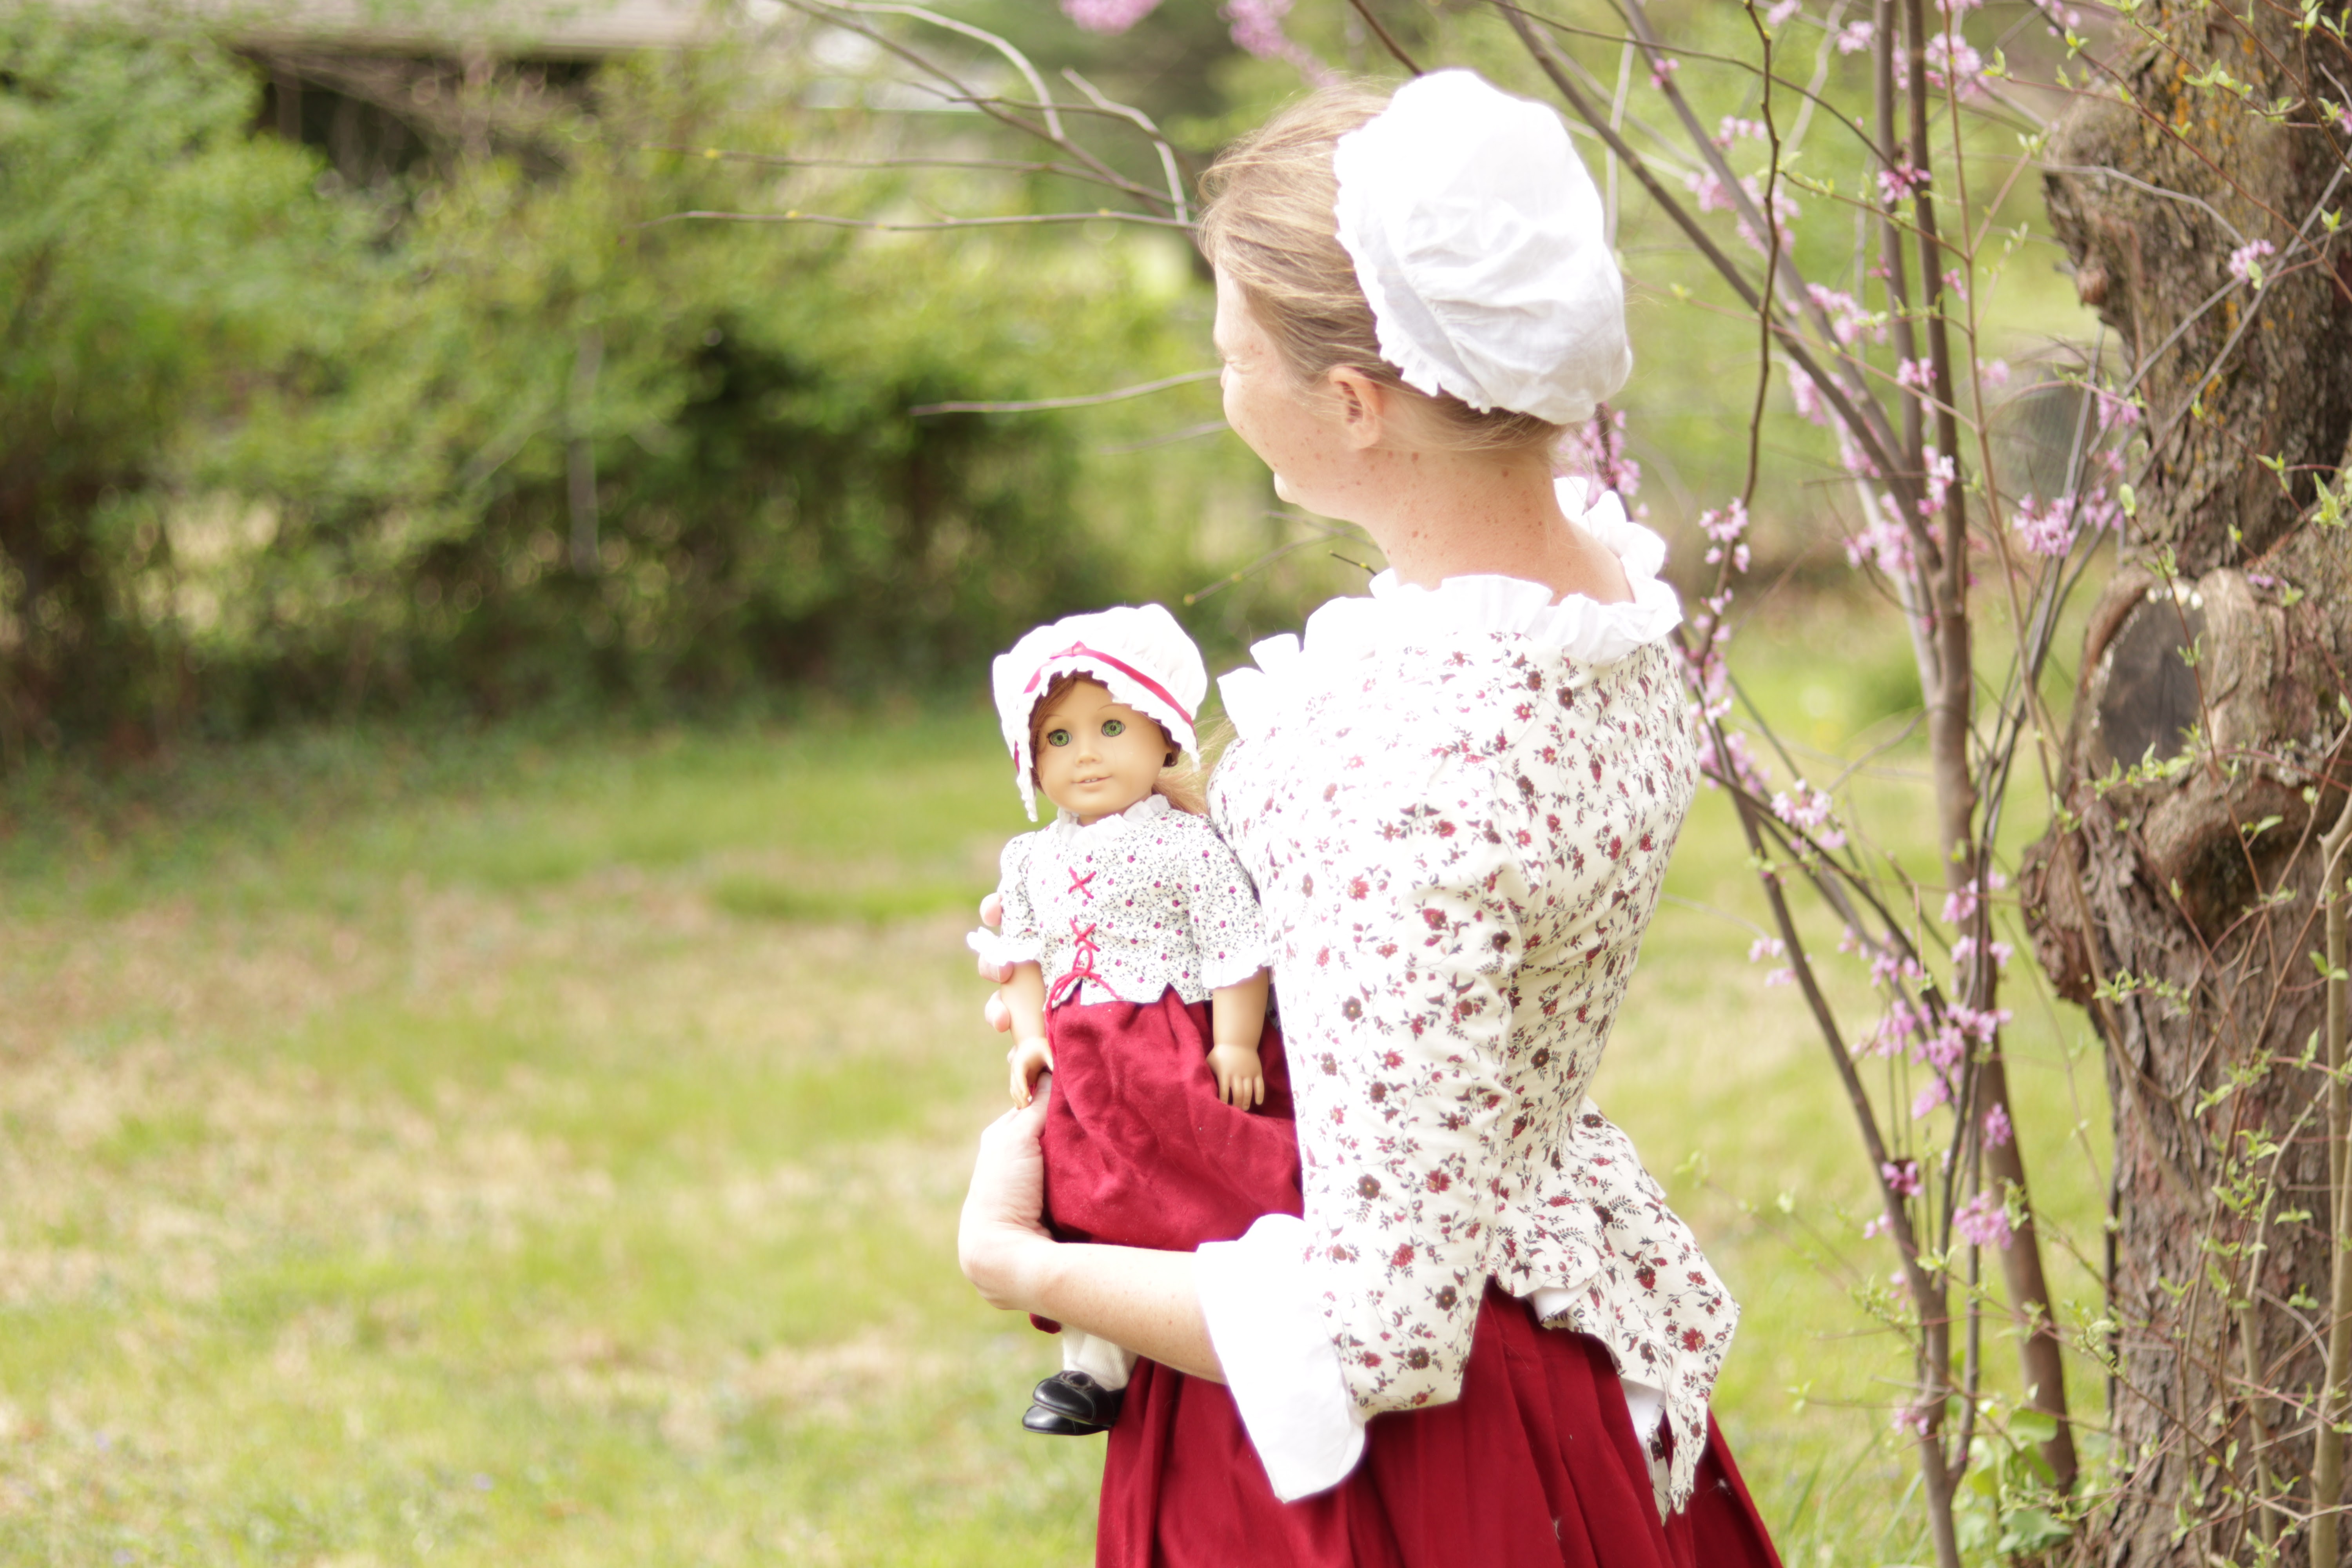
To be fair, my mom and grandma made me Felicity’s School Outfit somewhere around 2005 or 2006. I loved it and wore it every chance I got! So the desire to make myself a more historically accurate version of the outfit that fits grown up me is a more recent idea. One that really took hold when I stumbled across the fabric.

But I’ve already summarized finding the fabric, so let’s jump ahead to this past January.

After years of planning and dreaming, I pulled out the 1770’s jacket pattern I’d scaled up from Costume Close-Up. I’d just finally finished my pet-en-lair outfit, so I was in need of a new hand sewing project to bring along to my job everyday. Something I could work on while the child napped. Relatively small and easy to transport in my sewing bag.
On a day off work I began by cutting a mock-up of the jacket out of an old sheet.

Rather than re-size the pattern specifically to fit me, I just cut my mock-up with extra large seam allowances around the pattern pieces directly scaled up from the book.

The jacket featured in Costume Close-Up (which is clearly the jacket that Felicity’s is based on) was meant to be worn with a stomacher. However, Felicity’s jacket laced completely closed in both the book illustrations and the doll’s jacket, and that’s how I wanted to make mine as well. (Some cursory research showed jackets that laced completely closed to be a historically accurate option)

So I added several inches to the center front of my jacket pattern.

I basted together my mockup and tried it on over my stays.

A few minor alterations were needed, but for the most part it fit pretty darned well.
Other than the sleeves. So I decided to ignore those for the time and deal with them later.
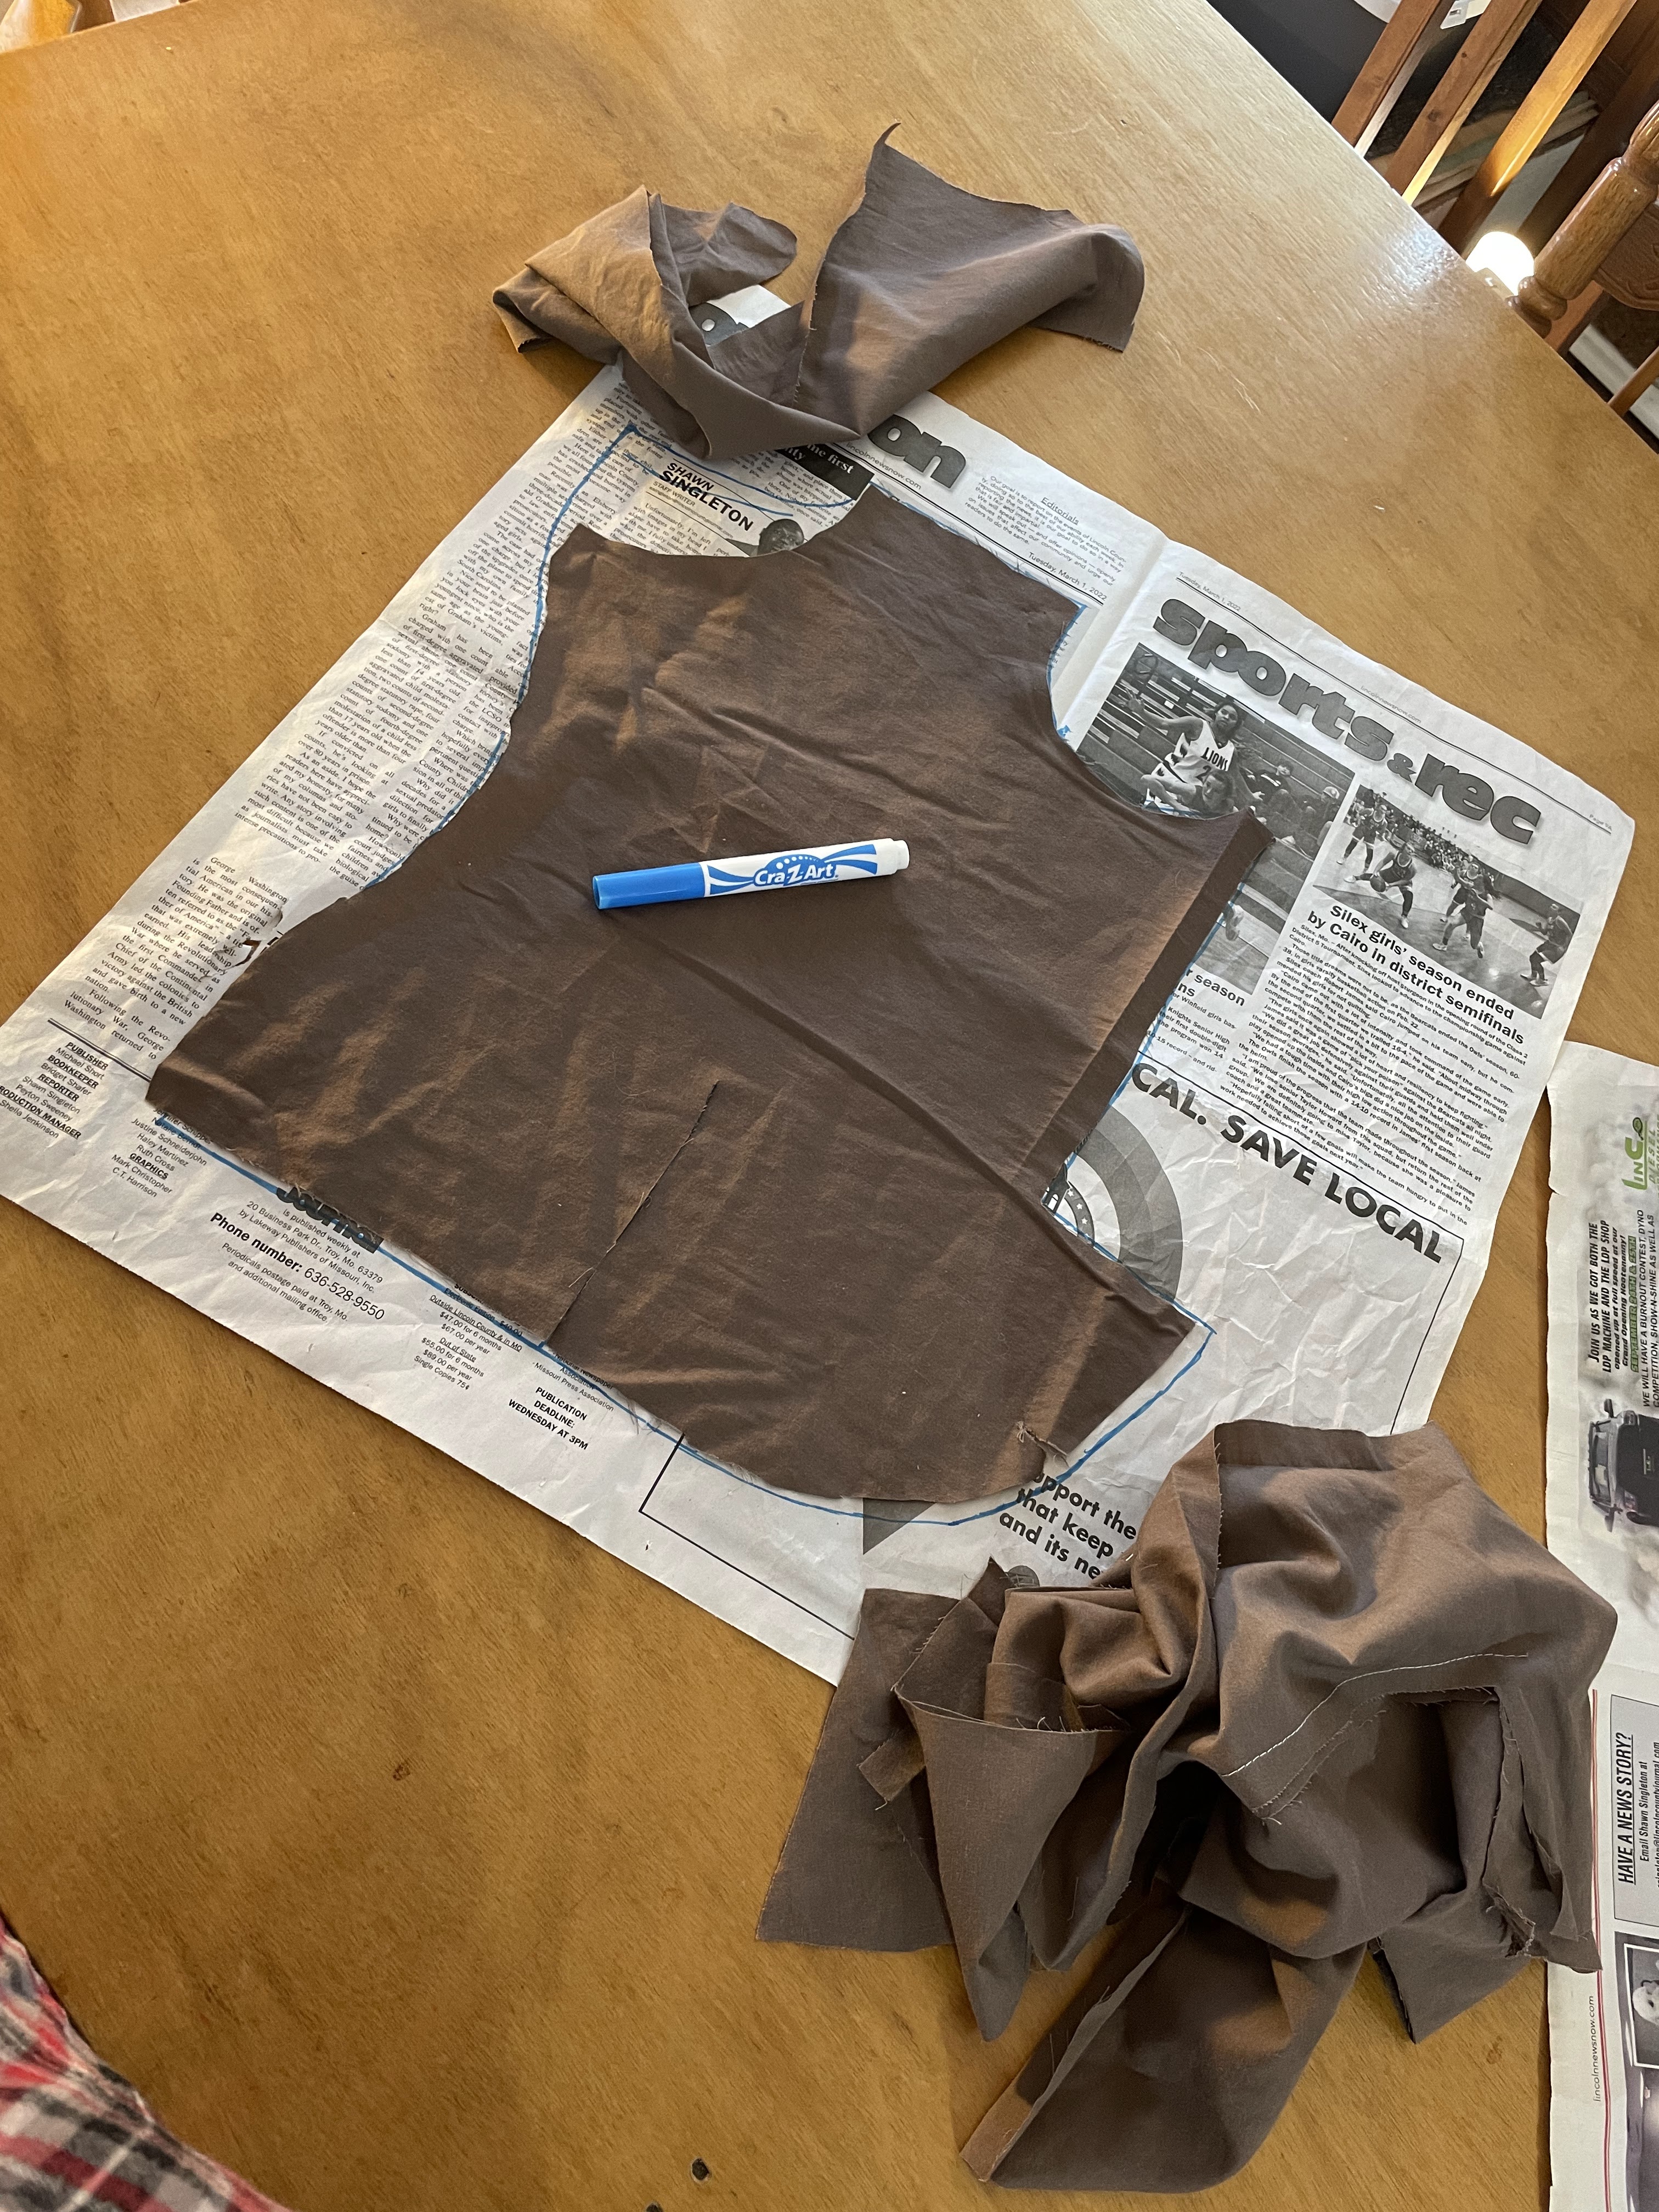
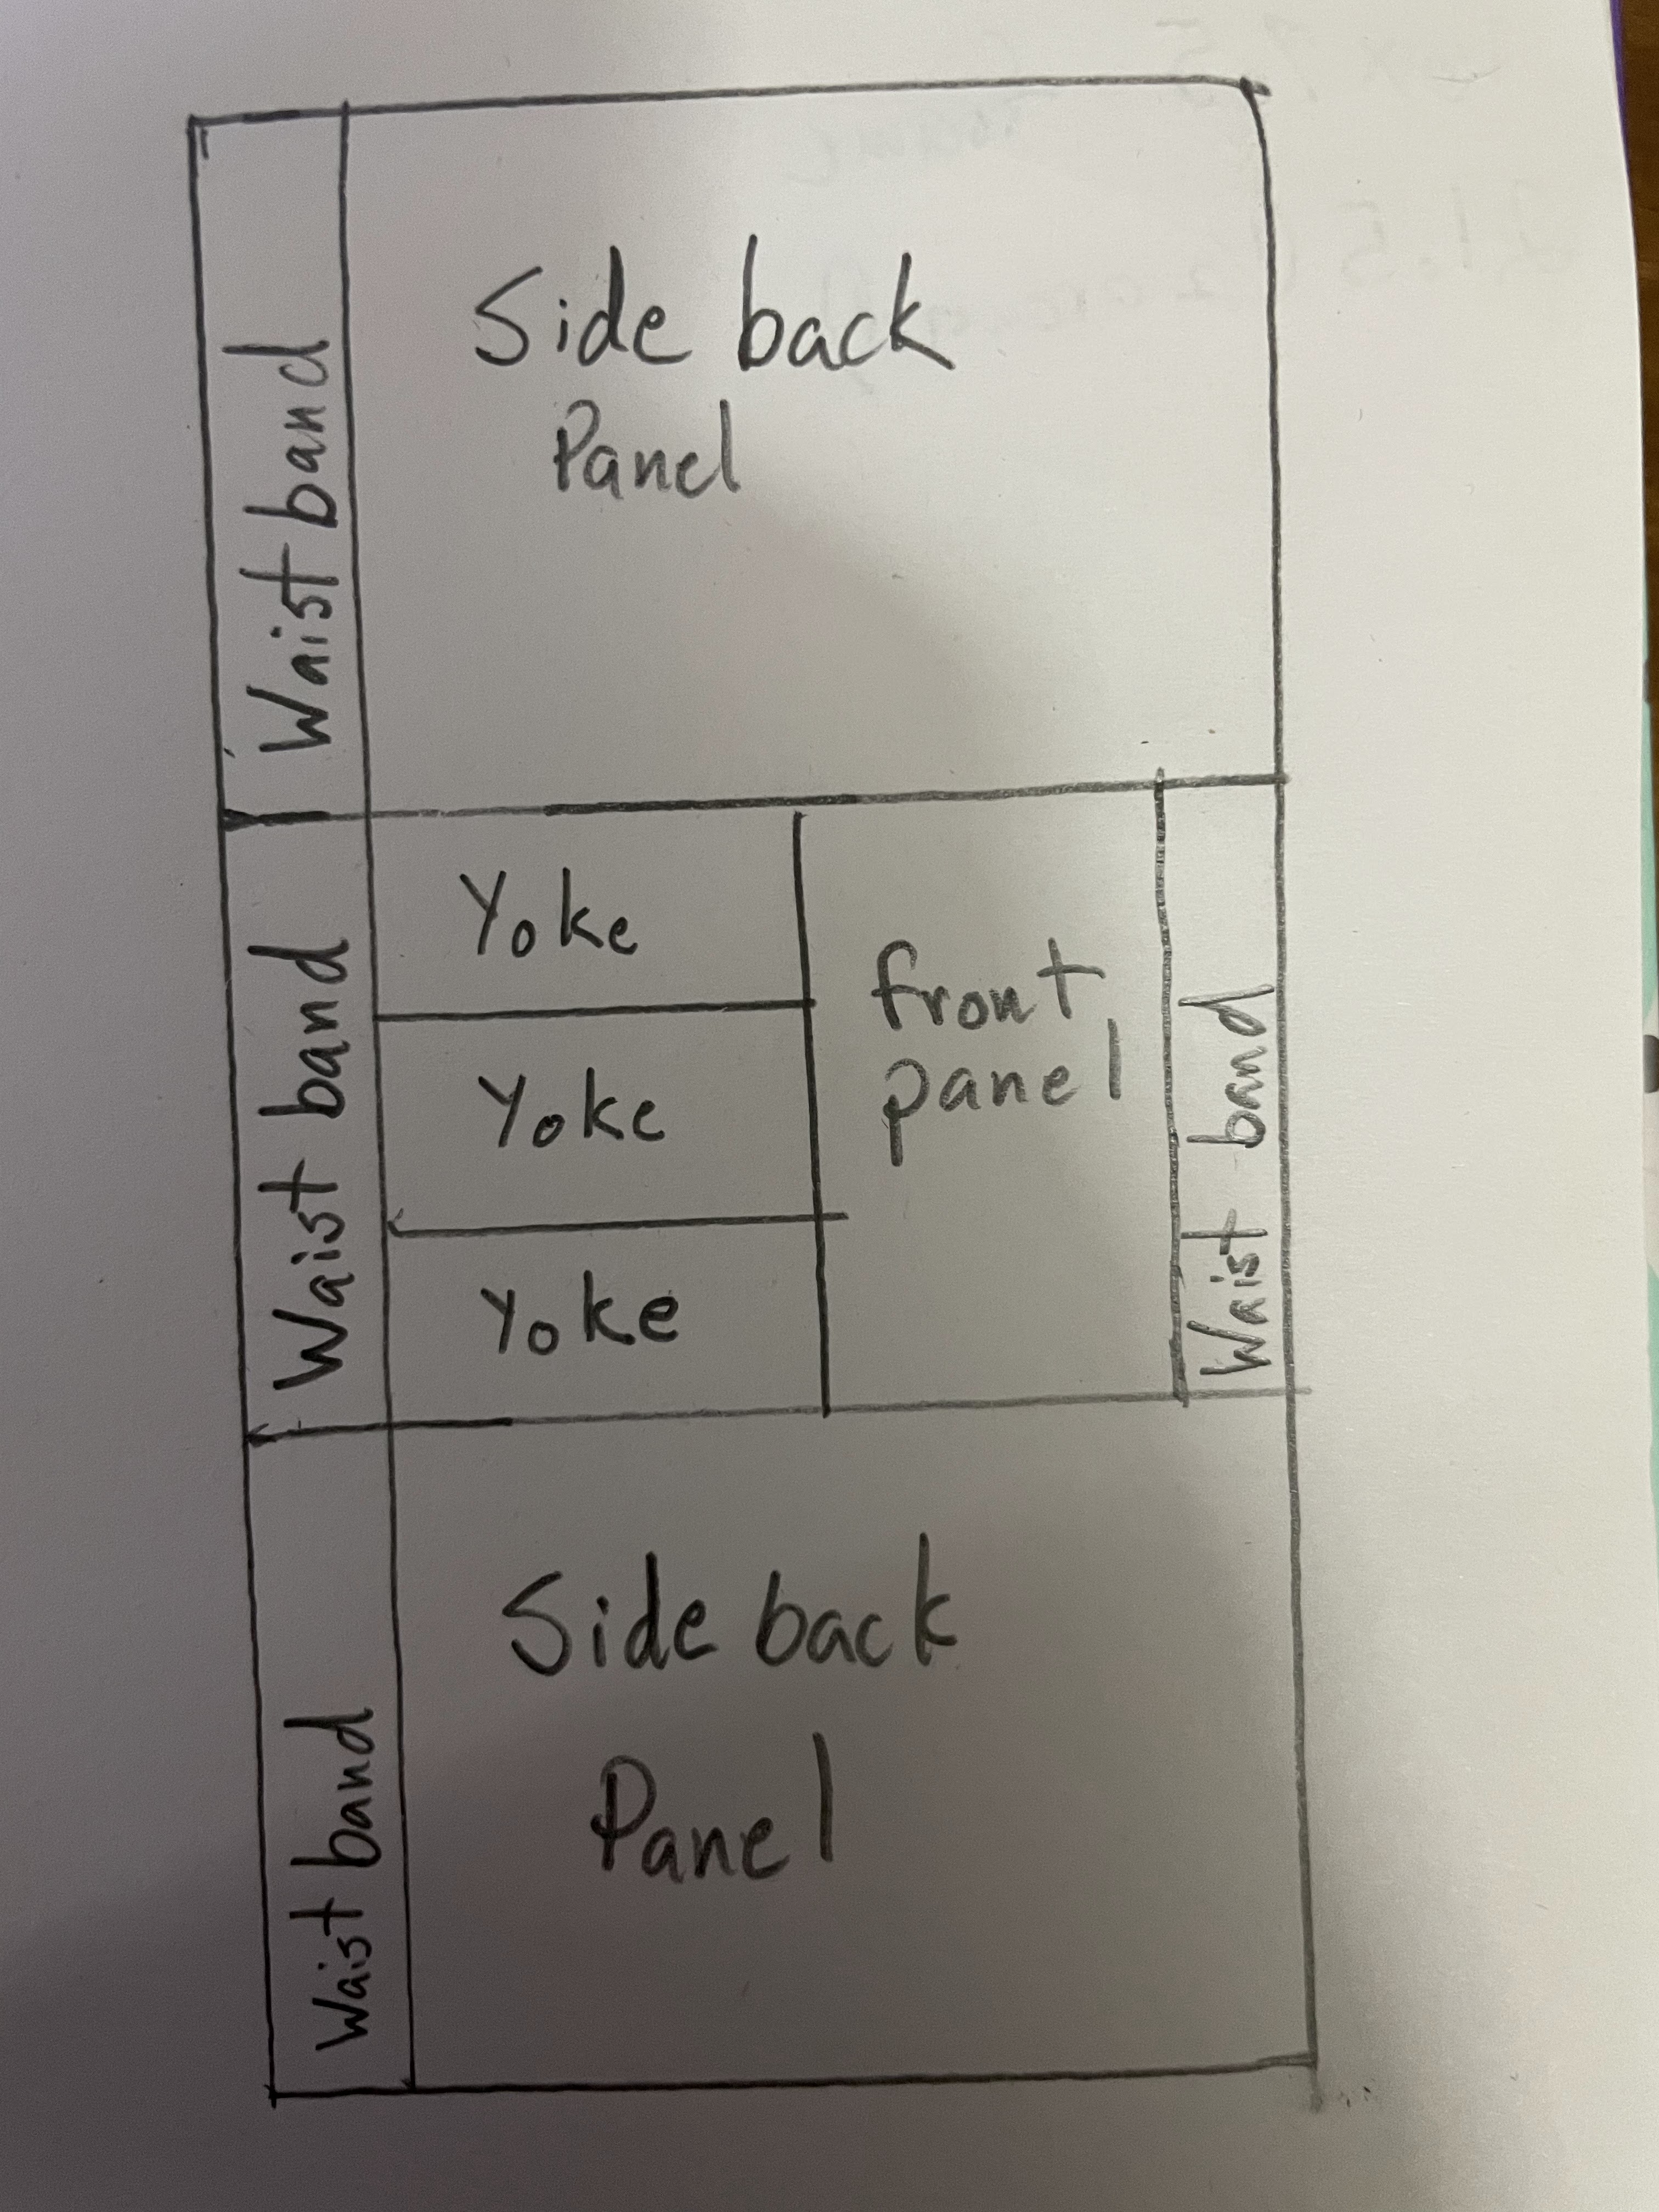
I disassembled my mock-up, traced the pieces onto some newspaper, and then I had my pattern.

I cut the lining out of a cotton/linen blend, and then cut into my long hoarded cotton floral print from the Mennonite fabric store.

It’s not a reproduction print, so it’s not 110% historically accurate, but it’s close enough to accurate for my purposes. (And it was found “in the wild” for something like $3 per yard, versus $20 per yard for a specific reproduction print. For a price difference like that, I’ll take the “close enough” any day.)

With everything cut out, I referenced 18th century construction hand sewing techniques and stitches in both Costume Close-Up and The American Duchess Guide to 18th Century Dressmaking. The next time I was at work and the kiddo was sleeping, I started hand sewing.

I used the “English Stitch” for the center back seam.
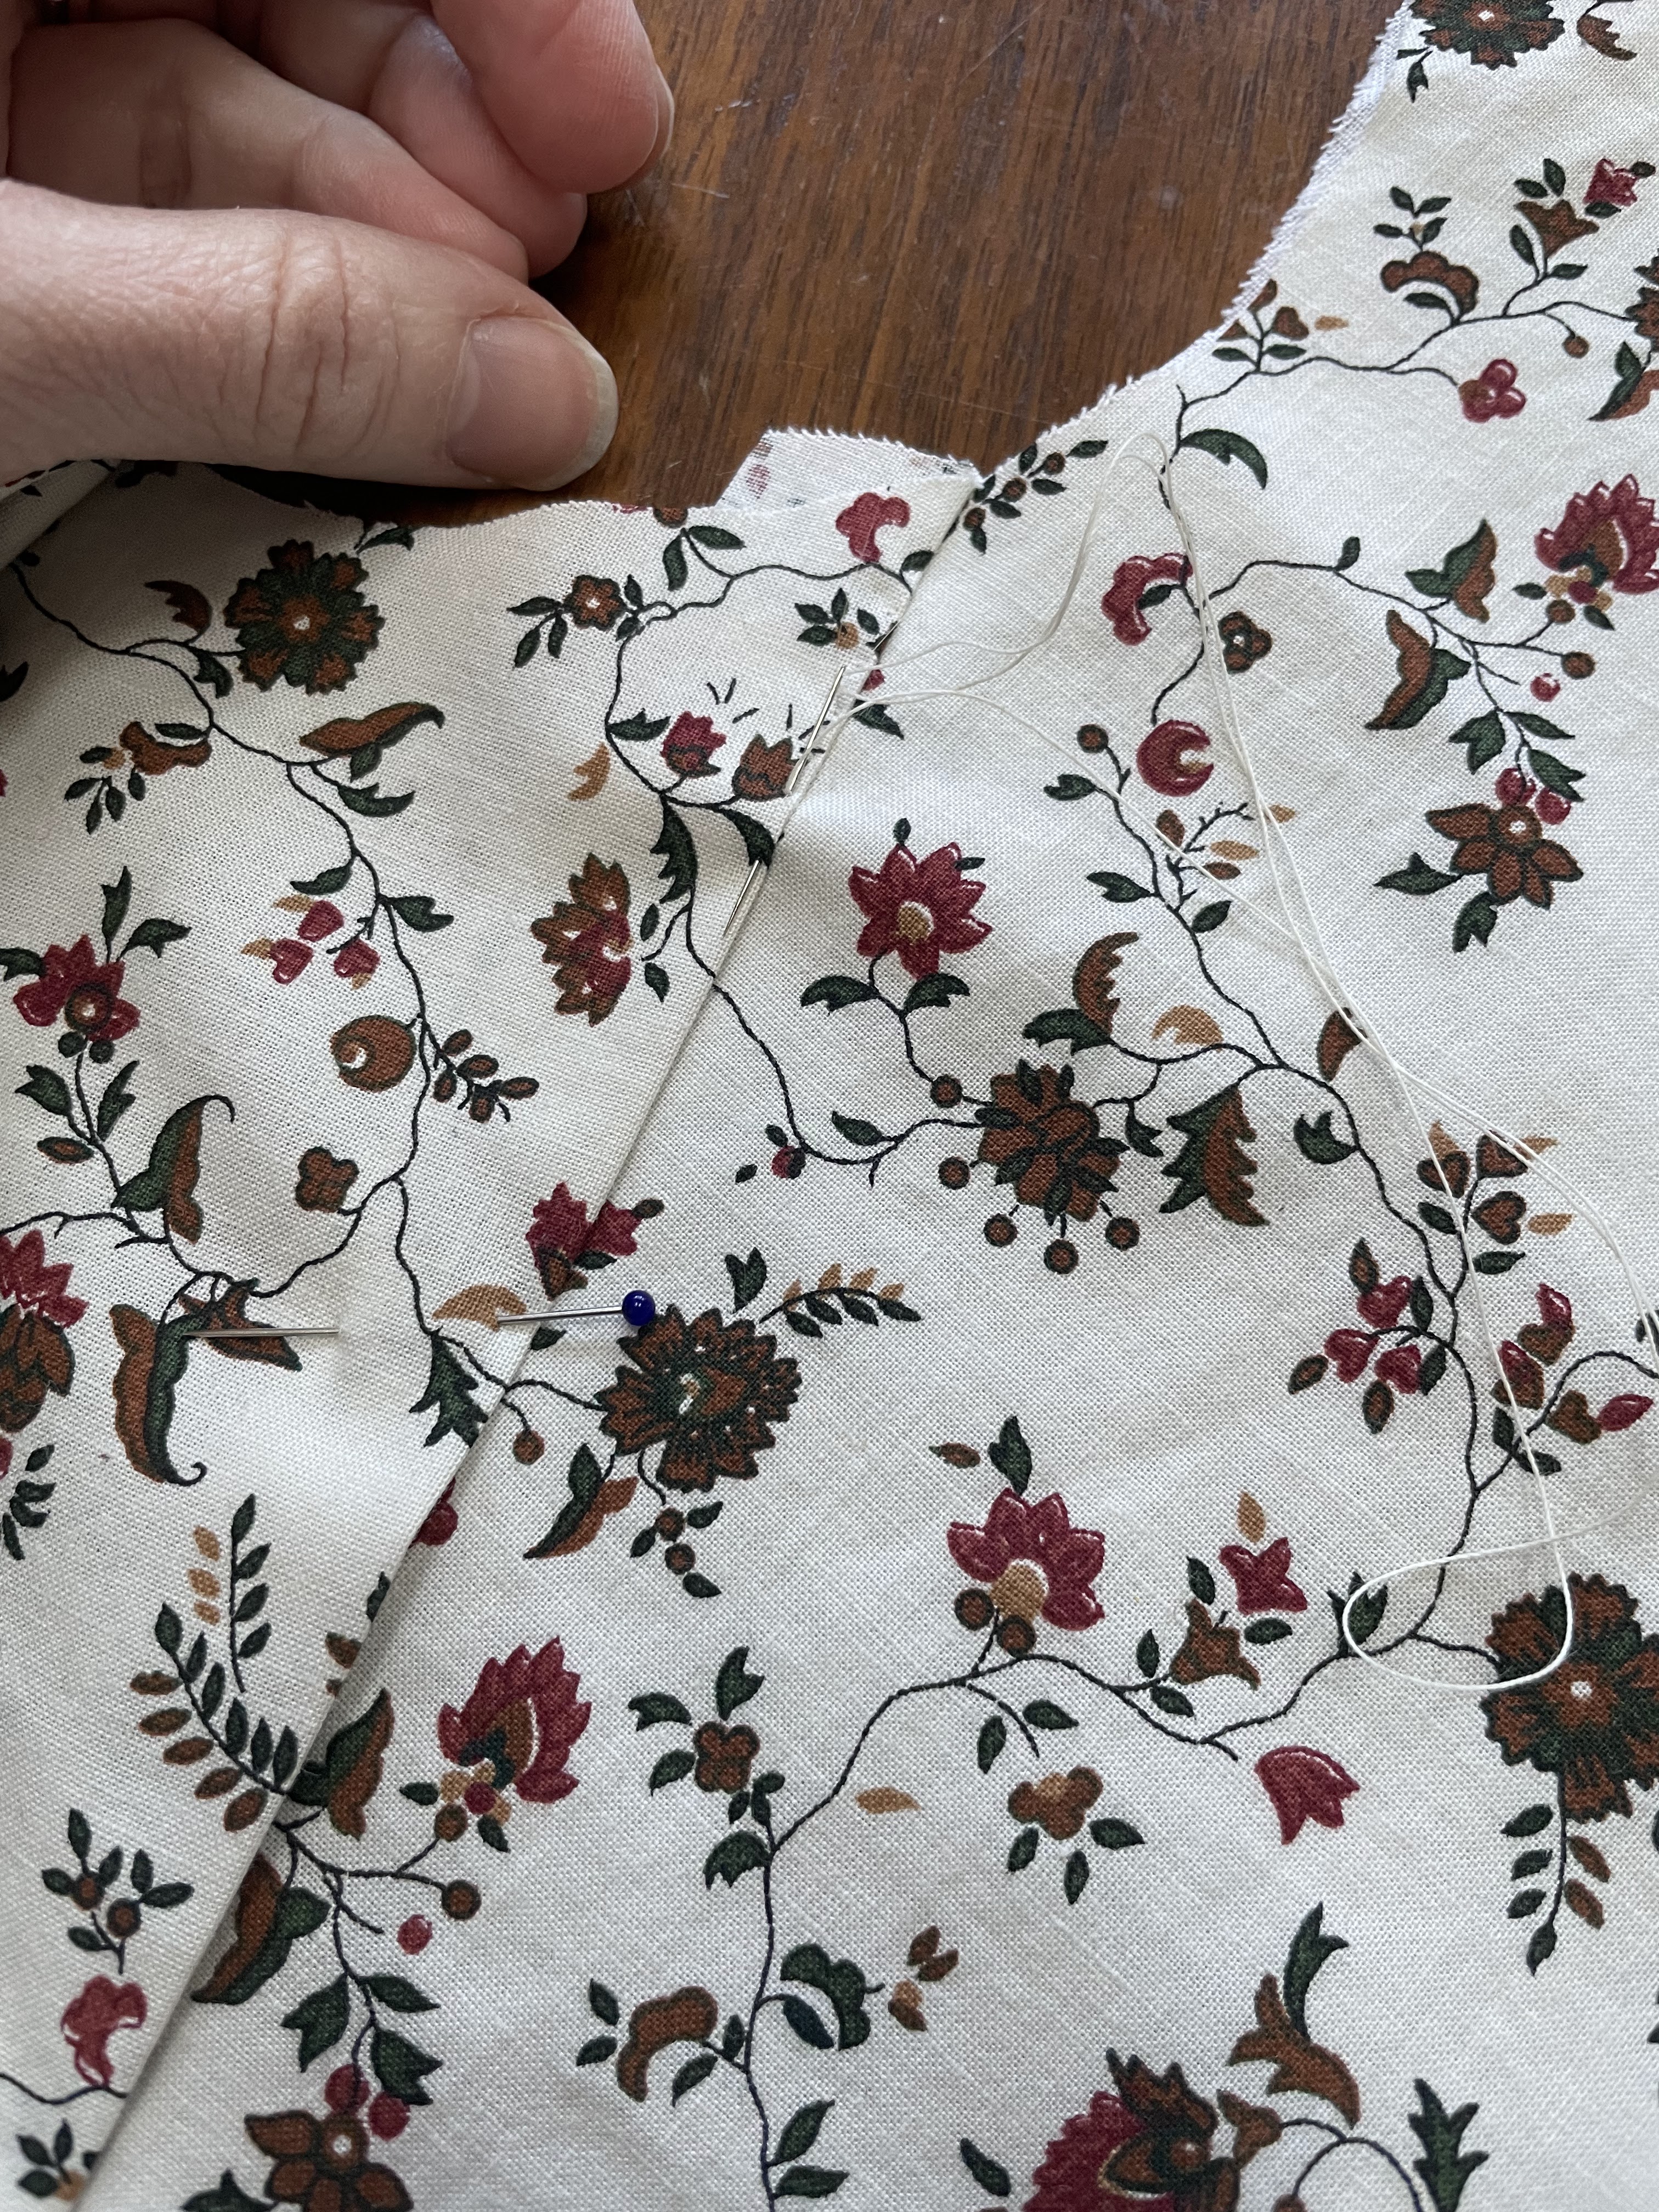
And the lapped seam technique for the side seams.

The whole thing is sewn with my favorite hand sewing thread - cotton/poly blend hand quilting thread.

I have linen thread. I have silk thread. I have 100% cotton thread. But at the end of the day, this stuff tangles and breaks less than the others do, so it’s generally my preference. (Except for the times I suddenly feel like being *very* historically accurate, then the linen or silk thread comes out)

I cut the slits in the bottom edge of the jacket front.

And bound them in strips of fabric cut on the straight of grain, rather than the bias, just like on the original jacket in the book.

Within a week I had the body of the jacket all sewn together, and couldn’t procrastinate on the sleeves any longer.

So I made a few more adjustments to the pattern, cut out a mock-up from the old sheet, tried it on with my jacket, and decided it was good enough.

I cut the sleeves out of my fabric, sewed them together, then sweet-talked Historic Thimble into coming over and helping me set them.

By this point I had also sewn all the eyelets down the front edges for lacing the jacket up.
These were sewn with silk buttonhole twist, although after I sewed them I checked Costume Close-Up again and discovered the original jacket’s eyelets were sewn with linen thread, not silk. So I picked the wrong thread, oh well.

When I tried on the jacket and laced it up for sleeve setting, I discovered it was a little too big.
I did not want to cut off and re-sew all my eyelet, or re-do my side seams. Instead I decided to make a 1/4” tuck on either side of the bodice front from the edge of the shoulder strap at the neckline, all the way to the bottom edge.

The original jacket had a pieced together front, and these tucks mimic that look.

It was easy to do, and didn’t require undoing any of the work I’d already done, so I call that a win!

The sleeves were set, the shoulder straps were sewn on, the jacket was taken in.

I’d been working on it on and off for about a month and now the jacket itself was done!

But there were a few more things it needed to *really* be finished.

White ruffles for the neckline and sleeves, and what was I going to lace it up with?

It was time to learn a new skill!

Luceting!
A few years back my best friend and I watched some women making lucet cord at the Renaissance Festival. It was fascinating! So we both decided we wanted to try it and bought lucet forks. Erentry tried out hers right away. It took me until this project to put mine to use.
I looked up some tutorials online and got started.
While searching for tutorials I discovered there’s some debate about what eras lucet cord is actually historically accurate for. So it may be accurate for 1770’s, and it may not be. Who knows. Either way, it seemed like a better choice for this jacket than polyester ribbon, which was my other option.

To learn to lucet I started by practicing with cotton yarn. This may not have been the best choice because cotton yarn doesn’t slip against itself very well, so it was pretty tricky to work with.
After some trial and error and a couple hours of practice I felt like I had it down pretty well.
I made about 1 yard of lucet cord out of the cotton yarn to really practice the technique.
Then I moved on to using my silk buttonhole thread to make the “real” lucet cord for lacing the jacket.

As silk is more slippery than cotton, it actually was easier to make the cord with than the cotton yarn had been, despite being so much thinner.

After finishing the silk cord however, I decided it was too thin to make a good lacing cord. Also, Felicity’s jacket was laced up with a red cord in the book and on the doll, not a white one.

So I got some red cotton crochet thread from my sister. It was between the thickness of the yarn I had started with and the silk thread I had just used. It was also in-between the two in slipperiness, being a mercerized thread.

I made another lucet cord - and this one was just right!

Strips of linen were hemmed and gathered and sewn onto twill tape to make the neckline and sleeve ruffles.

They were basted into the jacket.

After years of planning, dreaming, and collecting materials and skills - I had Felicity’s School Jacket ready to wear!

I pulled out my Felicity doll and dressed her in her school outfit- one of the few “official” Felicity outfits I owned, though I made her several myself!

Out of my costume closet came the red wool petticoat I made 3 years ago.

Specifically for this outfit, though I didn’t say so at the time.

My brother was kind enough to photograph the outfit for me on a recent visit to my parents’.

Making Felicity’s outfits for myself is just as fun as I always thought it would be!

With this and the work dress I made in 2020, I’ve now got 2 of her book cover outfits for myself!
Just 4 more to go, plus a couple of her short story outfits (who doesn’t want her riding habit?!?!?)
I’ve got the fabric for the next outfit or two in my stash and I’m keeping my eyes open to find fabric for the rest!

What the item is: 1770’s Jacket
The Challenge: Jack of all Trades - I learned how to make lucet cord for this project! So the two production techniques I used were sewing and luceting.
Material: Printed cotton outer, cotton/linen blend lining, cotton crochet thread for lucet cord
Pattern: 1775-1785 Jacket from Costume Close-up
Year: 1775 was the year I was aiming for, but it would work for a few years earlier and later as well.
Notions: thread, cotton/poly blend for sewing and silk for eyelets.
How historically accurate is it? It’s all handsewn using period techniques, the pattern is accurate, the fabric is close, but not a reproduction print, and in the era the lining would most likely be all linen, not a blend, and the thread would be linen as well. 85%, taking some off for the not perfect materials.
Hours to complete: I don’t know, I didn’t keep track. I made it in about a month, hand sewing or luceting about 2 hours a day, 5 days a week.
First worn: For pictures on April 19th
Total cost: I paid $3 a yard for the fabric, and bough 3ish yards, but I only used 1.5ish for this project. I think I paid about $6 a yard for the cotton/linen blend, and also used about 1.5 yards of that. The thread was stash. The crochet thread was from my sister’s yarn stash, and it was gifted to her. I think I paid $20 for the lucet fork at a Ren fest several years ago, and this was my first time using it. Counting the fork the project cost about $35, not counting the fork or would just be $15.