Tuesday, December 12, 2017

The Dress With the Gremlin Hem

I had the fabric, I had the pattern, I knew exactly what my first sewing project upon returning home would be. This dress -


So on Black Friday afternoon, in a rather sleep deprived state, I cut the dress out. It's Simplicity S0934/8167, which I picked up at a pattern sale about a year ago specifically for this fabric. I found 5 yards of this printed rayon at a thrift store about a year before that. When I first bought the fabric I thought I'd turn it into a 40's dress using Simplicity 1587, but I just wasn't thrilled about that possibility for some reason so I put the project off. Finally, I decided to use Simplicity 1587 for my map dress and I found a Simplicity 8167 to go with my rayon. Thanks to my initial hesitation, I wound up with two different dresses I love!


Finding the perfect pattern for this fabric, however, may have been the easiest part of making this dress! Once I got the dress cut out, the sewing took forever! First, I decided to flat fell all the skirt seams because I was too lazy to re-thread my serger that day. There are 7 panels in this skirt along with 7 godets. That's a lot of flat felling. 


When done, those flat felled skirt seams looked fabulous! So I decided to finished the rest of the seams in this dress equally nicely. The seams that aren't flat felled are either bound seams (the waist seam and bodice side seams) or french seams (the pockets). With as beautiful as the inside of this dress was going to be, I really put the pressure on myself to make the outside of this dress equally perfect. Of course, then I ran into roadblocks.


First, I discovered that the bodice was a tad too small. Thankfully, I tried on the bodice to check the fit prior to finishing my bodice seams and attaching the bodice to the skirt. So that was an easy enough fix, I just let out my side seams and back darts a bit until the fit was just right.


After fixing the bodice, I gathered up the skirt and sewed the two together. It looked horrible! The gathered skirt just didn't lay right and the flat piping I'd added at the waist line just didn't sit right either. So, I pulled out my seam ripper and off came that skirt! I stitched that flat piping in place exactly where I wanted it so that it would have no choice but to behave. Then I pleated the skirt and reattached it to the bodice - and it looked 1000x better than the gathered skirt did! 


There, problems fixed! Now all I had to do was insert the zipper, finish the neckline, and hem this stubborn dress! Well, the zipper went in easily, no issues!!! Woohooo!! But then came the neckline. . .
It  was supposed to be finished with a bias binding. I had that bias binding all cut out and pinned together. It was sitting in a basket on the sewing table patiently awaiting its turn to be sewn onto the dress. Then, when the time came to sew that bias binding onto the dress itself, it had flat out disappeared! I searched everywhere for it, and it was just plain gone. I suppose, with all the issues this dress had had, and all the extra time each of those issues took, that neck binding just got tired of waiting for its turn so it ran away. 


Now, I could have just re-cut out that bias binding, but I was too lazy for that. Digging out the pattern to get the measurements right seemed like a lot of work. So I drafted a yoke to finish the neckline instead. (You notice when I'm lazy I just create more work for myself?) In this instance the laziness paid off - the yoke turned out much nicer than the bias binding would have!


Neckline finished, I was ready for the hem - and that is where this dress went from just stubborn dress to gremlin dress.


This dress has a full circle skirt. Achieved not by cutting a circle or even parts of a circle out, but rather by cutting house shaped panels and triangular godets out of my fabric. All of these pieces had a straight bottom, so that in theory you could make a circle skirt out of a border print fabric, keeping the border even all along the hem. Laid out flat, the skirt would look something like this: (only on the actual skirt all the panels are actually the same size. Please excuse my less than perfect drawing skills)


As I said, this was a nice idea in theory. In reality it led to a very uneven hem line which took several tries to be made even. 3 days went into evening the hem on this skirt. (During the whole hem frustration, I decided I needed a break. I needed to make something that actually wanted to be made rather than fighting me every step of the way. So the dress got abandoned for an evening and I made my little sister a new shirt instead.)


After multiple attempts of evening the hemline on my own, I finally had to call in reinforcements - my mom. Armed with my hem ruler and copious amounts of pins, my mother marked my hem all the way around while I stood still wearing the dress in the middle of the kitchen.


Thanks to all the fabric in this skirt, that process took over an hour, but it was worth it! My hemline was even! Now all I had to do was press up my 2 inch hem allowance and sew it!


Then, wouldn't you know it? I decided to hand sew that darned hem! Well, that took a bit of time, but in the end the hem looks great, and I had a new dress to wear to church on my second Sunday home.


And Christmas Tree hunting! The dress also got worn Christmas Tree hunting on my grandparents' farm. (I clearly missed the memo about running home after church to change clothes, oh well!)


 My family has our Christmas tree, which was surprisingly easy to find this year, and I have a new dress, which was surprisingly hard to make. 


Hopefully the next item I make for myself comes together much more easily, but I'm not ready to tackle that yet. Right now, I'm working on clothes for my little sister instead - because her clothes seem to actually want to be made!

Wednesday, December 6, 2017

The Stripey Sweatshirt Tunic

I could not sleep thanksgiving night. I was back in my own bed for the first time in 11 months, and I lay there awake. My body still thought it was in Malaysia - where it happened to be the middle of the day rather than the middle of the night.
Finally, at 5 a.m.,after lying in bed for hours trying to fall asleep, I heard my little sister come downstairs to get a drink of water. So, I got up, found her in the kitchen, and told her to go get dressed. JoAnn’s opened at 6 with Black Friday sales, and we were going to go buy some new Simplicity patterns, since they were on sale for $1 each!

Photo taken by my little sister!

On our drive into town we saw a beautiful sunrise! We arrived at JoAnn's shortly after 6, and headed straight to the pattern books. We looked through the books together, discussed the merits of different patterns that struck our fancy, made our selections, and headed home with a bag of new patterns and heads full of sewing project plans!
Now, we got plenty of pretty dress patterns, but at my mom’s suggestion, we also picked up some basic everyday patterns at that Black Friday sale. My little sister grew a ton this year, and is definitely in need of some new everyday clothes!


So, patterns came home, and I was ready to get started sewing. I knew exactly which patterns I wanted to make first, and got started cutting out new dresses for both myself and my sister.
Then a few days later I found myself in a thrift store, with approximately 1 yard of gray and raspberry striped sweatshirt fleece in my arms. For $1 that light weight sweatshirt fleece came home with me and a new project got pushed to the top of my sewing queue. A sweatshirt tunic for my little sister, made using one of those basic patterns my mom suggested we buy - Simplicity 1333/D0137.


I cut the pattern out, threaded my serger, and the tunic came together incredibly quickly, even with stripe matching! Under 2 hours from cutting out to completion, I like that kind of project! (Admittedly, the stripes match perfectly on one shoulder and not at all on the other. But on both side seams the stripes match perfectly!)

The shoulder with the perfect stripe matching!

The pattern called for a knit fabric with significant stretch. The sweatshirt fabric had little to no stretch. So I figured I’d just go up one size to accommodate the lack of  stretch in the fabric. Thankfully, I looked at the finished garment measurements printed on the pattern pieces before cutting the tunic out. This pattern has 4 inches of ease added! That’s enough ease to make the pattern out of a woven! There was no need for me to cut out the tunic the next size up - it would have been huge! I cut out the tunic in the size my sister’s measurements indicated she needed, but had I been using a knit with more stretch, I would have gone one size smaller.


The tunic came out a little loose (thanks to those 4" of added ease!), but very cute and comfy! It's the perfect length to wear with leggings.


With as fast as my sister is growing, the extra roominess of this tunic isn't a bad thing at all! It allows for plenty of movement and activity - such as climbing on top of old chicken pens!


And it works pretty well for visiting the goats as well.


This shy little goat is Persephone, one of my sister's favorite doelings from this year.


And this is Harvey, our big old stubborn wether who needs a good talking to every now and then.


My little sister has certainly grown up this year while I've been gone - but she still enjoys going pattern shopping with me and wearing clothes I make her. And for that I am very thankful!


Friday, December 1, 2017

The All Around The Globe 1940's Dress

I'm home! Yes I'm home! Around 11:45 pm, Wednesday, November 22, I was greeted at the airport by my family, best friends, and two welcome home signs!


I was home for Thanksgiving!
Now fast forward a few days to Sunday. I was standing in front of my closet trying to figure out what to wear to church. After 11 months of living out of a backpack, having an entire closet again was overwhelming! So, what did I select to wear to church on my first Sunday home? A dress from my pack. The same dress I wore on my last Sunday at home, on my first Sunday on the Race, on my last Sunday on the Race, and many, many, times in between. Yes, I wore my map dress to church last Sunday.

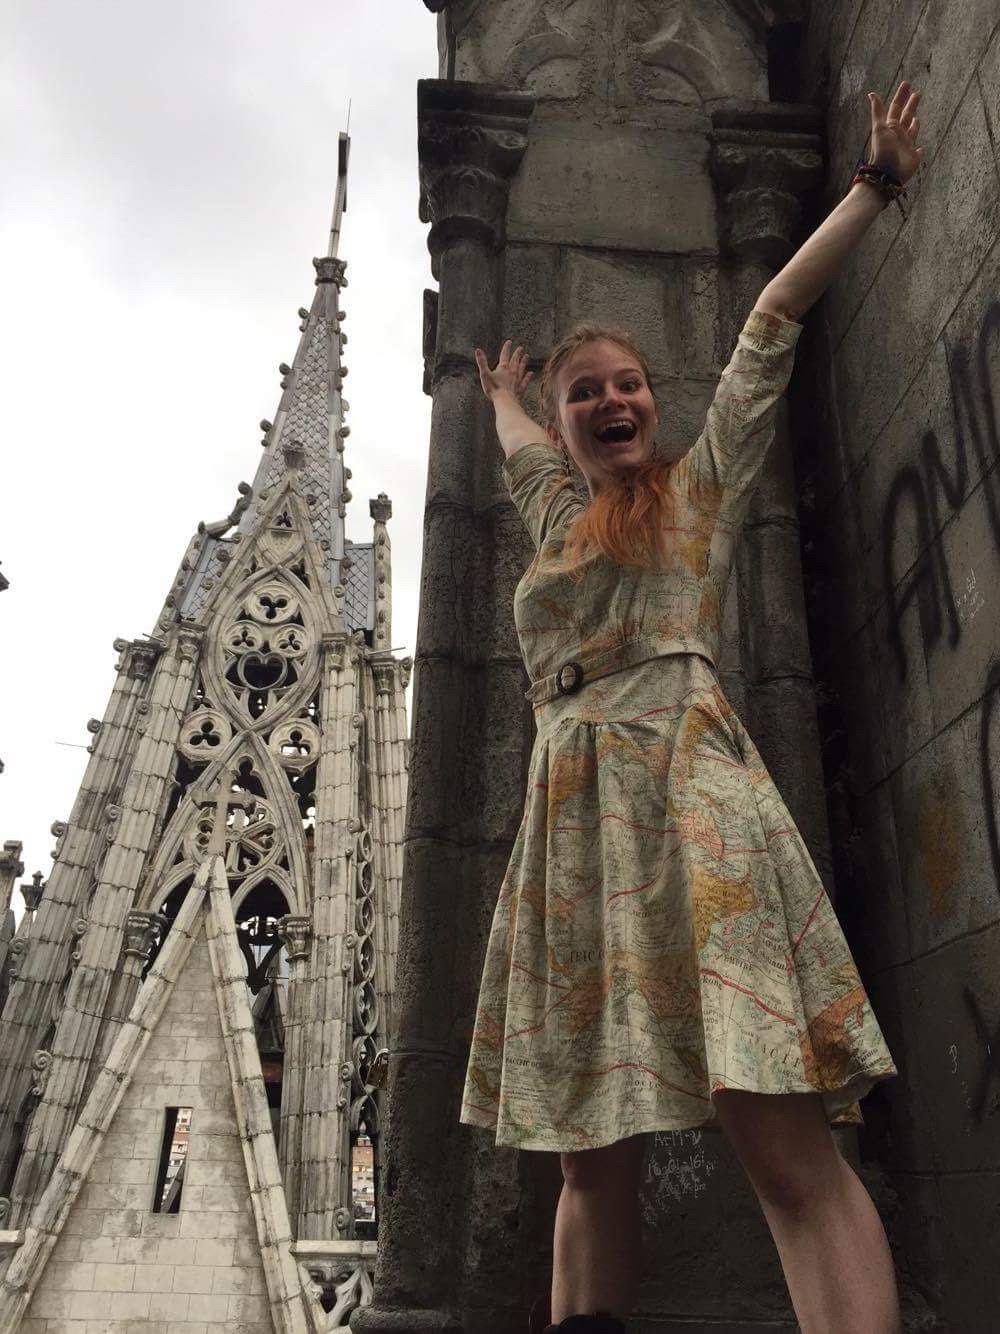
Picture taken in Ecuador, at a Cathedral in Quito
Way back, before I even heard of the World Race, let alone decided to do it, this late 1940's dress, made out of silk escape maps from WWII, came across my Facebook feed. I was immediately enthralled.

Follow the link to read all about this dress!
It turns out that during World War 2, soldiers were given silk maps to use to find their way out in case they got trapped behind enemy lines. Silk was used as it could be folded up really small and concealed in clothing. Also the silk maps would still be legible if they got wet, unlike paper maps. Following the war, fabric was still scarce, thanks to rationing, so women were creative in making dresses. A silk map that had saved your sweetheart's life during the war? Prime dress making material! 

Upon learning about these silk map dresses, I knew I had to make my own! Of course, I didn't have access to actual WWII silk maps, so I would have to use the next best thing - what ever map fabric I could find.


So, I decided I was going to make a 1940's map dress, then I just let that idea sit in the back of my mind for a while until the time came when I would be able to find a suitable fabric. That time came last December. I was in Hobby Lobby, picking up trim for some project or another, when I spotted it. A bolt of map fabric! It was a quilting cotton with a nice drape, and just what I'd been looking for! 
I didn't buy any that day, but I rushed home, told my mom all about it, and requested 3 yards as a Christmas present. By this time, I was less than a month away from leaving on the World Race, and I figured that a map dress would be just the thing to wear on my mission trip around the world!


Christmas morning I unwrapped 3 yards of map fabric, from my mom, and a card of vintage mother of pearl buttons, from my sister. Out of my stash came Simplicity 1585 (My only 40's reprint pattern, which had been just waiting for the perfect fabric!), and I was ready to get started! 


I cut out the pattern, and discovered at once that if I made the sleeves as they were drafted, they would be much too tight for my arms! Thus, before I could cut into my map fabric I had to draft a new, slightly wider, sleeve pattern. I was rather nervous messing around with the sleeve pattern - but my adjustment went surprisingly well! I lowered the sleeve cap and added 2 inches of width to the entire sleeve. This resulted in sleeves that still fit into the armscye, and were comfortable to wear! Definitely my best sleeve alteration work to date! 


Once the new sleeve pattern was drafted, the dress construction went well, just about as quick as easy as I could ask for. The only other alteration I made to the original pattern was to add side seam pockets - because what is a dress with out pockets?


The finished dress features 2 of the mother of pearl buttons from my sister on the front yoke, and one on the back key-hole opening. They were the perfect finishing touch for this dress! 


Even with the fabulous buttons however, the dress still needed a little something extra. So I made a matching fabric belt with a pretty coconut shell button I picked up at Hobby Lobby.


I wore this dress in all 11 countries I visited this year, and I received compliments on it everywhere I went - South America, Africa, Europe, Asia, and even back home in North America.

Photo taken in Penang, Malaysia.
Yes, this dress is absolutely my favorite item from my World Race Wardrobe. It was one of my only dresses over the past 11 months, and I still like it enough to wear to church on Sunday - even though I now have other options!

Friday, November 17, 2017

Costuming Pride and Prejudice - The Gentlemen

Last week my younger siblings' home school group preformed Pride and Prejudice. I have it on good authority that this young man, my little brother, played his part incredibly well.


His roll you ask? Mr. Collins. He proposed to Elizabeth Bennet, got turned down, and married her best friend instead. All while talking insistently about his patron, Lady Catherine De Bourgh.


 Yes, I am very proud of my little brother's acting ability. And I'm quite proud of my mom for the costumes she made for him and some of the other young men in the play.

Love these two goof balls!
Now, the ladies' costumes were relatively simple - find an easy dress pattern, sew it up, and add some accessories. The gentlemen's costumes were a bit more involved. Tailcoats, waistcoats, trousers, shirts, and cravats were needed for each and every gentleman. So, as neither my mom nor any of the other moms involved in the play had the time to sew regency suits for half the cast, they improvised. Refashioning to the rescue! 


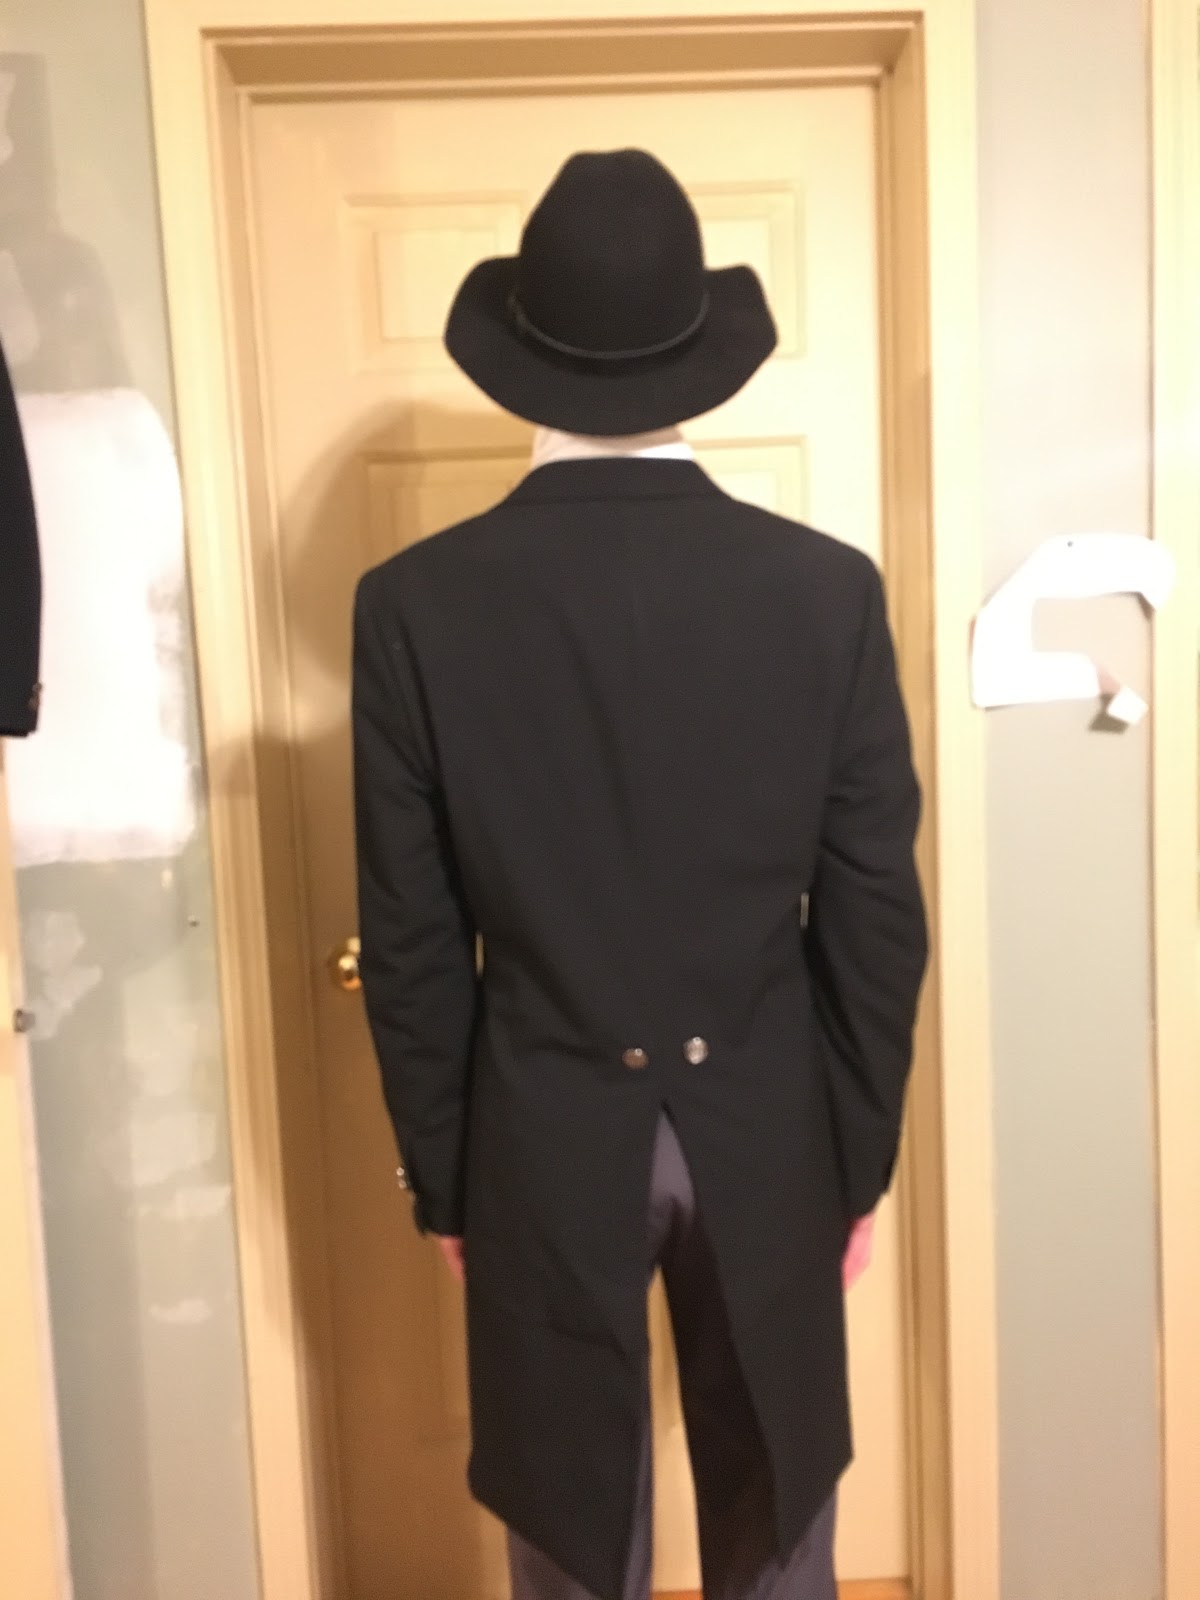
Modern suit coats were obtained from thrift stores.


The lower front of each suit coat was cut away, so that the front of the coat ended at the natural waist rather than the hips. 


The fabric that was cut off the front of the suit coat was then sewn onto the back to make tails. (Now, due to pocket placement and such, some of the suit coats needed addition fabric from other sources added in order to make the tails) 


And there you have it - a tail coat! 


My mom made 3 of these tail coats herself, and led workshops during play rehearsals to help other moms make their sons' tail coats.


 But of course, the costuming didn't end with the tailcoats - oh no, other pieces were needed. Thankfully most of these pieces could be purchased. Modern trousers worked just fine, as by the regency era men were wearing long trousers rather than knee breeches. (Now regency trousers had fall-fronts, rather than zipper flies, but for the play I'd hope no one was paying that much attention to the guys' pants!) Modern dress shirts also worked for the costumes. The collars were flipped up and tied with a cravat. The cravats couldn't be easily bought, but they were quite simple to make - just a long strip of fabric hemmed on all sides.  


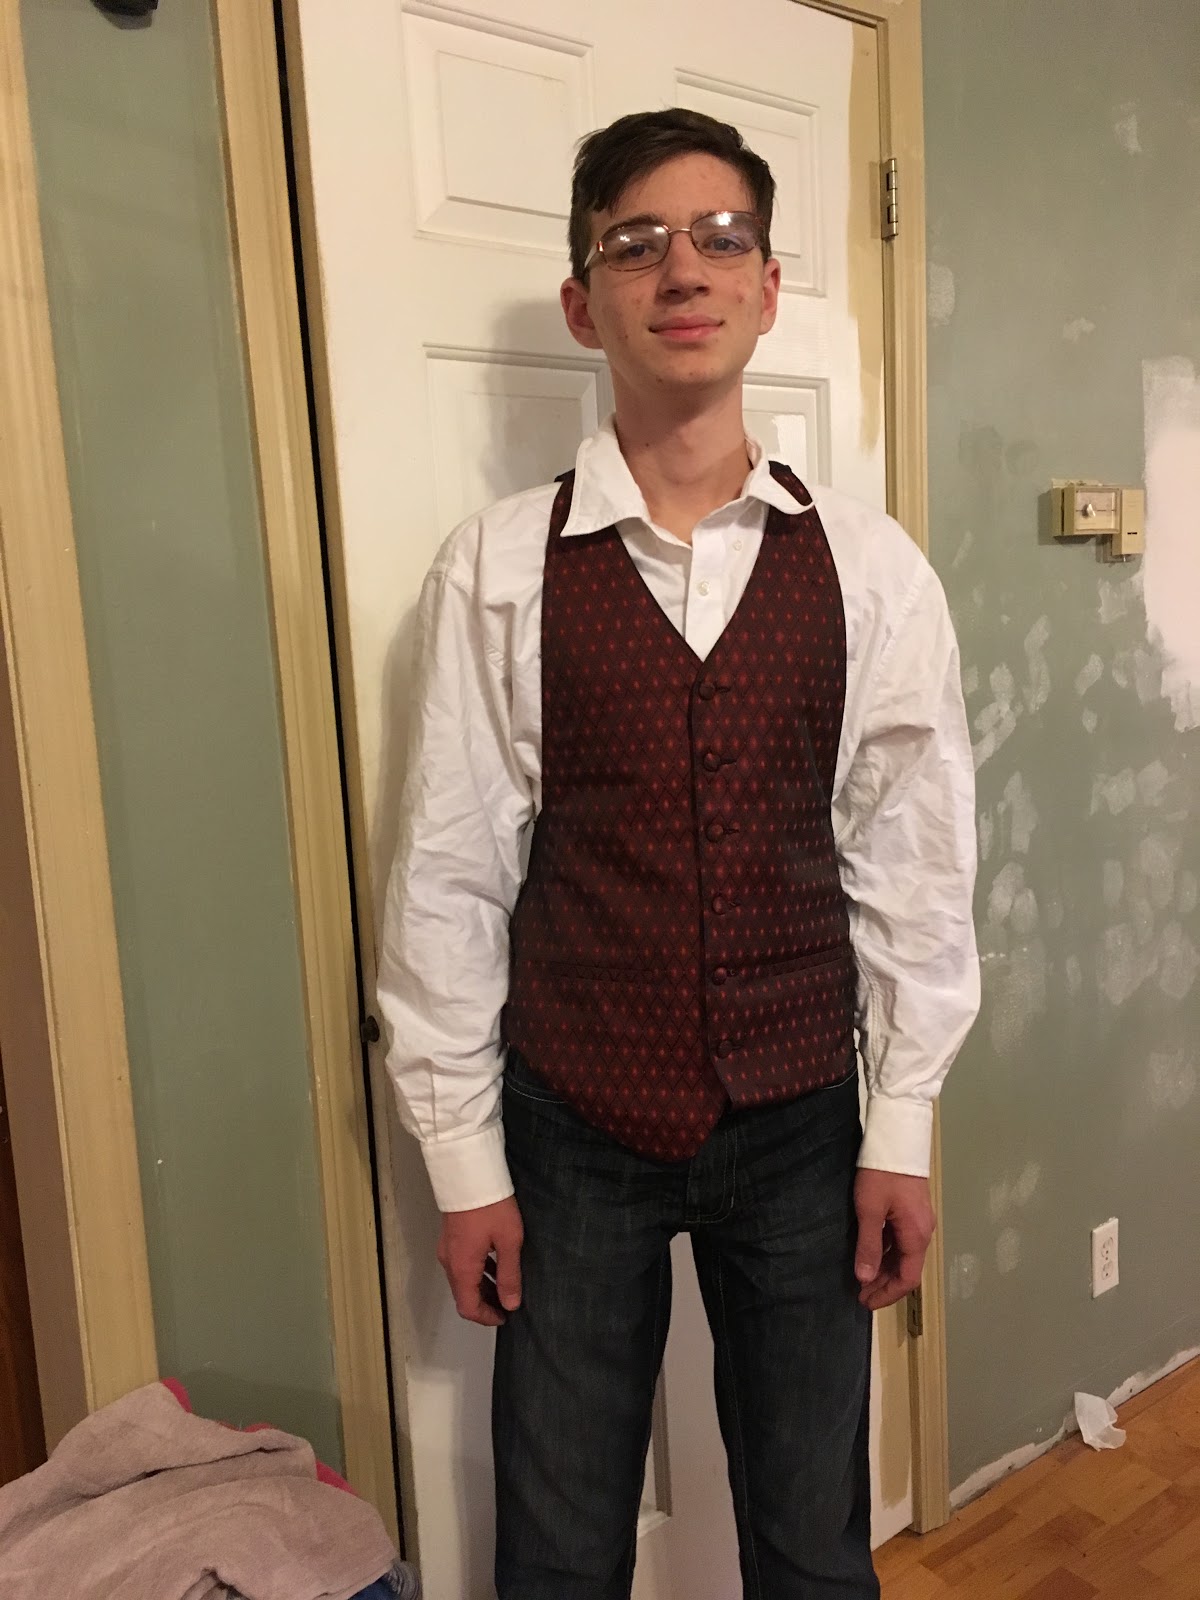
Then came the waist coats - the second most involved part of the gentlemen's costumes. Modern vests just don't have quite the right shape, so a little more refashioning was required.

A waistcoat in the middle of refashioning - and a brother who appears to be done with trying things on.

Primarily, the bottoms of the waist coats needed to be straitened out - the hem of a regency waist coat was strait across - not pointed! Some waistcoats required a little extra work as well.


This red one for example needed a back! So, my mom combined it with this black dress shirt to turn it into a real vest.

Didn't she do a great job?
Tailcoats, waistcoats, shirts, trousers, and cravats: after over 2 months of sewing it all came together so that my brother and his friends all looked like perfect regency gentlemen the night of the play!


From all reports the play came off beautifully! Of course, I was disappointed to miss it - but my best friend recorded opening night for me! So next week when I get home I plan on watching it! I can't wait to "see" this play I've heard so much about over the last few months!

The costume coordinator, the set builder, Mrs. Phillips, and Mr. Collins (already out of costumes)

But mostly, I'm looking forward to seeing these people again! I've missed my family this year! Just 5 more days till we're re-united!