Historical Accuracy was already out the window for my Robe Volante thanks to my Spectacular fabric choice, so when it came to assembling the gown, I went straight to the sewing machine. No need to hand sew the whole thing!

Volantes could have a fitted bodice lining, with the loose outer layer draped over top. Or, the lining could be skipped entirely, giving you just a nice loose tent dress type garment. There are extant examples of both types. I chose the second option for my gown. A lining was one more thing to fuss with and fit - and I just wanted to make the pretty dress! Also, as I mentioned in my last post, I made this the summer I got married. At that time I was quite certain I would find myself pregnant very soon (too bad that plan didn't pan out. . .), so I figured a loose, almost completely unfitted, garment in my costume wardrobe would come in handy in the near future. If not all Volantes in the era had a fitted lining, I saw no reason to put a fitted lining in mine.


Then I pleated the back. As I mentioned in my last post, early Volantes (1720's and 30's) could really have any arrangement of pleats and gathers in the back. My favorite arrangement of those I looked at was a set of 4 box pleats across the top, so that's what I did with mine. Four box pleats, each featuring butterflies and dragon flies in the center.

For the front panels, I sewed up the center front seam with a very large (several inches) seam allowance, and left the seam entirely open above the waist.

This gave me a V-shaped front opening perfect for showing off a stomacher on the finished gown.

The extra wide seam allowances were then folded back and stitched down on either side if the opening to form a facing. And yes, this part was handsewn. All the interior construction was done by machine, but anything that could be seen on the outside I tried to hand sew.
Once the center front seam and opening were addressed, I sewed up the side seams (leaving pocket slits open of course!), then pleated the front shoulder straps in a manner similar to the Volantes I'd seen online. I pinned the shoulders together then tried on the gown.

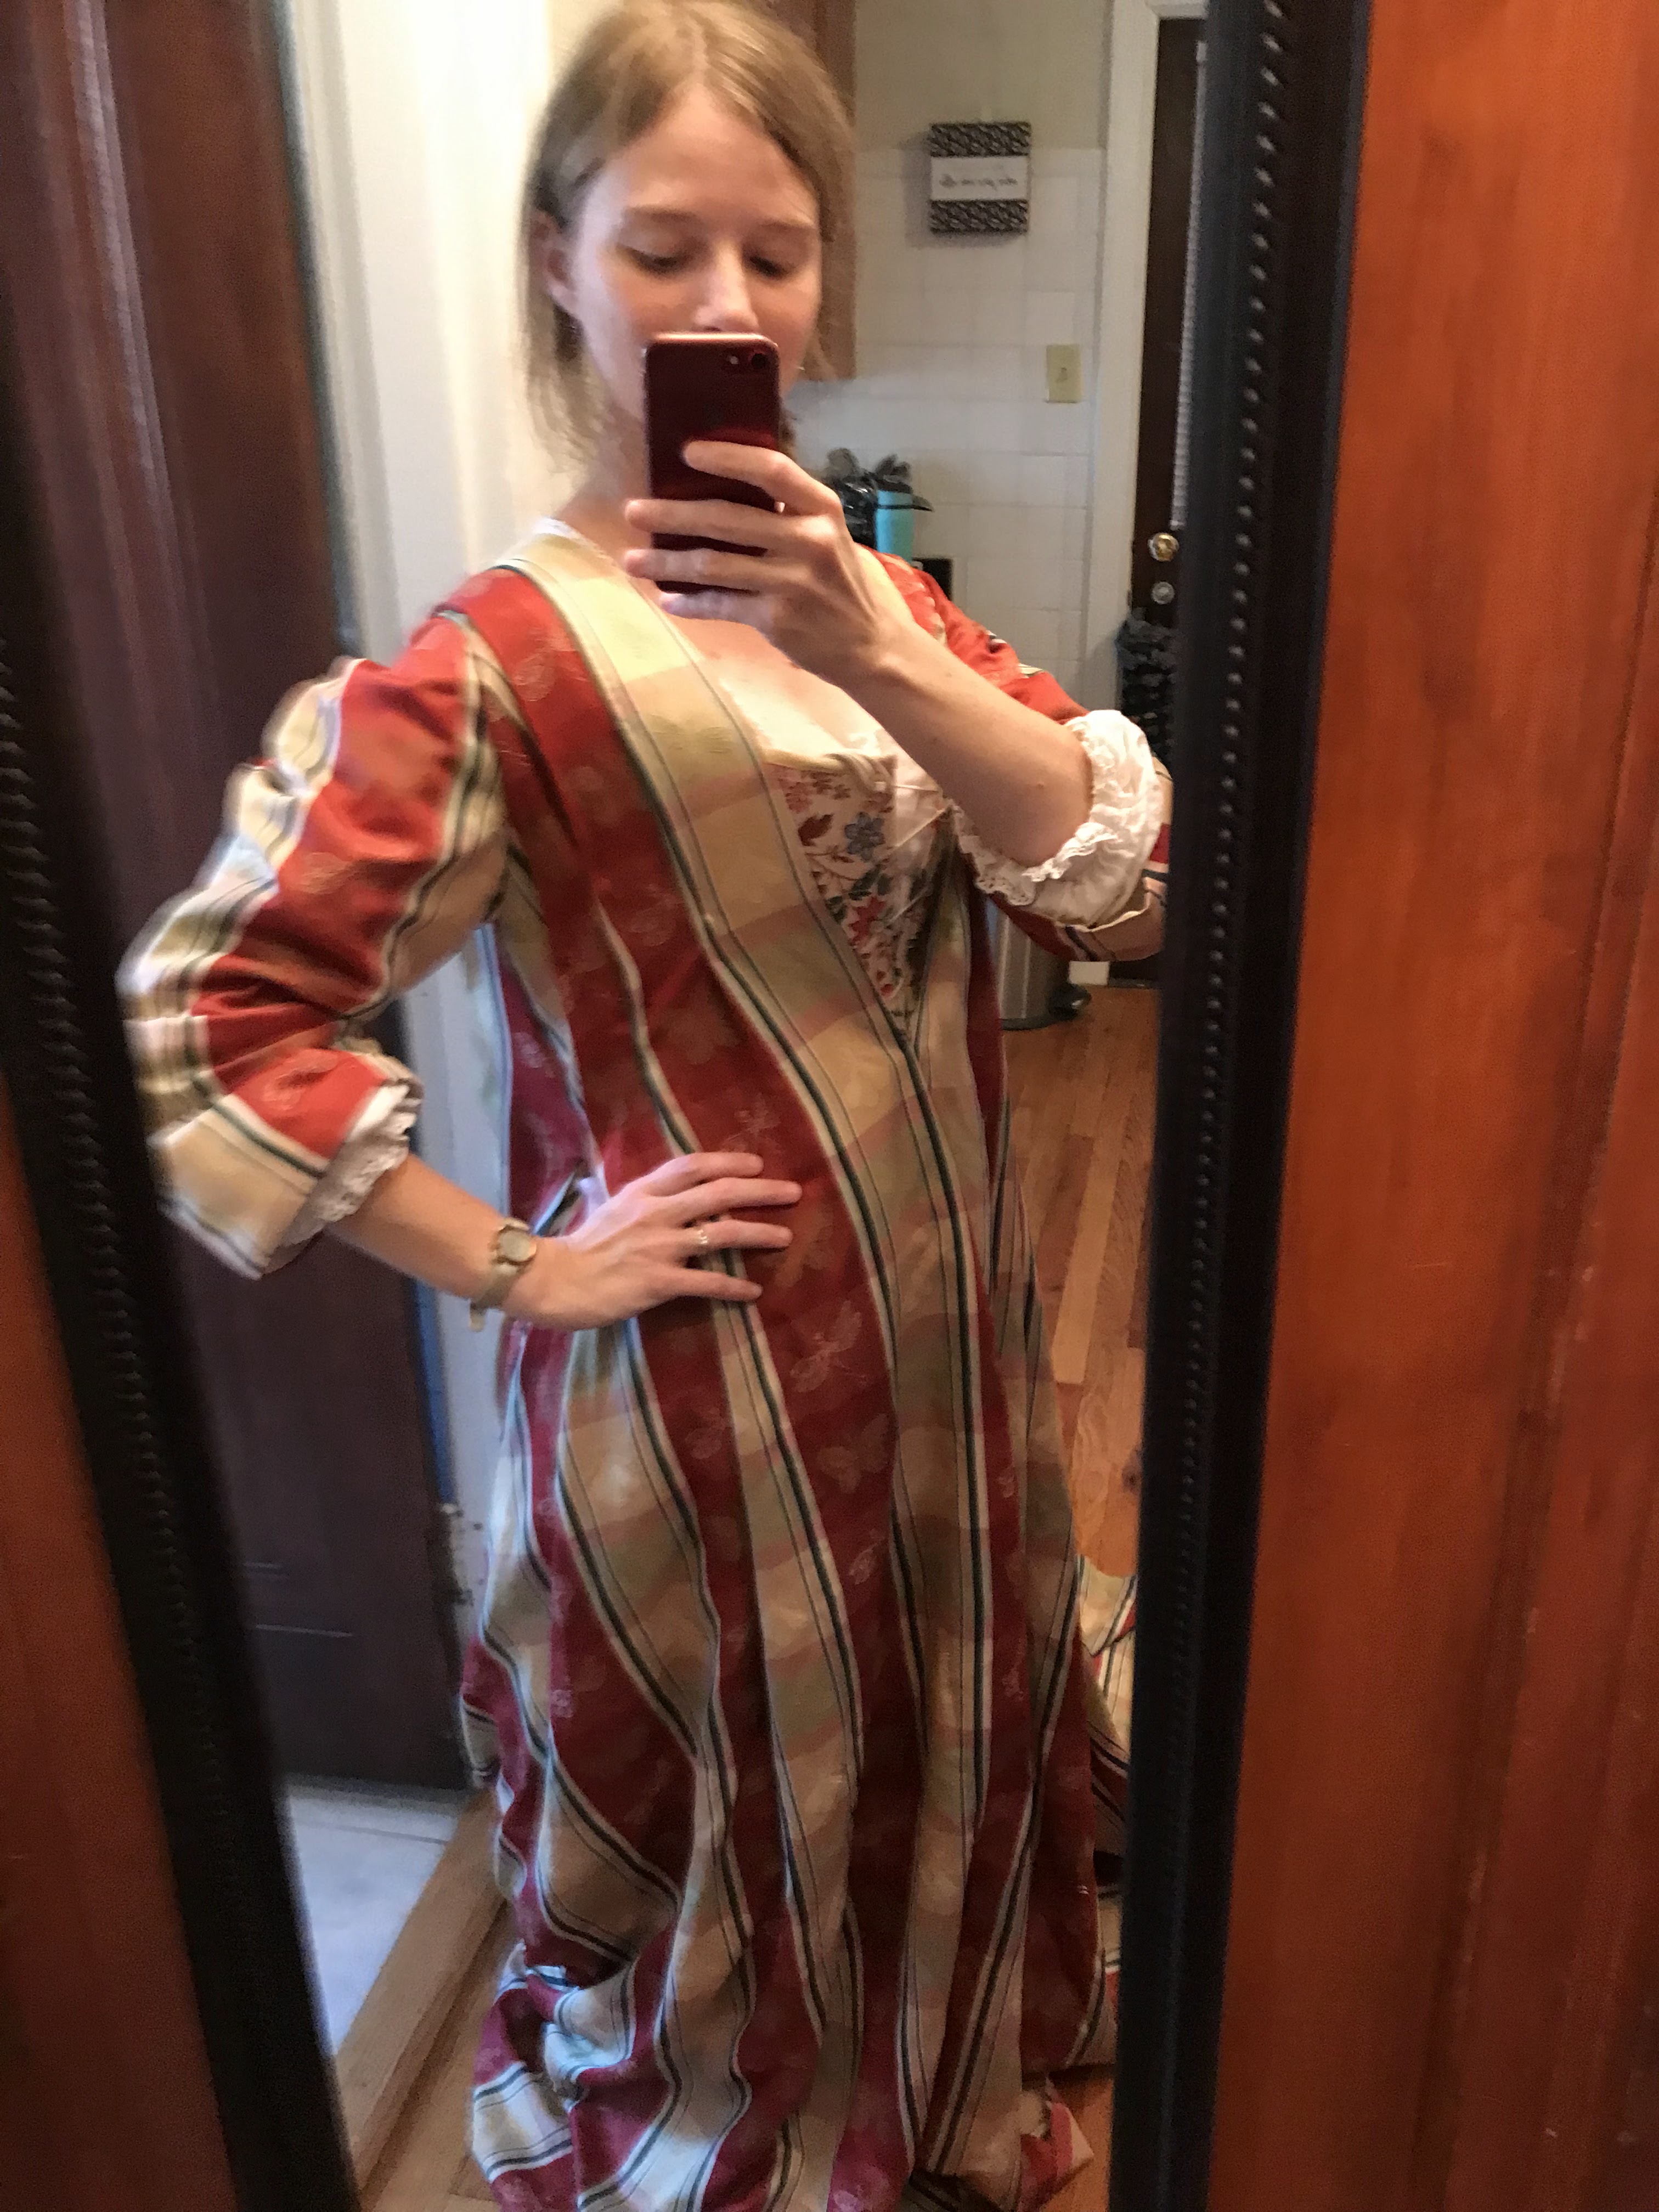
It resembled a shapeless tent, but that was kind of the goal, right? Things were coming along nicely!

I proceeded to make the sleeves (by machine) and the pleated cuffs to go on them (also by machine, but with hand finishings.)


The dragon flies are lovely. The have a special meaning to me because they were my son's favourite animals. So when I see one it reminds me of him. He died the summer before last and I'm still struggling not to be too sad and and focus on the fact that he was with us for 30 years.
ReplyDeleteYour gown is beautiful. I admire you for your skills that are improving with each piece you sew and put so much love into it. It is very inspiring.
I'm in the process of sewing a costume from the change of centuries to wear at a festival in Kandersteg, Switzerland next January. So much to figure out and learn. I've got the pattern but not the right size so far. But step by step. That's how life proceeds. No worries what might be around the corner.
All the best!
Regula