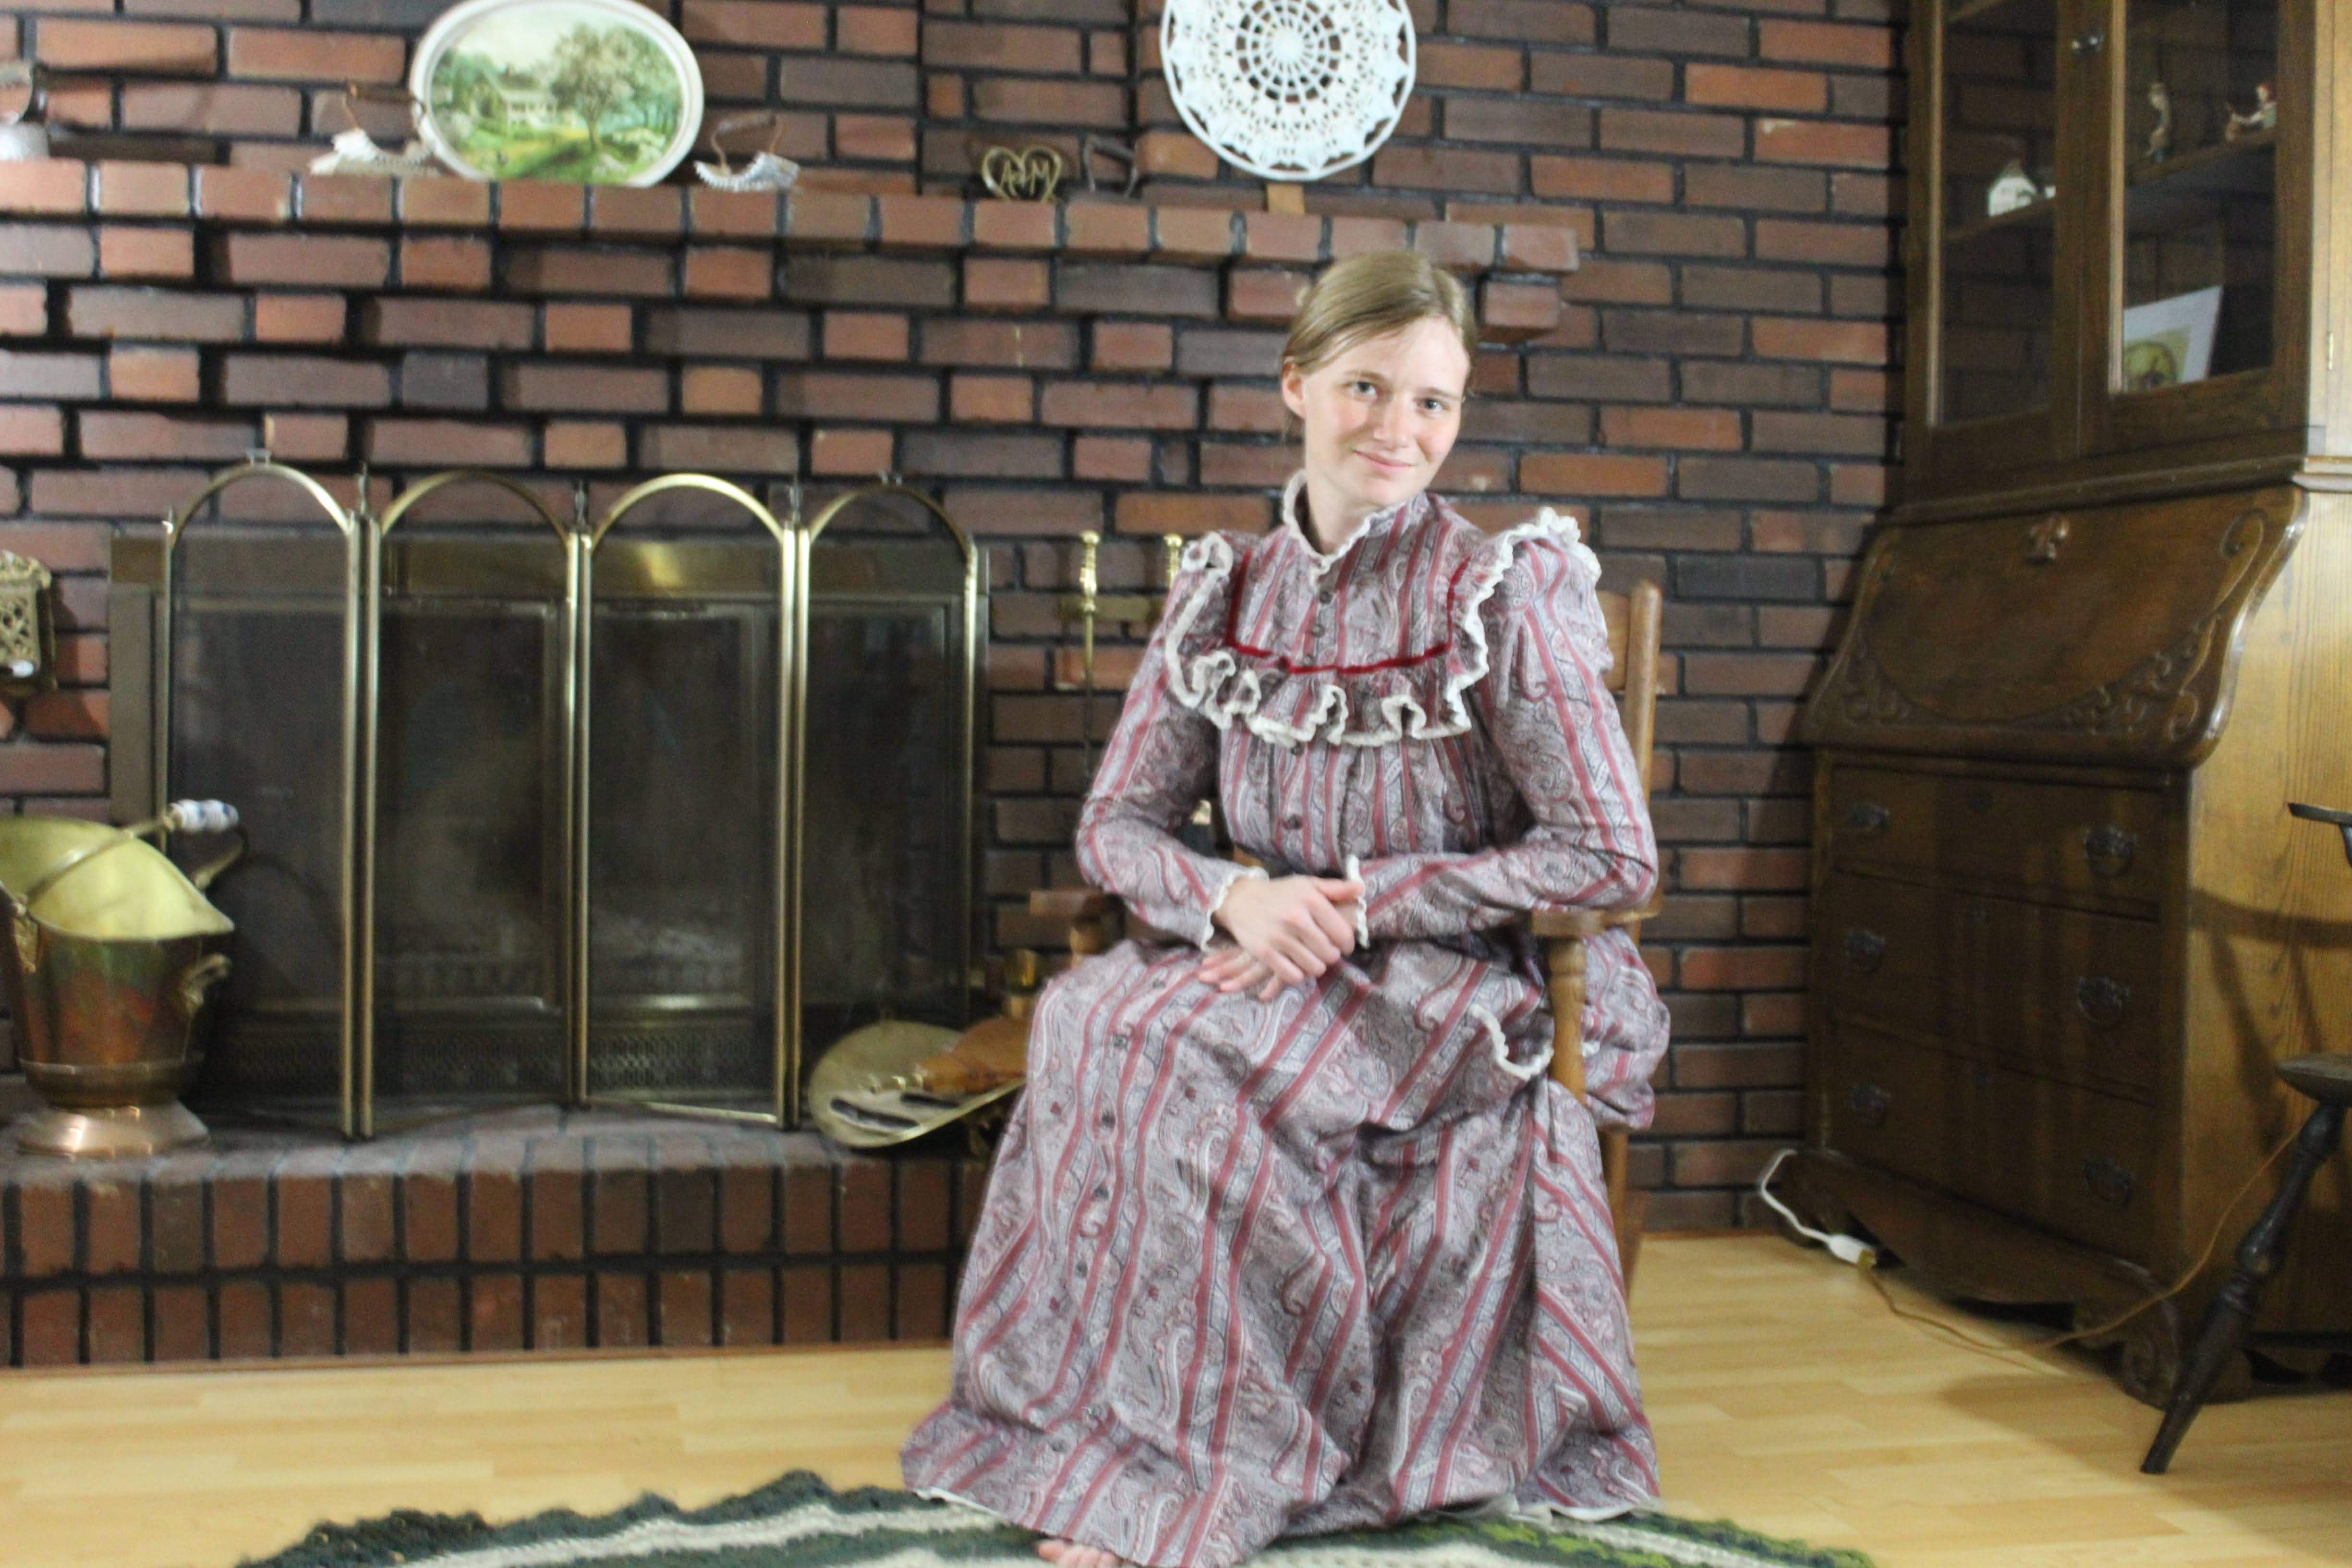
Several years ago I found a bolt of fabric, a paisley striped cotton, at Joann’s that just cried out to be turned into a late Victorian wrapper. Every time I was in the store I would stop and admire it. “Take me home” it would say, but I could never quite justify that.

“Dang it” I thought, “I should have bought it”
On my next trip to Joann’s I discovered it wasn’t gone, it had just been moved to a different area. I snatched the bolt off the shelf and ran to the cutting table, declaring I would take everything left on the bolt! Hopefully there would be enough for my wrapper!

There were 9 yards of fabric on the bolt. Enough for a wrapper and then some! I probably didn’t actually need alllllll if it, but what could I say? I’d been offered another chance with this fabric and I took it!

As with most of my fabric acquisitions, this one sat on my shelves for a few years until I got to the planned project. In 2020 Wearing History released an 1897 “Morning Jacket” pattern. With a Watteau back and ruffles around the yoke it was everything I could ask for! Just extend it from jacket length to full length and it would be the perfect wrapper pattern! I bought it on the spot!

And this past winter I finally made the thing! (It does help that one of the Historical Sew Monthly challenges this year is “Style Starts at Home”. As a wrapper was a garment meant to be worn at home, this challenge was just the motivation I needed to make my wrapper.)

An 1890’s wrapper perfect for wearing around the house in the evenings. Who doesn’t want historical clothing to lounge around in for every day use??
As the single-size reproduction pattern from Wearing History was already approximately my size I went ahead and made a mockup of the lining pattern from an old sheet to check the fit.

(I started by fitting my mock-up over my corset, because "this is a historical garment so corsets are just what you do", but then I remembered this was a "wear around the house" garment, so I abandoned the corset for subsequent fittings. The finished garment fits both with and without a corset.)

It was a bit too short, too loose through the upper chest, too tight through the bust, and required some re-shaping of the armholes.

I traced the pattern onto some brown paper, made my alterations, and threw together a second mockup.

The pattern does not include a collar piece so I grabbed the collar pattern I drafted for my 1880’s ice skating outfit and tried that out with this second mockup. It worked beautifully!
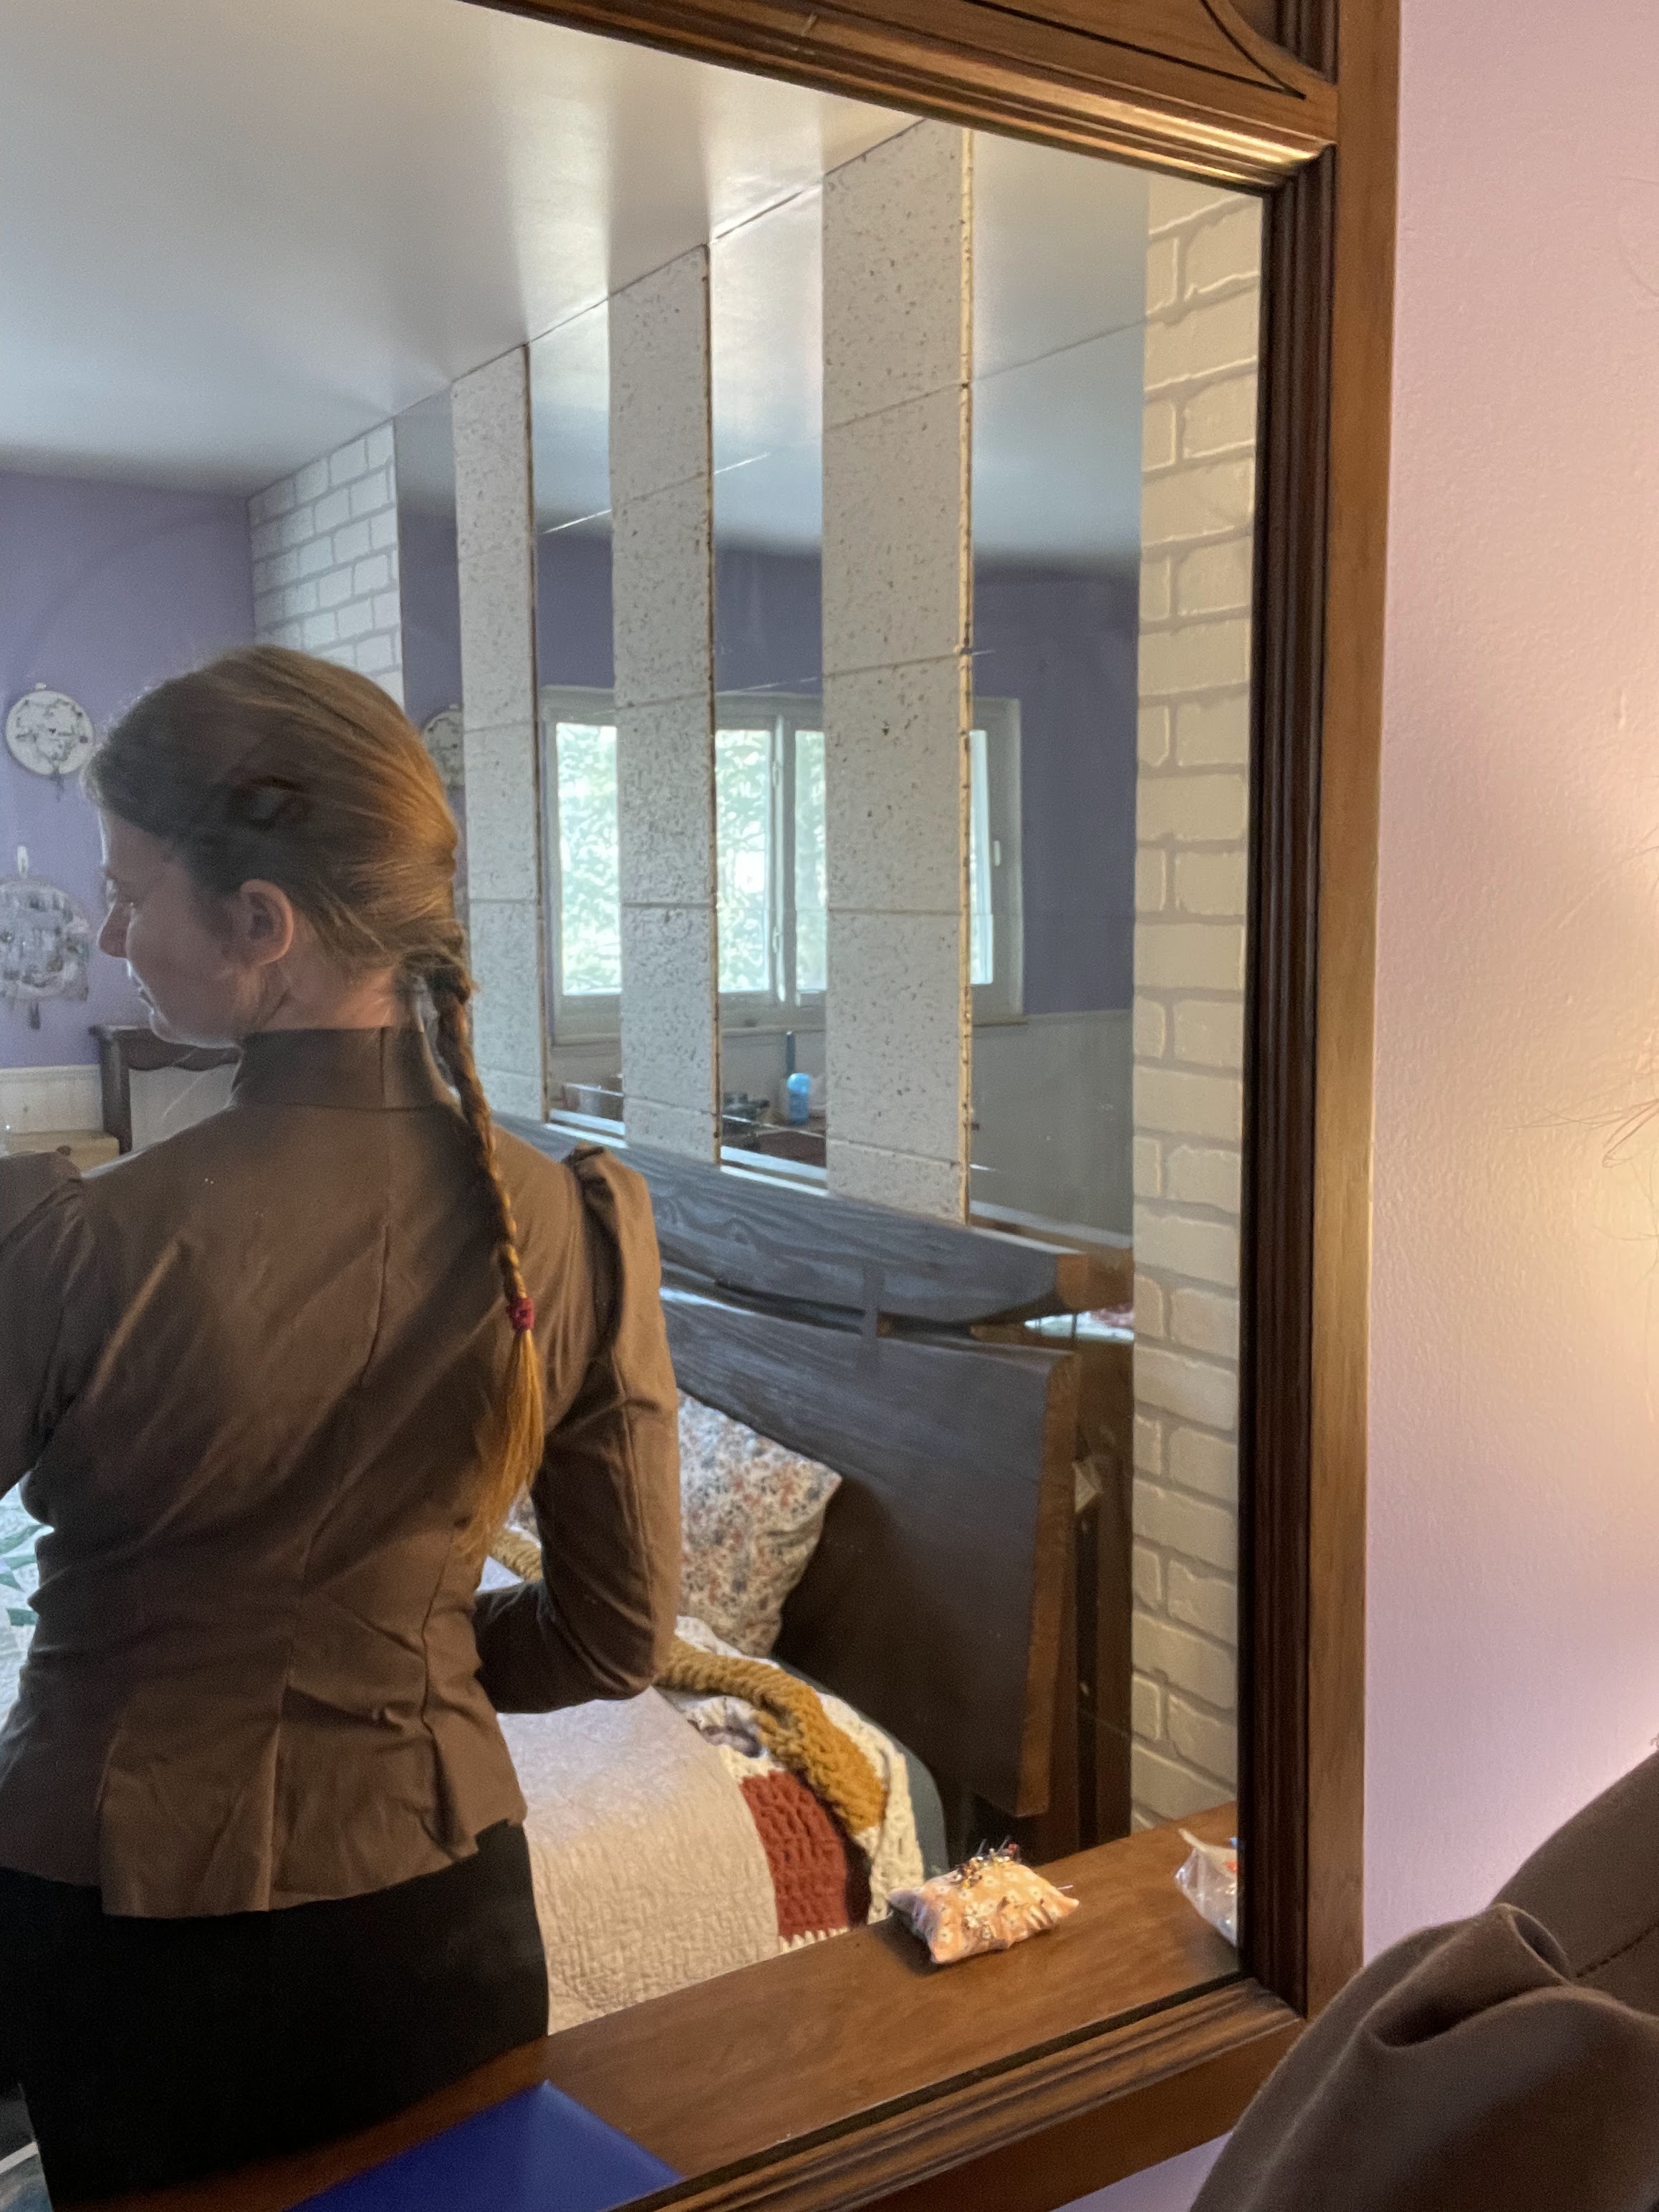
Mockup fit well enough so I proceeded to cut into my fabric!

I extended the front and back outer layer pattern pieces to full length.

I kept the lining pieces as they were, no further alterations needed now that they fit well!

I sewed the back lining pieces “inside out” so the right side of the fabric would be visible on the inside of the garment. I sewed the front lining pieces on “right side out” since the top edge of the lining would be visible as the yoke of the finished garment.

The front edge of the lining was finished with some bias tape, left over from a previous project.
Once the lining was assembled it was onto the outer layer of the wrapper.
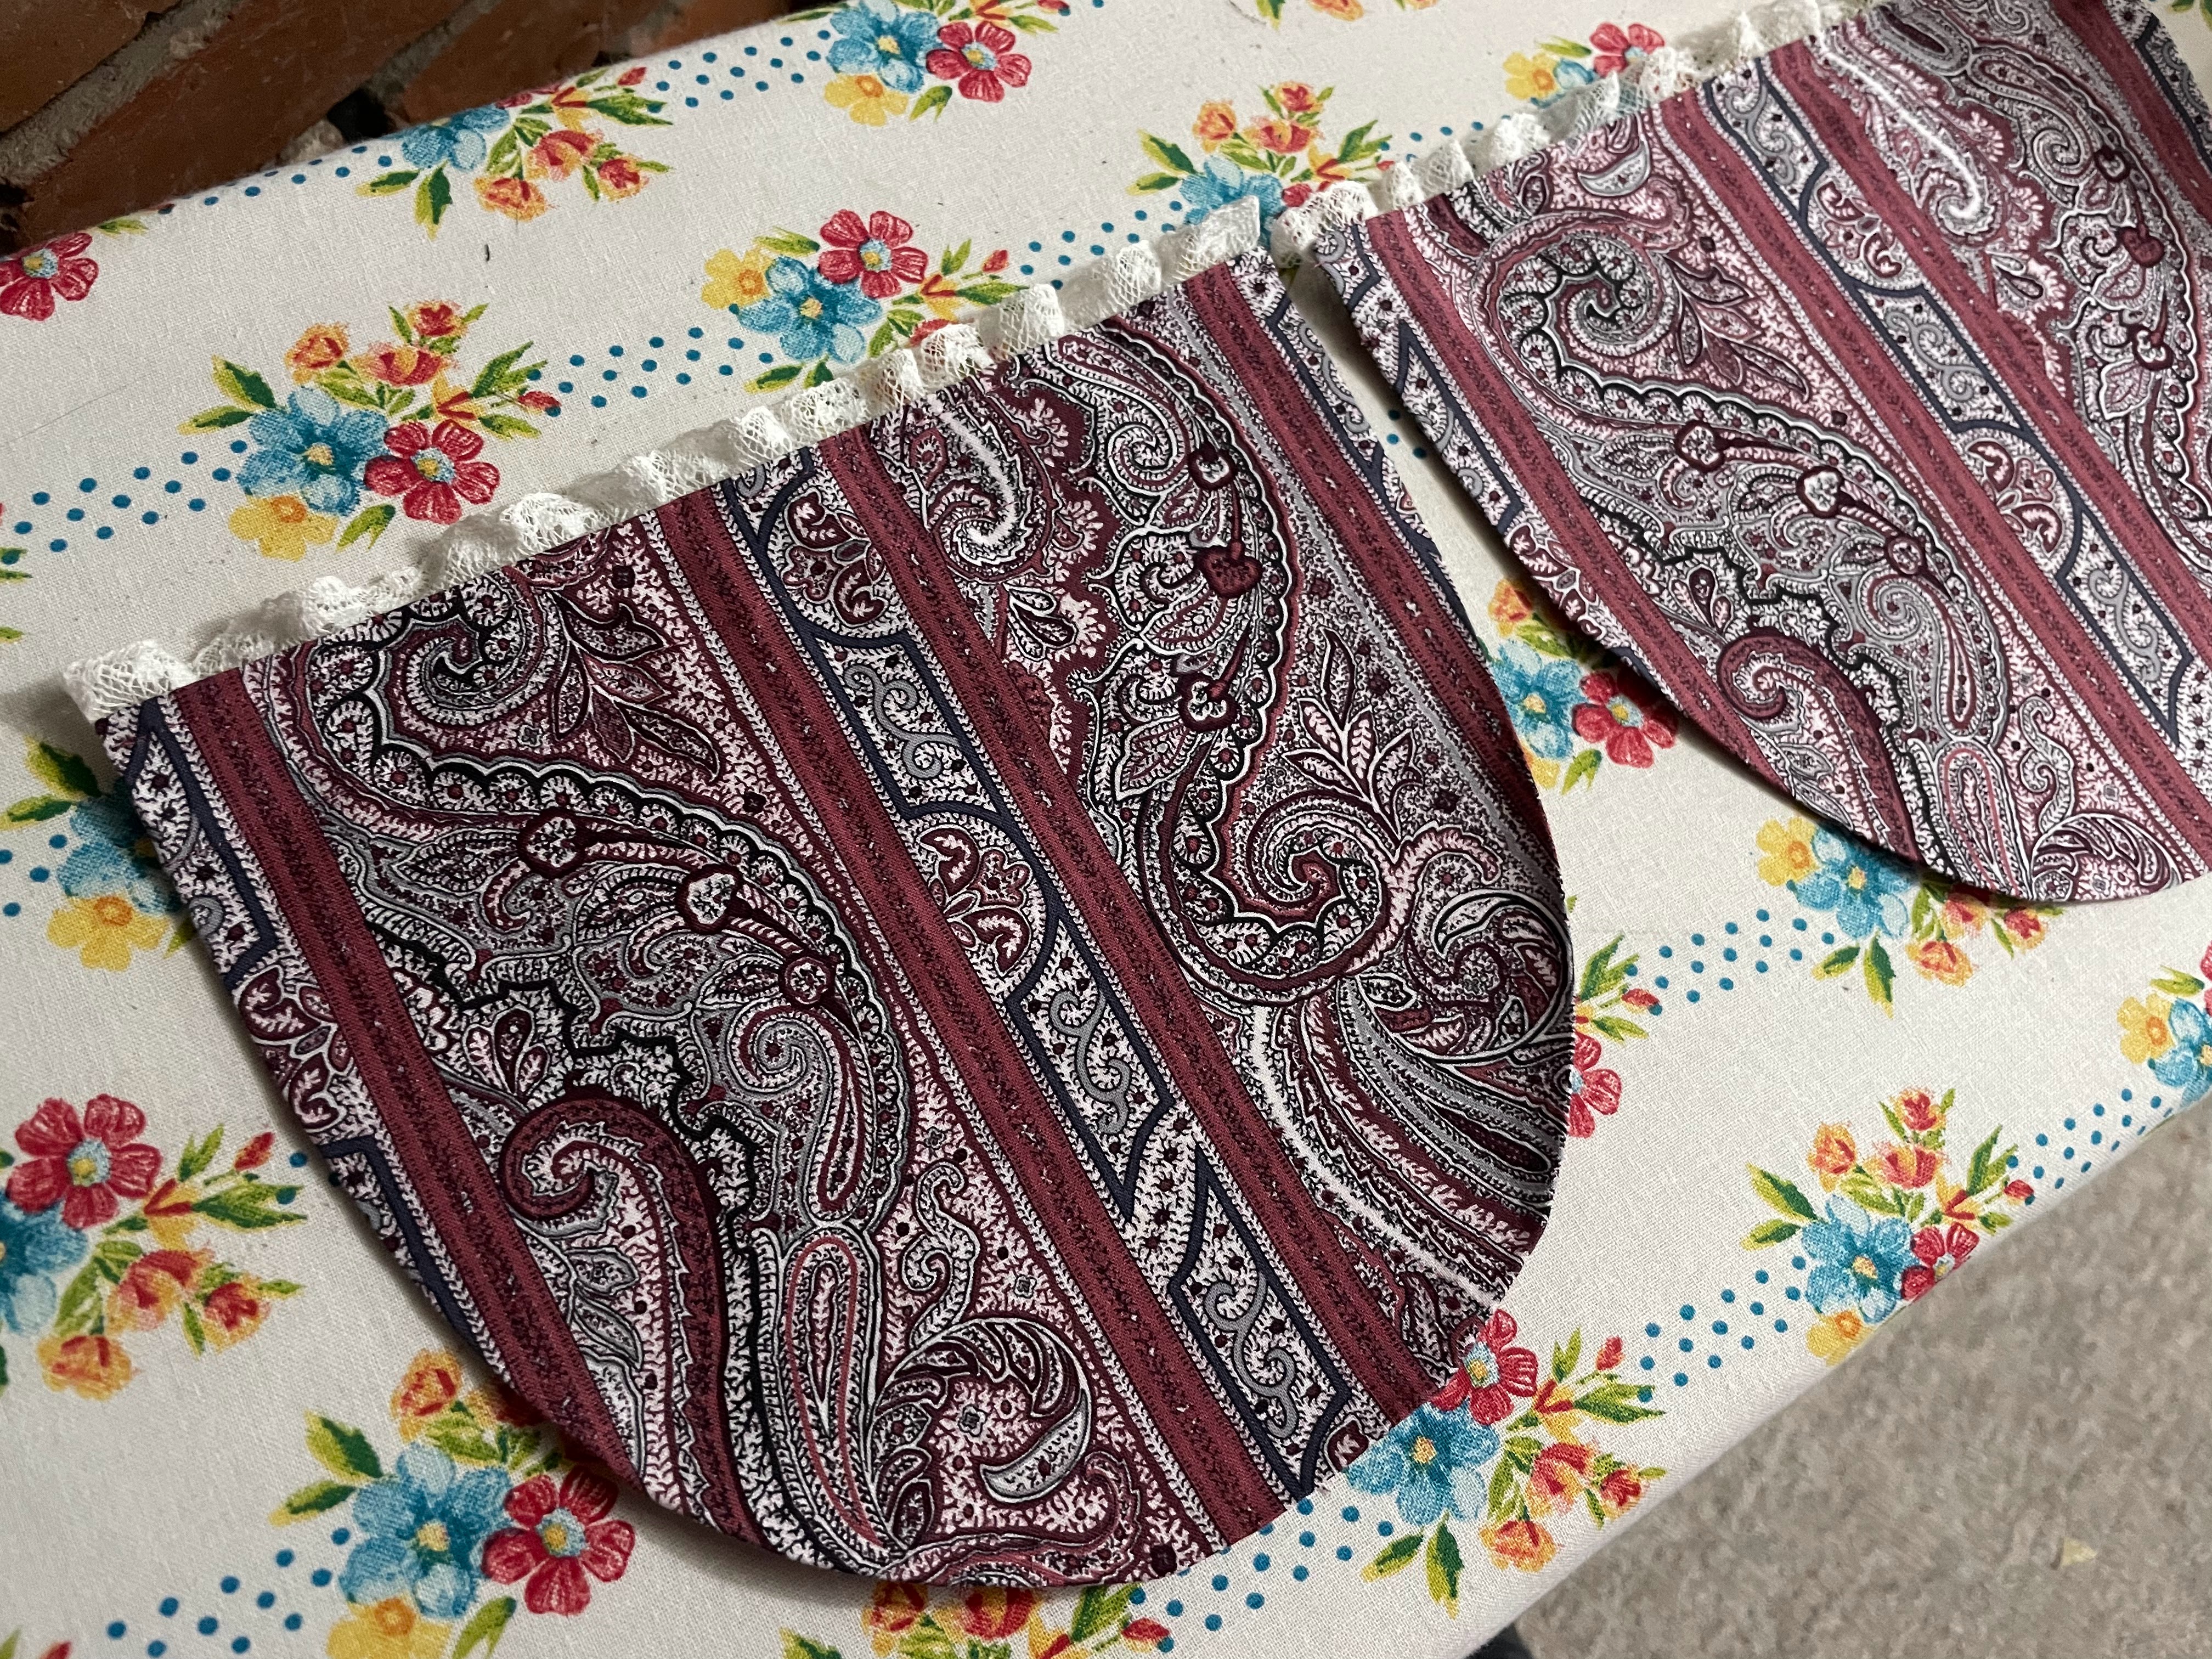
I made nice big patch pockets, trimmed in lace, and sewed them to the front panels.

Even a wrapper must have pockets! And from looking at extant wrappers online it seems patch pockets are perfectly historically accurate.

The front panels were sewn to the back panels. The top edges of both had gathering stitches sewn. Then it was time to attach the outer layer to the lining layer.

I laid the outer over the lining and discovered the seamlines didn’t line up at all like I thought they would.

But, with some finagling, I got the shoulders and armscyes to line up the way they were supposed to so it was all good.
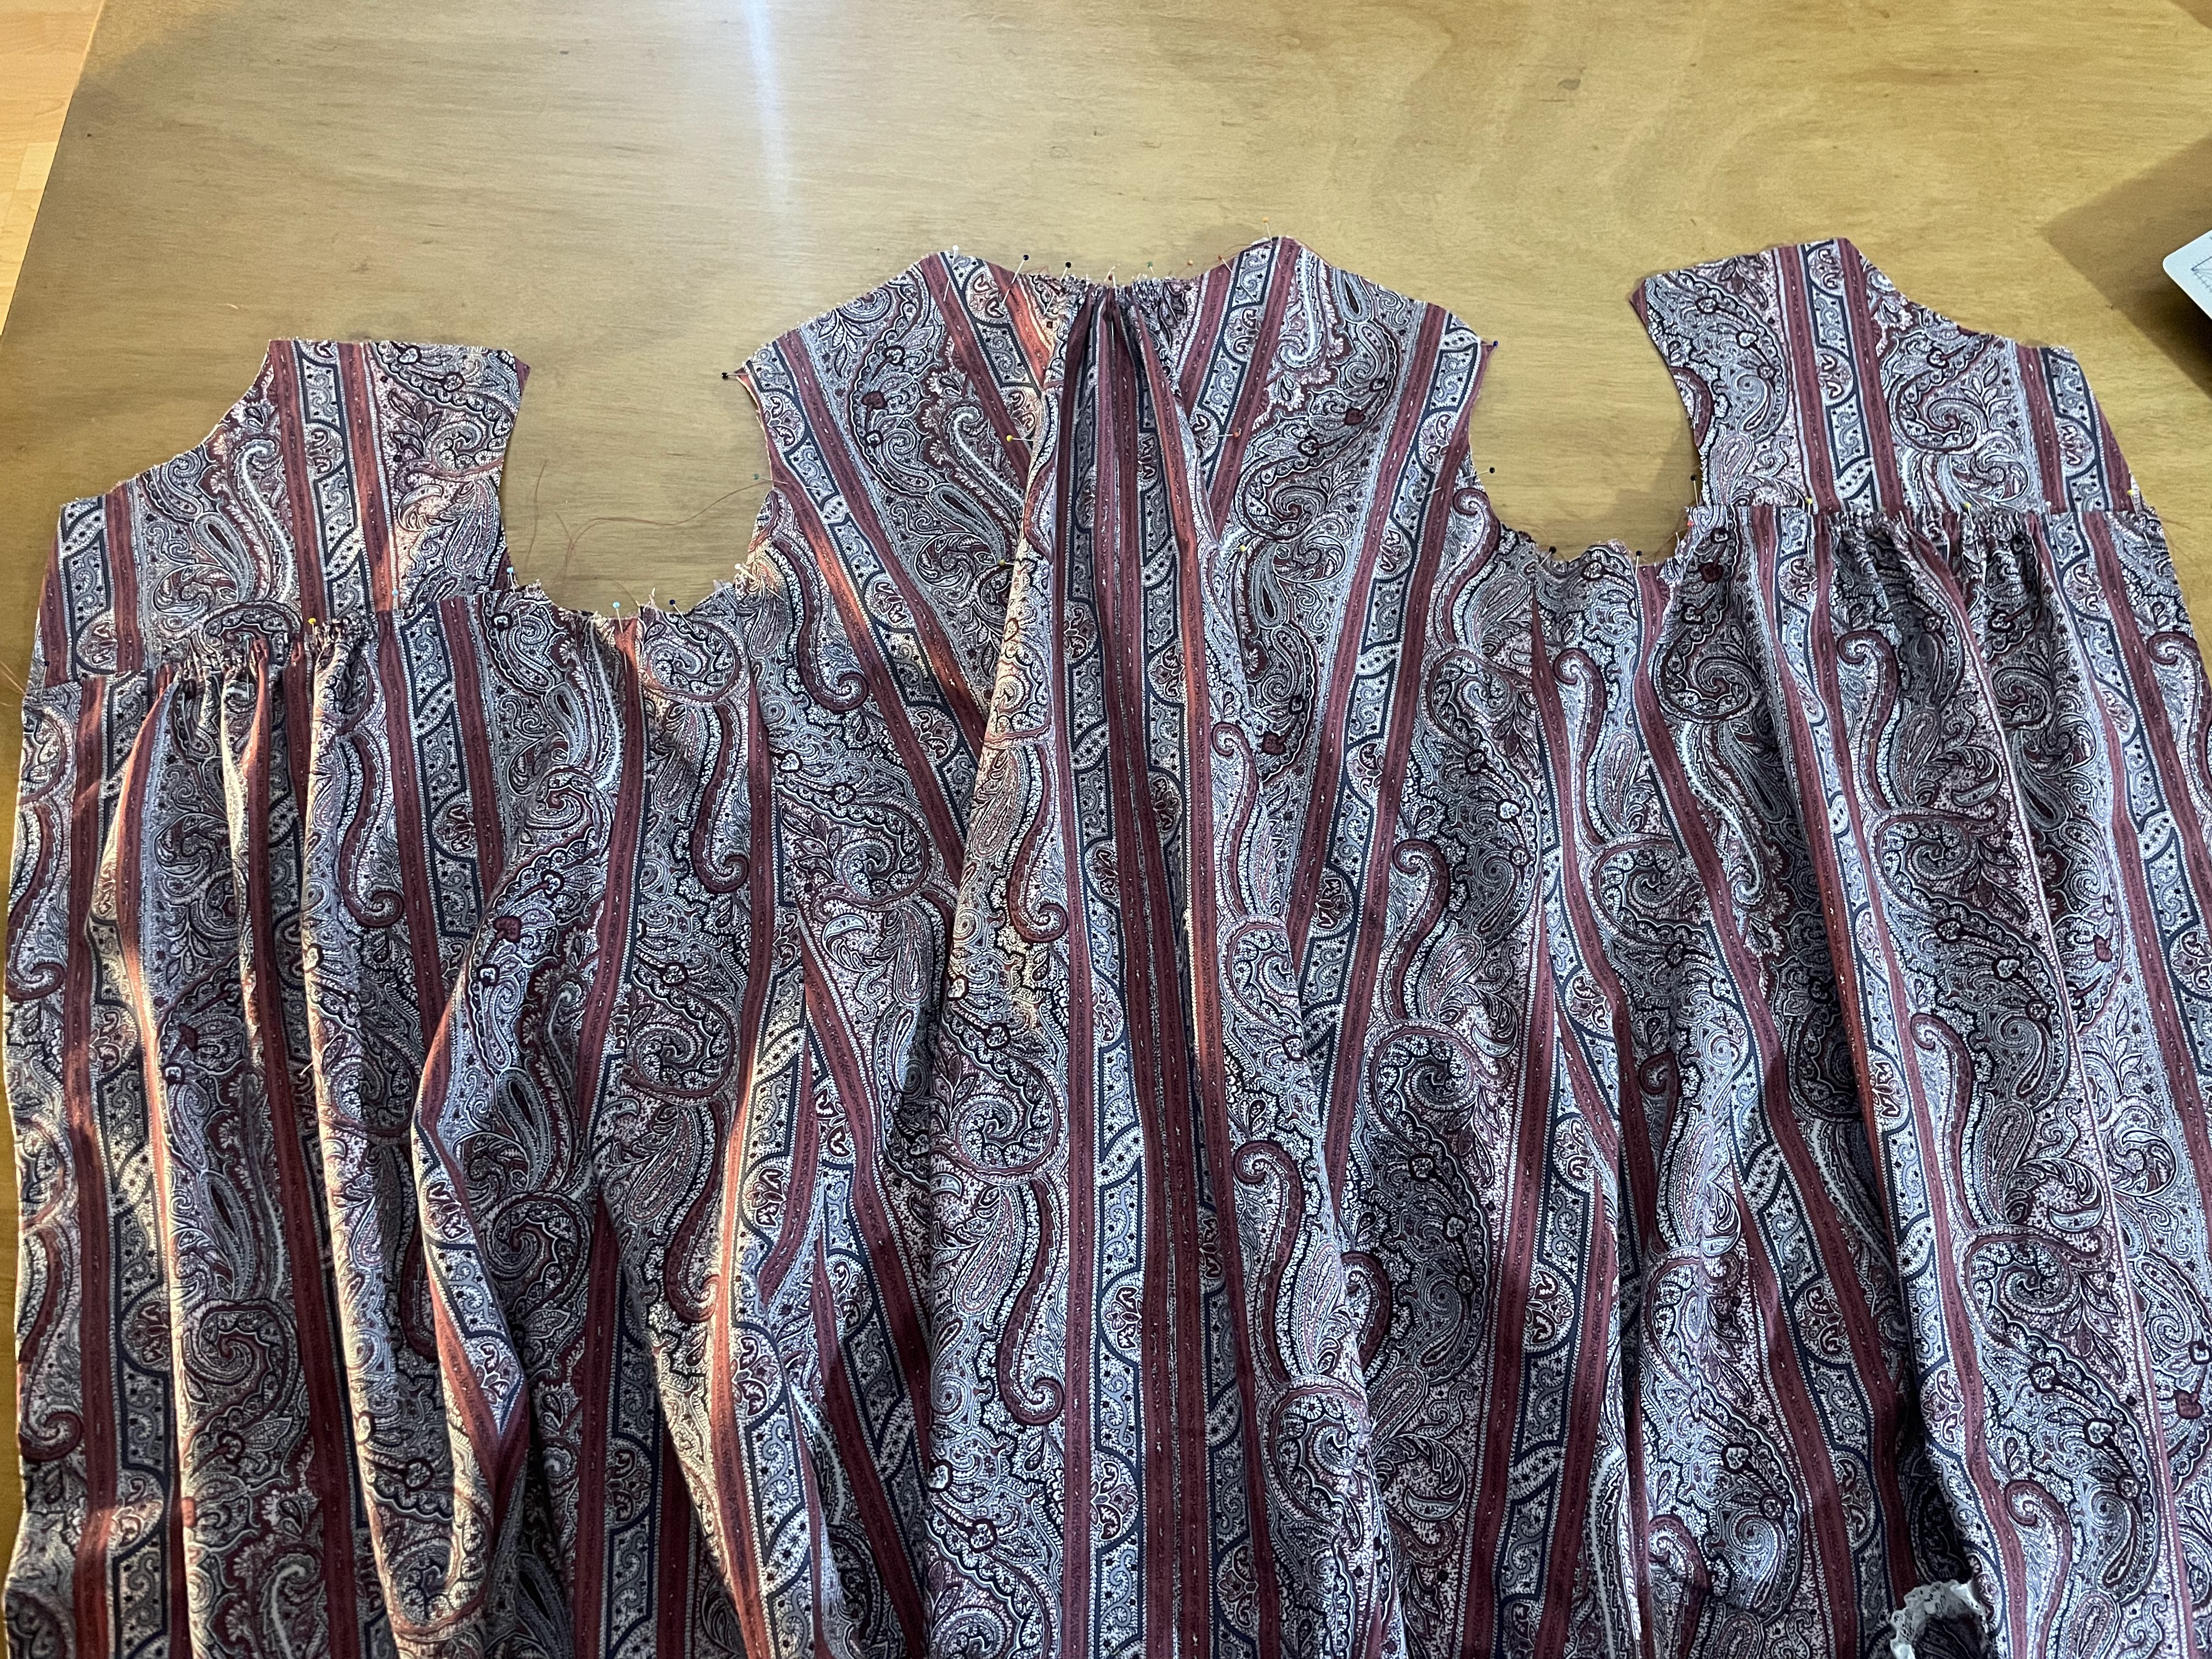
I gathered the front upper edge to fit the lining and the back top edge to fit the neckline.

“Watteau” backs of this era can either be pleated, like their 18th century inspiration, or gathered. This pattern recommended gathering and I decided to stick with the gathers. (Though others who have made this pattern have done pleats instead. There are several examples online!)

The back got sewn to the lining on either side of the gathered section to help it keep its shape. I used the same lines of stitching to attach the waist ties to the wrapper.

Once all the gathers were sewn in place the shoulder seams were sewn up, the sleeves were set, and it was time to set about finishing this wrapper! Buttons, trim, and a hem!

The hem was easy, it’s just faced with a bias cut strip of polished cotton. I even machine sewed it (For an at-home garment of the 1890's a machine sewn hem can be accurate!) so it took hardly any time at all!

The trim and the buttons took a little more consideration.
I wanted to do the ruffle around the “yoke” that was shown on the pattern. So I cut two strips of my fabric, hemmed one edge and trimmed it with some lace from my stash to match the lace on the pockets, collar, and at the ends of the sleeves. (It was a cotton or cotton blend gathered lace I picked up at an estate sale sometime in the past couple years.)

Then I gathered the top edge of the strip and sewed it to the wrapper.

Next came figuring out what trim to use to cover the raw gathered edge of the ruffle.
This had me completely stumped. I came up with four okay options from my stash and it took me a couple days to make my choice.

Red velvet ribbon, a vintage woven trim, green velvet ribbon, pink velvet ribbon.

After lots of thought and a couple Instagram polls I decided to go with the red velvet ribbon.
I still wasn't sure if it was really the right trim. But once it was on the wrapper I actually loved it!
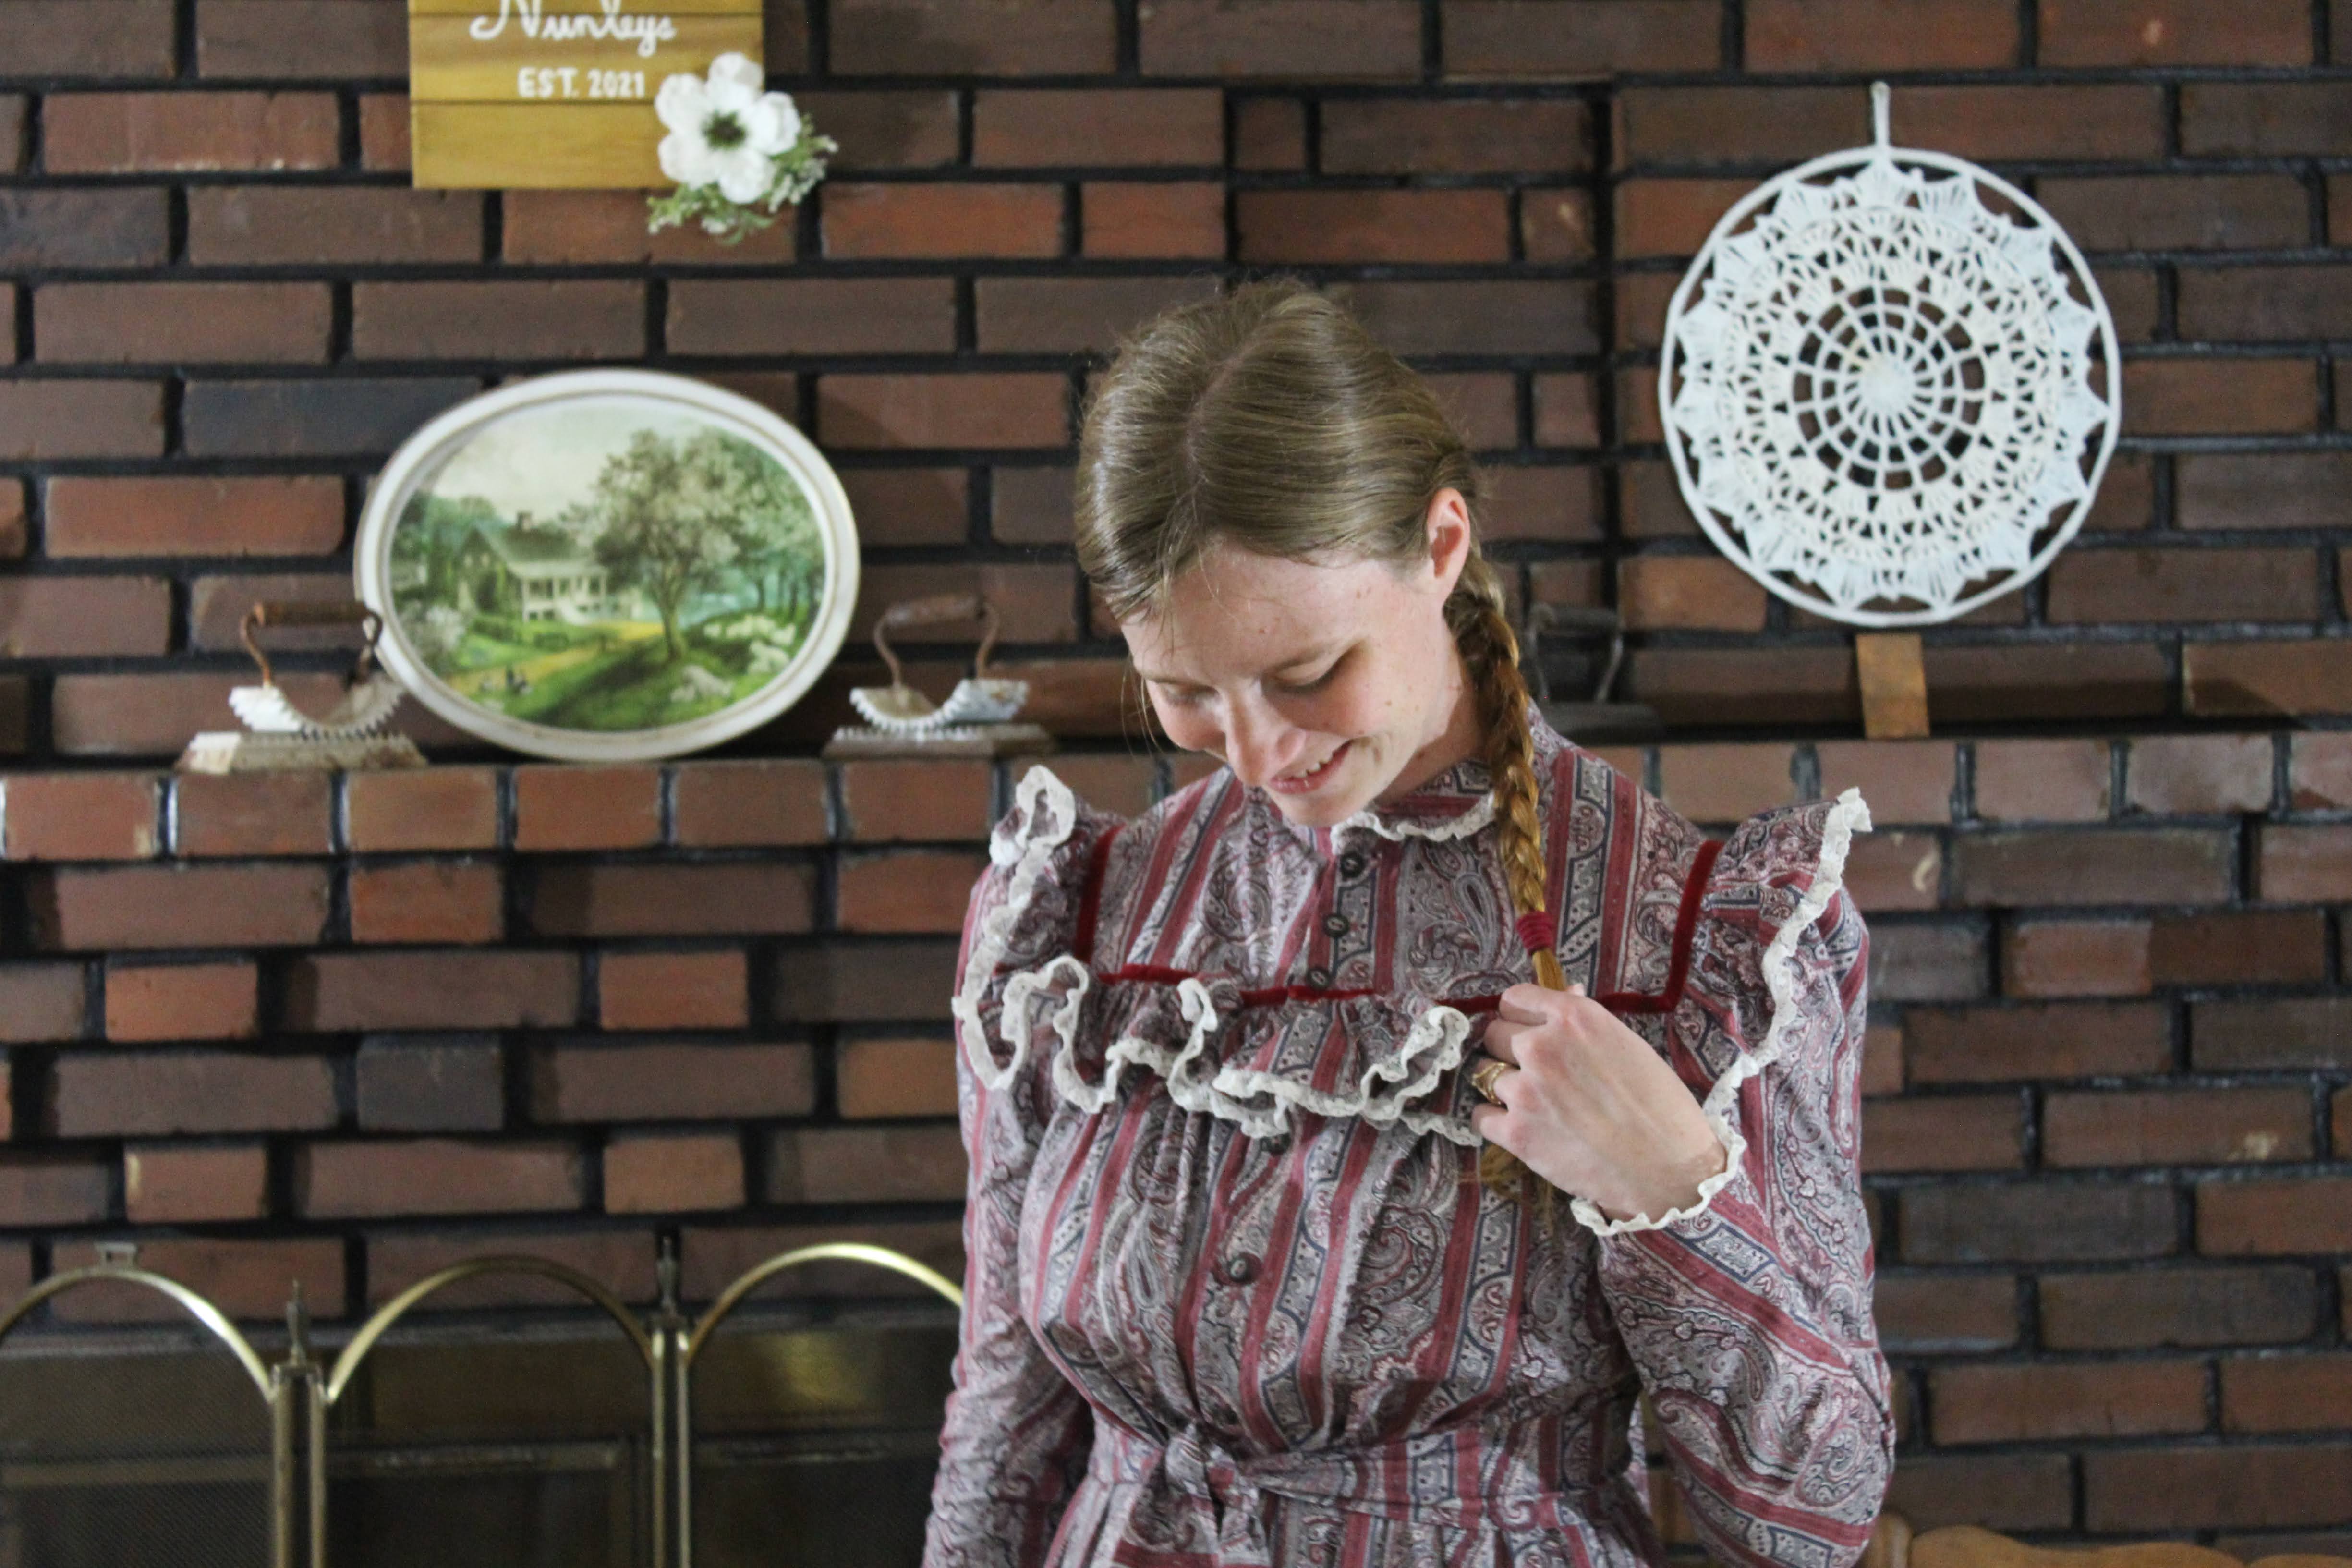
As for the buttons. . . like the trim I considered several different options. Unlike the trim, I had a clear favorite.

Gray metal 2-hole buttons with a pretty design engraved around the edges!
There was just one slight issue. I had 12 of these buttons, a pretty good size set of buttons really, but I needed closer to 20 to go all the way down the front of my wrapper from neck to hem.


I sewed all the buttonholes (by machine!) and then sewed on all my buttons. I started at the top with the metal buttons and ran out at about knee-length. So from the knees down its plastic buttons.
And you know what? Unless you're getting reallllllllly up close and personal and examining every single darned button, you can't tell where the buttons switch from one type to the other!
There's actually one more type of button on this garment, but it's entirely hidden.

The lining buttons up separately from the outer layer. I just used plain "coconut shell" buttons on the lining because I've got a ton of those. When the wrapper is on and buttoned up you can't see them!

I finished the wrapper on Valentine's Day, and I immediately put it on!