Saturday, April 15, 2023

Trimming the Plaid Sheer Wool Late Regency (1810’s) Dress

It was the trim that drew me to the 1810’s dress I was using as my inspiration for my plaid Regency dress.


Rows of ruching around the neckline,
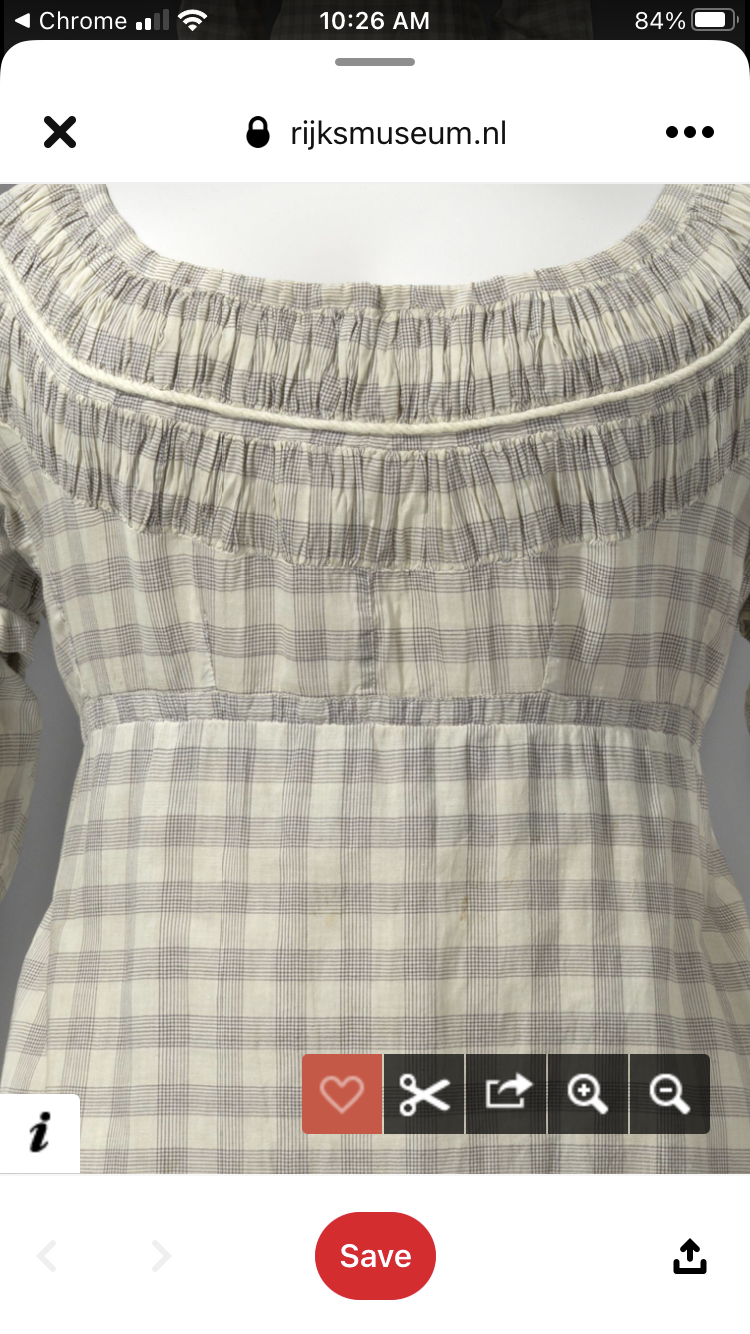


And on the sleeves.

Short puffed over sleeves.


And what was that on the skirt? 


Rows of cording?

My goal was to re-create the neckline and the sleeve trim as close as possible, but for the skirt I decided to do more rows of ruching rather than the cording on the original.

With this decided, the next question was how would I edge the rows of ruching. On the original some edges were trimmed with cording and others were left plain. It looked like the ruching might actually be sewn into the bodice, rather than being applied on top of an already finished bodice the way I intended to do it.

After studying the pictures I had, thinking through my order of construction, and the materials I had a available to me already in stash, I decided to edge all the rows of ruching with ivory silk piping. Looking at pictures of other 1810’s dresses on Pinterest, this seemed to be a perfectly historically plausible trim choice.

Now how many rows of ruching would there be? I was making this dress for the Historical Sew Monthly “Ten” challenge since it was a dress from the 1810’s, so I decided to keep with the theme and do 10 rows of trim - 2 around the neckline, 2 on each sleeve, and 4 on the skirt. 2+2+2+4=10


With this all decided I made a ton of ivory silk piping.


And had the help of a kitty cat while doing so.


All the piping and some extra silk bias tape got wound up.


Next I figured out how many strips of wool I would need to make all the ruched bands. I cut those, pieces them together as needed, and in the interest of time, I sewed all my gathering stitches, down both edges of the wool strips, by machine.

The strips were pinned at the quarter points of the appropriate dress pieces, and gathered to fit.


This was easy on the bodice.


And the sleeve cuffs.


But quite a task on the skirt!


So. Much. Gathering.


The cats helped with this as well.


Once all the rows were gathered down to size they were each hand basted onto the dress pieces - right down the middle, so the edges were free and ready to be piped.


On the bodice and the sleeve cuffs the piping was hand basted on.


Then the raw edges were flipped under and everything was hand sewn in place.


After I sewed on the first row of trim to the neckline, I took a break from trimming to finish the sleeves. I hemmed the short over sleeves and hand sewed a channel around a piece of cord to gather down the bottom edge. 


Then the long and short sleeves were layered together and set into the bodice armscyes. I hand sewed the sleeves on, as that gave me the most control and best end result.


Once the sleeves were in I finished the armscye seam allowances and went back to trimming- finishing up the trim on the sleeve cuffs and adding the second row of trim to the bodice.


I intended to hand sew on the skirt trim in the same manor - the end product looked really nice!

But it was the week of the fashion show.


And after hand sewing on part of one row of skirt trim I was forced to admit I wouldn’t have time to hand sew it all if I wanted to have a wearable, trimmed, dress for Saturday - remember the dress was still in pieces at this point. I intended to sew it together once the trim was all on.


I resorted to the sewing machine.


I machine sewed the piping to each row of ruching.


Then flipped the edges under and used my zipper foot to “stitch in the ditch” and sew each row of ruching to the skirt.


The cats continued to help.


Lending lots of moral support.


I sewed on all the trim on Wednesday, giving me Thursday and Friday evenings to assemble and finish the dress - would it be truly done by Saturday or would a be wearing a safety-pinned together gown to the Fashion show?


That was yet to be determined, but atleast the thing was trimmed!


Check back next weekend for the conclusion of the story!

Wednesday, April 12, 2023

1-2-3 Rick-Rack Easter Dresses

 He is Risen!! Happy Easter!!

(Yes, I'm a few days late posting this because Easter weekend was BUSY!)

Easter. We celebrate Jesus’s Resurrection.  Spring. Everything is coming alive around us - grass, flowers, trees, new baby animals - after a winter of sleep.

What a glorious reminder that one day all Christians will be made new, whole and healthy in heaven, no matter what happens in this life.

The Earth comes to life every spring, no matter how long the winter was.

Because HE lives - all fear is gone!

Clearly Easter is not about new clothes, but it sure is fun to have a new Easter dress in celebration!


Last year in the 2 weeks before Easter I made me Easter dresses for my niece, my sister, and myself. Now, whether or not we actually wore them on Easter is another story - but I made them!


Let’s start with my niece’s dress, as that’s the one that had the most forethought and planning put into it.


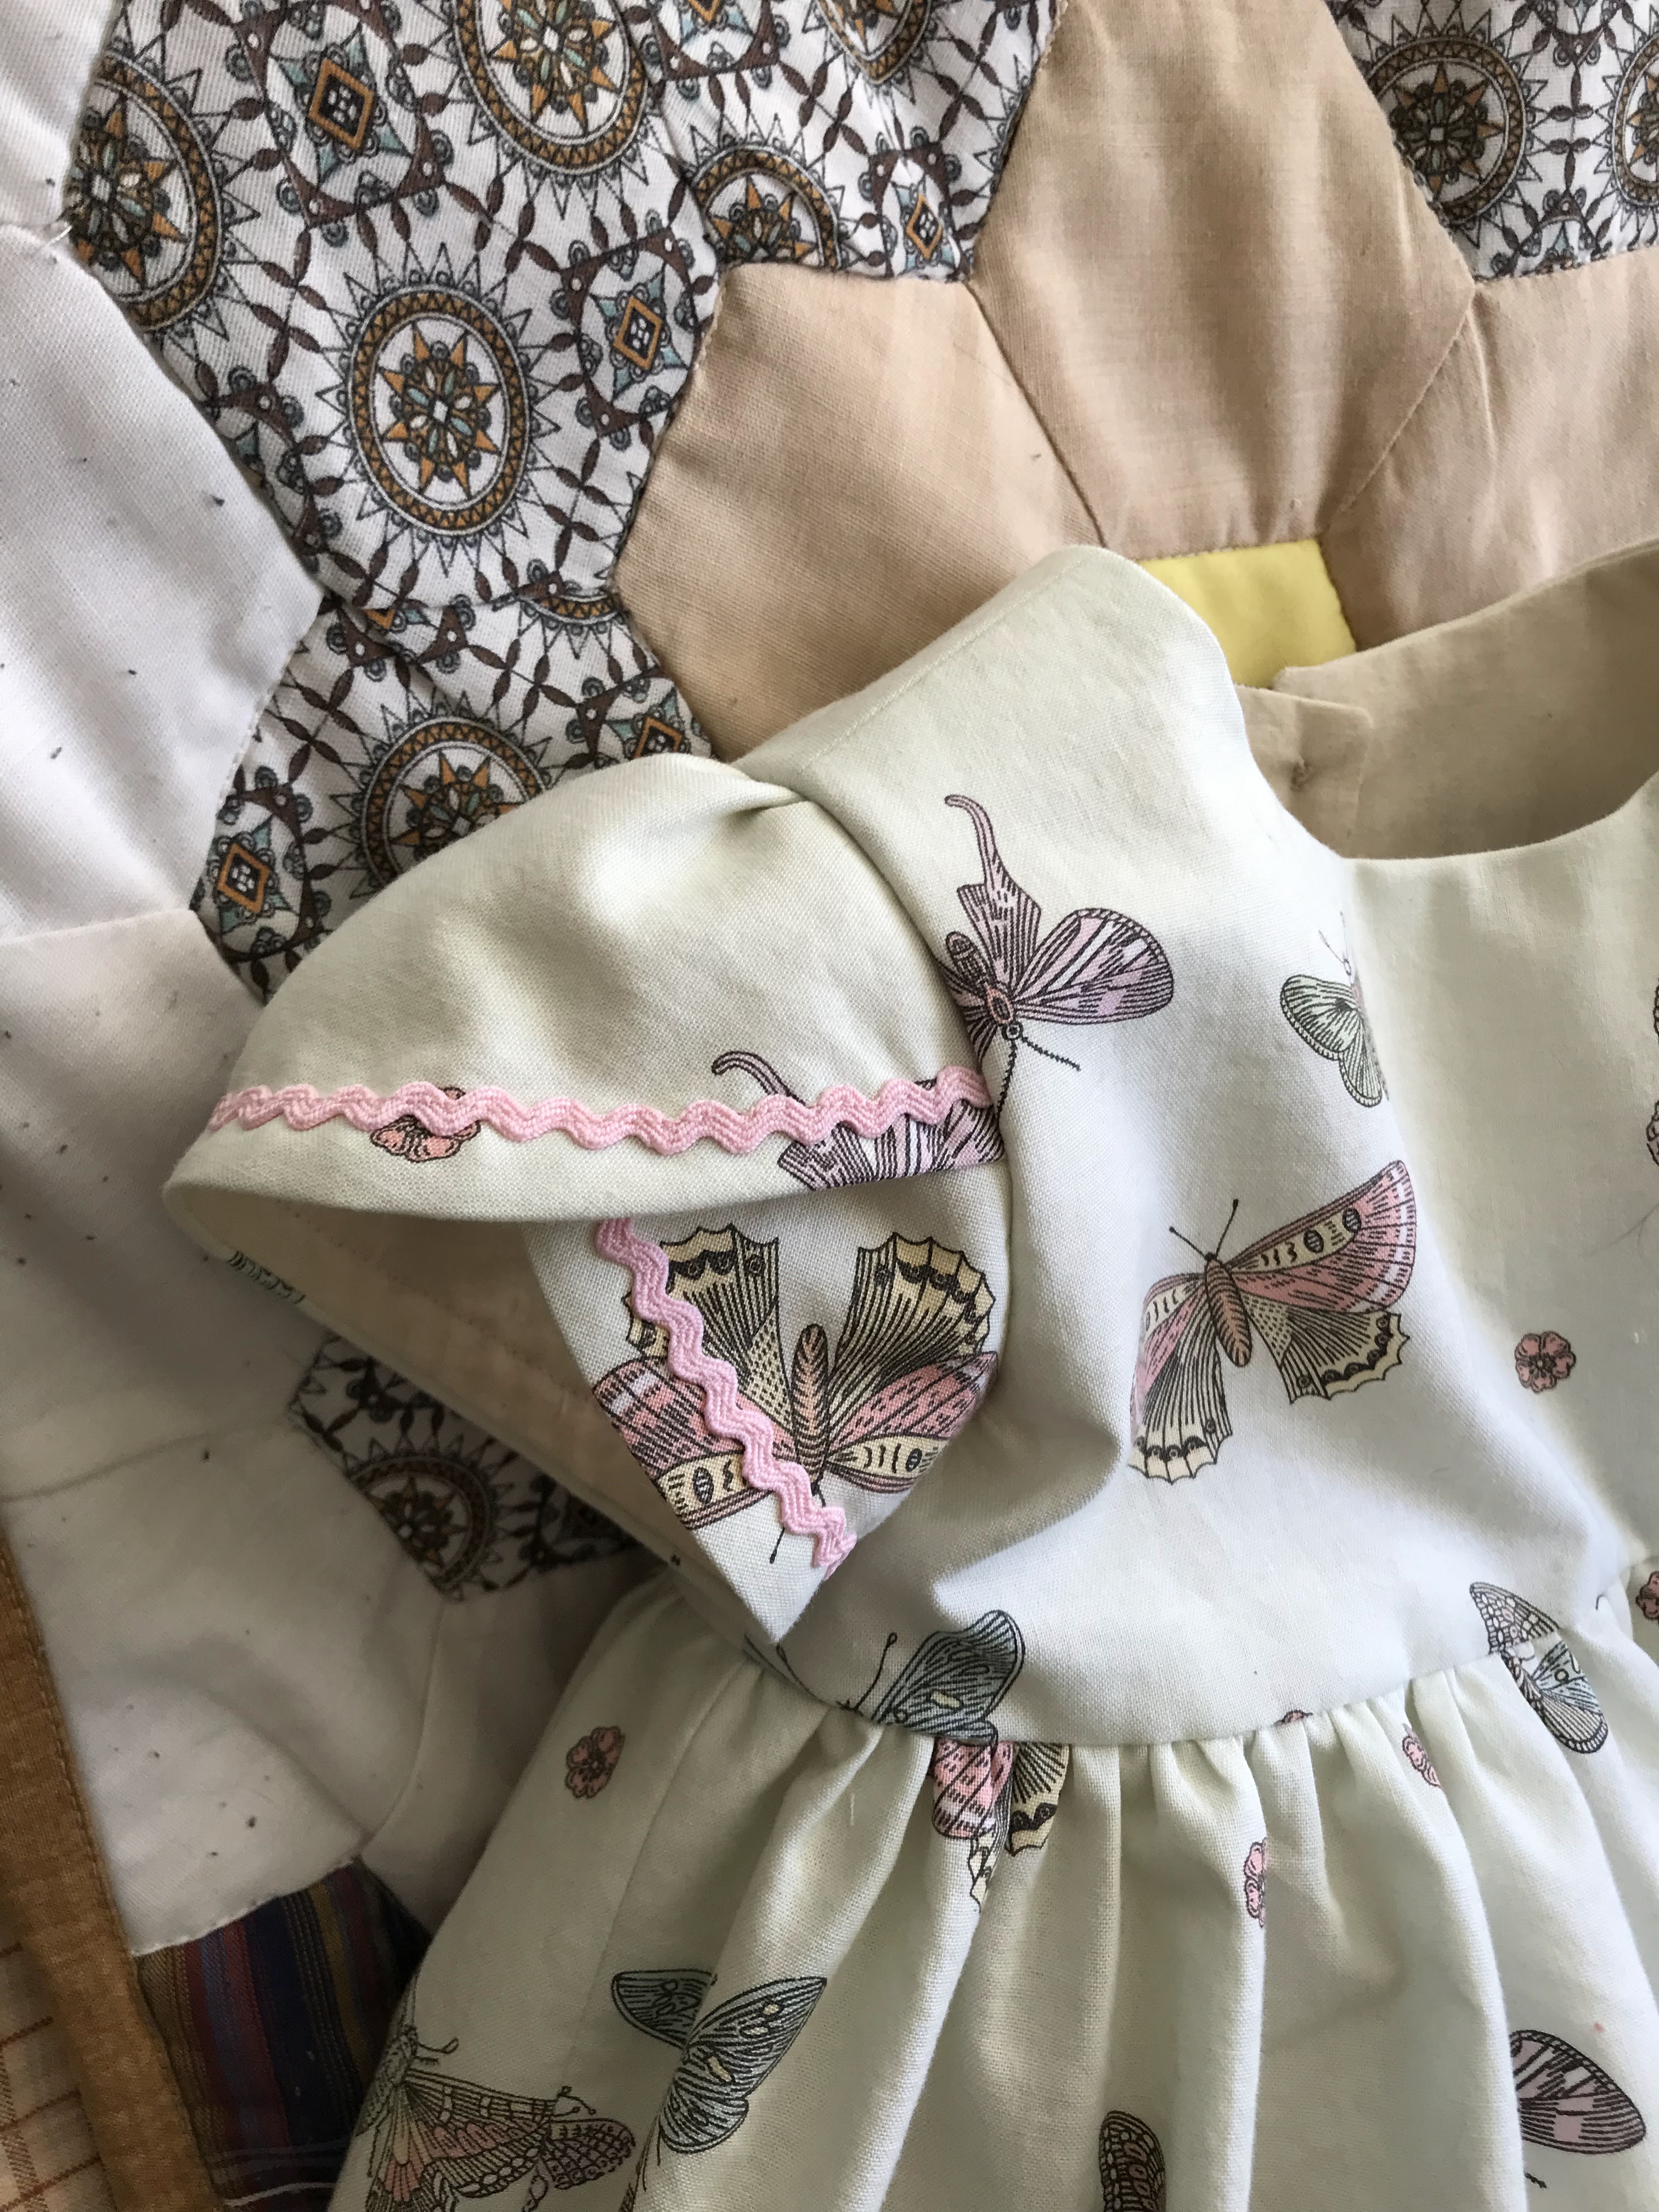
My sister-in-law liked the idea of her daughter’s dress having butterflies on it. She wanted the dress to have a full skirt and puffed sleeves. 


In March of last year my husband and I went on a road trip, and on the way back home we stopped at a handful of fabric stores. He sat in the car and read his book, while I went into each and shopped to my heart’s content. In one of these stores I found several lovely butterfly print quilting cottons.


I bought two different prints and sent pictures of them to my sister-in-law to pick from. She chose the light green print with colorful, detailed, butterflies and moths all over. 


Upon arriving home I went through my pattern stash and picked McCall's 6015. Full skirt, basic bodice, ohhhhh, and tulip sleeves! I love tulip sleeves! My sister-in-law liked them too, so tulip sleeves it was!


I trimmed the dress, both sleeves and hem with pink rick-rack.


Baby rick-rack on the sleeves and three rows of rick-rack - two narrow rows and one wider row - on the skirt.


The whole dress was lined and some tulle was added to the skirt lining to give the skirt some poof.


The dress was finished off with flower buttons on the back.


I love buttons down the backs of little girls’ dresses!


Sadly, there was a scheduling snafu and I was in able to get the dress too my niece, who lives 3 hours away from me, in time for Easter. This was a disappointment, however she wore this dress instead for Easter, and I’ve heard she has worn the Easter dress for several other occasions since.


That said, once her dress was done I was on a roll and ready to make more Easter dresses!


My sister and I needed Easter dresses too! As most of my fabric and pattern stashes were in my parents' basement, and I would be not returning there before Easter, I was rather limited by what I had on hand at the apartment. For my sister I had the pattern I was going to make her formal gown out of, Vogue 8948. Hmm, not necessarily what I would have picked for her Easter dress, but I could make that work!


As for fabric, I had a 2 yard cut of a vintage cotton print on hand, picked up at an estate sale the preceding autumn. It was earmarked for a blouse for myself, but it could be used for an Easter dress instead!


With some careful planning and cutting I was able to get a drop-waisted sundress cut out of that 2 yards (or a yard and 7/8th to be precise) for my sister.


The skirt is fairly slim, but the best I could manage with the fabric I had. 


It’s pleated to match the seam lines on the bodice.


I added patch pockets at hip-level, and shaped the upper edge to match a vintage pattern in my stash.


I trimmed the pockets with green rick-rack.


I did get my sister’s dress to her in time for Easter!


However, we ran into another problem.


My sister and parents were sick on Easter and unable to go anywhere.

So, alas, my sister’s Easter dress didn’t get worn last Easter either.

It did turn out pretty though!


Not bad for a spur of the moment, make it with what you’ve got, Easter dress.

Now for my dress.


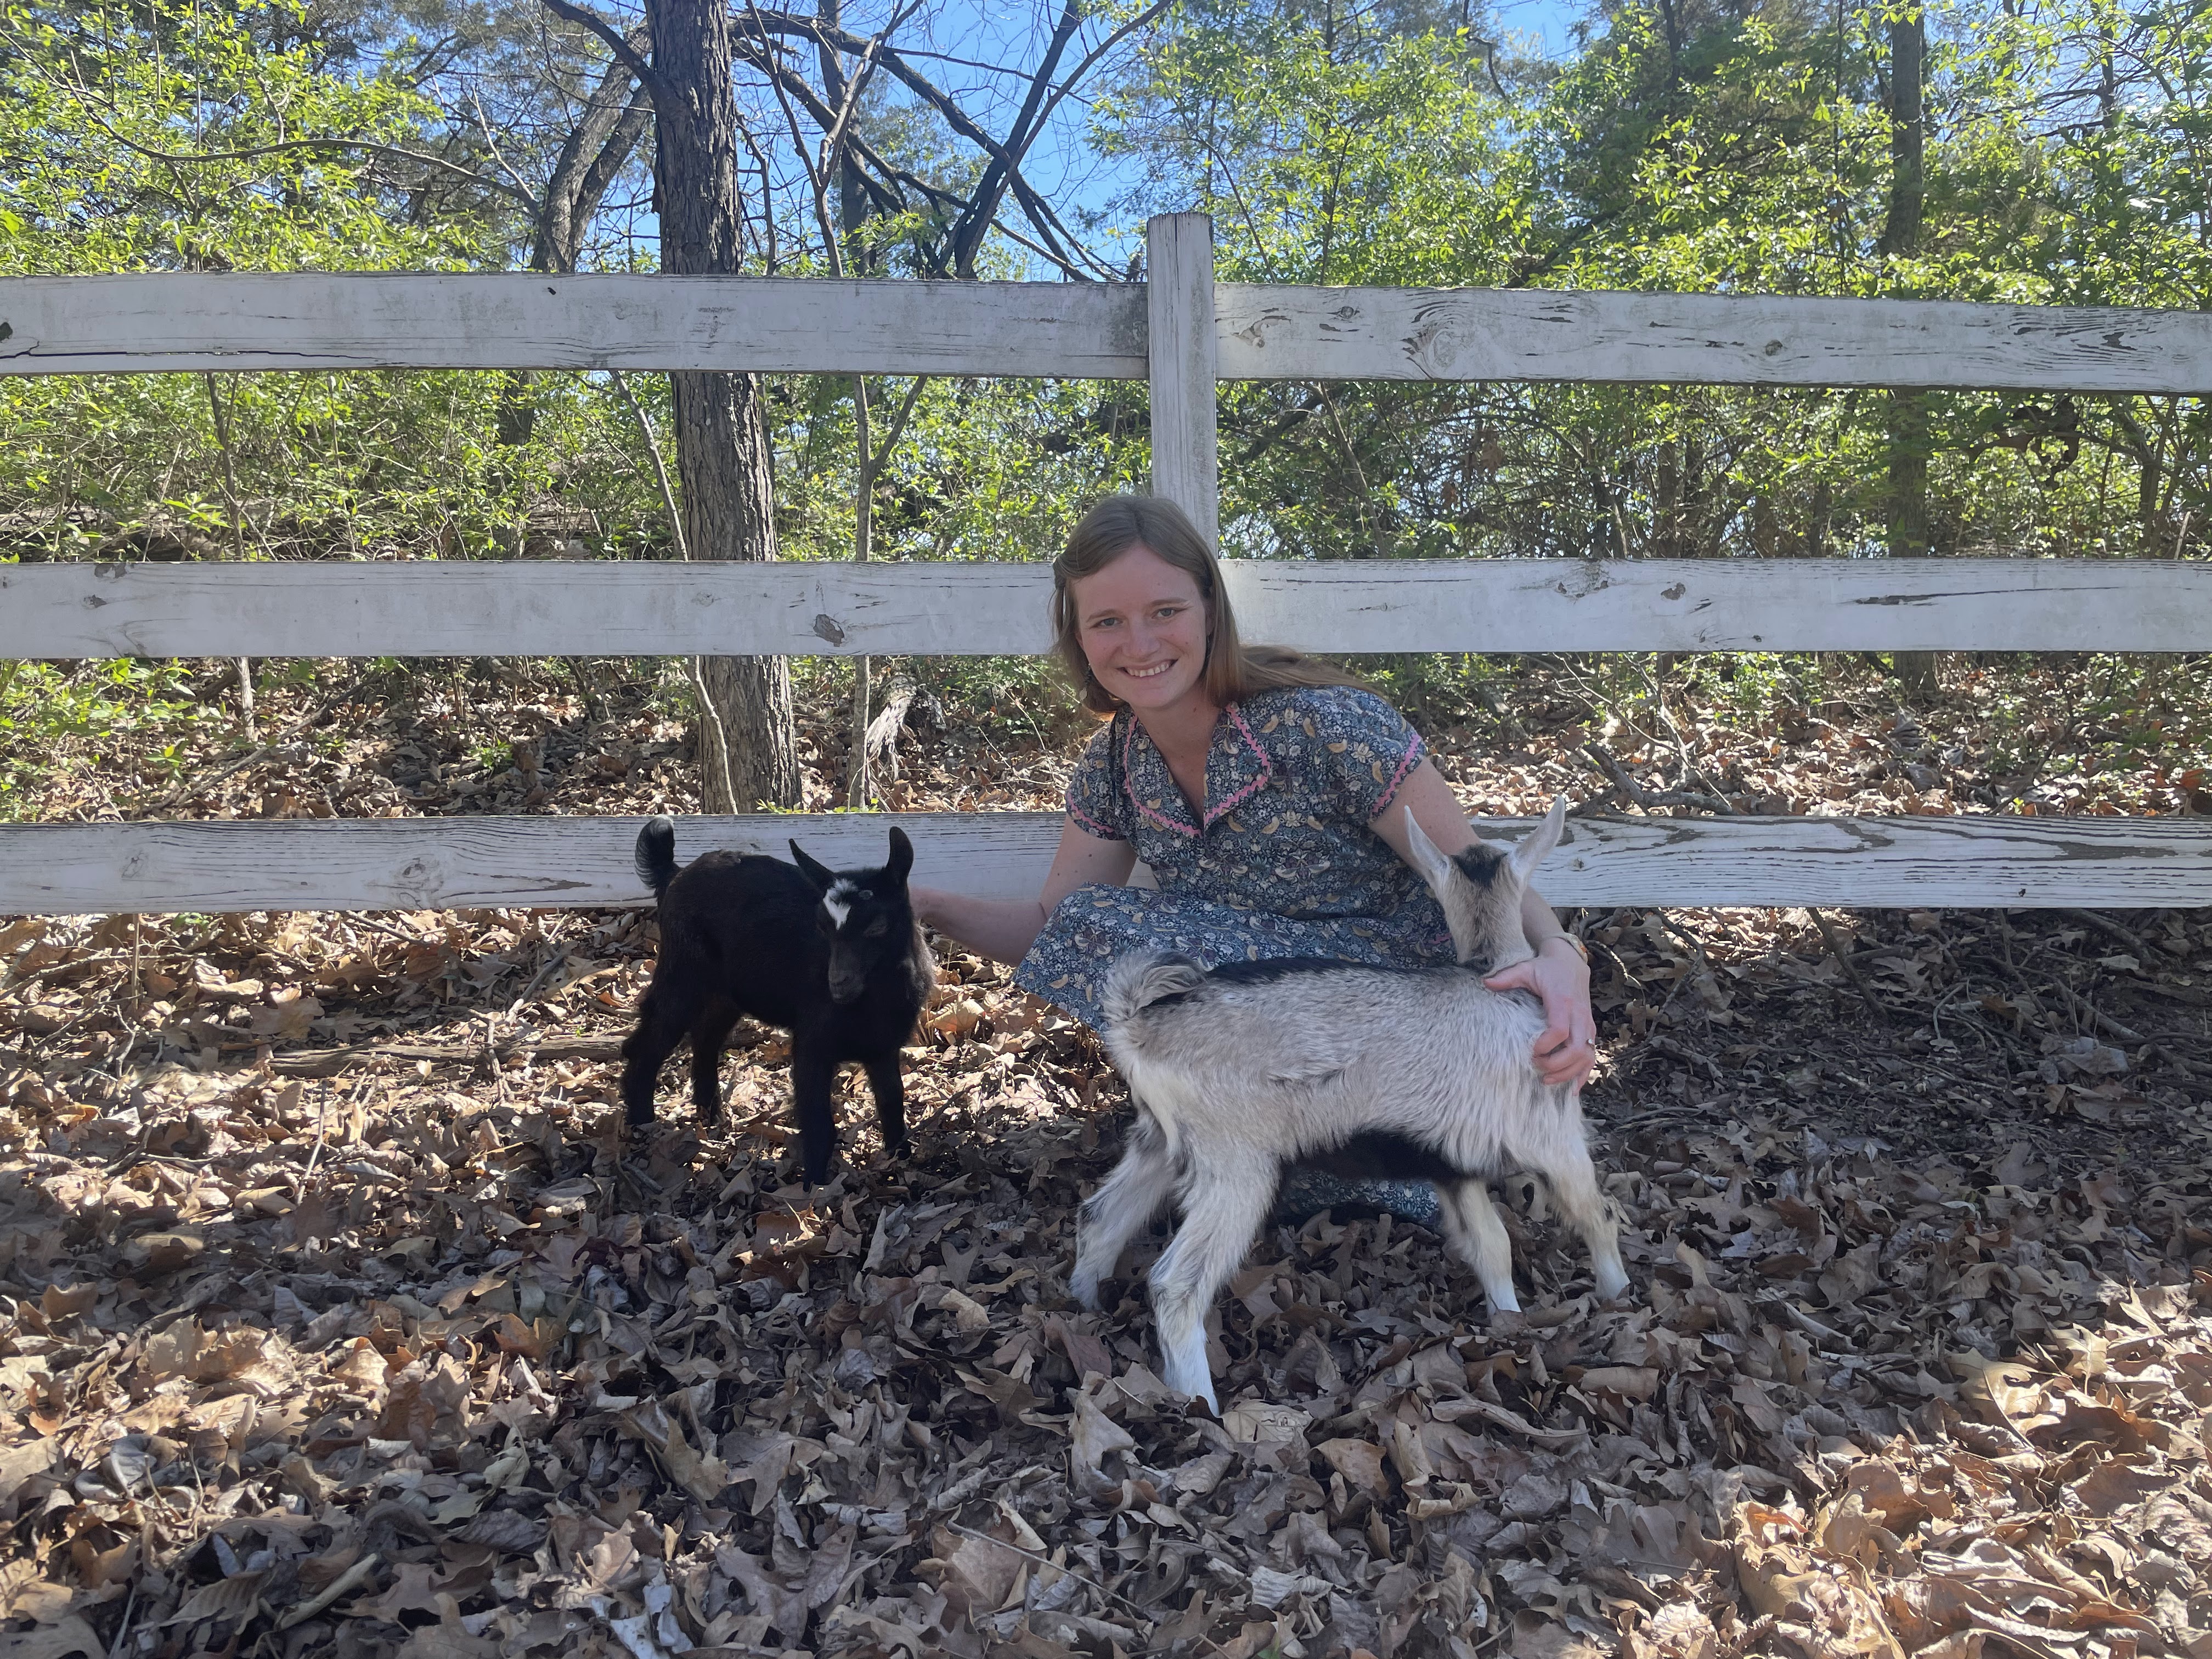
At the same fabric store where I bought the butterfly fabric for my niece’s dress, I picked up 3 yards of a very soft, very pretty, quilting cotton to make myself a dress from. It was blue with vines, and flowers, and golden birds. I have a soft spot for fabrics featuring flying creatures such as birds and butterflies.


After making the other two dresses I decided I would use this fabric, paired with a vintage mail-order pattern from my stash, to make my Easter dress.

Turns out the pattern really required a bit more than 3 yards of fabric. I had to piece together one of the front side skirt panels to make it work.


But the pockets cover most of that up, and the print is pretty busy so it’s hardly noticeable!


And yes, these are the pockets that influenced the shape of the pockets on my sister’s dress.


I trimmed the pockets, sleeves, and the collar of my dress with pink rick-rack to keep the theme going.


I finished the dress and was absolutely thrilled with it! Our rick-rack trimmed dresses were going to be so cute on Easter!


I wore my dress the day before Easter for an Easter dinner with my mother-in-law.


But when Easter morning rolled around I was demoralized. My sister was sick at home. I wouldn’t be seeing her and she wouldn’t be wearing her dress. 

My niece was out of state visiting extended family. I wouldn’t be seeing her, and she wouldn’t be wearing her dress.


I didn’t feel like wearing my dress either.

So I wore this dress instead, and the new dress got hung away in my closet. It was worn for many other occasions over the summer, just not for Easter.


This year, on the Saturday before Easter I wore it for the church Easter picnic and dinner out with my mother-in-law.


And on Easter morning I donned a new Easter outfit. My family was well, I would be celebrating with them. Thanks to help from my mom and my brother my niece got her dress in time to wear for Easter.

The weather was beautiful and we were celebrating the resurrection of our Savior.

What could be better?