Alright, after a detour into every day sewing projects, let's get back to the big one - the Wedding Dress!!
When we left off, I'd mocked-up the bodice, perfected the fit, cut out the bodice, and then decided I needed to make a corset before going any further. So I took a week or so to make myself a new corset, then it was time to actually start assembling the wedding dress.
(How I designed the wedding dress can be found here. All about the fabrics I chose can be found here. A record of my bodice pattern, mock-up, and fitting trials can be found here. And everything you need to know about the corset can be found here.)
The bodice was to consist of two main layers, a silk twill outer layer and a cotton twill interlining layer to give it structure. The lace, which was to be the star of the show, would be applied once the bodice was mostly assembled.
The first thing I did was cut out the cotton twill from my perfected pattern. Then I used the cotton twill as my pattern pieces to cut the bodice out of my silk twill.
The silk twill had some creases in it from being folded in storage for months. I didn't fancy ironing these creases out of 8 yards of fabric prior to cutting out the bodice, only to then have to re-fold, and thus re-crease the fabric afterward, and inevitably have to re-iron all the fabric when it came time to cut out the skirt. Theoretically I could have just ironed the yard or so I needed for the bodice, but this still would have required me to haul all 8 yards of the fabric over to the ironing board and I just didn't feel like doing that. Thus, I cut my silk layer out of creased fabric, and ironed all of the pieces after they were cut out.
Yes, this is not good practice, as it's very hard to cut wrinkled or creased fabric precisely, however in this case it worked out fine, and saved me my sanity. It is a heck of a lot easier to iron small bodice pieces that actually fit on an ironing board than it is to iron 8 yards of 60" wide silk that must be wrangled.
As far as "good practice" goes, I did make sure to use a press cloth so I wouldn't risk my iron marking the silk at all.
Once all the silk pieces were properly pressed, it was time to baste the silk to the cotton twill interlining, but first I took a moment to consider my boning placement and what would be the best method to make and attach boning channels. After referencing Bridal Couture, by Susan Khalje, I decided that most of my boning would be placed along seamlines and darts, so those boning channels could easily be added later, once the bodice was assembled. However, I also wanted a piece of boning at the center front to support the basque (pointed) waist. As there was no seam allowance here to attach a boning channel to, I would need to sew the boning channel to my interlining prior to attaching the interlining to my silk. I certainly didn't want any stitching from the boning channels showing through on the outside of the dress!

I made the boning channel out of white grosgrain ribbon from my stash and machine stitched it to the center front of the cotton twill, on the side which would be on the inside of the dress rather than against the silk twill outer layer. Once this was done, I layered the silk onto the cotton, pinned it together, held it up, and discovered that a shadow of the boning channel showed through the silk.
This was not what I wanted.
I solved the problem by adding a layer of thin cotton muslin between the silk twill and the cotton twill.
This was just enough to keep the boning channel from showing through, and it didn't add too much bulk to the center front.
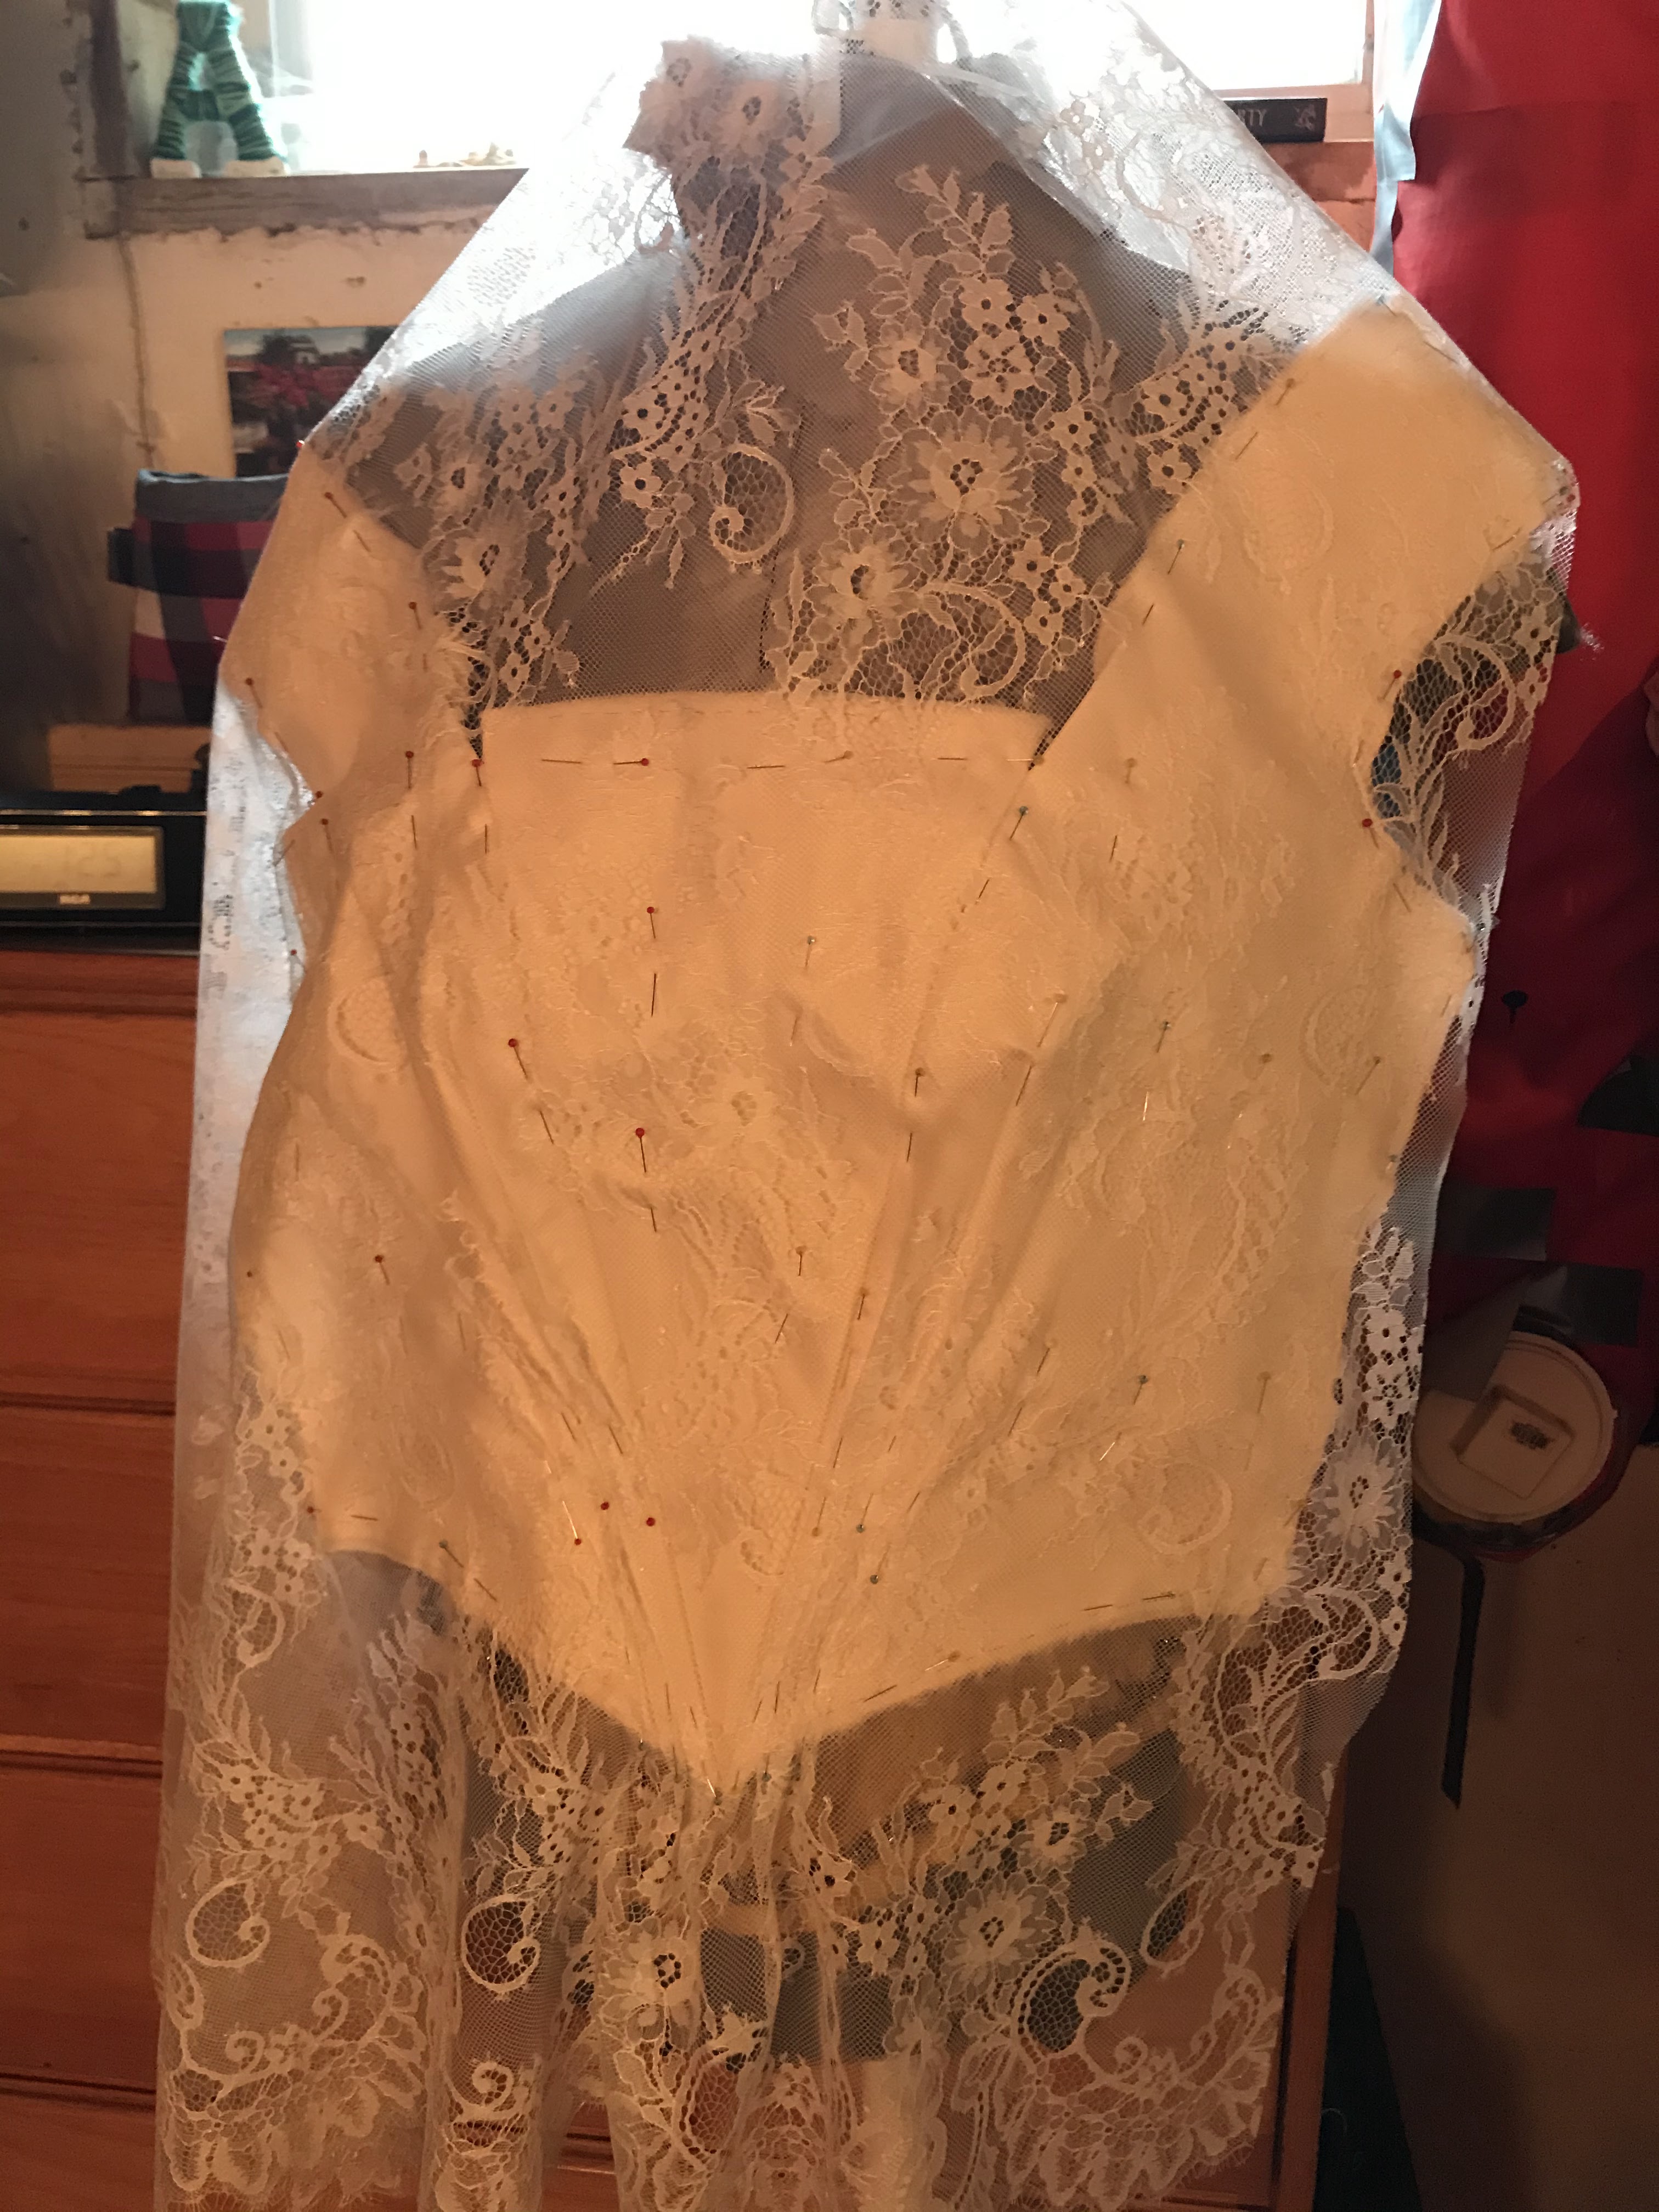
Crisis averted, I basted together the three layers of the center front, and the two layers of every other bodice piece (silk twill and cotton twill) before basting the entire bodice together so I could check the fit over my new corset and mark my darts.
I'd already marked the darts from my pattern onto my interlining, but I was pretty sure they would need quite a bit of adjusting to fit nicely over the corset.
I tried the bodice on and pinned the darts in place from the outside.
Then I carefully thread marked my new darts before removing my pins.
Once the pins were removed, it was crazy to see the difference between the old darts, marked without the corset, and the new darts, fitted over the corset. The new darts were twice as deep at the waist and ended at a slightly different point near the bust as well.
Darts fitted and marked, they were then sewn permanently by machine, as was most of the rest of the bodice.
Boning channels, made from grosgrain ribbon were applied to all of the seams, and the darts.
Once that was done, it was time to play with lace!
I'd removed the basting and left my side and shoulder seams open to make this as easy as possible - but it was still a little nerve-wrecking cutting into the most expensive material I've ever bought!
I started with the front. I laid the lace over the bodice and decided which motif I wanted featured center front.
Then I figured out how I wanted the pleats coming up from the waist to lay and pinned those it place.
Once the pleats and the center front were sorted, I pinned the lace all around the perimeter of the bodice front.
Then I added about a million more pins just to make sure nothing would move.
With the bodice pinned within an inch of its life, I took it over to the dress form, with the full piece of lace still attached, to make sure it would look just as good in 3-D as it did laying flat on the table.
Thankfully, it did. So back to the table we went.
I trimmed away all the excess lace.
And then repeated the process with the back bodice pieces.
As these pieces didn't require any pleats, they went a bit quicker than the front did.
I just did my best to mirror the design on the two halves of the back.
With the lace pinned in place, I was running short on silk pins, and it was time to stitch everything in place so I could get on with finishing the bodice.
I began by basting the lace to the bodice all around the edges, just like I'd done with the silk and the flat lining back at the beginning.
Then I prick-stitched the lace in place along all the seam lines.

Finally I prick-stitched the front pleats down.
And then the lace was all in place!
I went ahead and applied seam binding to the sides and shoulders, prior to sewing up those seams.
It was just easier that way.
Since my bodice was cut on the bias, I stabilized the neckline with cotton twill tape, according to the advice and instructions in Bridal Couture.
Then I sewed up the side seams and added boning channels to them.
I boned the entire bodice with 1/4" spiral steel boning.
At this point there were just two little seams left on the bodice to be sewn up - the shoulder seams!
I wanted to make sure the shoulders of the dress would fit snuggly and not be pulled down by the weight of the sleeves I had planned. So I began by folding in the shoulder seam allowance on the bodice front.
Then I put on all of my wedding undergarments and the bodice and had my mother pin the shoulder seams in place by lapping the front (with the seam allowance folded under) over the back, so they would fit my shoulders perfectly.
Nice and snug! No risk of the shoulder straps trying to slip down my arm on the wedding day!
I then hand sewed the shoulder seams.
And with that I was ready to attach the lace collar and sleeves. Those were each a project in and of themselves however, with countless hours of hand sewing and some un-planned tea-dying involved, so you will have to wait until the next blog post to see how they came to be!
If you've missed any part of my wedding dress series:
And the Undergarments:


Lovely and wonderful work.
ReplyDeleteLooking forward to each of these updates....it's so enjoyable to see your process on such an important gown!
ReplyDelete