Thursday, February 2, 2017

Fixing Fake Pockets

Hola from Bogota, Colombia! I'm three weeks into my World Race and enjoying it! (Though I do miss home, and sewing sometimes) You can read all about what I'm up to on my World Race blog, but meanwhile, as I'm missing it, let's talk about sewing!

Is there anything more frustrating than fake pockets?
Well, maybe, but fake pockets are pretty high on my list. You buy a garment, thinking it has pockets, then nope, just kidding! Thankfully, it's pretty easy to turn fake pockets into real ones.
Approximately two months ago now, I asked my friend Erentry what she wanted for Christmas. "Tutorials on how to add pockets to things" she told me, "since you're leaving and not going to be around for 11 months to help me do that."
Well, that's true enough, and I agreed to write a few posts about adding pockets to things (this one being the first, this series will continue all year since I'm separated from my sewing machine for 11 months!), but I really wanted to actually give Erentry something too, so I had her pick something out for me to add pockets to. She picked a cute vest from her closet with fake welt pockets.


What is even the point of fake welt pockets? If you're going to go through the trouble of making the welts you can easily add a pocket bag, it's really no extra work!
Ok, rant over. If you have been cursed with a garment that features fake welt pockets, here's how to turn those into real, functional, can actually hold something, pockets.

Step 1: Carefully, very carefully so you don't cut the lining or anything else, cut a slit where the fake pocket opening is, making it real.


Step 2: Measure the length of your new pocket opening and figure out how deep you want your pocket to be. (the deeper the better!)


Step 3: Make your pocket bag these dimensions.
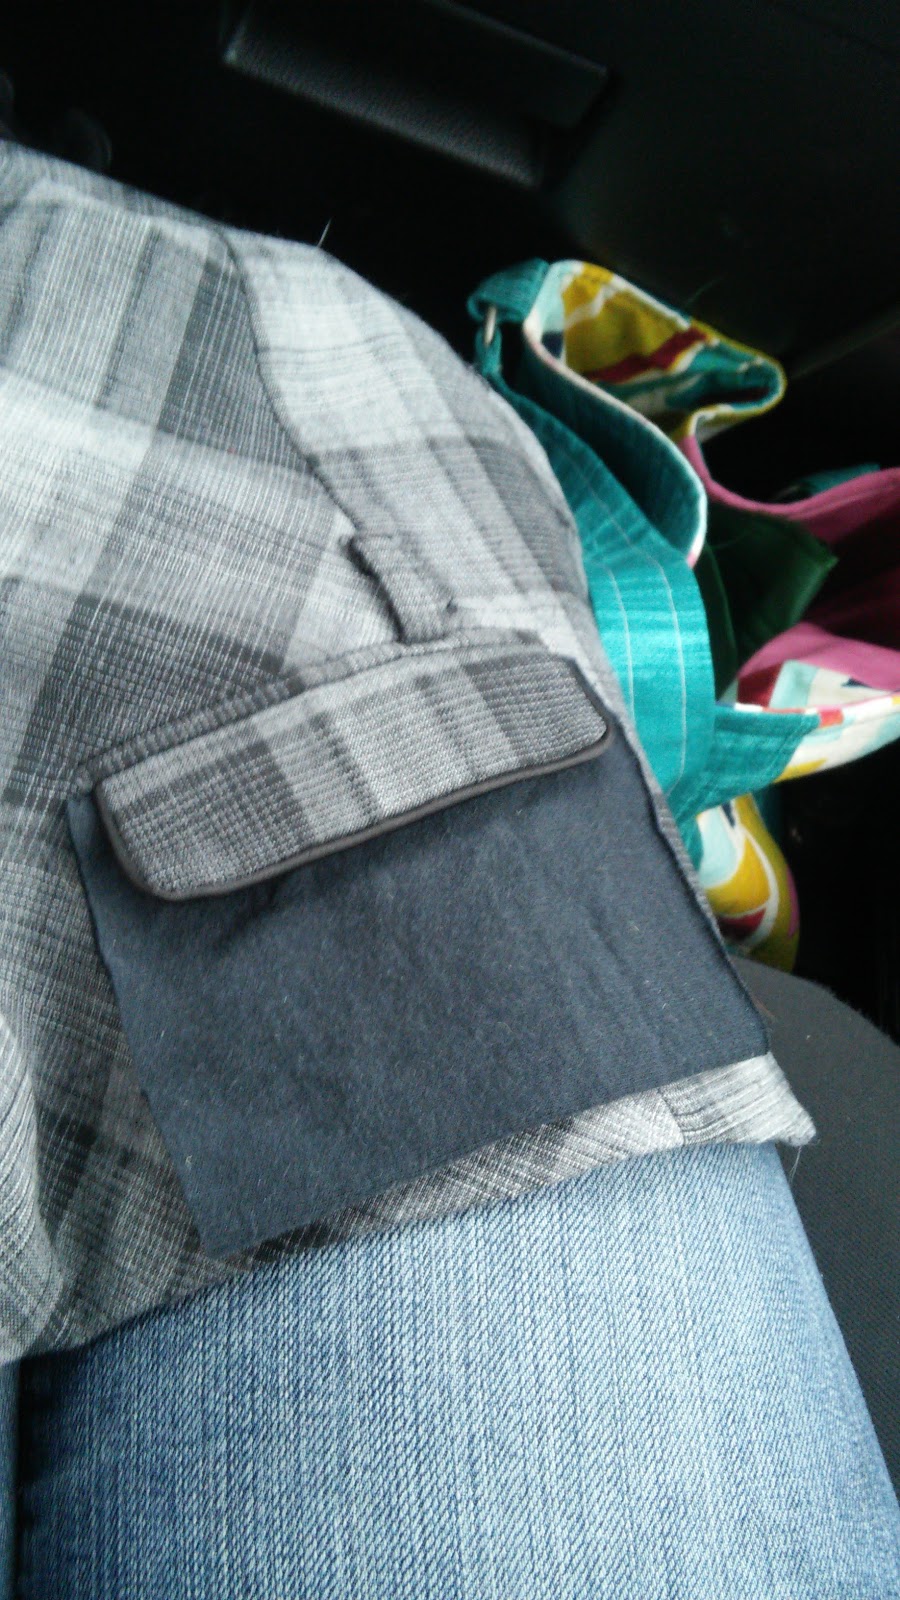

This part is really easy. Cut a rectangle the width of your pocket opening, plus a half an inch to allow for a 1/4 inch seam allowance on either side, and twice as long as the depth you want your pocket to be, plus half an inch for seam allowance. So, if your pocket opening is 5 inches wide and you want your pocket to be 4 inches deep, cut a rectangle 5.5 inches wide and 8.5 inches long. Next, fold it in half so its's 5.5 inches wide and 4.25 inches deep. Then, sew up the sides and leave the top open. You have a pocket! Now to put it into the garment.

Step 4: Insert the pocket into the opening you cut.


Step 5: Fold the raw edges of the pocket opening in and fold the top edge of the pocket, about 1/4 inch, out, like so;


Step 6: Line up the top folded over edge of your pocket with the folded in edge of your pocket opening. Make sure no raw edges are visible, then pin in place. 


Finally, hand sew your pocket in place!


Your pocket is real and functional! Now feel free to repeat this process on any garment that has those annoying fake pockets!

Have another type of fake pocket you want to make functional? Let me know and I'll see if I can put together a tutorial for you! 


Hasta Luego! My month here is Colombia is nearly up, so next time you hear from me I'll be in Ecuador. If you're interested in what I'm up to on the World Race feel free to check out my World Race blog and subscribe so you know when I post something new (about once a week)! Otherwise, I will do my best to post something here about once a month for the next 10 months. I sewed most of the clothes I packed for this year so I'm looking forward to sharing them with you!


Saturday, December 31, 2016

1890's Ladies

There's a list of things I'd like to get done before I leave. People to see, places to go, things to do, pictures to take, and of course lots of sewing, make up this list. Well, early this month I finished my mom's 1890's dress for the (postponed) church Christmas play so an 1890's photo shoot was pretty high on this list.


Thus, early this week my mom put on her new dress, I pulled out my blue paisley for one last outing this year, and my sister clothed herself in the (yet unblogged) 1890's dress I made for her birthday this summer and lengthened for her to wear in the Christmas play. 


Dresses on, hair done, we met my friend Erentry at the park where the Heritage Festival is held every fall. 


Of course, all the buildings were locked up so we couldn't go inside, but the house still made an excellent backdrop, and it was easy to believe that this is where we belonged in these dresses.


 We made ourselves right at home on the front porch.


Thankfully it was a rather warm afternoon so we didn't freeze despite being coatless!


Once we'd had our fill of that fantastic front porch (that took a while, it's a great porch) we meandered along the path and settled in front of the lamppost to take a few "solemn old-fashioned" pictures.


Keeping a straight face wasn't easy,


 So we decided to get some pictures of the backs of our gowns instead.


Erentry did an excellent job following us around with the camera and positioning us just right!


Eventually, as it was late in the afternoon, it began to get a little chilly and the light began to fade so we started wandering toward the car, errr. . . carriage.


My sister led the way with my mom and I following.


Until we found a pretty little stone bench, perfect for a few more pictures.


There we settled for a little while.


 My sister quickly returned to join us for a few more pictures before it really got too chilly and we had to leave.


But we got waylaid once more before we reached the parking lot  hitching post by this stunning front gate. 


I loved getting spend the afternoon all dressed up with these two!


A girl never gets too old to dress up with her little sister, right?


And when these sisters get their mom to dress up too, well, that's just even better!


Thank you so much, Erentry, for coming out to take these pictures for us! We enjoyed it!


Thursday, December 29, 2016

The Beginning of (Sewing For) Leaving

Christmas is over, my final day of work was last week, launch is in 10 days,  and I have finally begun my World Race sewing!


T-shirts. Cute T-shirts. Something that will look good with pretty skirts, and ultra-casual pants and shorts. That's what I need. Now, I could just buy said T-shirts, but what's the fun in that? Of course I'm going to make my own!


I found this cute cotton-spandex chevron jersey months ago. A very generous friend decided that her contribution to my trip would be my pack. I needed a HUGE internal frame backpack to live out of for the next year. So, we went to the city to buy this pack. Once it was found and bought we decided to go fabric shopping, because we were in a city with more fabric stores than we have at home, so why not? Pack shopping turned into fabric shopping, and I found this grey and orange fabric. I imagined it would look great as a raglan-sleeved T-shirt with contrasting sleeves. I bought a yard, figuring that would be plenty for one T-shirt, and I wasn't wrong. I bought the grey version of this fabric to make my sleeves and actually had enough fabric to make two T-shirts!


After successfully making myself a T-shirt last month to match my sister's dress, and thanks to a comment on that blog post, I thought it would be fun to make us matching garments again. My sister was surprised, and thrilled, when I presented her with her new shirt!


I made her shirt out of the pattern I made for her green velvet shirt, but with one extra cute detail, a fun ruffle on the back! I love this shirt on her, and as she's already worn it twice since I made it I'd say she's rather found of it too!


Now, for my shirt I figured it would be easy enough just to pick up a raglan sleeve shirt pattern at Joann's during a pattern sale. Well, it wasn't as easy as I thought it would be. After going through the pattern book twice I finally decided that Simplicity 3696, a PJ pattern, was close to what I was looking for, but still not quite perfect. After exploring other options though, I decided to use it. I made it a size smaller than I usually would, so that the shirt wouldn't turn out too baggy and pajama-like. I also changed the sleeve length and added contrasting bands to the sleeve hems and shirt hem. 


The result? I love it! This shirt turned out much better than I thought it would, being made from a PJ pattern. 


After seeing how both of these patterns turned out I must say I'd be content to use both patterns again, and as I need a few more shirts before I leave and my sister loves getting matching ones, I just may do that.


My sister is quite pleased that we'll be wearing matching shirts, even when we're halfway around the world from each other, and that thought brings a smile to my face too.


We're gonna miss each other next year! I'm almost ready to go, and as excited as can be to get to go on this trip of a lifetime, but leaving my family is hard!


I'm so glad I've got this last week to spend at home with them before I go! Now, somewhere in this week I've got to pack that huge backpack. Hopefully everything fits!


Sunday, December 25, 2016

Meet Miss Maisy

Merry Christmas! I hope each and everyone of you has a marvelous, joyful, restful day celebrating our Savior's birth. My family sure has! Yesterday my little sister got quite the Christmas surprise, a puppy!


Meet Maisy! She is an English Bred Labrador Retriever, who will have a very special job to do when she grows up. Maisy will be trained to be a diabetes alert dog!


You see, 8 years ago, at age 4, my little sister was diagnosed with Type 1 (Juvenile) Diabetes. This means that her pancreas stopped producing insulin. Insulin is the hormone the body produces that converts the food we eat into energy. Without it, our bodies can't use the food we eat, thus we would essentially starve to death. Thankfully,  diabetes can be managed by daily insulin injections and  blood sugar checks every few hours to make sure the correct amount of insulin is being given and enough food is being eaten. If my sister's blood sugar is too high (over 200) it means she needs more insulin, she has not been given enough for her body to be able to use all the food she has eaten. If her blood sugar is too low (under 70) it means she needs to eat more food! Her blood sugar level should be between 80 and 150 at all times, and, it's a constant balancing act to keep it there. (For non-diabetics the blood sugar should be between 80 and 120.)


As my sister continues to grow the amount of insulin and food she needs changes. This is where Maisy comes in! She will be trained to sense, and then alert us, when my sister's blood sugar goes too high or too low. This service will be invaluable to keeping my sister healthy!


Of course, my sister was thrilled beyond words to get Maisy for Christmas!


She was quite disappointed to have to leave her home this morning while we went to church, but she put on her Christmas dress, told Maisy she'd be back soon, and came along.


Now, I am pretty darned pleased with how my sister's Christmas dress turned out! It's pretty but not too fancy for sitting on the floor to play with Maisy.


About a month ago I was reading some sewing blogs where I came across this pattern and fell in love. The piping, the pockets, the full skirt, they were just perfect. I had to make it for my sister! I was all ready to buy the pattern when I discovered there was just one little problem, a very common one for me I'm afraid, the pattern didn't come in my sister's size. Gahh!


 Well, I was making that dress, pattern or no, so I bought this festive, colorful fabric at Joann's black friday sale. Being part of Joann's Christmas line, the fabric was 75% off that day! The black background of the fabric is covered in green slashes and metallic gold, white, and pink dots. After considering each of those colors, I decided to make the piping pink and found the perfect colored cotton to do that.


Design settled on, fabric found, I was all ready to make the dress, except I still needed a pattern. I decided to use Simplicity 8026 because it came in the right size and featured the princess seams that would be embellished with piping. I cut the shift dress pieces off at the waistline, drafted the pocket, skirt, and epaulet pieces myself, changed the back neckline into a shallow "v", and split the center front piece in two to accommodate the piping across the upper chest.


An invisible zipper down the back and shiny gold buttons on the shoulder epaulets completed the dress. It turned out just as I'd envisioned! 


Of course, Maisy makes it cuter, but then, puppies always do that!


Maisy loved coming outside with us to take pictures, and as soon as we came back inside she fell asleep curled up in between my sister's boots! Apparently she didn't want to be forgotten the next time my sister went outside. This Christmas puppy will truly be that girl's best friend!